
Build a Backyard Rabbit Hutch for Multiple Rabbits
Technically, what you are about to see is not a “hutch.” It is more of a program…a system …. a habitat… a space for keeping several rabbits….
We call it “Rabbit World.”
It is the Taj Mahal of rabbit keeping and we absolutely love our new Rabbit Land.
It has everything necessary to keep backyard (outdoor) rabbits safe:
- High off the ground (so dogs or wildlife can’t attack)
- Cages not made of wood (so no rabbits will eat their way to freedom)
- Sturdy (so I won’t have to build another one in a year)
- Protection from wind and rain (and sleet and snow and ice and hail and whatever)
- No “trays” underneath the cages to dump & clean (because who wants to do that?… uh – no one)
- Located in a cool, shady area (so you don’t fry your rabbits)
- Separate compartments for boys and girls (so we don’t have 4000 rabbits in a year)
- And it was pretty cheap
If you have a girl rabbit and a boy rabbit….. also known as a “doe” and a “buck”, and they are in a cage together, eventually you will own many rabbits. This is how our Rabbit World came to be. We needed space.
- We needed space to keep the kits until they were old enough to go to new homes.
- We needed space to raise the rabbits to slaughter weight.
- We needed space to separate the boys from the girls.
Let’s build a Rabbit World!
I should tell you that we are not architects nor builders, so I’m sure there are better ways to build a rabbit habitat. I can tell you that this was fast, easy and pretty cheap. If I were going to build this again I would make it longer & include more cages. I guess this is the way things go with rabbits. No matter how much space you have, they just keep multiplying and you just keep running out of space.
What you’ll need:
- 4 – 4×4 posts (back posts= 68 inches high/ front posts= 65 inches high) We are cutting the posts so that the back “legs” are a bit higher than the front. This will encourage rain to run off.
- 2×4’s (4- 8 ft long/ 4 – 2 ft long)
- 2-inch screws
- Fence staples
- Hammer & drill
- A piece of roofing (plastic, metal, scrap, whatever you can get your hands on) About 10 ft long & at least 24 inches wide (wider is better)
- Cages
These instructions are going to be for the Rabbit World we built. It contains 3 cages (2 ft by 2 ft) and can hold lots of rabbits.
Some considerations if you are breeding rabbits:
- This set-up is not for mama bunnies to give birth in or raising litters. If you want to build a hutch for an expectant mama this is not your solution.
- The purpose of this rabbit hutch is to keep our rabbits far away from dogs (off the ground), give us a way to separate the bucks from the does and safely raise our rabbits to slaughter weight.
STEP 1 to Build a Rabbit Hutch:
Cut the wood.
Because we have a chop saw (the best saw in the world) in our big barn, I cut all the wood there. Then I drug it up to “Rabbit World.”
- Cut the 4×4 posts so that the back legs are a bit higher than the front so the rain will run off. My back legs are 68 inches high. My front legs are 65 inches.
- Next cut the 2×4’s. You’ll need 4 that are 8 feet long.
- You will need 4 more pieces of 2×4 that are 24 inches long (to brace the sides).
That’s it for the cutting.

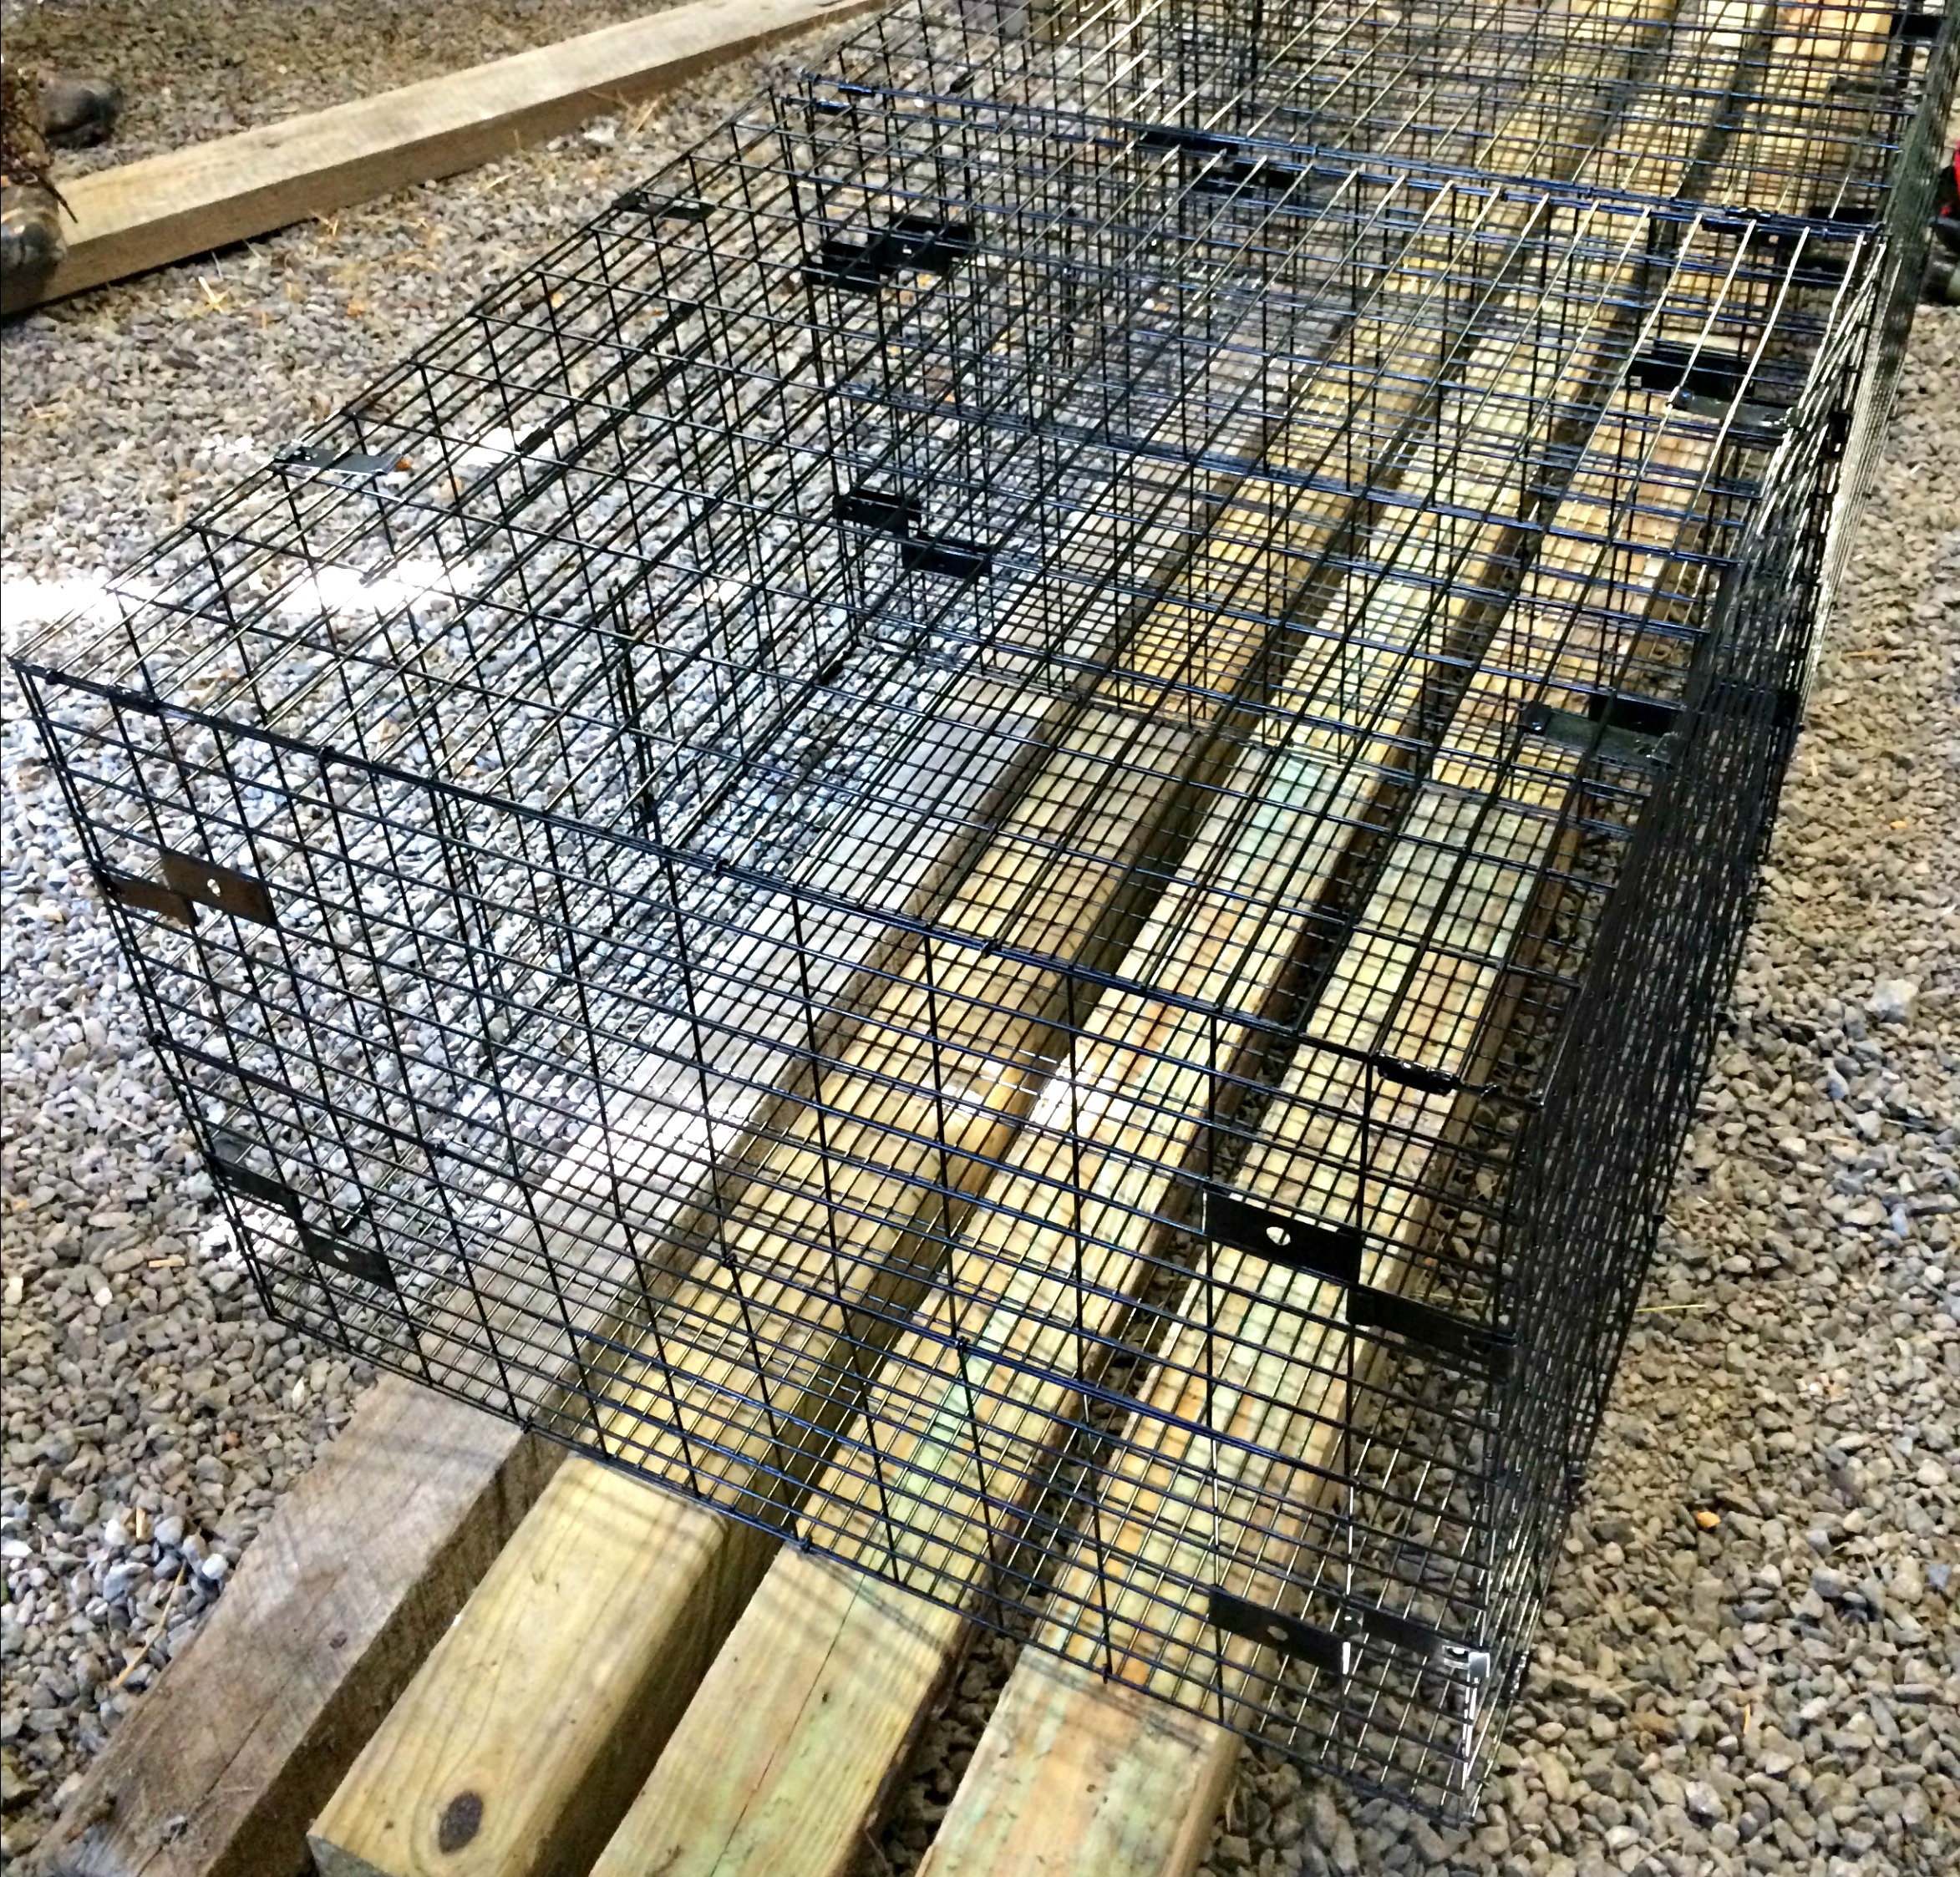
Here are our store-bought, assembled rabbit cages ready for the trip up to “Future Rabbit World.”
STEP 2 to Build a Rabbit Hutch:
Assemble the cages.
We bought these at a farm store & they went together in minutes.
If all the wood is sliced & diced it makes this a super easy, super fast assembly. All you need is a drill (screw gun), fence staples, hammer and some 2-inch screws.
STEP 3 to Build a Rabbit Hutch:
Build a frame for the cages to sit on.
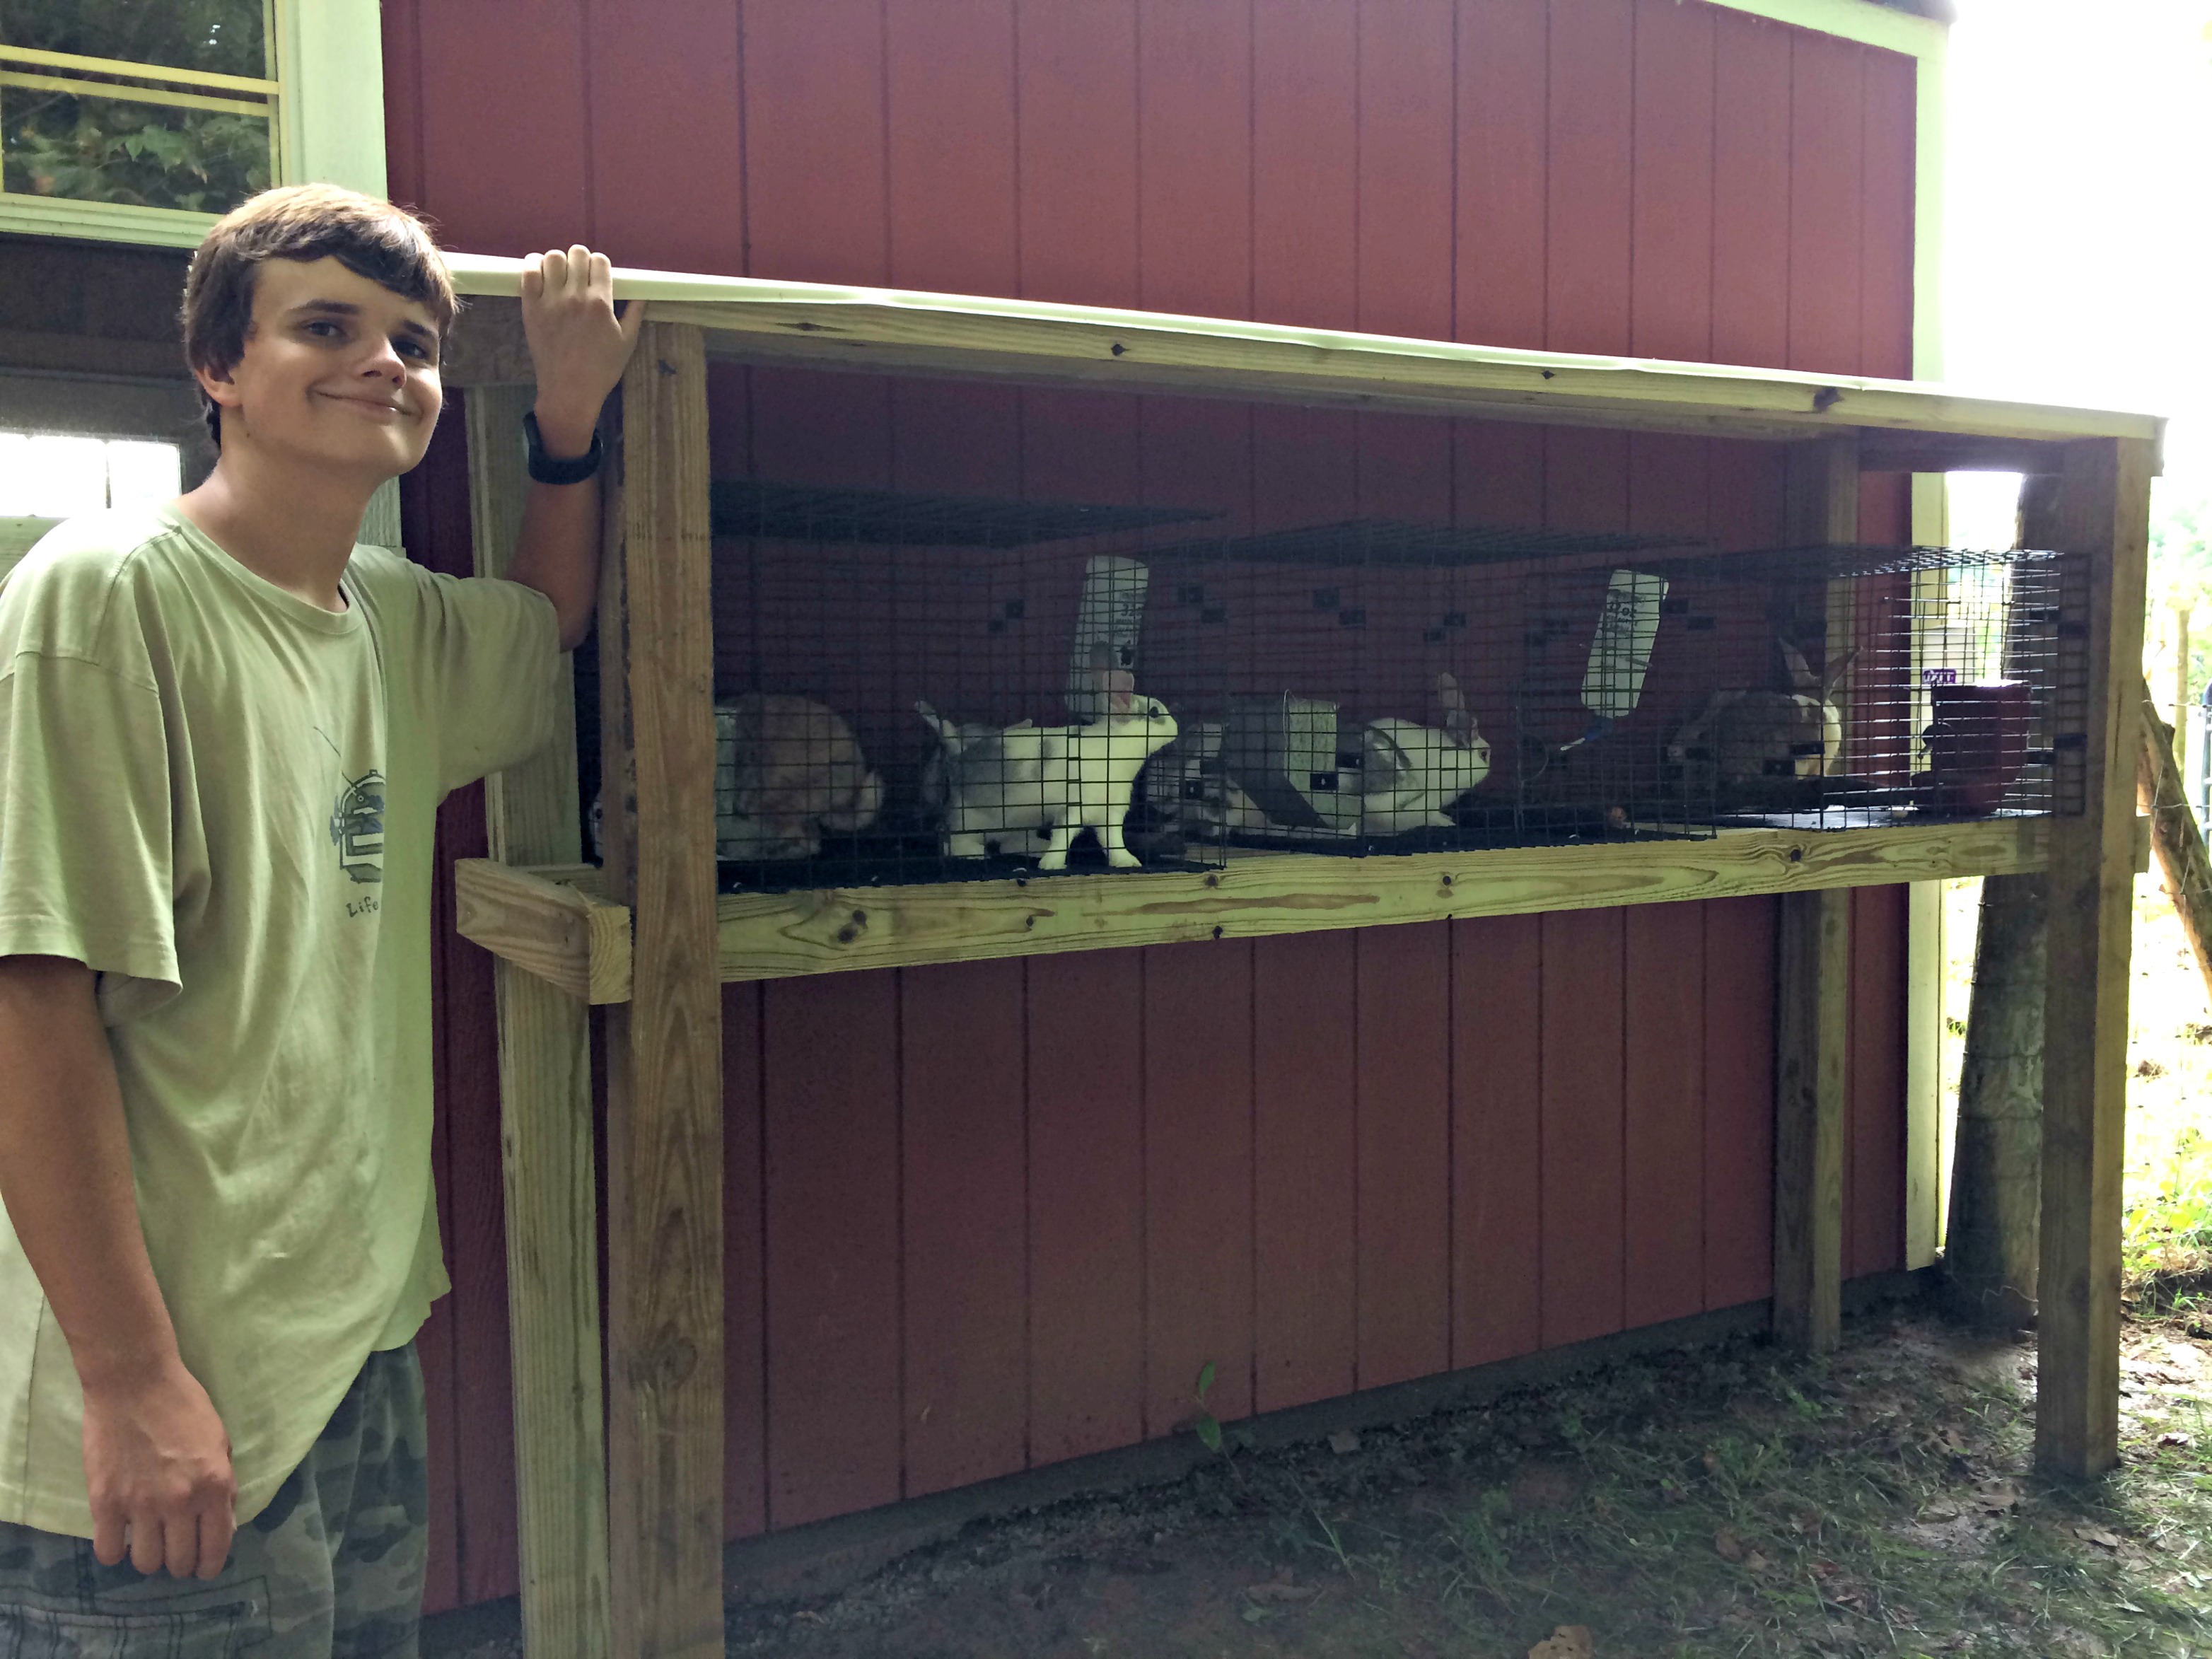
My 16-year-old son built this nearly single-handedly.
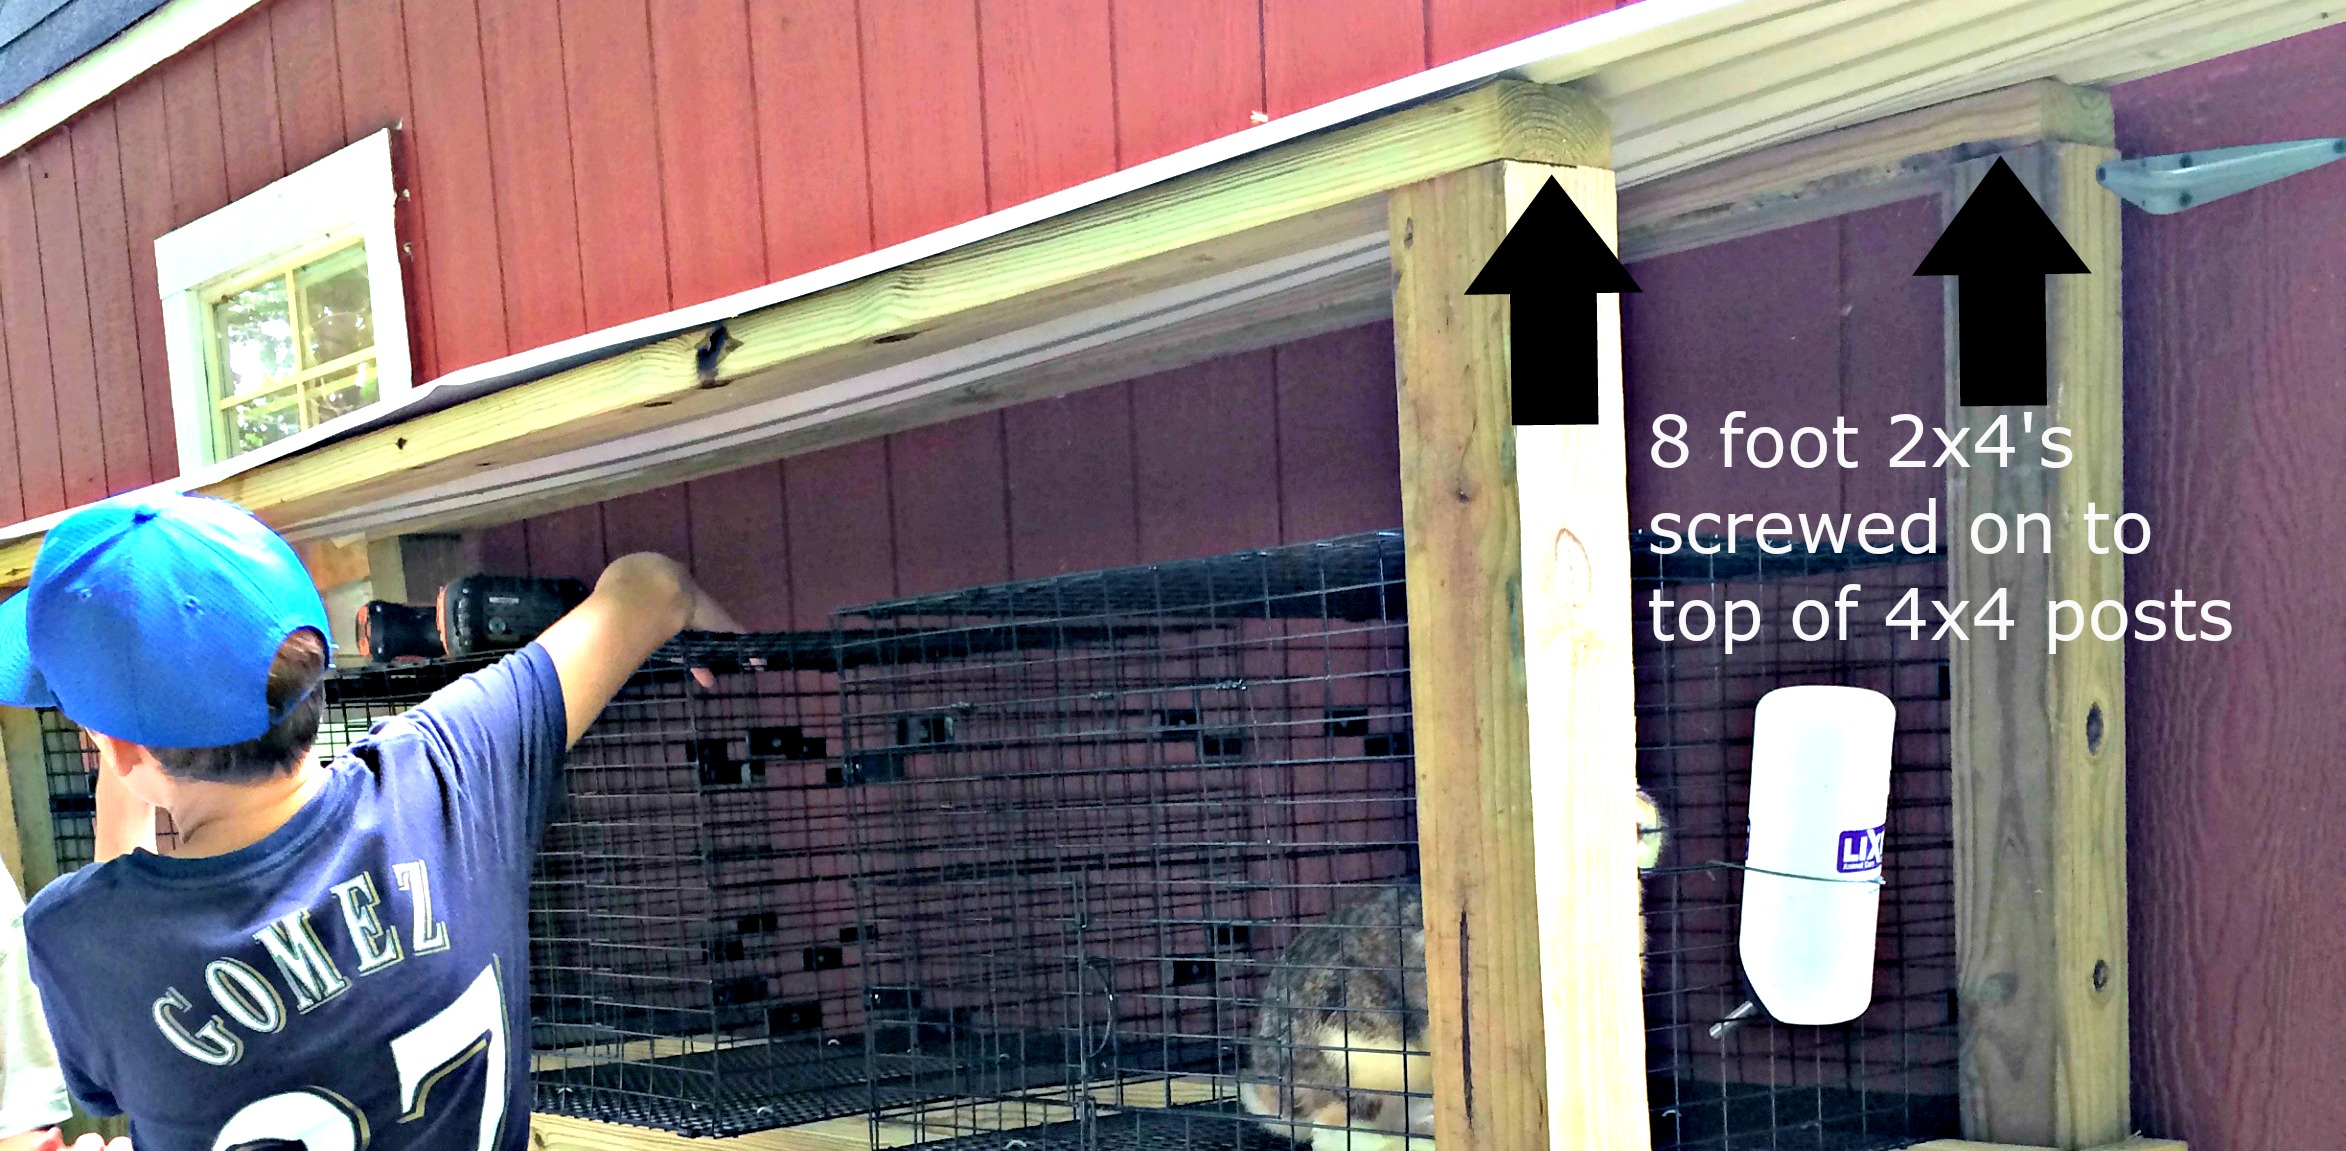
First, let’s get the back of the structure built. All we are doing is screwing 2×4’s into posts to create 2 “rails” or “tracks” for our 3 rabbit cages to sit on. There’s a back rail & a front rail. Take one of the 8 foot long 2×4’s and screw it into your back posts (use the taller posts for the back).
You want this to be 3 1/2 feet off the ground or higher. I chose 3 1/2 feet so the cages were high enough to avoid dog/ coyote/ fox attacks, and low enough that my children could reach them.
First, screw the 8 foot 2×4 into the 2 back posts. Then do the same thing with the front posts. Easy Peasy.
We used a level to get everything straight.
We used a level to make sure everything was level. The ground may be uneven so be sure to accommodate for that with the placement of your boards.
Next, we need to attach the front to the back. We used 24-inch long 2×4’s. Slap the24-inch pieces on the ends and screw them into the posts. This will connect everything.
Once this is done you’re back rail & front rails will be about 15 inches apart. This is going to be perfect for your 24 inch cages to sit on. The cages overhang a bit (3 inches) on the front and the back.
STEP 4 to Build a Rabbit Hutch:
Attach the cages.
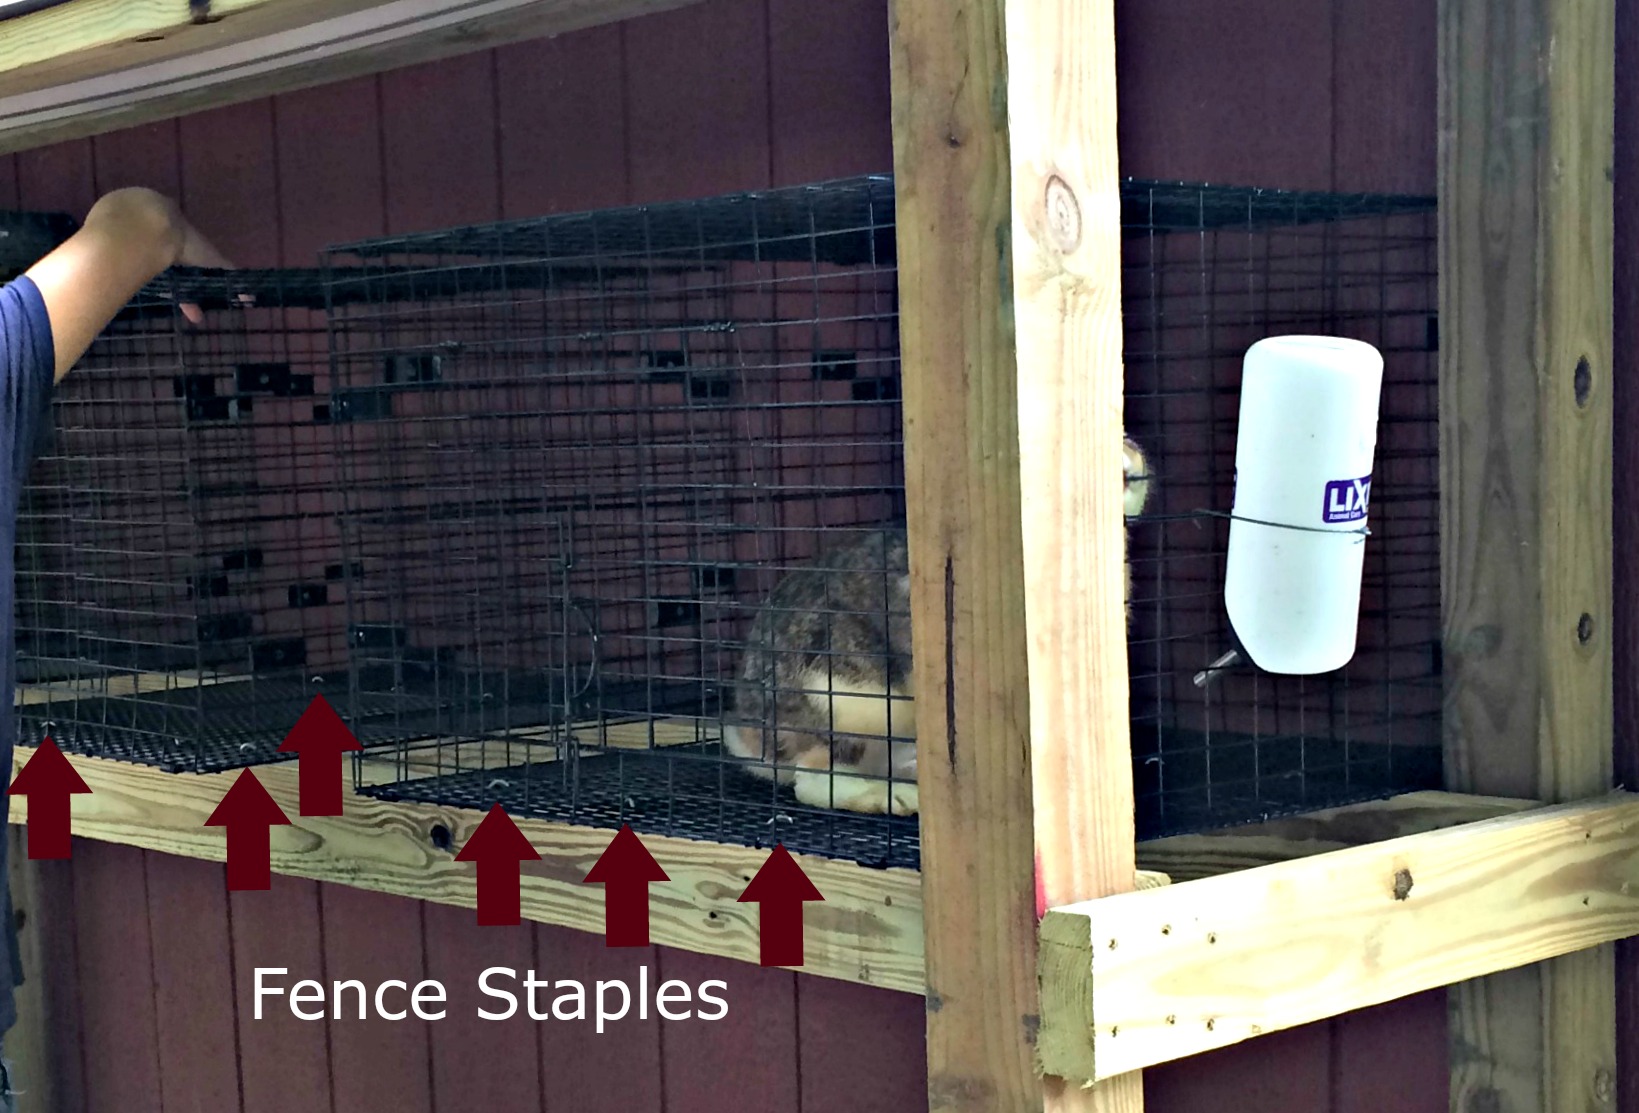
Time to grab those pre-assembled rabbit cages. They are 24 inches by 24 inches. Space the cages evenly inside the frame. My son used fence staples and a hammer to secure the cages to the frame. Just hammer the cages to the 2×4’s (pictured above).
STEP 5 to Build a Rabbit Hutch:
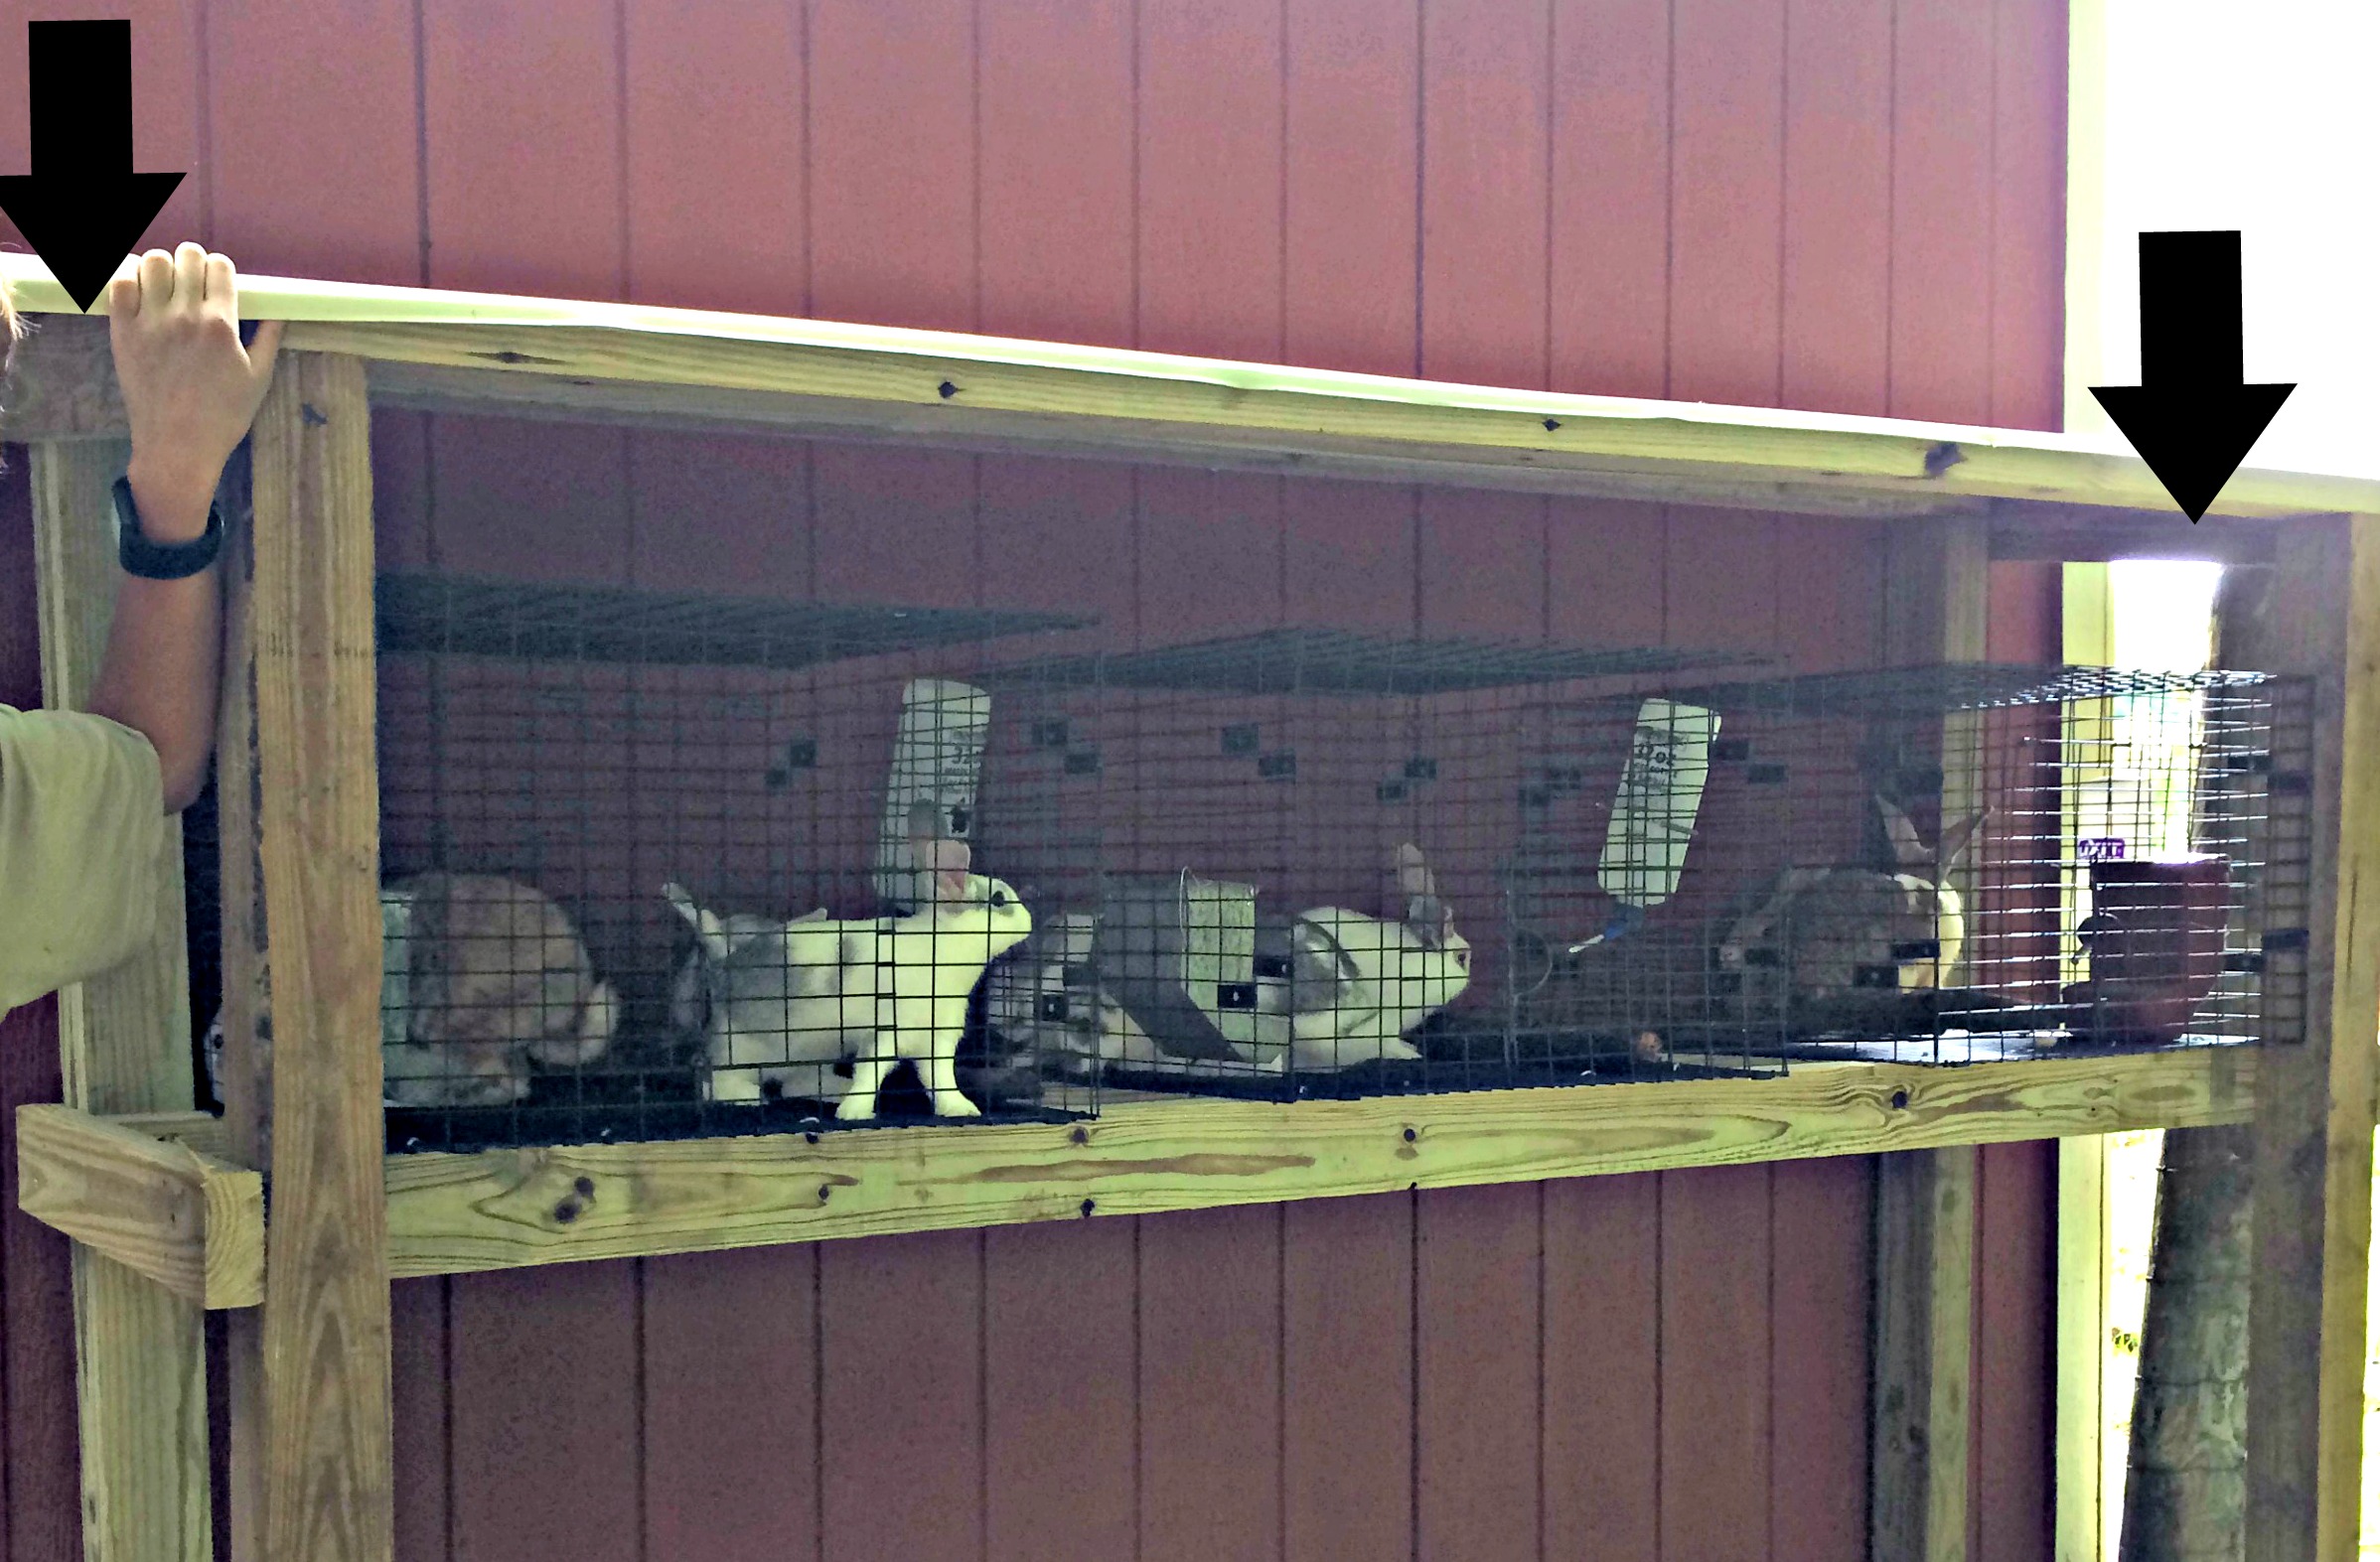
Attach the roof.
Now, let’s finish that framing. Grab the other two 8 foot long 2×4’s and screw them to the top of the corner posts. These will hold up our roof.
 Place the last two 24 inch pieces on the ends just under the roof. These provide more overall sturdiness & some additional roof support.
Last, screw your piece of roofing into the 2×4’s running across the top of the frame. We ended up with a 2 inch overhang on the front and 12 inches on the sides.
STEP 6 to Build a Rabbit Hutch:
Brace it.
We used some “L” brackets to connect our Rabbit World to the building. The structure was already very sturdy, but we didn’t want the bunnies to do a faceplant in the next wind storm – so we connected Rabbit World to the barn for some extra support.
This is a wonderful, easy to manage rabbit habitat. The rabbits have well-ventilated, roomy, spaces to live in. They can see each other. They are high off the ground and safe from rabbit-eating critters. The urine & manure will land neatly on the ground where it will patiently wait to be moved to the garden.
We will be adding some wood siding to the ends for wind protection in winter.
Rabbit World – done.
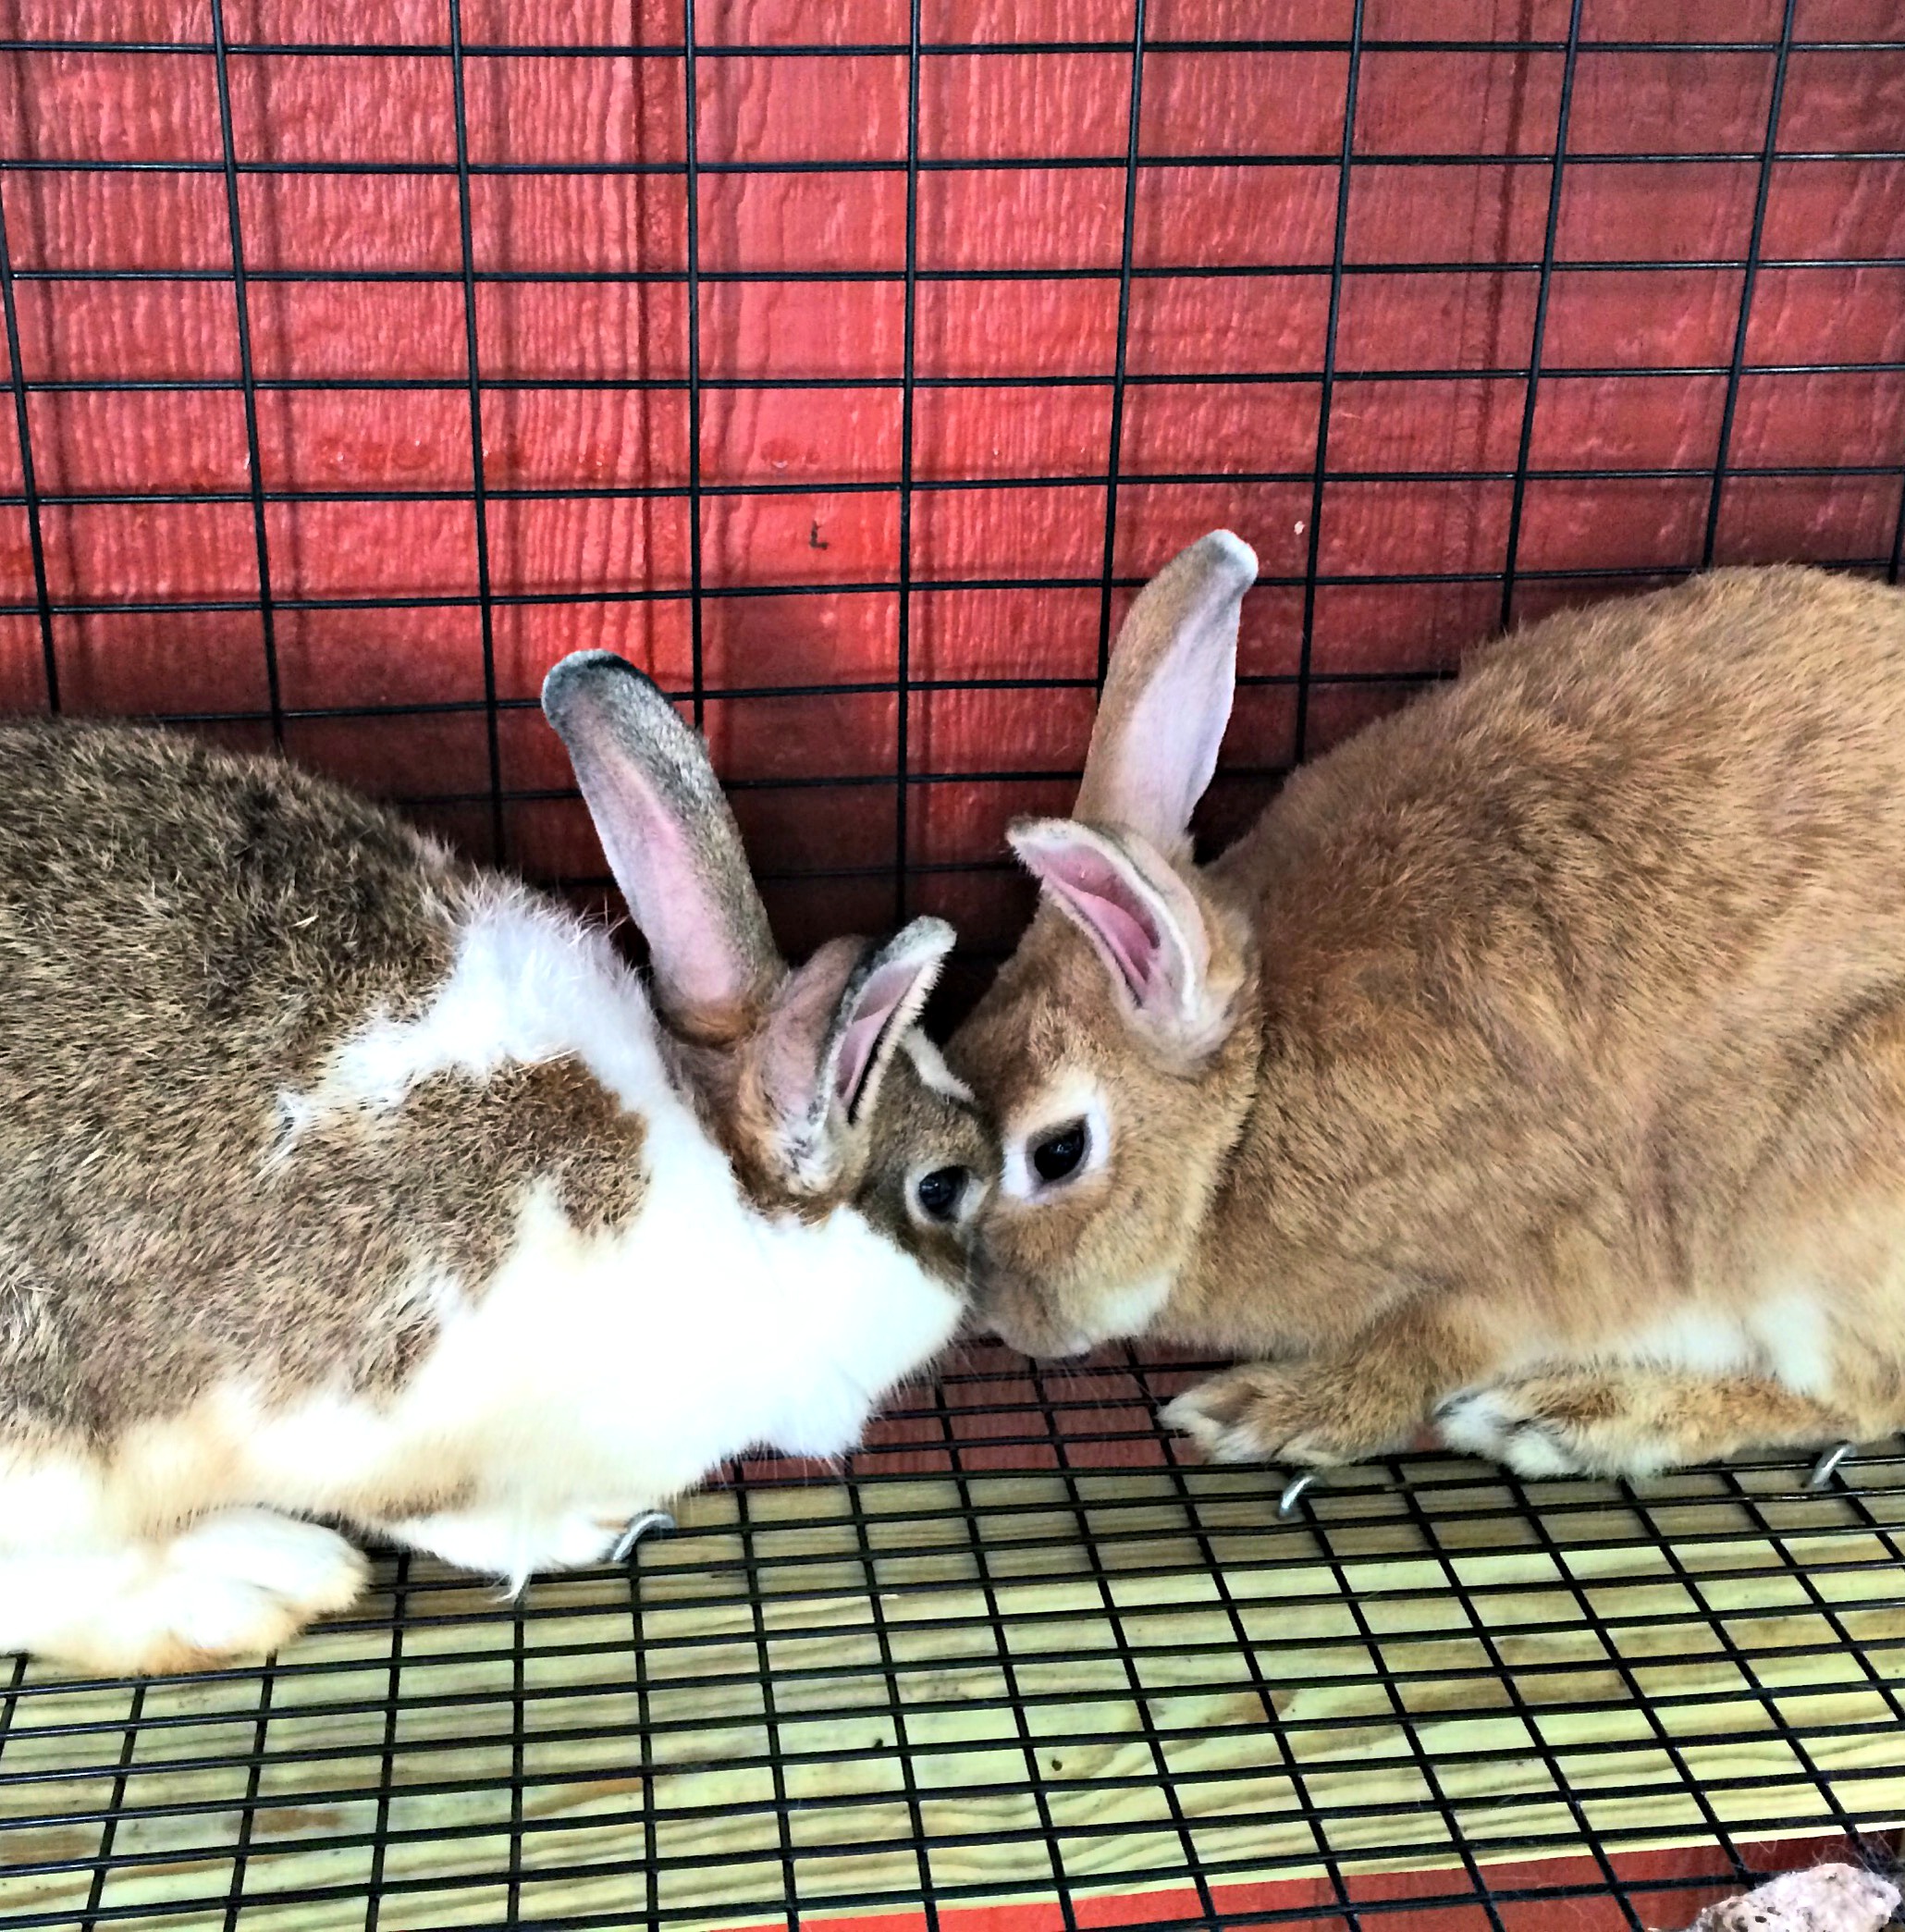
Happy, happy rabbits.
Be sure to join the email list (for free) here.
Learn more about becoming a member here.
What’s with the Memberships?
For those who want it all!
- Want to clean up your diet & get healthy?
- Raising your groceries & what to do with them, videos, insider tips and more.
Joining is cheap & your pants will thank you.
![]()
love,
Candi


