
I wanted to see if I could eat only foods that came from my own hands. My farm. My animals. My mill.
I have spent most of the past 8 months eating foods we raised on our farm or gathered with our hands or ground with our own mill. Totally radical, Dude. To sum up the entire experience I’d say it has been tremendous. If you have the resources and the “want to” you should do it. You’ll return to your college weight. You’ll have more energy. You’ll sleep great. I know I am beginning to sound like a broken record, but eating the foods you grow will be a life changer.
It’s healthy. It’s adventurous. It’s cheap. Your grocery bill will disappear, so will your love handles.
If you decide to take ownership of everything you put in your mouth, it will eventually lead you down uncharted, culinary territory. You’ll be making wierd things like crackers, pasta and tortillas.
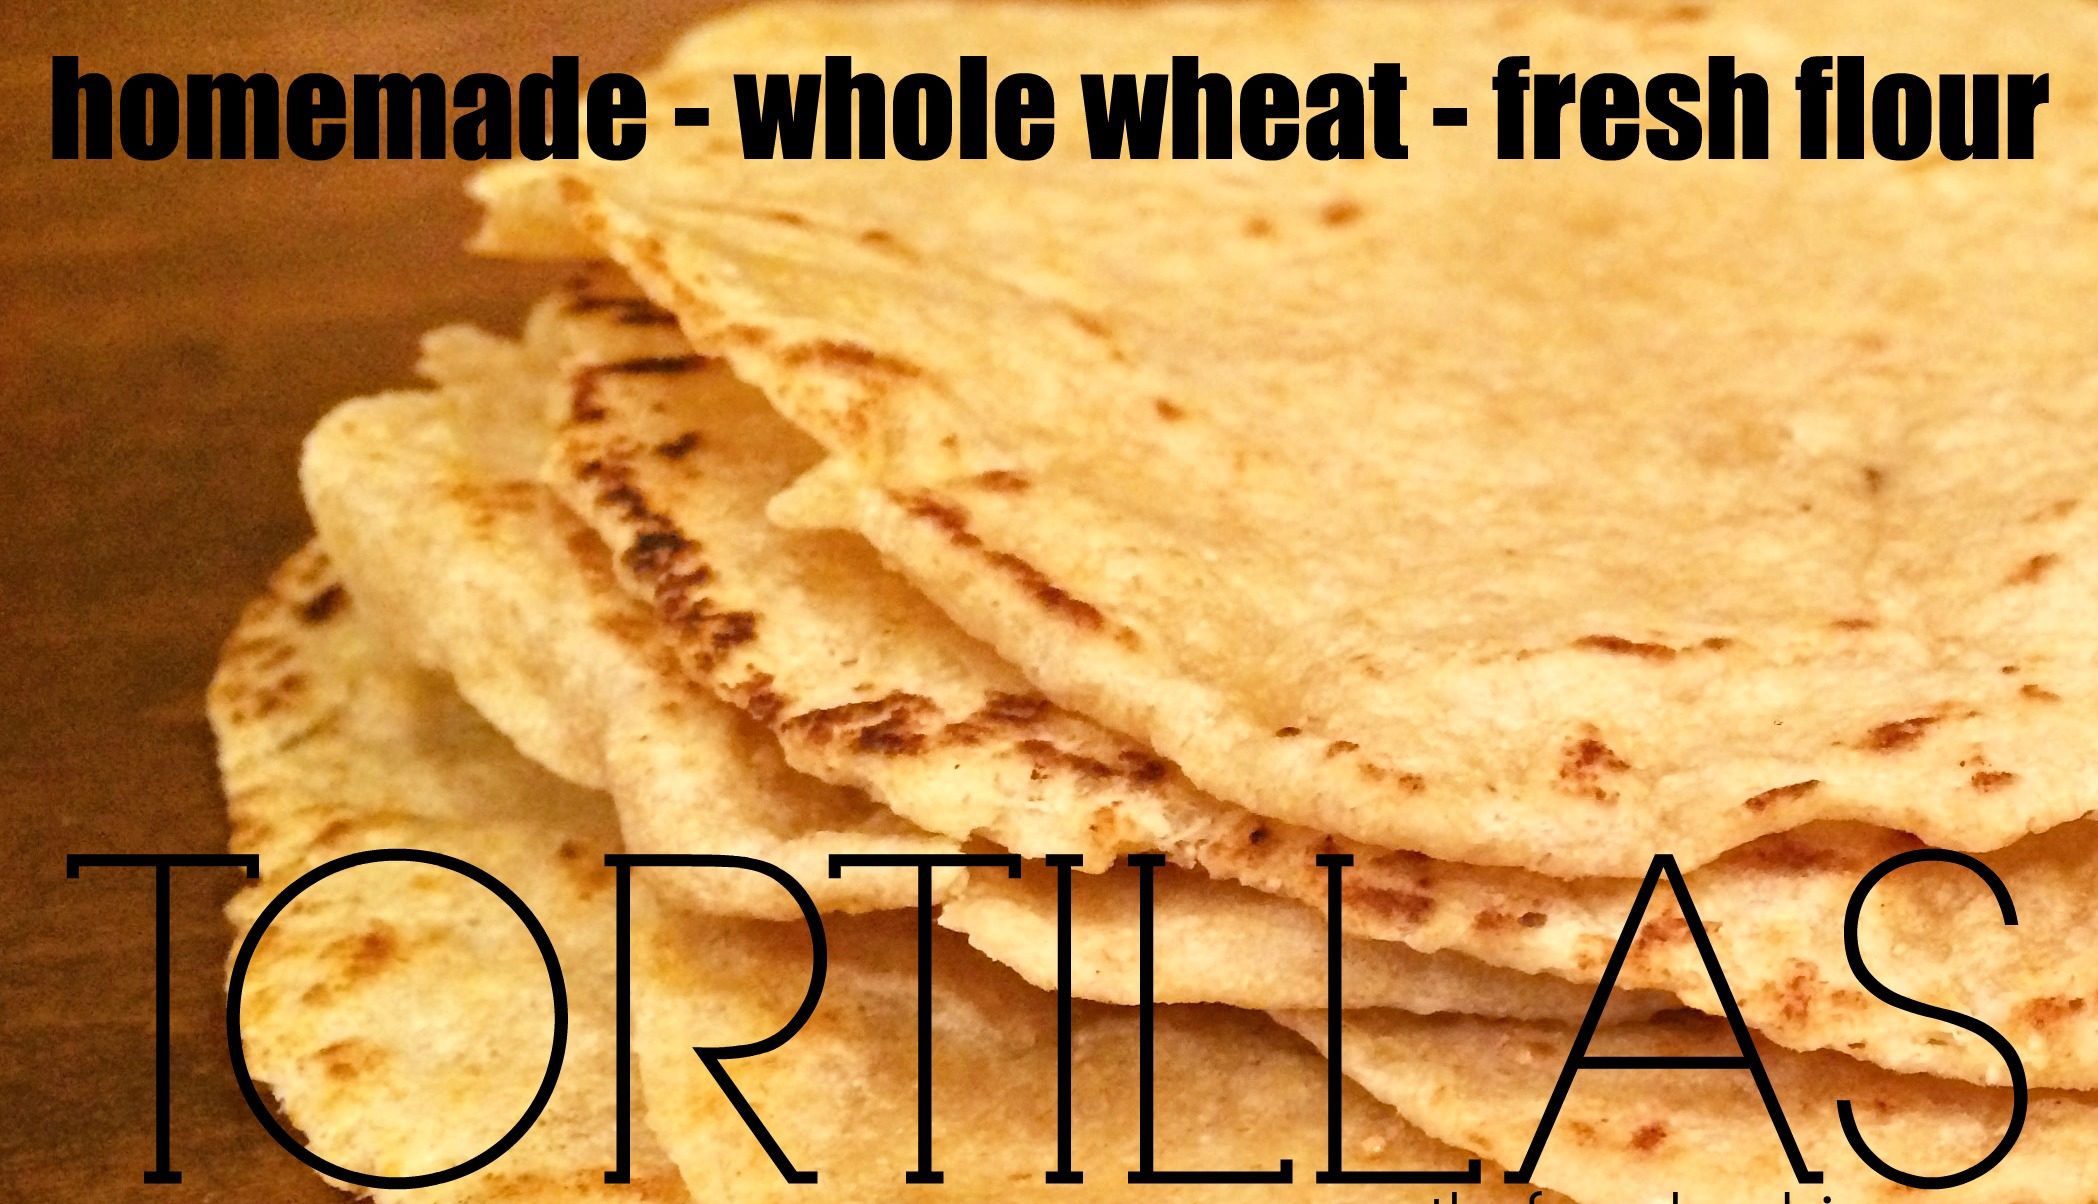
Today I am going to teach you how to make homemade flour tortillas. The first time I made these, I complained the entire time. Now, I make them with rejoicing and song. Oh, HOW I LOVE Mexican food. To go for 4 months without a burrito is definitely blasphemy in my book… so I had to find a way to eat Mexican without going to a Mexican restaurant.
These are simple, easy and taste fabulous. The only kicker is the time involved. Since, I was accustomed to opening a 90 cent bag of flour tortillas from Aldi, Spending precious time in my kitchen to make something that is practically free at the supermarket seemed peculiar and insane at first.
Fast forward 8 months & I’m a believer in making my own tortillas. I think it’s fun. I think they taste great. I know they are healthy.
The bag of flour tortillas from my local store have 18 ingredients. 18!!!! Most of them I can’t pronounce. Homemade tortillas are made with: flour, fat (butter & lard), salt and baking powder. That’s it.
First we must make the dough. Tortilla dough has an unbelievable amount of fat in it.

- Mix the flour (I use fresh milled), the salt and the baking powder in a bowl.
- Use a pastry cutter or a giant fork to cut in the (room temperature) lard & butter. You can use 100% lard, but I think the flavor is better it you use half butter. Continue cutting until you have pea sized hunks of fat covered in flour.
- Begin to pour 3/4 cup of HOT water into the flour & fat mixture, stirring as you go. When the dough comes together in one mass, stop adding the water. Dough will be sticky.
- Knead the dough well (20-30 times). If it’s too sticky to work with, you can add a bit more flour. Remember, sticky is good when it comes to dough – it means you will have a soft baked good after it cooks. Too much flour will create a hard dense end product. Keep your dough as sticky as you can stand it. 🙂
- Form into a ball, cover in plastic & let rest for 30 mintues or more
- When you are ready to make tortillas, heat up your cast-iron skillet to medium. Plan on 20-30 seconds per side. To speed up the process I usually roll out the dough while I have a tortilla in the skillet. To make things go even faster you could get a second pan on the stove top. If you have kids as cool as mine, pour yourself a glass of wine & go grab one. They can roll out the dough while you man the cast-iron skillet. Teamwork!
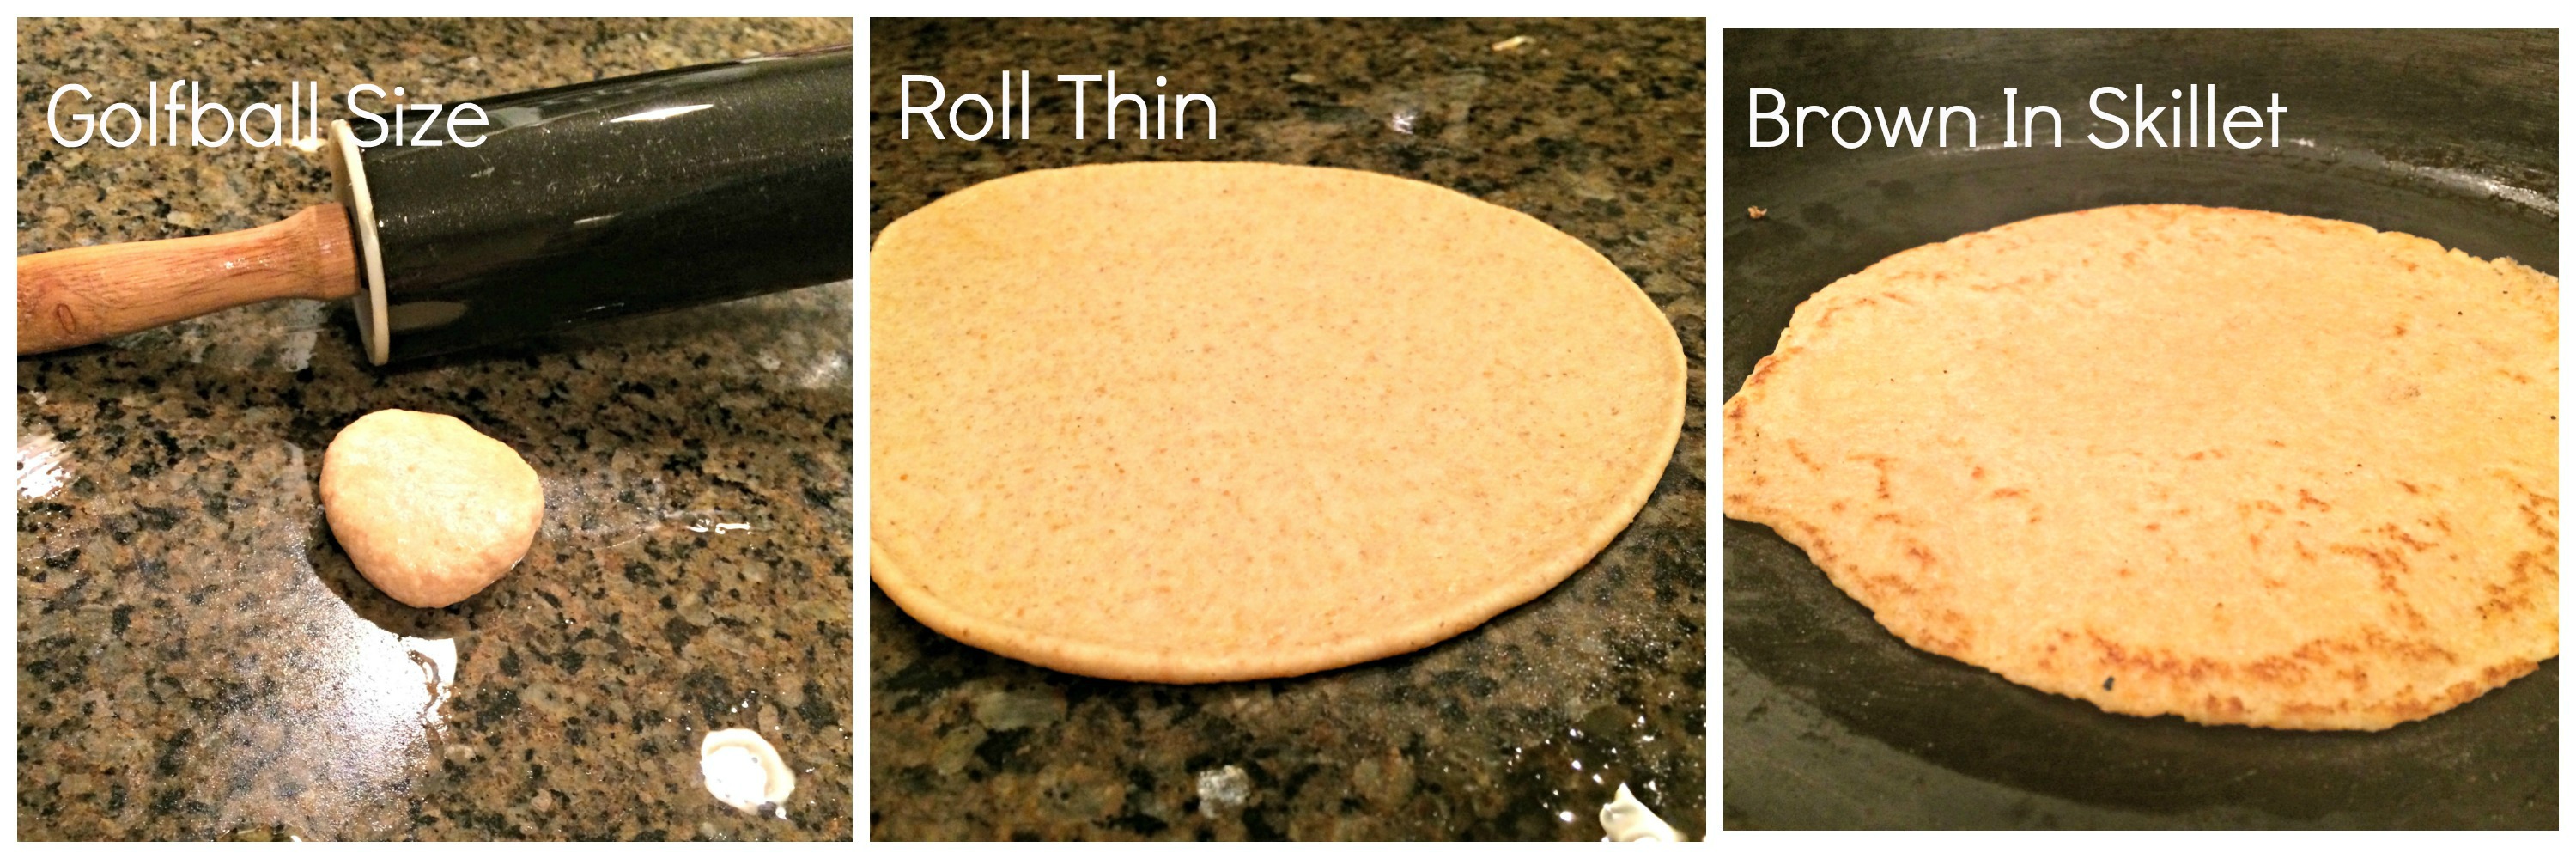
- Shape the dough into golf-ball sized hunks.
- Use olive oil (or more lard) to grease your counter and your rolling pin (so the tortilla doesn’t stick). Use a rolling pin to roll the dough very thin. You want these really thin.
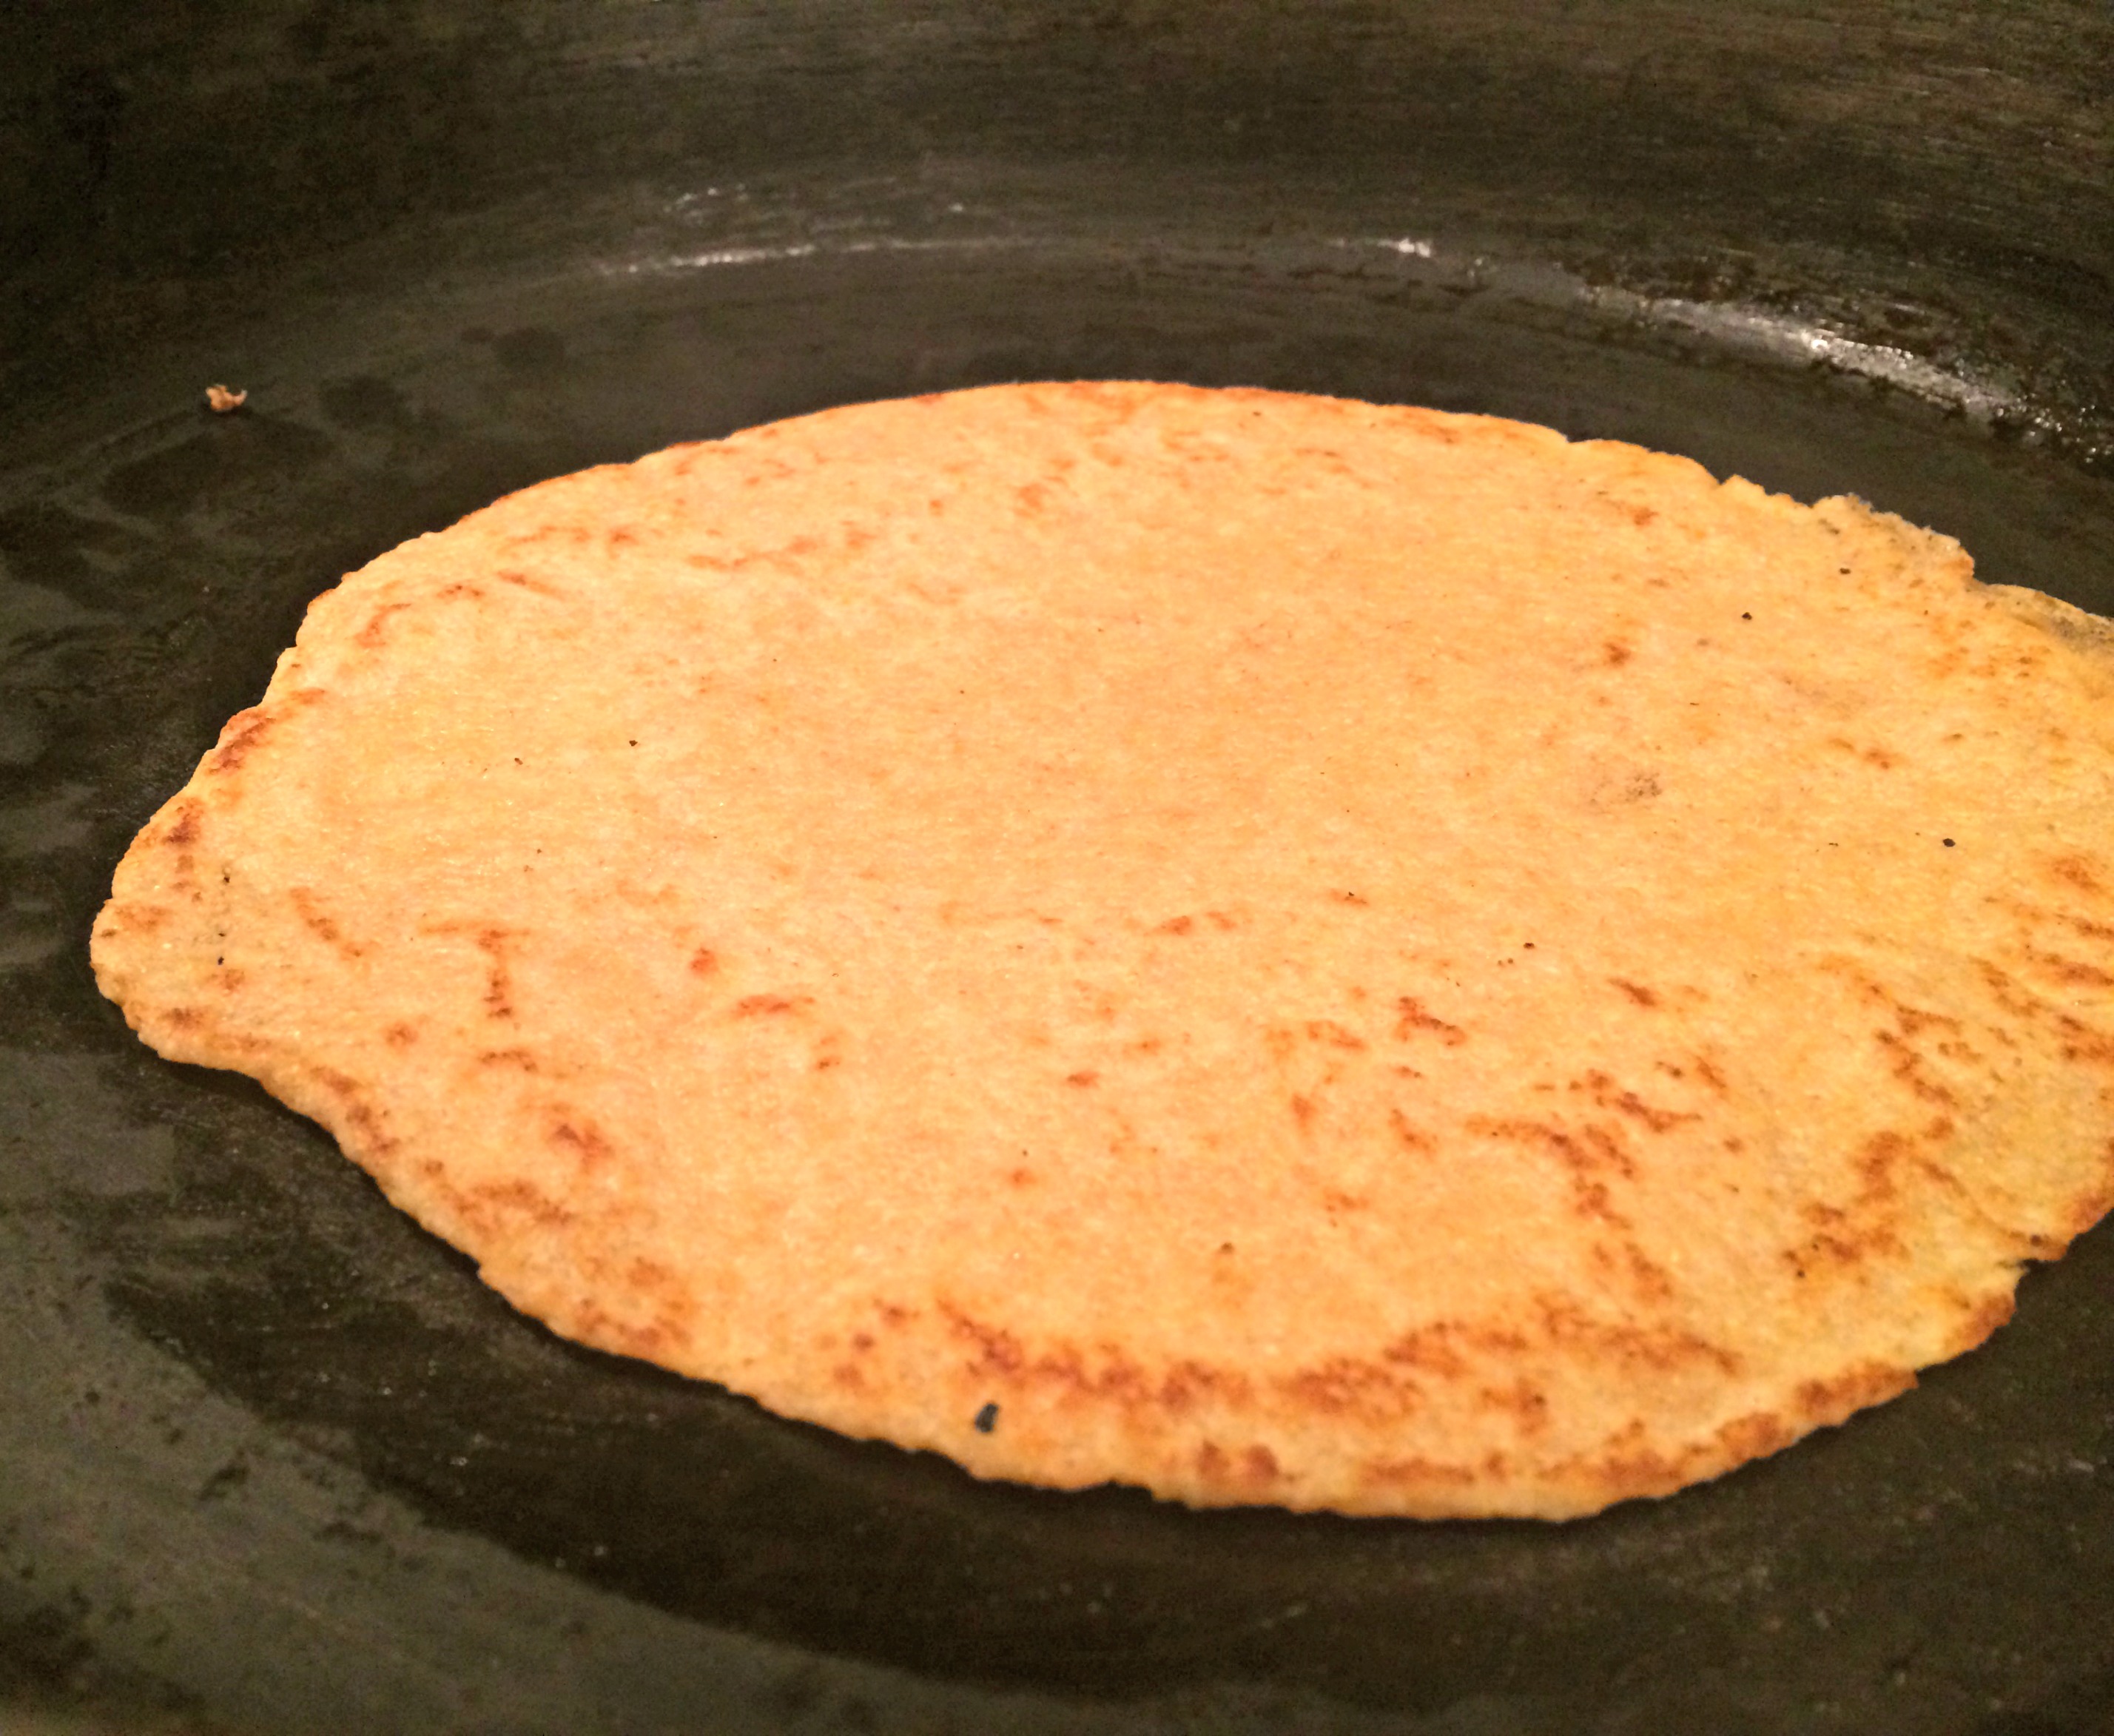
- Peel the flattened dough off the counter and move it into a heated (medium works best for me) skillet and let brown on each side about 20-30 seconds. You do not want to cook them until they are hard and crispy. You want them to be soft and pliable.
- Stack the tortillas onto a plate or board as you cook them.
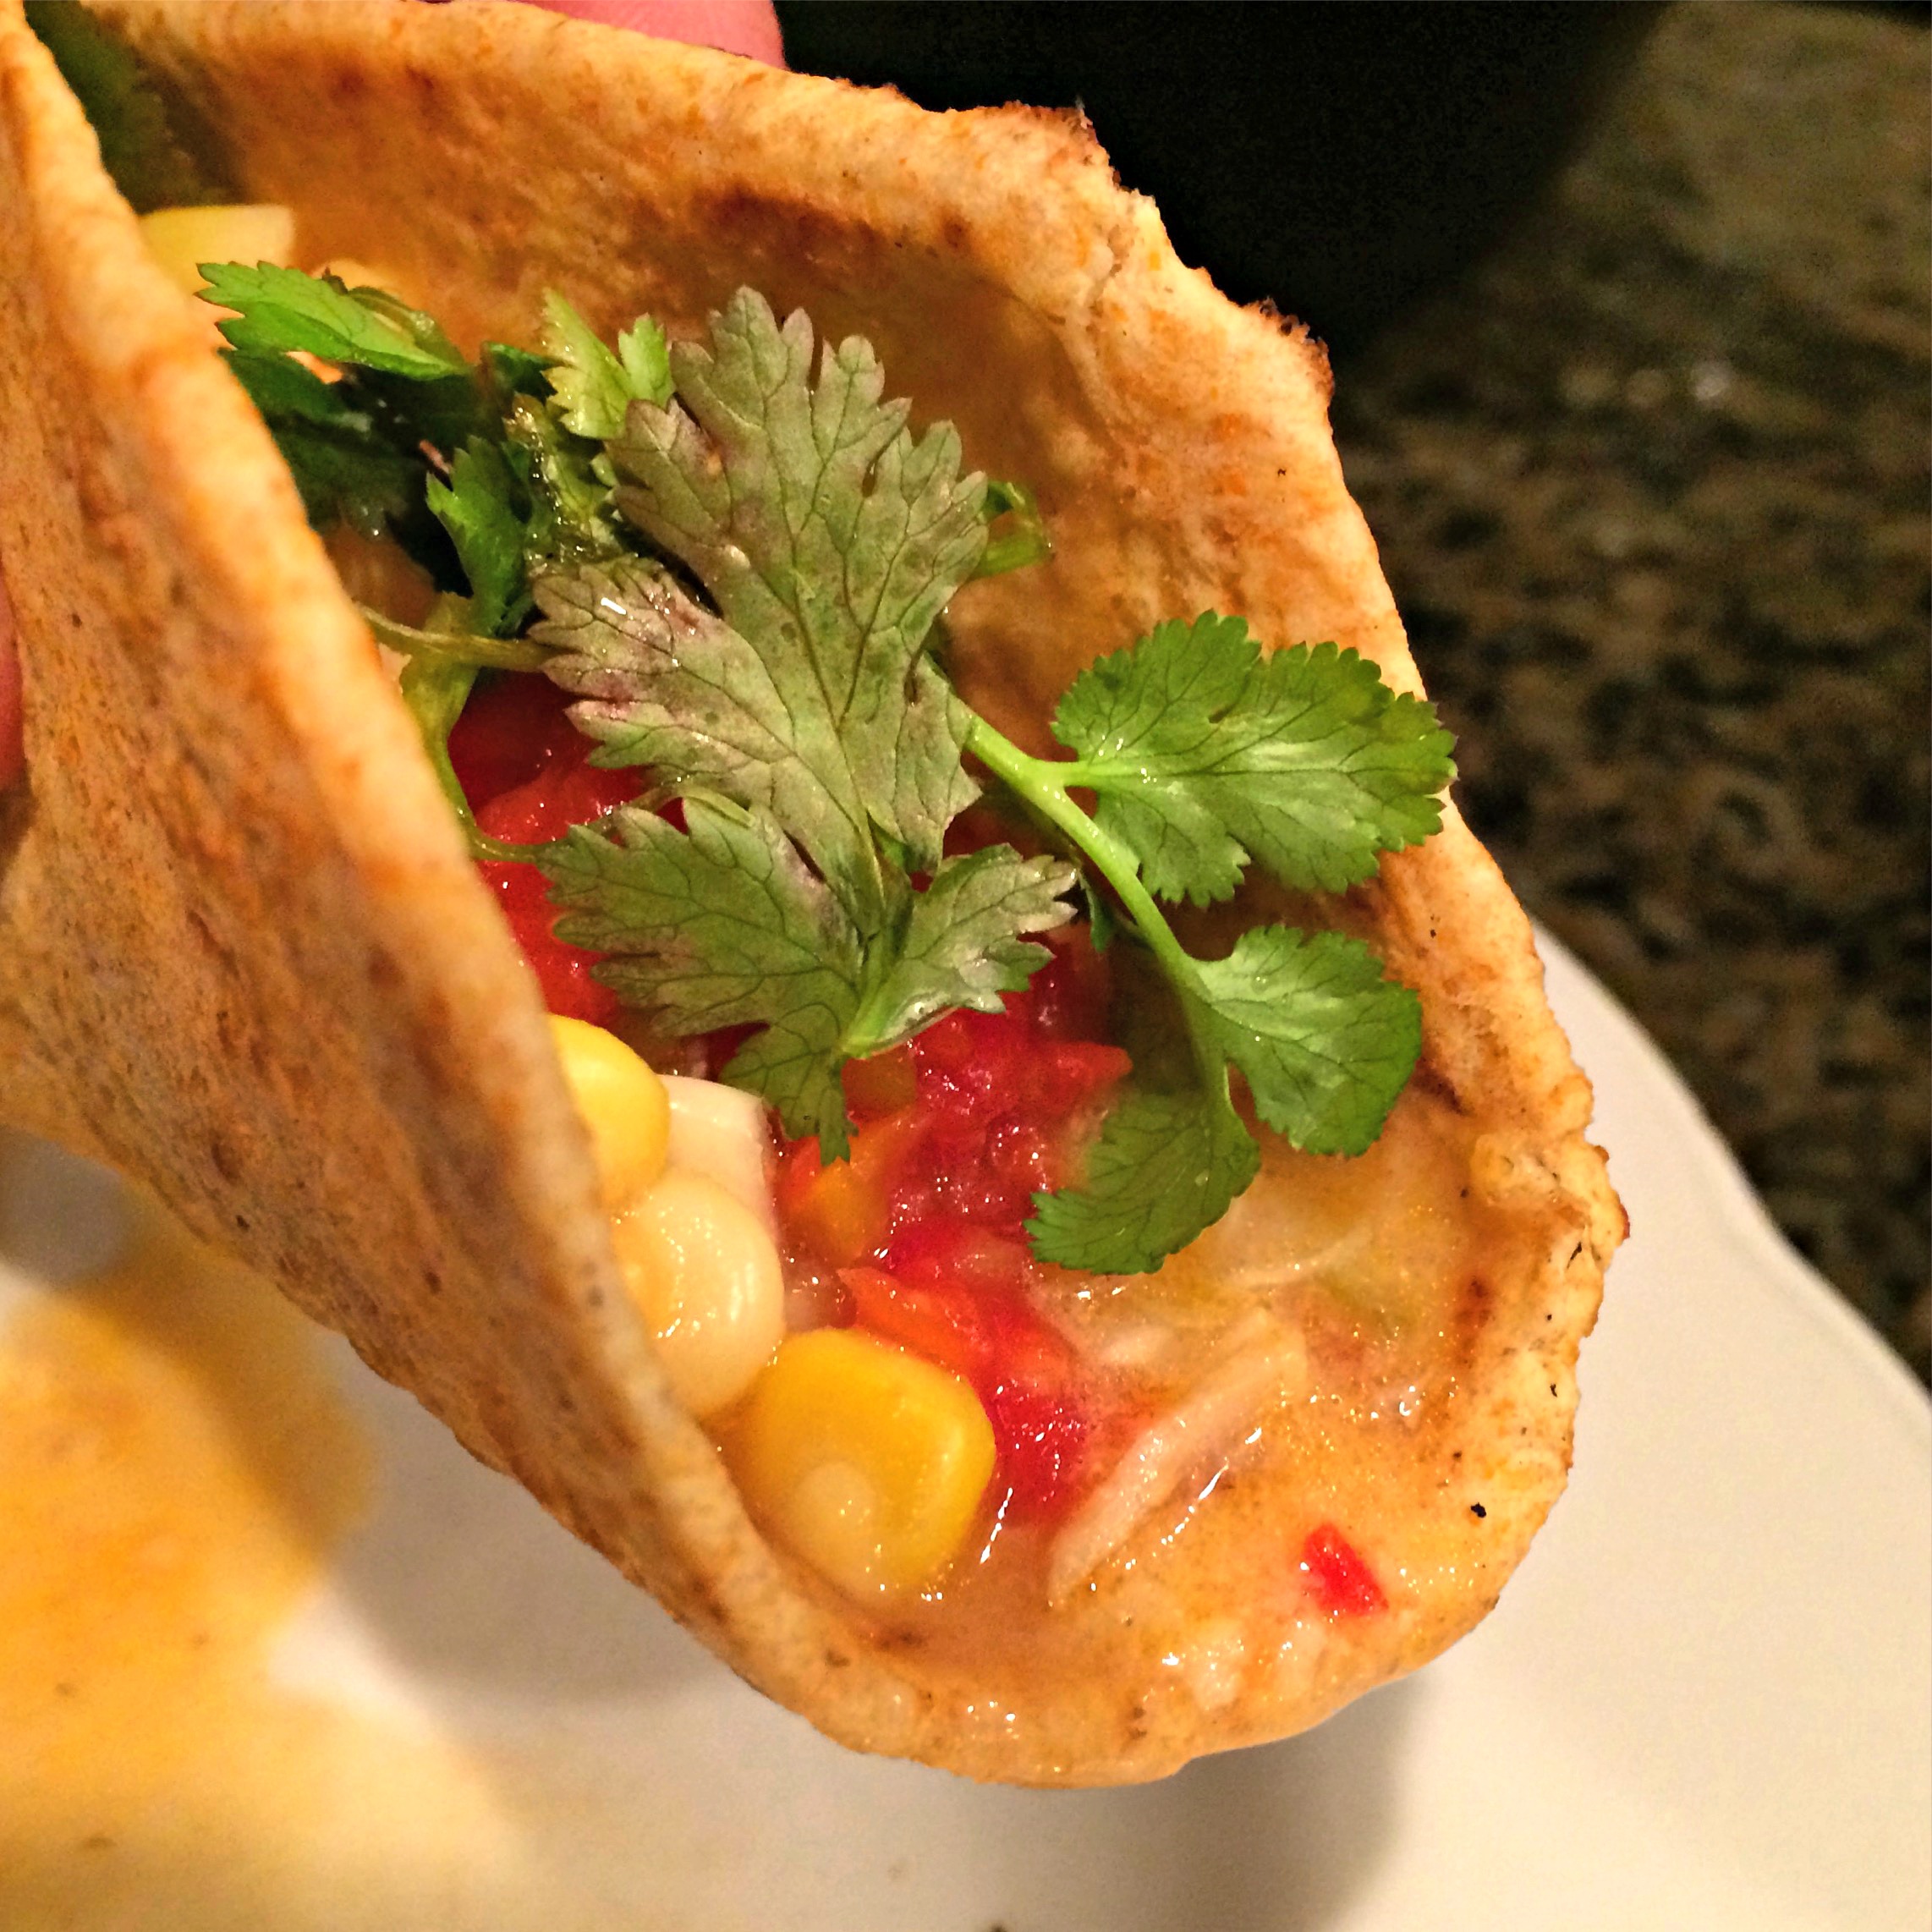
Fill with your favorite stuffings & enjoy!
My favorite tortilla fillers:
- Chicken Enchilada filling with onions, peppers, corn, salsa and fresh cilantro
- Ground Beef taco filling with lettuce, tomatoes, onions & cheese
- Spicy ground venison filling with sauteed onions & sour cream
I’ll take one of each.
I could seriously eat these 7 times a week. They are that good. But, I have an unhealthy relationship with Mexican cuisine.
Sign up to receive regular updates, recipes and old fashioned tips FOR FREE! Subscribe via email here.
Cheers!
Candi
| Servings |
people
|
- 2 1/2 cups fresh milled flour
- 2 tsp baking powder
- 1 tsp Salt
- 1/4 cup butter I use raw
- 1/4 cup lard I use homemade
- 3/4 cup water HOT - More if needed to get the dough to come together
Ingredients
|
|
Mix the flour, salt and baking powder in a bowl. Use a pastry cutter or a giant fork to cut in the (room temperature) lard & butter until you have pea sized hunks of fat covered in flour.
Begin to pour 1 cup of HOT water into the flour & fat mixture, stirring as you go. When the dough comes together in one mass, stop adding the water. Dough will be sticky.
Knead the dough well (20-30 times). If it's too sticky to work with, you can add a bit more flour. Form into a ball, cover in plastic & let rest for 30 minutes or more on the counter.
When you are ready to make tortillas, heat up your cast-iron skillet to medium. Shape the dough into golf-ball sized hunks.
Use olive oil to grease your counter and your rolling pin (so the tortilla doesn't stick). Use a rolling pin to roll the dough thin.
Peel the flattened dough off the counter and move it into a heated (medium heat) skillet and let brown on each side about 20-30 seconds. Cook until just beginning to brown. You want them to be soft and pliable.
Stack the tortillas onto a plate or board as you cook them.
Fill with your favorite stuffings & enjoy!
These freeze beautifully.


)
)
Melissa
02/06/2017Oh yes! I love Mexican food ? I grew up in San Diego Ca, where I took for granted being able to go to a taco shop and get some Mexican food. Now I live in Virginia and…not so much. So, I’ve learned to make my own and it’s been so wonderful 🙂
Candi
02/07/2017🙂
Sharon
04/26/2020These look amazing. Can you tell me what wheat berries you use? Hard or soft? I mill my own, but have to buy the wheat berries.
Thank you!
CJ
04/27/2020Hard white wheat berries have a higher gluten content. So they will hold together better.
🙂
cj