
Pressure Canning Made Easy.
Canning green beans is not hard. I know pressure canners freak some people out. I am one of them. Mamaw gave me a pressure canner a few years ago and after storing it for a while, I decided to give it a shot.
Why, oh why would anyone want to use a pressure canner?
The bottom line is that if you want to preserve low acid foods (vegetables, soups, stews, stocks, meats, poultry or seafood) you have to use a pressure canner.
Foods that are “high acid” (like tomatoes) are easily and safely processed in a hot water bath (a pot of boiling water). The acid in the foods along with the 214 degree boiling water prevents Clostridium Botuliom (yuck) from growing, living and hanging out in the can goods. Low-acid foods must be heated to 240 degrees to eliminate Clostridium Botuliom. To go all the way to 240 you need a pressure canner.

After reading and researching and studying I felt overwhelmed, intimidated and, not to mention, confused.
Then I decided to try it.
I found pressure canning isn’t that scary after all.
I’m going to make this as easy as it can be. Don’t be afraid. I canned my first batch of green beans… by myself… without any help… using a 40 year old canner… that came with no instructions, booklet or recipes. If I can do this, so can you!
Here’s the quick overview:
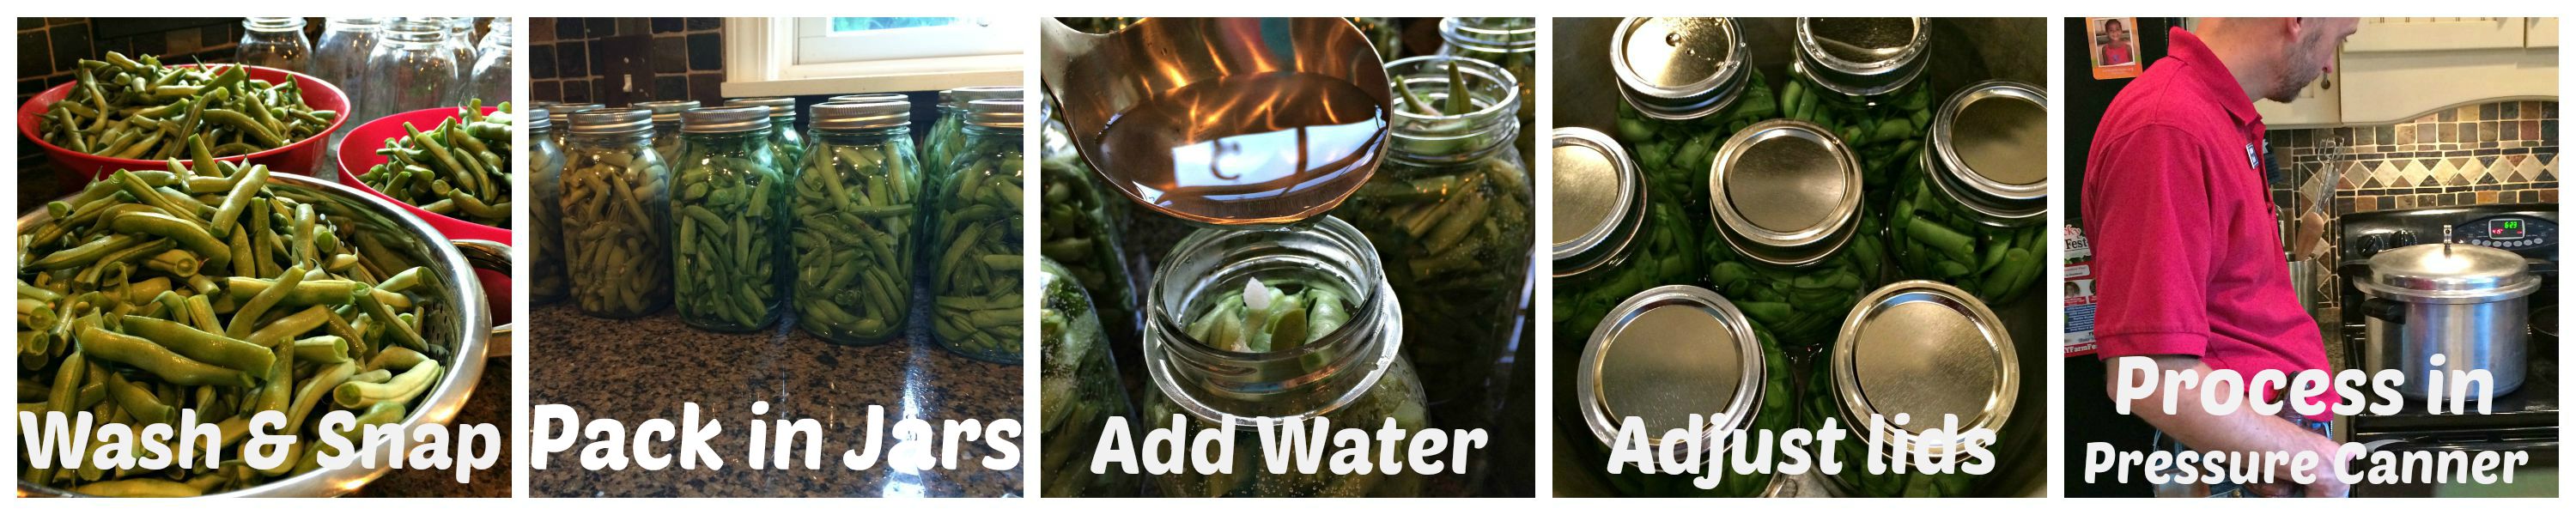
That is basically it. Easy!
I’ll break it all down for ya………
STEP ONE:
Pick, wash and snap beans. Or have your kids do it.
Notes: We pick the beans and wash them in the garden (we have an awesome sink in our garden – go here to see it). Snap off both ends of the bean. Then snap it into bite-sized pieces. I like my beans snapped into 1 inch pieces. Smaller pieces pack better into jars.
STEP TWO:
Fill clean HOT jars with beans.
Notes: I run my jars through the dishwasher while I’m snapping beans so they are clean, hot and ready to pack. Then I just drop handfuls of clean, snapped beans into the jars. This is called “cold packing” because we did not cook the beans before we shoved them into jars.
If you want to add salt to your beans this is the time to do it. I add 1 tsp. to each quart.
STEP THREE:
Cover with boiling water (leave 1-inch headspace)
Notes: I use boiling filtered water. To learn why we use filtered water go here. After adding the water you can use a plastic knife to remove any air bubbles. Just slide the knife along the sides and down the center of the jar.
STEP FOUR:
Adjust rings and lids.
Notes: Wipe the rims of the jars with a clean cloth and put the lids on. You need to get these lids tight, but not so tight that Hulk couldn’t open them. If your lids are not tight enough the liquid will escape from your jars during canning.
STEP FIVE:
Process in pressure canner 25 minutes.
Notes: Be sure to follow the directions to your pressure canner.
If Mamaw gave you a 40-year-old pressure canner without a users manual, directions or instructions of any kind go here for Ball’s official Pressure Canning Instructions. It is a quick one-page reference guide. Great for anyone new to canning, or an old pro looking for a refresher course.
Here is the process I follow with my system:
- Be sure you have a rack in the bottom of your pressure canner.
- Fill canner with 2-3 inches of water and bring to a simmer on the stovetop.
- Place jars of beans into the canner (this will raise the water line to about 1/2 filled)
- Confirm that the canner is 1/2 filled with water (most canners will have a fill line). You can see my water line in the picture.
- Lock lid on the canner and set heat on high. Do not put the jiggler over the vent pipe yet. First, allow steam to escape from the vent for 10 minutes.
Speaking of jigglers, this is what Mamaw calls it. Apparently, other people refer to this little, round doo-dad as a weight. For the purposes of our discussion, it will forevermore be referred to as a ‘jiggler.’ Thank you, Mamaw.
- Place the jiggler on 10 pounds pressure over the vent pipe.
- When the jiggler begins jiggling (rocking, vibrating and making a lot of noise) adjust the heat so it jiggles every 20-40 seconds for just a few seconds.
- Let it do its thing for 20 minutes (for pints) or 25 minutes (for quarts).
- After 25 minutes remove the canner from heat & allow it to cool. Leave the jiggler on. Do not touch the jiggler. This little weight is containing all sorts of steam and pressure and heat. Leave it alone. Leave the canner undisturbed while the pressure naturally releases. Follow your manufacturer’s directions. You must be patient now.
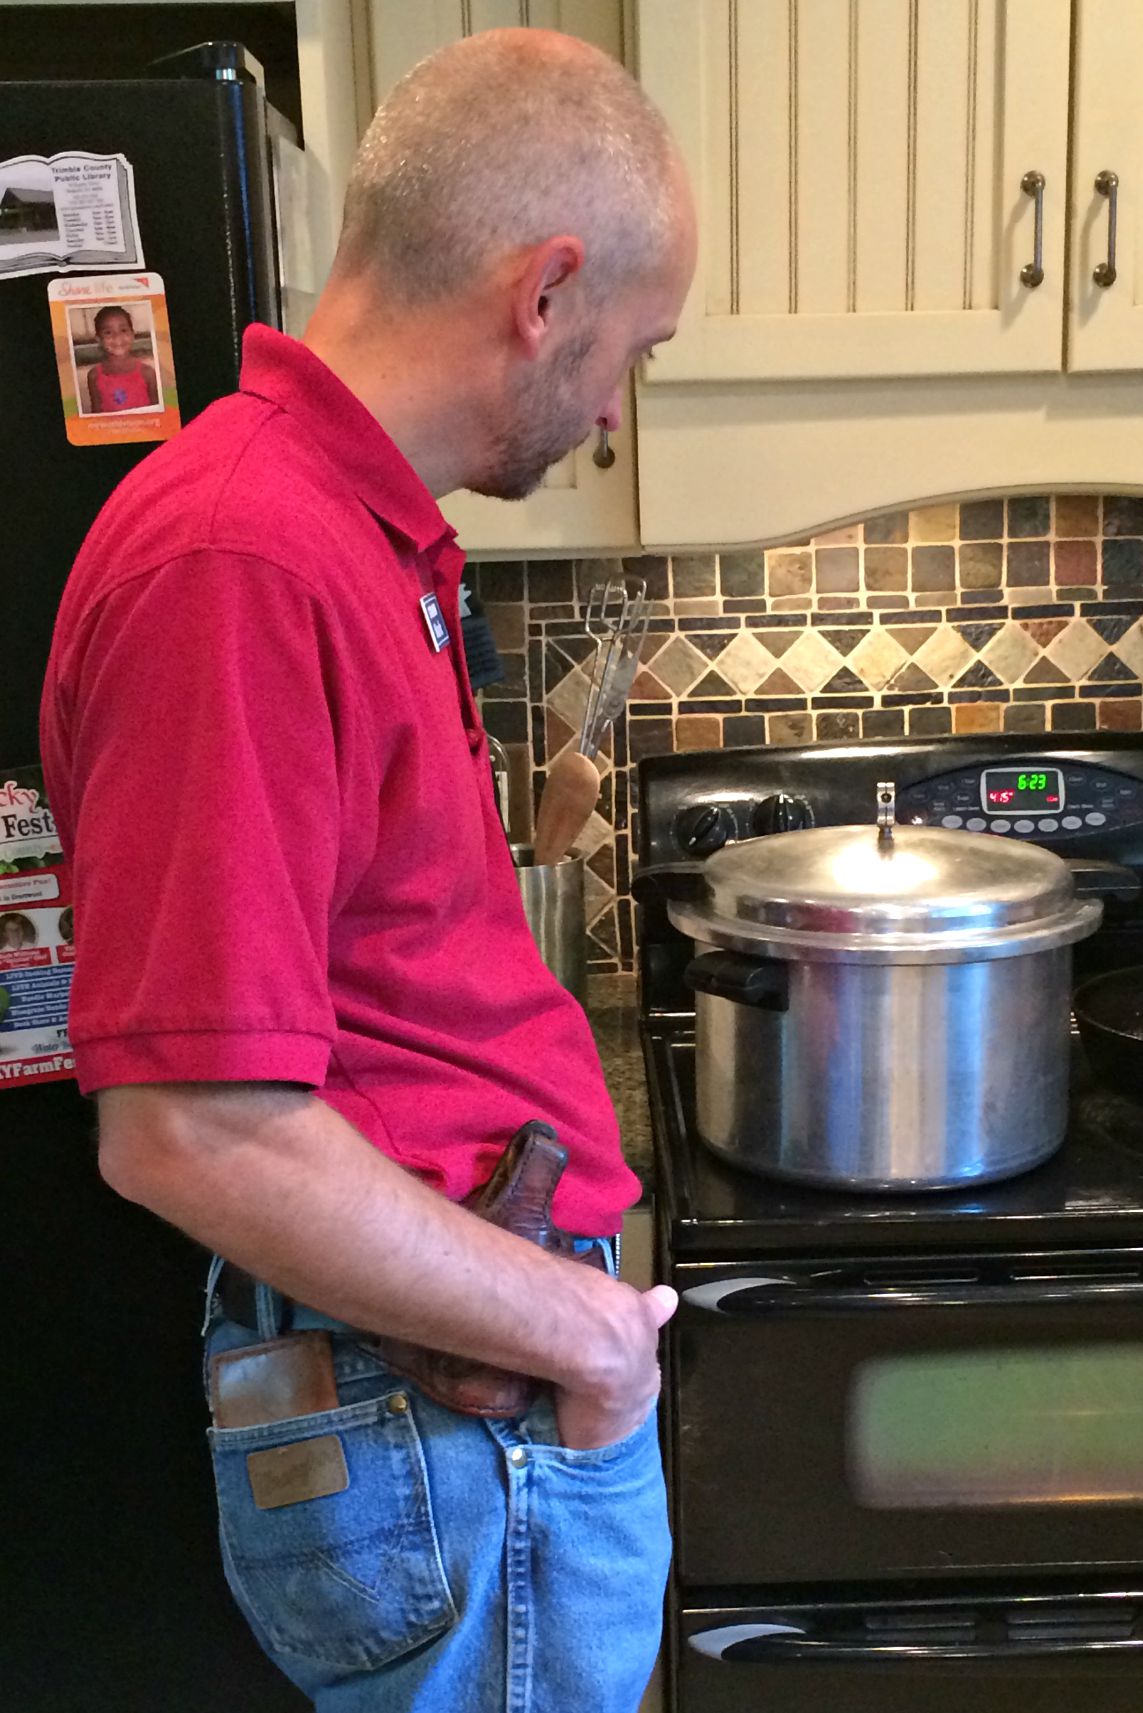
DH supervising the pressure canning
- Once the pressure is gone and the lid lock has dropped remove the jiggler.
- Now let the unit cool down 10 minutes.
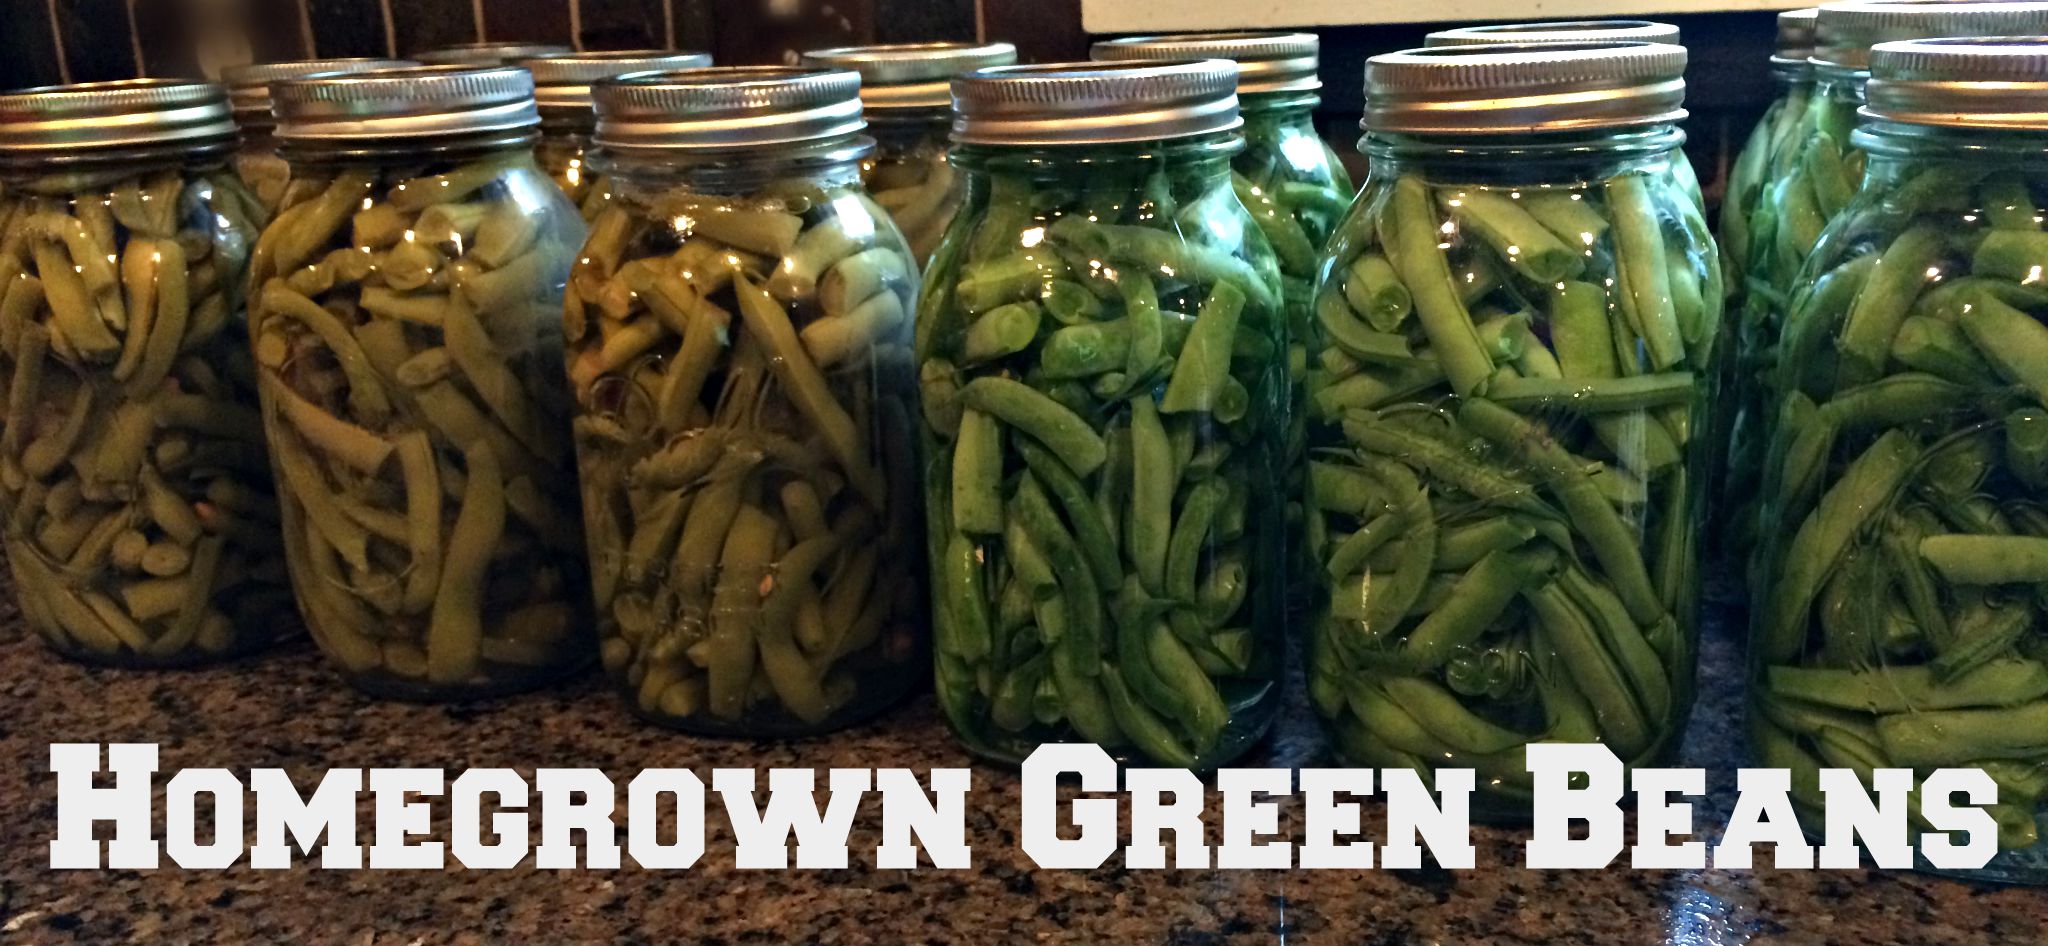
- Remove lid, (tilting away from you so the steam goes in the opposite direction) and transfer jars of beans to a surface to cool.
The beans on the left have been through the pressure canner. The ones on the right are waiting their turn.
It’s really not hard. You just have to follow the pressure canner directions carefully so that all that pressure and steam is dealt with in an orderly, calm and in a nonexplosive manner.
Once you have braved the world of pressure canning you have opened a whole new universe of canning options! Just think of the possibilities: vegetables, soups, stews, stocks, meats, poultry, and even seafood!
Get all the latest articles, posts and fun delivered straight to you just subscribe via email here.
Sending farm-fresh cheers from my homestead to yours!
Candi


