
Bread Making Supplies
What you need. Where to buy it. What it costs.
My intention is not to make anyone feel bad. I know not everyone can afford to purchase these baking supplies. It is an investment and I feel it does pay for itself in the long run. I have had many inquiries about how I make my breads, what equipment I use, where I buy my supplies & how I do it. This article is intended to answer some of those questions and help anyone interested in getting into the breadmaking world.
If you are serious about getting into baking all your own bread – you should Subscribe to the blog. I’m not trying to take your money… promise. 🙂 Becoming a member only costs $5 and I think it’s worth it. You’ll have complete access to all the breadmaking videos, dozens of recipes and a peek into the true world of storebought bread. The tiny fee just helps me pay for the software, produce the videos, host the site and make this available. Learn more here. 🙂
Here’s the short list of what you need to make all things bread in your home:
- A Mill (to grind up your whole wheat berries)
- A Heavy Duty Mixer (to knead massive amounts of dough)
- Honey (or sugar)
- Yeast
- Oil (any oil you prefer)
- Pans (most ovens can accommodate 6- ten inch pans – allowing you to bake at least 6 loaves at a time)
- Bread Divider (Optional)
Mixer Questions:
Question #1:
Wait a minute… Can’t I just knead my bread by hand?
Yes! You can.
However, a mixer will always produce lighter softer loaves. The stickier your bread dough is, the lighter and softer your bread will be. Mixer’s do not care how sticky the dough is – it will knead anything. Since it is difficult impossible to knead sticky dough by hand, the tendency is to add more flour. More flour means denser, harder loaves. A mixer will also save you buckets of time. My mixer can knead up to 10 loaves at once while I make dinner, homeschool my kids or read a book. It only takes my mixer 5-9 minutes to perfectly knead gobs of dough.
Question #2:
Could I just use my Kitchen Aid Mixer to Mill & make bread?
Yes! You can.
HOWEVER…
The Kitchen Aid may not be the best long-term solution for home bread-making:
- You Might Kill it: If you really want to get into bread-making and make all your families baked goods with fresh milled flour (I think you should) the Kitchen Aid may not be a good long-term plan. Unless you have a 500Watt professional series, it is simply not made for bread making/ wheat grinding on the level that I make bread.
- Secondly, It would be twice as much work. Even if the Kitchen Aid didn’t die at my house, I might. At least, I’d probably not keep making bread because it would be so much work …. The large Kitchen Aid can only handle enough dough to make 4 loaves at a time. At this pace I would be kneading and baking for hours and hours and hours in order to produce 20 loaves of bread.
- Third, It would take a lot more time. The mixer I use for breadmaking (Bosch) can handle enough dough to make 10 loaves at a time. This means I’m done making bread in no time. This also means I am doing a LOT less work. Which equates to a happier me with more time to do other things.
- Forth- Flour palatability. I don’t have any experience with the mill attachment of the Kitchen Aid, so I can’t speak to the fineness of the flour it can produce. I can speak for the Nutrimill, since I use one all the time. I know it will give you great results.
- Fifth, cost – Yikes! You can spend $89 – $200 on a mill “attachment” for the Kitchen Aid – Wowzers! You may as well buy the Nutrimill (which is the best electric grain mill on the market, if you ask me) for $219. The Nutrimill has more capacity, is self cleaning and won’t over heat.
If you have a Kitchen Aid please feel free to add your thoughts in the comment section. I don’t have one and welcome the feedback.
From the research I’ve done, the Nutrimill is a clear winner for grinding. It has more capacity, is self cleaning, won’t overheat, and grains only need to be milled once to get fine flour. The Bosch is the champion in the kneading department. It can handle enough dough to make 10 loaves of bread, gives me consistent results and even has a lid.
I talk about the benefits of grinding your own flour a lot. I bake with fresh ground flour pretty much every day. I feed my family all sorts of homemade meals made with fresh flour.
Why?
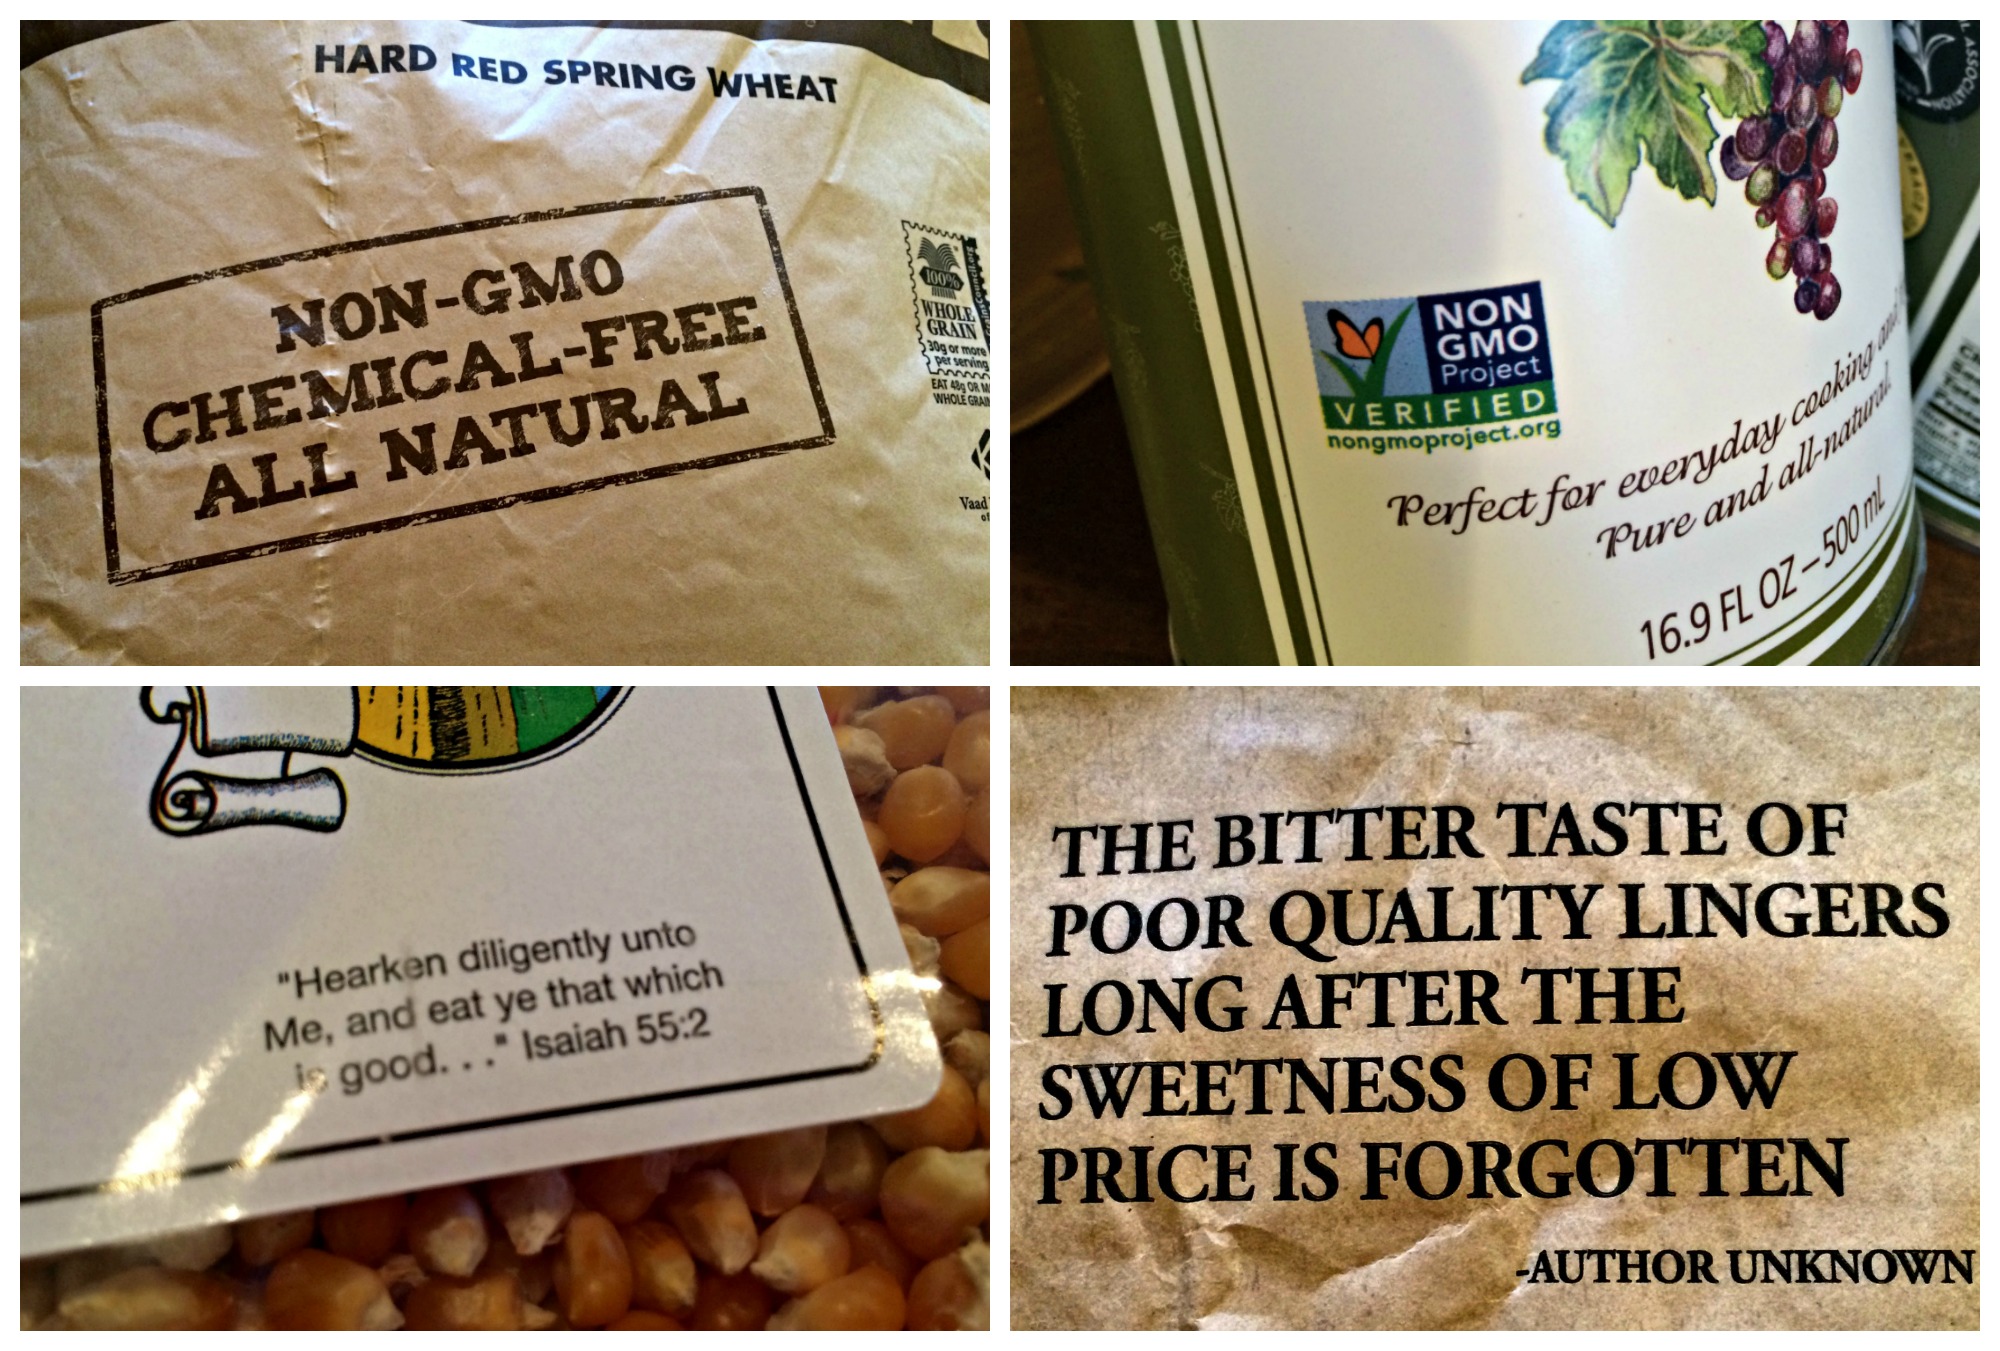
Asthma. Allergies. Regularity. Nutrition. Vitamins. Wellness. Health. Whole food.
When you feed your family any baked goods that you made with fresh ground flour you are feeding them a whole, complete, God-food.
There is just no comparison to the nutritional powerhouse found in a tiny wheatberry.
40 vitamins and minerals.
That’s what is in a fresh ground wheat berry.
Real, fresh ground wheat is the only food I know of that contains 40 of the 44 known essential nutrients needed by our bodies and can be naturally obtained from foods. Only 4 are missing from wheat! – (Source)
If I have a picky eater, a lazy eater or a child who just doesn’t want to eat very much, I can feed them a slice of bread, a pancake, a muffin, a pita – anything made with my fresh flour and know they are getting much of what their little bodies need. My bread is going to be a nutritional powerhouse. They may not eat the turnips, squash, kale or peas but if they are eating my bread, buns, pizza crust or crackers, they are getting a pretty sufficient diet.
To read more about the benefits of grinding your own flour go here. It is impressive.
OK! I want to Grind my flour. Where do I start? What do I need?
Here is a list of all the kitchen supplies & groceries I stock so I can grind wheat & make all things bread all the time.
#1 The Mill
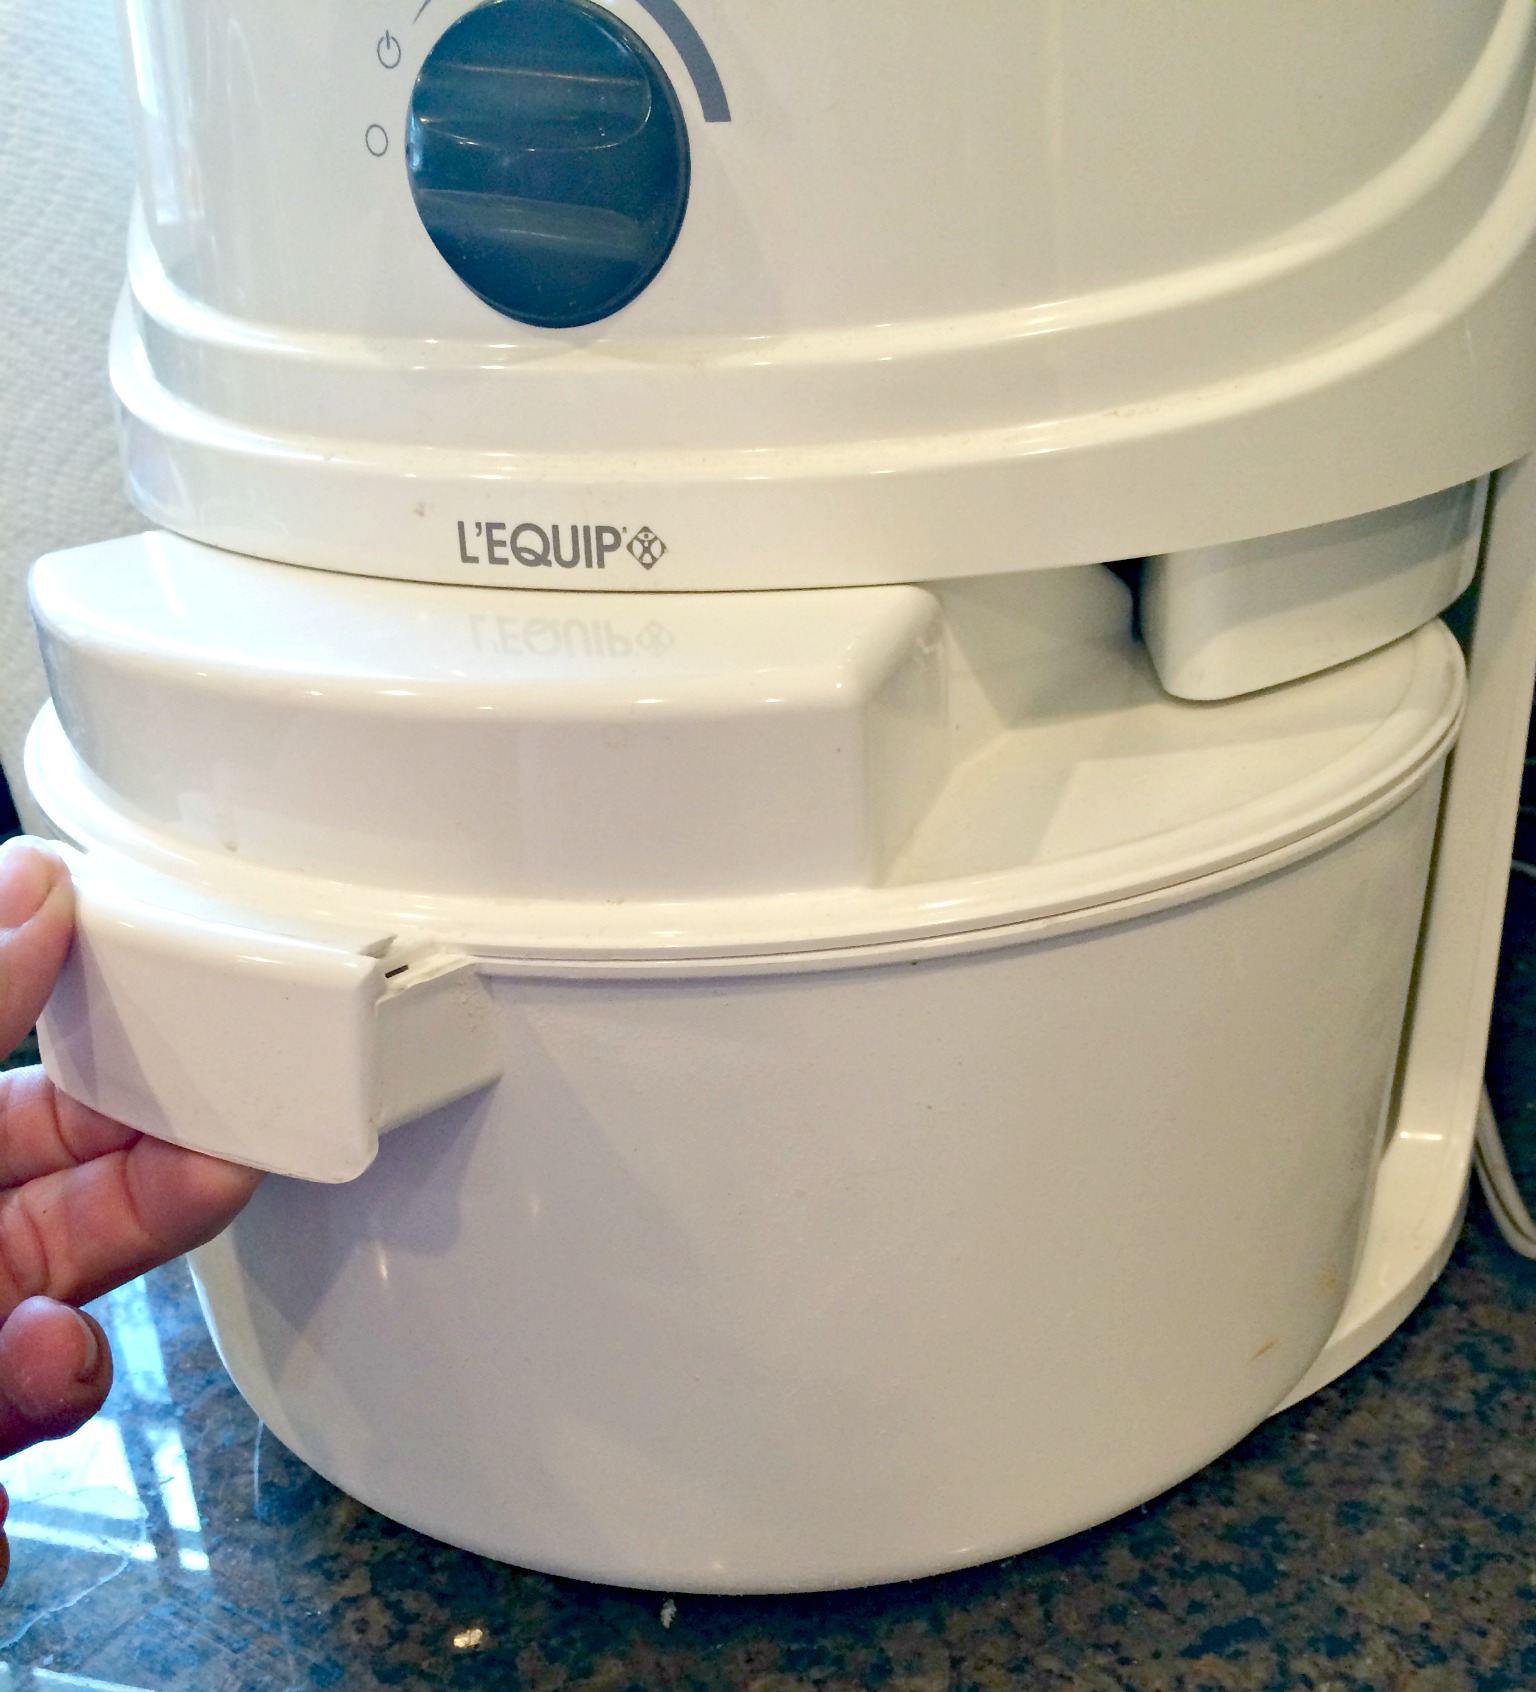
You must have a way to grind whole, hard wheat berries (kernels) into light, fine flour.
I use a Nutrimill. You can get cheaper models. You can get hand crank models. I am here to tell you that I think it’s worth the investment to get the Nutrimill. It will grind your wheat berries into dust. It’s electric, it’s self cleaning, it’s fast, it’s relatively quiet (as far as mills go).
You will produce soft, light baked goods. Other mills can not grind the flour as fine as this one and the result will be bread, cake, doughnuts, pizza crust and buns that all have the consistency of cornbread. Grainy, mealy, gritty. If you want light fluffy, fine ground flour I recommend the Nutrimill.
Where to buy: here.
Cost: $219.99 – which is about $50 cheaper than I paid for it more than a decade ago. It’s the bomb and has a killer (lifetime) warranty.
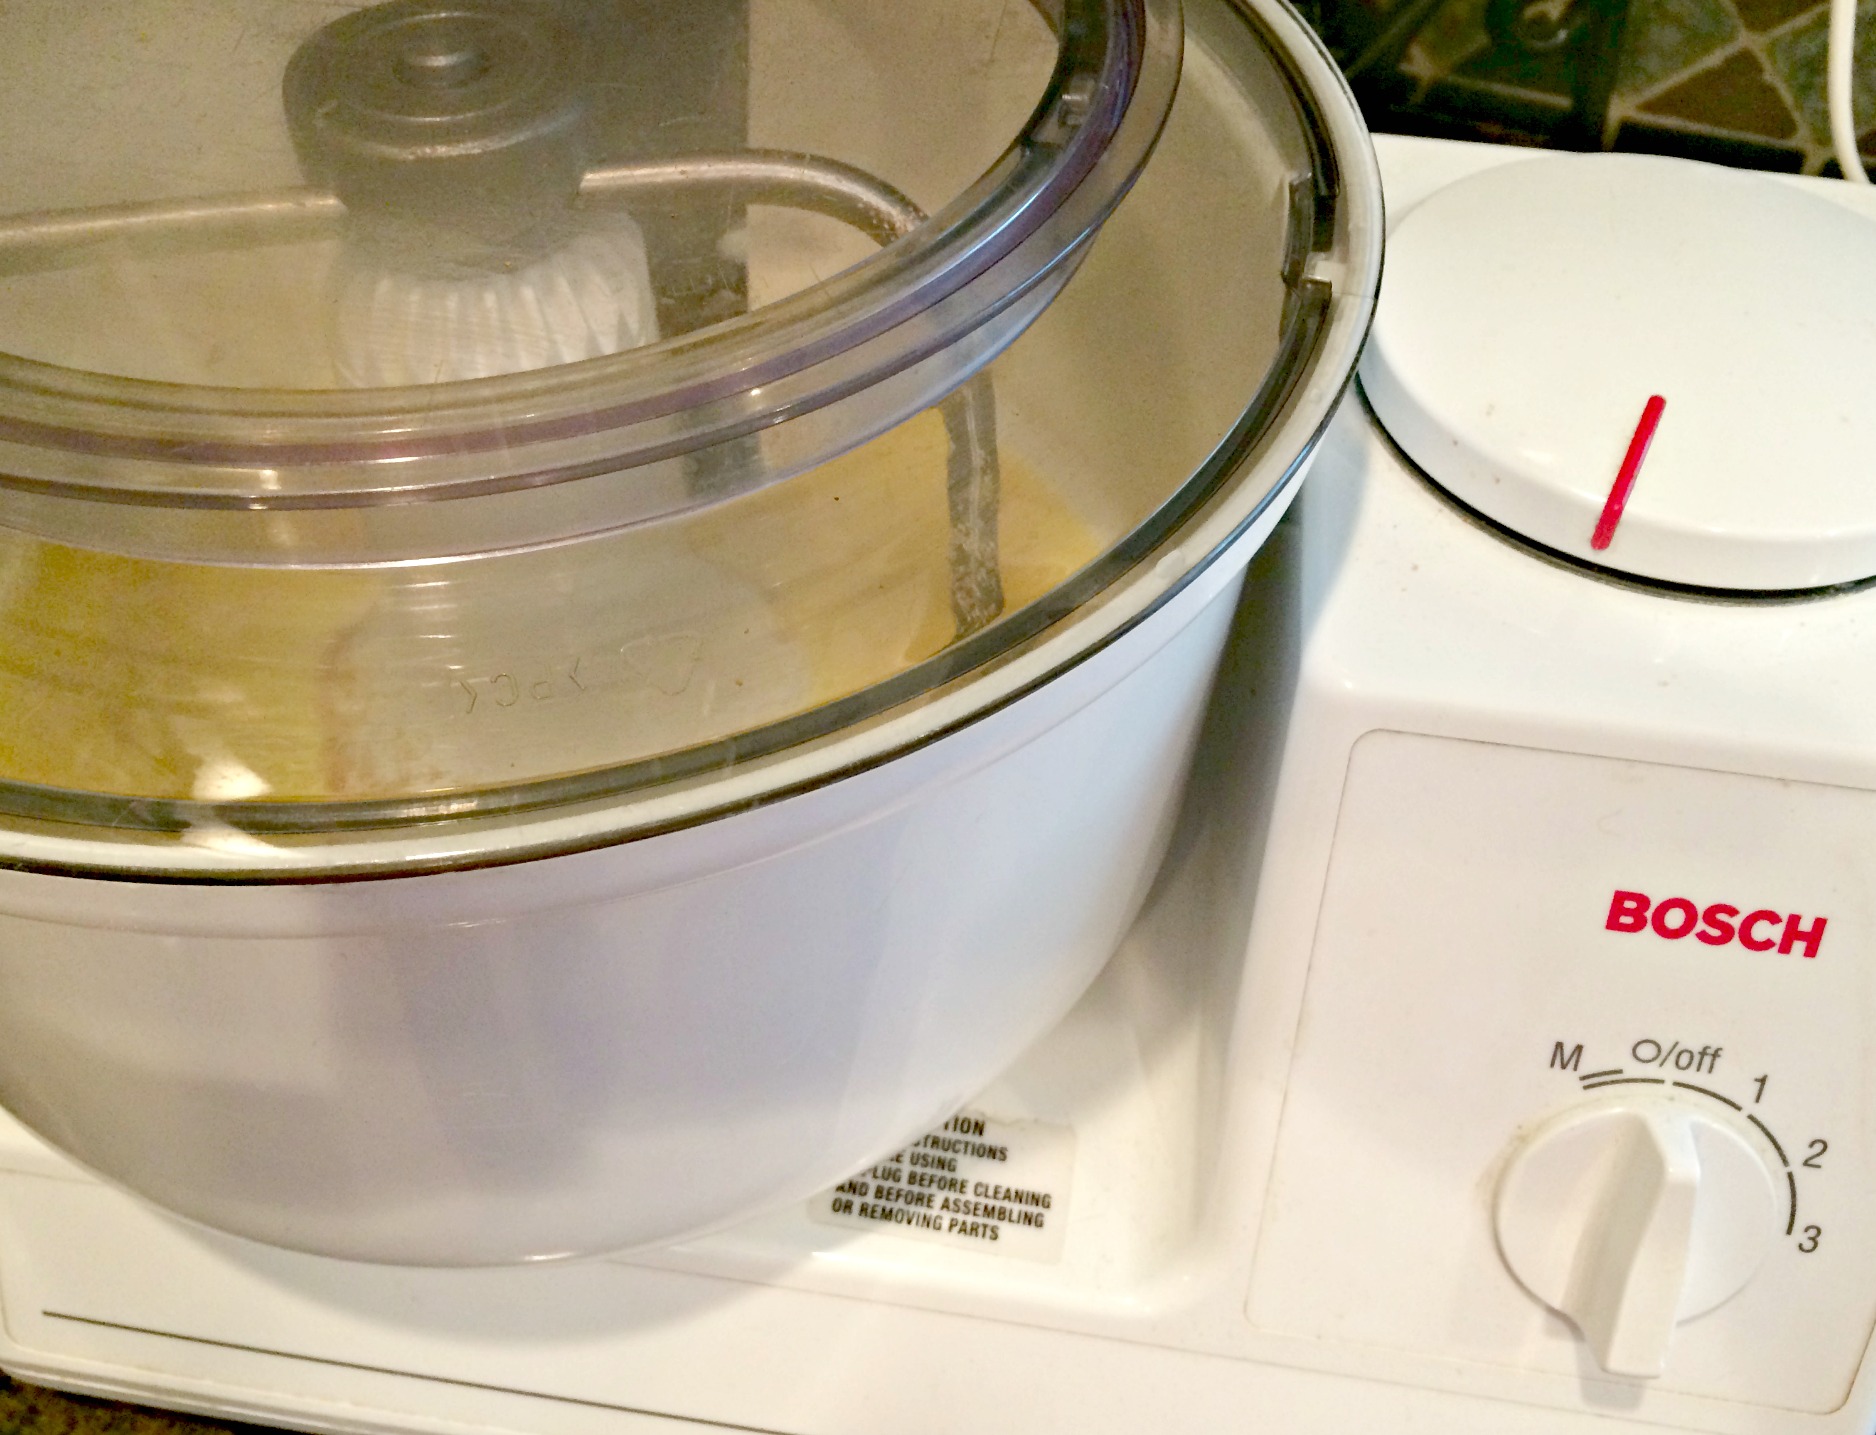
#2 The Mixer
I realize that most of the planet owns a Kitchen Aid Mixer. I am one of the few who did not buy the shiny new red car mixer. I have nothing against Kitchen Aids. I know they do fabulous things & have a zillion attachments and will even wash your dog for you.
BUT… I bought the Bosch instead. It is amazing. If you want to get serious about making all the baked goods consumed in your house – you may need a little more power and capacity. If you’re serious, you probably want a Bosch.
The Bosch can knead & handle enough dough to make over 10 loaves of bread at once (compared to the Kitchen Aid’s 4 loaf max). I know the Kitchen Aid boasts a 5 Quart capacity which seems similar to the Bosch’s 6 1/2 Quart capacity, but they are not the same. I have put my Bosch through the ringer for a decade and it is still going strong. It is pricier, but the Bosch is worth paying a little more for. It has more capacity, more power, a killer warranty and can make anything you throw at it. It even has a lid. I love mine.
Where to buy: here
Cost: $389.99 This is also cheaper than I paid for it over a decade ago. Wierd? I feel like I’ve been had.
#3 The Yeast
I use SAF Instant yeast. It comes in 1 lb packages. If you want to start making your bread products, you aren’t going to want to buy those flat, paper packets of yeast any longer. You will spend a fortune on those tiny 3 packs & will always be out of yeast. 1 pound of yeast sounds like a lot, but it is not. In order to make bread, you’re gonna need a lot of yeast. You’ll be glad you have it.
Where to buy: here or from a co-op or from a wholesale supplier (more on these below).
Cost: $3.50 – $7.54 (depending on where you buy it).
#4 The Divider
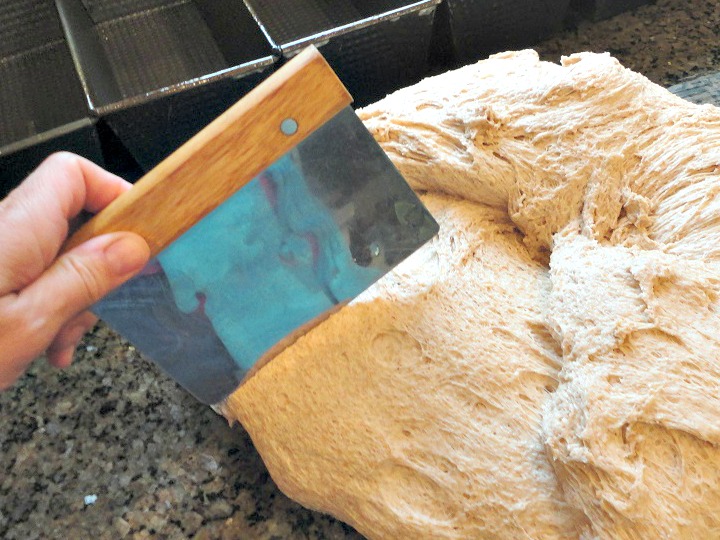
This is a tool of the trade. It is not necessary but makes working with bread dough easier. It cuts through massive quantities of bread. It helps evenly divide loaves. It also scrapes all the bits of bread dough off the counter in seconds, making cleanup easy.
Where to buy: here
Cost: $7.00 – $14.00 (depending on where you buy it)
#5 The Pans
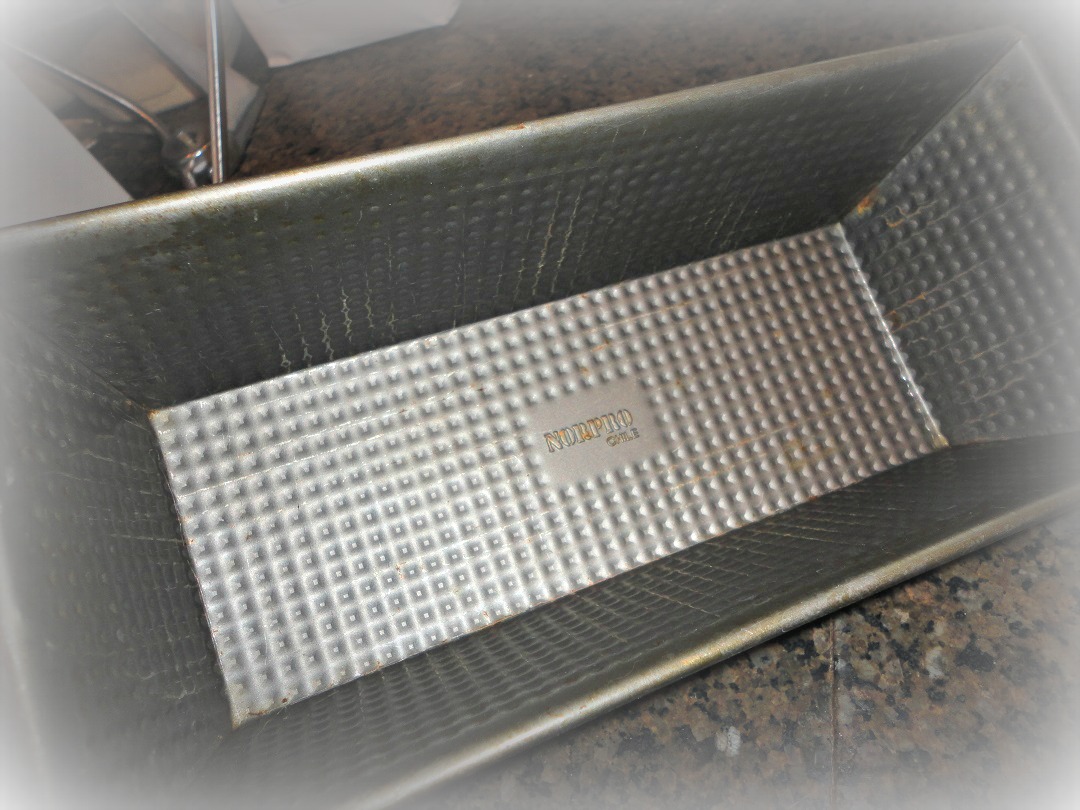
I use Norpro Bread Pans. These pans are fabulous. They are like an iron skillet for loaves of bread. You can toss them in the dishwasher, or you can wipe them out & reuse them. Bread easily slides out. I use 10-inch pans which are nice because you end up with a nice size loaf, yet it is small enough to cook the bread thoroughly and evenly.
My bread recipe makes 6 loaves. These will all bake at the same time in a standard size oven – this means you will want to order 6 – 10 inch) loaf pans. You can knead the dough, shape the loaves & have all 6 rising on your counter at the same time. All 6 go into the oven together.
I actually have 12 Norpro pans. This allows me to have one batch baking in the oven and a second batch rising on the counter at the same time. This really speeds up my bread making day. I can bake 24 loaves in just a couple hours (about 3). Which is a good good day. Once they are baked & cooled, I cram the loaves into zipper-top, storage bags & freeze them.
Where to buy: here
cost: $8.00 each
#6 The Honey
Homemade bread and baked good recipes usually have a sweetener in them. Using honey is a great alternative to sugar (although you can use sugar). Honey is good for you, helps allergies, lowers cholesterol and has numerous health benefits. I suggest you use a local source for honey so you can get all the allergen benefits from your area.
#7 The Wheat Berries
For whole wheat bread, you’re gonna need a couple varieties of wheat berries.
So I don’t overwhelm you – let’s start with 2. You’ll need a hard wheat and a “super” grain.
- The hard wheat will give your bread its form and rise beautifully.
- The super grain will make your bread a nutrition-rich, superfood.
Hard wheat will resist “falling” during rising, baking, and cooling. If you tried to bake a loaf of bread with a “soft” wheat you probably ended up with a sunken-in, deflated, failure of a loaf. Hard wheat will hold its form.
You can use hard red or hard white. Red is nuttier – I love this in my loaves. I prefer to use hard white when making cinnamon rolls or pizza rolls.
Spelt or Kamut are my recommendations for a beginning supergrain. These are added to the basic loaf recipe for a nutritional punch. There are many other “supergrains” out there, but these are my 2 favorites.
Kamut has 40% more protein than regular wheat. It contains fatty acids, B vitamins, Omega-3’s, Vitamin E, fiber, selenium, zinc, magnesium, it’s high in lipids, fights inflammation and strengthens the immune system. (source) (source2)
Spelt is also high in protein and fiber, contains vitamin B2, manganese, niacin, thiamin, copper, and magnesium. It contains less gluten than wheat and is more easily absorbed and digested. It helps prevent diabetes and other insulin-resistant diseases. (source) (source2)
I prefer spelt to kamut because of its sweet flavor. I like what it does to a loaf of bread.
You may choose any wheat berries you like. Be sure for loaves you are using a hard wheat (so they don’t fall), and to get the most nutritional value use add a little supergrain to your recipes. To see how I use a combination of grains to make bread go here.
Grains I stock:
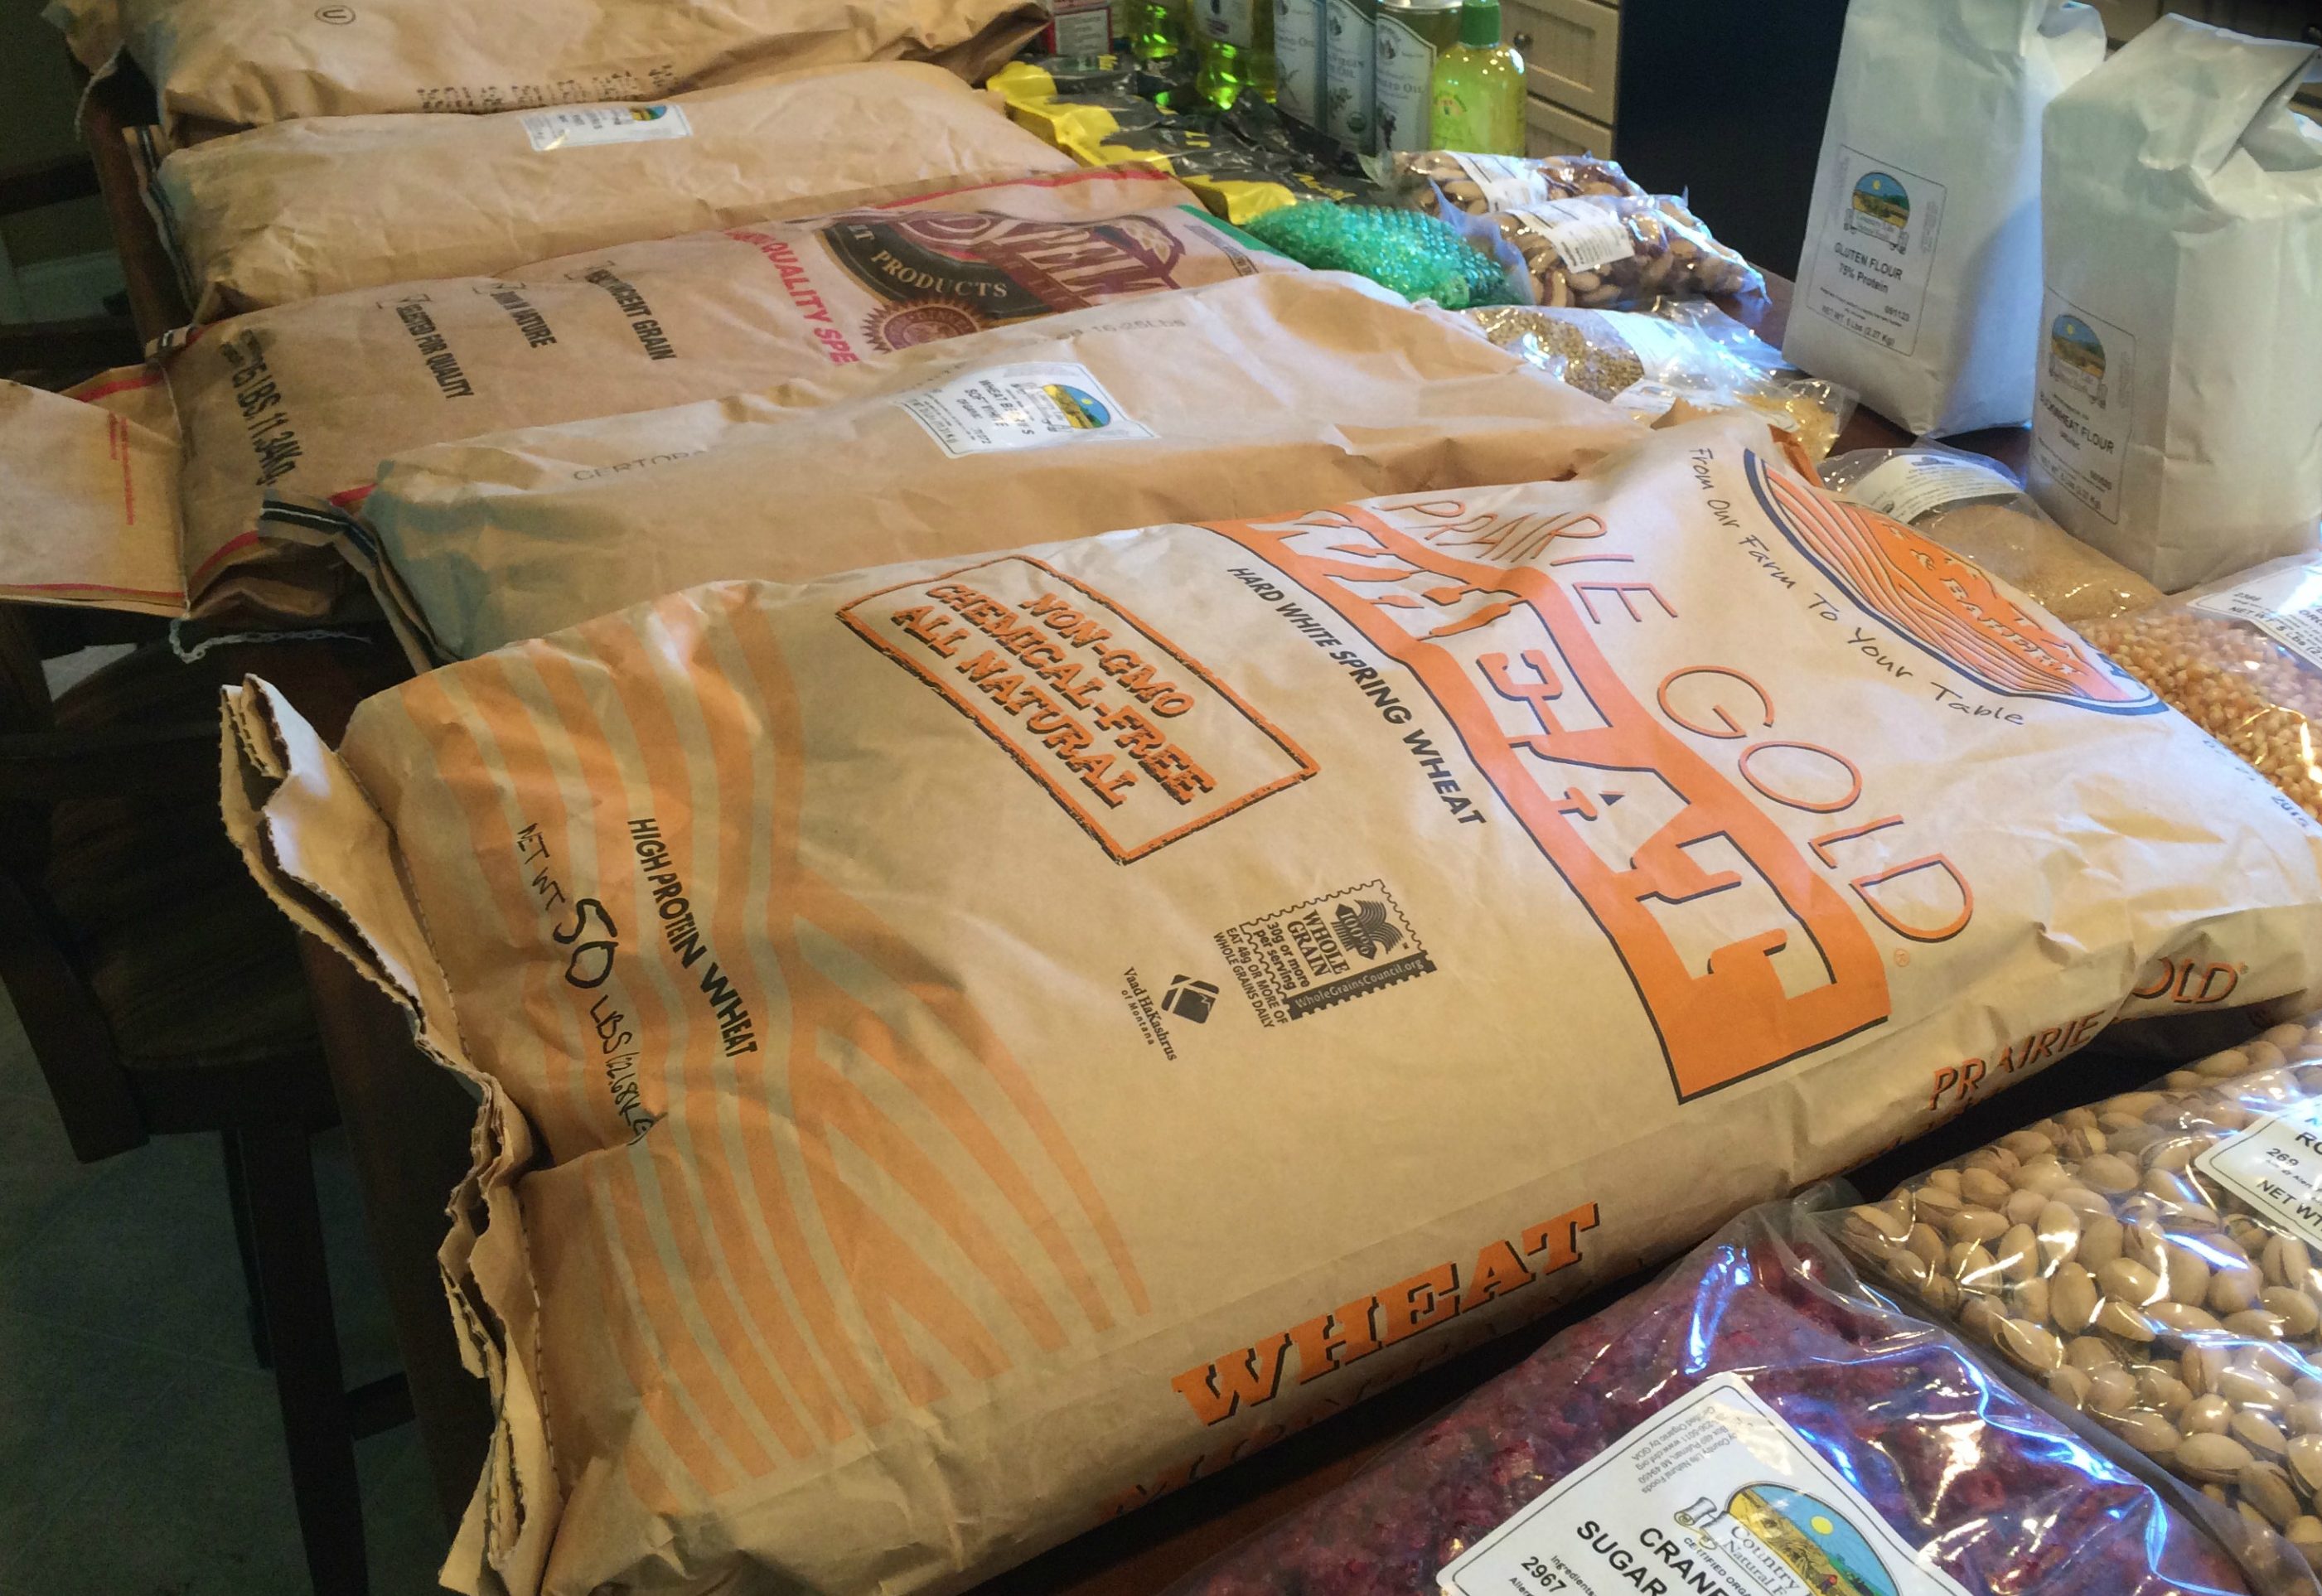
- Bronze Chief Hard Red Wheat Berries (nutty flavor, rises, doesn’t fall easily, great for loaves)
- Prairie Gold Hard White Wheat Berries (clean flavor, rises, doesn’t fall easily, versatile- use for loaves or other baked goods)
- Spelt Berries (Sweet flavor, super grain)
- Kamut Berries (buttery, cornbread-like flavor, deep golden color when baked, super grain)
- Soft White Wheat Berries (light, white, great for sweets and baked goods that call for baking soda or baking powder)
- Oat Groats – this is the whole oat kernel. It can be ground in a home mill and makes a wonderful light oat flour.
- Rye berries – Rye is a mild flour I use occasionally.
If you are just beginning, you can start with 1 or 2 grains. A great all-purpose beginner wheat is the hard white. It can be used for sweet baked goods and it can be baked into a loaf. Warning: if you make pancakes or muffins with hard white wheat they will be very “wheaty.” For a lighter, softer, “less wheaty” result, use soft white wheat berries. Soft white is best for sweets.
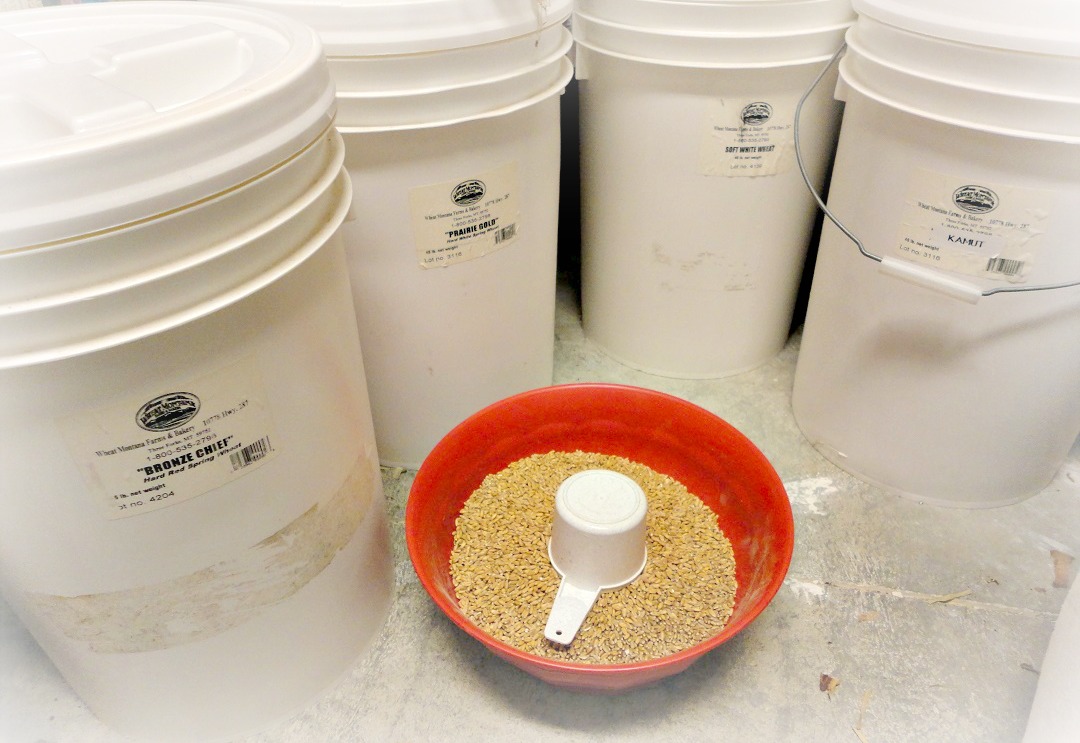
5 Gallon Buckets filled with wheat berries with Gamma Seal Lids
I’ll confess that it’s nice to have a couple hundred pounds of wheat berries in my house. I am not a prepper or a doomsday predictor, but I have to say, it is comforting to have enough wheat to feed my family for a year or more stored in my basement.
With these buckets & the gamma seal lids I can store the grains for up to 10 years.
How on earth does someone buy giant buckets of grain?
You have several choices when it comes to wheat berries. Here’s a quick overview of your options:
- Run up to Whole Foods and buy from the bulk foods bins. Anytime I am in a pinch and need some wheat berries fast – I do this. It costs more but is convenient.
- Find a co-op in your area (I bought mine from a co-op for years) – this is a great option. This is a more affordable way to get wheat.
- Join a wholesale supplier and purchase your own bulk order. This will get you the lowest price for your wheat.
Whole Foods
If you want to get your feet wet – run to Whole Foods & buy some wheat berries from the bulk food section. You will pay twice as much as you should but you can get some grains today & try out the whole thing.
Once you decide you want to grind everything you eat – you may as well get some 50-pound bags/ buckets of wheat berries. Buying grains by the pound at a supermarket will cost you $1.00 a pound or more. When you buy in bulk, you’ll get 50 pounds for $25 bucks – that’s 50 cents a pound. Also known as half price.
The good news is that if you buy your wheat berries in bulk, you will most likely only need to buy them once a year. Wheat berries can be stored for 20 years below 50 degrees. They will keep 10 years at 60 degrees.
Where can I buy grains in bulk?
#1. Co-op
There are food co-op’s just about everywhere. Some are called “buying clubs.” Some are called “bulk food co-ops.” It is simply a group of people, like us, who want to buy bulk foods. Typically one of the members is a “distributor” for a wholesale supplier & they purchase gigantic orders for the entire group. The group I participated in placed orders monthly. I had to get my order emailed to them by the deadline & then I met them in a church parking lot to pick up and pay for my order (along with the other people who placed orders that month). I made friends and got great prices on bulk foods.
The internet is a great way to find a co-op near you.
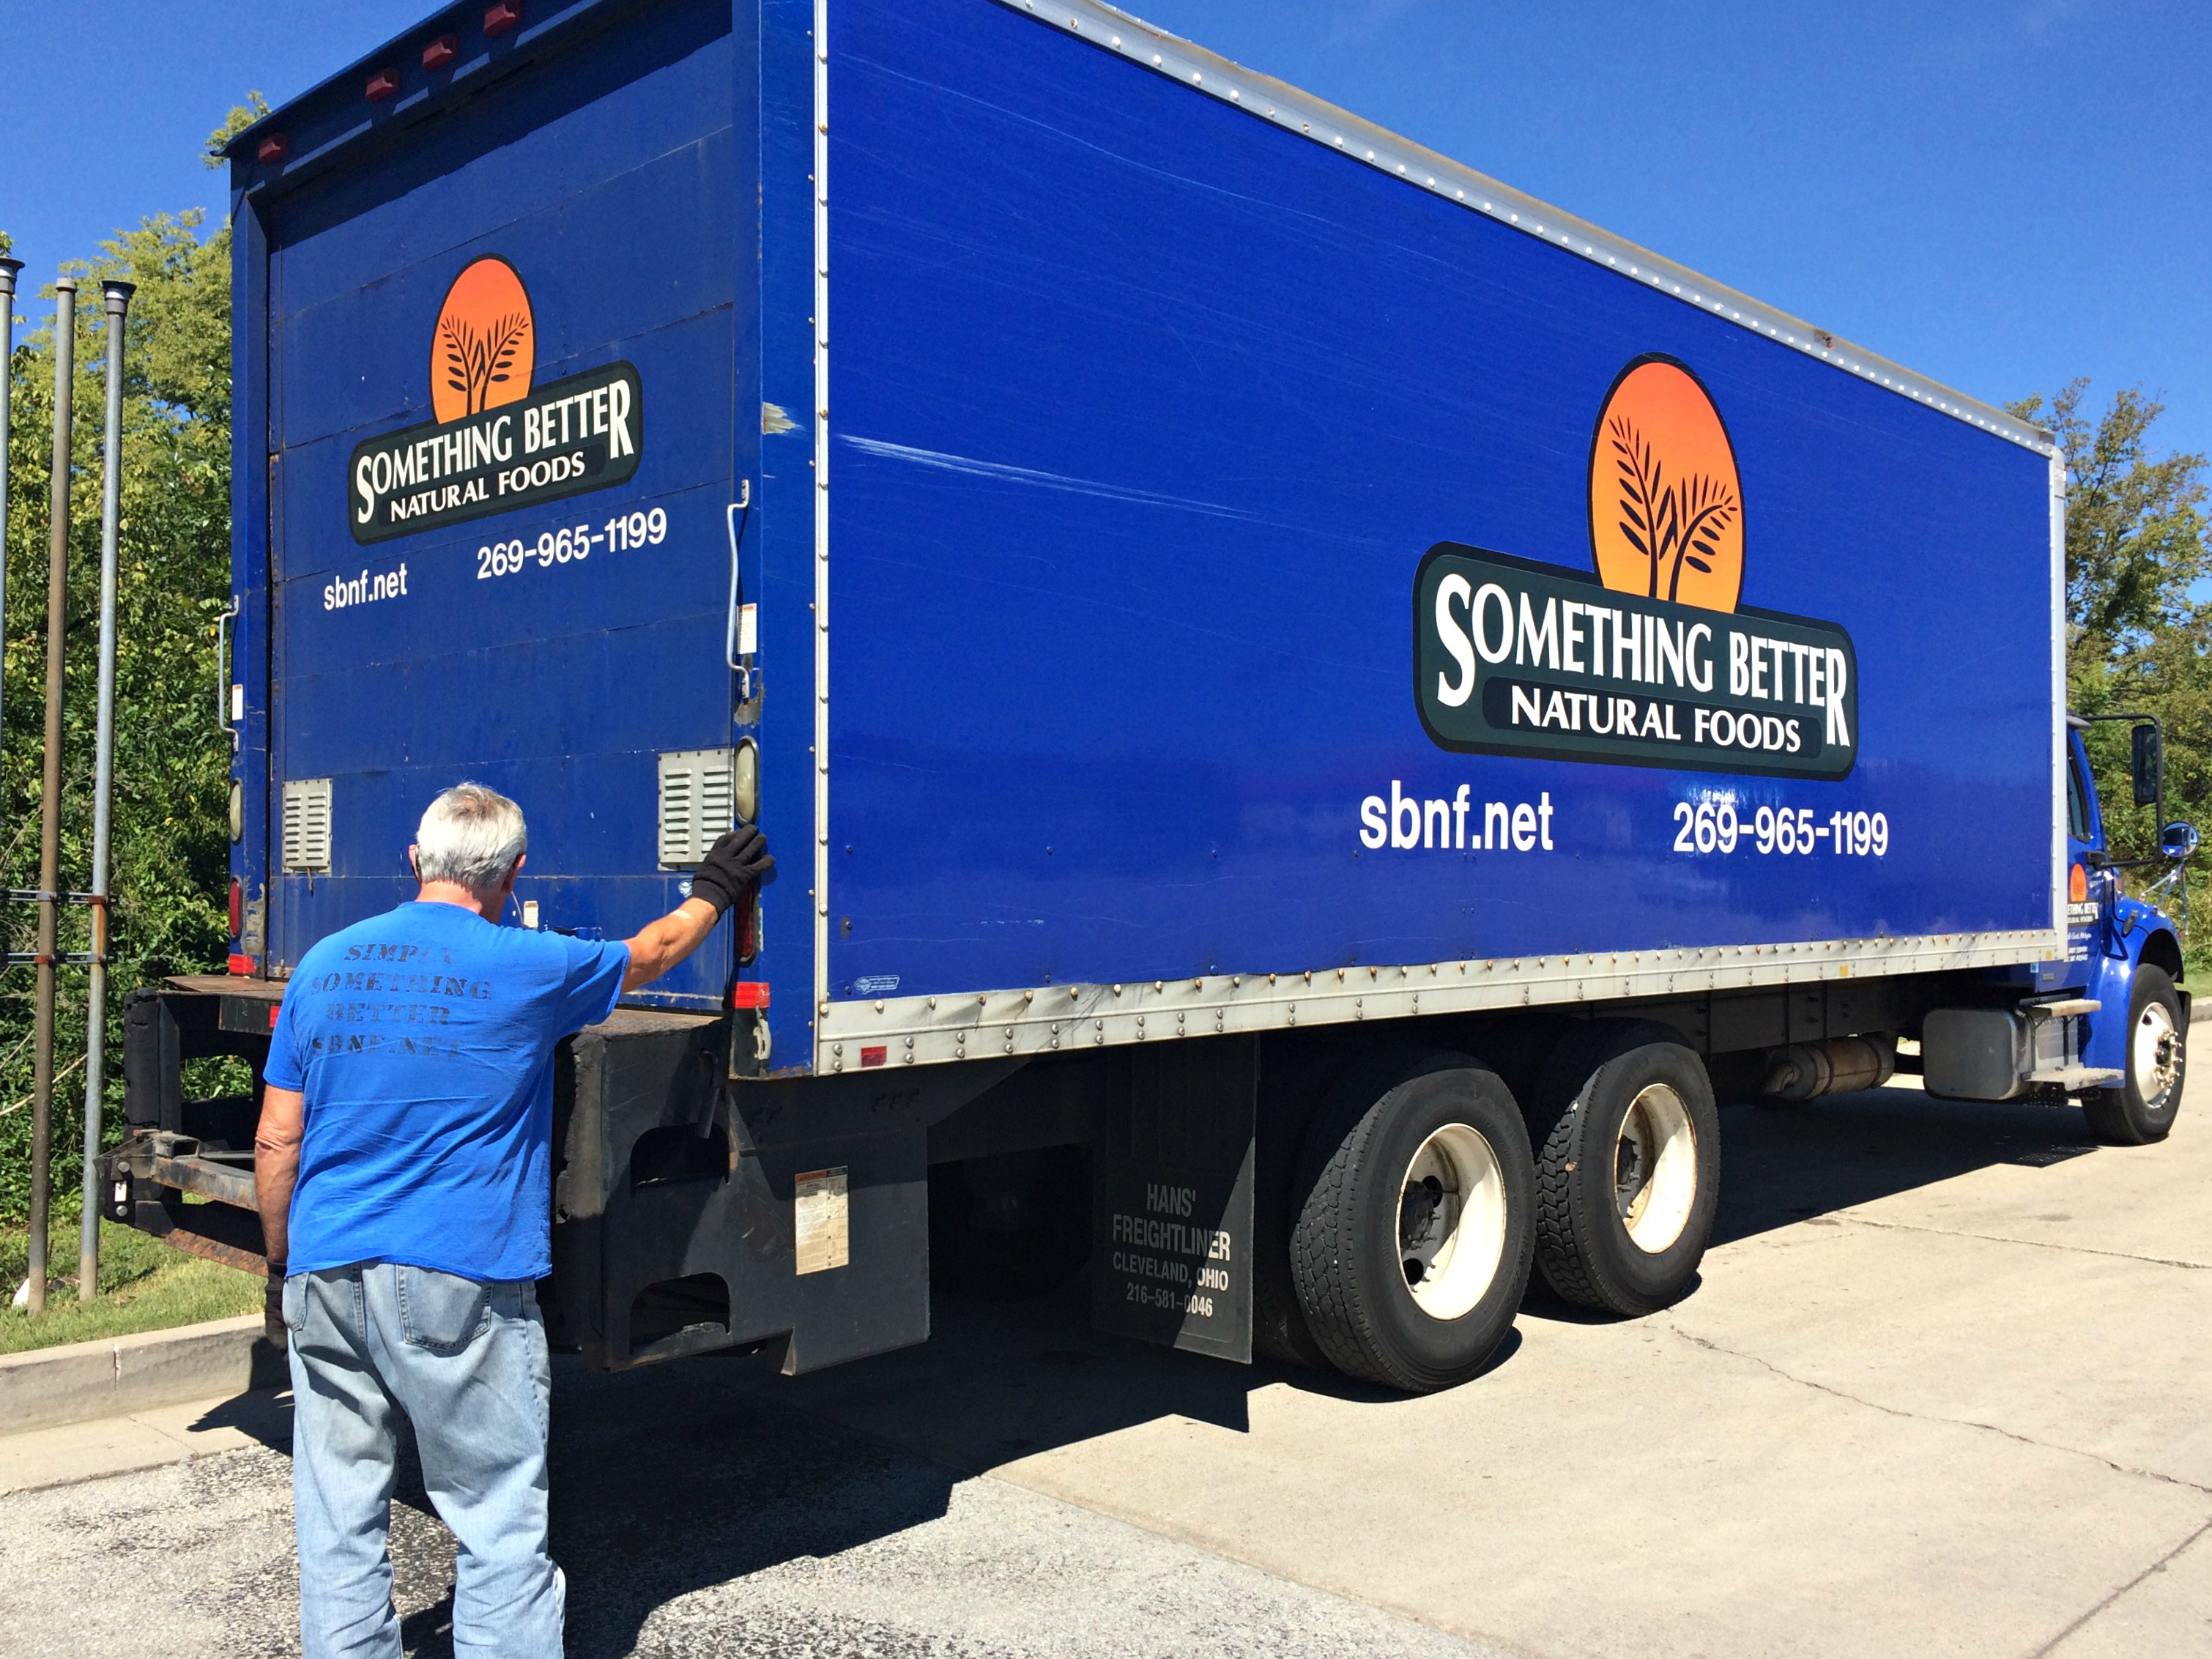
#2. Distributor
After doing the co-op gig for years I decided to just become a distributor. It’s not hard. The only hurdle is meeting the minimum order requirement. Some suppliers have a minimum of $500, others are $400 or $450. I understand that if they are going to bring you groceries halfway across America they don’t want to just bring you a bag of wheat. It has to be worth the drive for everyone.
While researching for this article I found that I could buy a 45-pound bucket of wheat berries for $40 which was high, but not crazy. Then I stuck the thing in my “shopping cart” and had them calculate shipping to Kentucky. I almost fell out of my chair… the shipping was $29.53! What the what? Crazy. The shipping was almost as much as the wheat.
When you place a $400 order from a supplier the freight is not as much as your order. Mine charges 10% for shipping by truck. Because it is out of state there are no taxes. I pay for my groceries (wholesale prices), a 10% freight charge and I get hundreds of pounds of grains in my house. It makes me happy.
Some Wholesale Bulk Foods Suppliers you may want to look at:
Here’s what I usually buy & the approximate cost (prices may change & vary – these are the prices at the writing of this article).
- Prairie Gold Hard White Wheat Berries (50 lbs) $25.00
- Hard Red Wheat Berries (50 lbs) $25.00
- Spelt Berries (25 lbs) $37.50
- Soft White Wheat Berries (25 lbs) $18.75
- Organic Popcorn (5 lbs) $5.50
- Active Dry Yeast (1 lb) $3.50
- Vital Wheat Gluten (Yeah, I know, I’m the only one ADDING gluten to things) 2 lbs $6.00
- Organic Rolled Oats (25 lbs) $25.00
Other items I often buy: nuts, dried fruit, oat groats, essential oils, lentils, garbanzo beans, black-eyed peas, navy beans, and salted smooth peanut butter (if you’ve never eaten real peanut butter be warned – it’s different).
So, to wrap this ridiculously long article up….. to make bread you’ll need:
- #1 The Mill – Nutrimill
- Where to buy: here.
- Cost: $219.99 – which is about $50 cheaper than I paid for it more than a decade ago. It’s the bomb and has a killer (lifetime) warranty.
- #2 The Mixer – Bosch Stand Mixer
- Where to buy: here
- Cost: $389.99 This is also cheaper than I paid for it over a decade ago. Wierd? I feel like I’ve been had.
- #3 The Yeast – SAF Yeast
- Where to buy: here
- Cost: $3.50 – $7.54 (depending on where you buy it)
- #4 The Divider (optional)
- Where to buy: here
- Cost: $7.00 – $14.00 (depending on where you buy it)
- #5 The Pans – Norpro 10 inch Bread Pans (get 6 or 12)
- Where to buy: here
- cost: $8.00 each $48 total for 6
- #6 The Honey (you can use sugar instead)
- Buy this locally to get the most health benefits
- #7 The Wheat Berries
- Where to buy: Whole foods, a Co-op or Wholesale Bulk Food Supplier
- Cost: $25 and up for 50-pound bags
Whew! I know this is a lot to take in. When I first learned about the world of wheat grinding and bread making I was a bit overwhelmed but excited. I was blown away by the health benefits. I wanted the nutrition, the health, the wellness for my children. I remember talking to DH and pleading with him that it was going to be worth the investment.
Here I am 11 years later & I still say it was worth it. I still use my mill and mixer constantly. My children are healthy and love all the baked goods I make for them. I may never know how much good the fresh flour is doing, but I feel confident that it is a good choice.
Once you purchase all the equipment & supplies, your cost to bake a loaf of bread will be roughly 25 cents. That’s a quarter for a loaf of the most nutritious, softest, freshest, most delicious bread you’ve ever eaten.
To get weekly updates, tips and recipes subscribe via email (here).
To learn more about home bread-making, see instructional videos and dozens of premium recipes you may want to consider a membership.
Happy Baking!
Cj


Anonymous
05/09/2017Candi, I’m just starting this process and sooo excited! I am allergic to yeast and want to bake some flat breads for myself. Any suggestions on recipes?
Candi
05/09/2017I wish I had a great recipe to share…. I haven’t made flatbread yet but I want to!
I’ll have to get to work in the “test kitchen” and create some naan – Mmmmm. I love naan!
I have a recipe just waiting to be translated into another “fresh milled flour” gem….
Here’s the recipe if you want to give it a shot:
1 1/2 cups soft white flour
1/2 teaspoon baking powder
1/3 teaspoon honey
1/2 teaspoon salt
3 tablespoons milk
2 tablespoons butter
1/4 cup plain yogurt
Mix flour, baking powder, honey and salt in a bowl. Melt butter. Warm milk. In a big bowl add yogurt and stir in warm milk until smooth.
Gradually, add the dry ingredients and stir with a spoon, until the ingredients come together. With your hands, knead to a smooth dough. If the dough is still sticky, add a little more flour.
Let the dough rest (covered) for at least 1/2 hour. The longer the dough rests, the softer it gets and the easier it will roll out. Split dough in 4 equal parts, form each of them into a ball and roll out. Rotate the dough-disk while rolling, and flip it over occasionally. Sprinkle with flour every now and then, so it will not stick to your rolling pin or surface. When finished, the Naan should have an oval shape, about 1/8 inch thick.
Preheat skillet to medium high heat – but don’t add any oil. Cook until bubbles have formed on top and the bottom side gets lightly colored. Then flip, and cook until done, about 1 minute.
Wrap the ready Naans in a kitchen towel while baking the rest. That will make them really soft.
Forest
04/08/2018Candi,
I have to give you a heads up. When I first started this journey, I already owned a Oster Kitchen machine. It is an older machine and worked well. I went ahead and got a grain mill, (hint check ebay, I got mine for around 150 including shipping.) Started grinding my own grain and fell in love. The only thing I didn’t love was the texture (wait for it) I kept at it and trust me I loved the taste and health benefits of truly whole grain bread. Well soon several of my neighbors were asking me if I could make them bread. So each week I set aside a WHOLE day to make 12 loaves. Now I have been making bread for most of my 60 years and all different kinds of ways. The Oster would only handle 3 loaves at a time so when I say it was a WHOLE day to make bread I’m not kidding. Also I’m not sure if it was my misconception or the machine but I had to knead it so much that the bread was very dense.
I started saving the money that I charged for the bread and sold some things that I was no longer using and purchased a Bosch mixer. WOO HOO! The learning curve was a little steep, But lord a mercy so much faster. Today was my first full batch of bread, first of all the flour mixes in so much faster. Having the cover for the bowl keeps the heat in when proofing the yeast and liquids and makes it go faster. Thanks to your excellent video on bread making I was assured that even though the bread was a little sticker than I was used to, It was time to stop kneading after 9 minutes. I got the 6 loaves in the bread pans to rise and cleaned everything up and put away in under 3 hours.
When I pulled the bread out of the oven there was the softest most beautiful bread that I had made in years. When I was using the Oster I had a hard time with the bread falling during baking. Doing some research I found that “supposedly” the bread wasn’t kneaded enough. So I added time to the kneading. Well my bread didn’t fall anymore but it was denser than before. Don’t misunderstand I figured this was my fault and I would figure it out. The taste was still out of this world.
I have Fibromyalgia and have been working hard to get chemicals out of my diet. Grinding my own wheat is one of the first steps, and the Bosch machine had really had a big impact on that.
In doing my research I found that there are all kinds of attachments, meat grinder and pasta maker are 2 that I remember taking notice of. I will over time acquire those attachments and then sell the Oster to someone else that is starting on their self sufficiency journey.
I just wanted to let you know that making bread in the different machines, while will work, using the Bosch is a whole different thing. Sort of like comparing driving my old chevy ranch truck to a new Dodge Ram. They will both get you to your destination but the new Dodge will get you there in style.
Thanks again for all you do and the information you put out for us on your site. I have become a premium member it is one of the best investments in me that I have made. Still a little cold here to get my garden in but the starts have taken over my spare bathroom and will be ready to go in the ground shortly.
CJ
04/09/2018I want to have you over to my house so you can teach me everything you know!!!! What wonderful experience you have. Thank you for the sweet words. I am going to print out your comment and tape it to my refrigerator so I can read it every time someone sends me a mean note.
I am so happy you like the Bosch.
Sending a hug,
XOXO
Candi
Forest Perea
04/09/2018Sweetie you are probably teaching me more than I could teach you. Perhaps one thing that I could teach you would to not worry so much about mean comments from others. In my experience they are usually unhappy with themselves and have to strike out at someone. I try to pray for them and ask God to give them peace. The other thing, and I run into this a lot, people just don’t understand how you can grow your own groceries and animals to butcher. That is their loss. It is a very fulfilling lifestyle.
I do love the Bosch and the grain mill. Would love to have a milk cow but with just me at home can’t justify the investment. Yes I could share the bounty but storage for the extra is an issue. So for now I will just muddle along with what I have.