
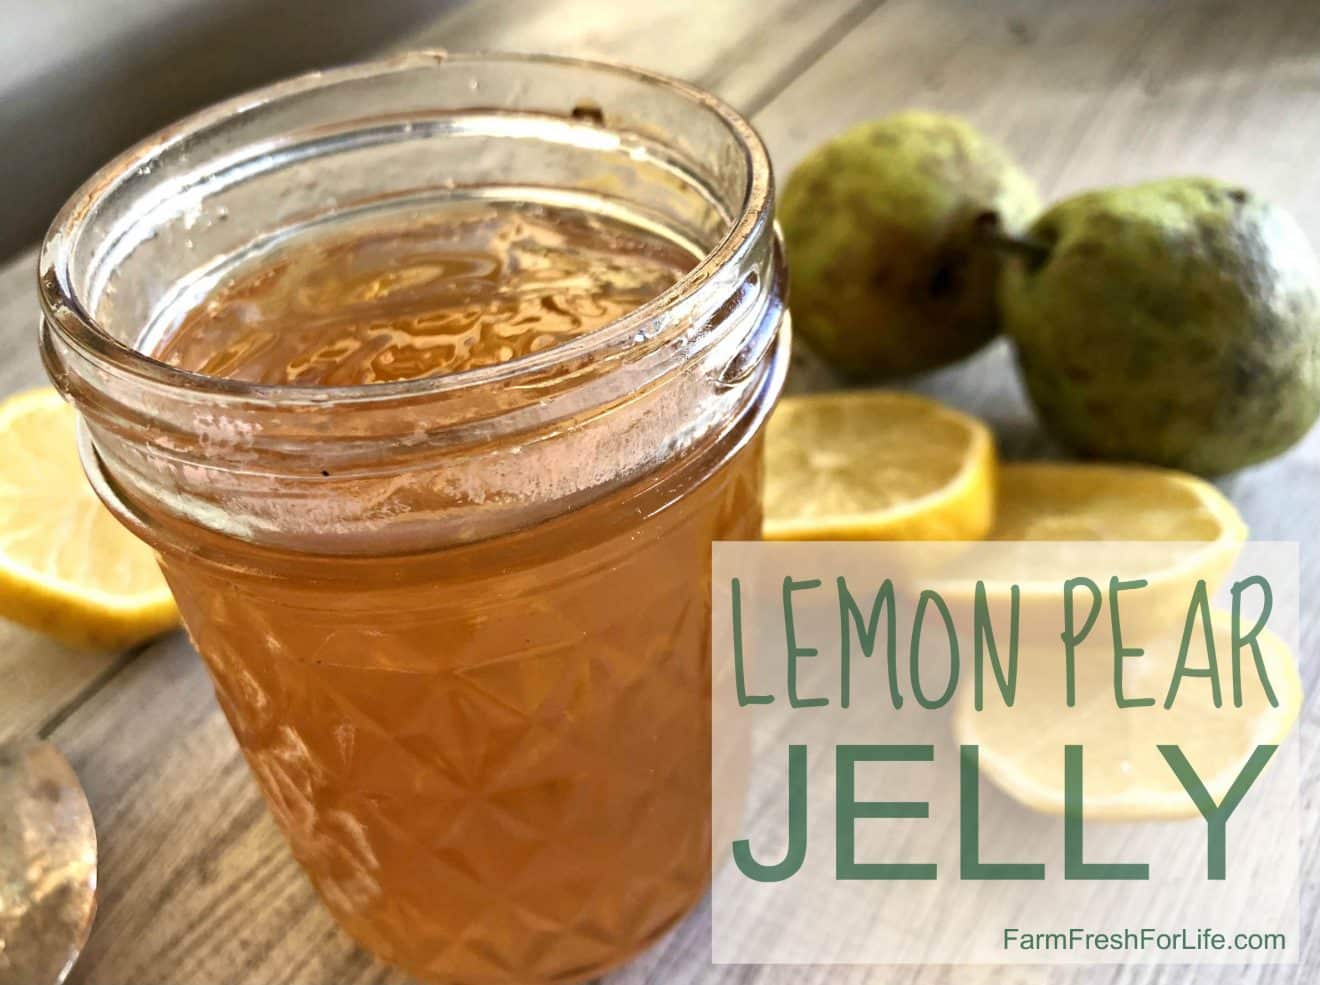
Lemon Pear Jelly
I have some problems with pears.
A-Hem.
They are gritty.
They are like eating sand.
They take FOREVER to ripen.
They must be refrigerated then brought to room temperature and shoved in a paper sack for weeks AND if you hold your tongue just right, they may ripen…. or they may just rot.
Pears are a pain
If someone hadn’t given me rights over their pear tree, there is no way I would be still putting up with pears and their high-maintenance selves.
In addition to their inability to ripen on trees like every other fruit on the planet, once ripe, pears are WAY too sweet. Add 7 1/2 cups of sugar to an already overly-sweet fruit and you have tooth pain in jelly form.
Straight pear jelly is like eating laughing gas.
Do you know what I’m talking about?
Remember when you went to the dentist to get your wisdom teeth cut out and they put that rubber mask over your face? The mask had a tube attached to it. At first, it smelled like a spare tire. But when the “laughing gas” was released suddenly you were inhaling straight candy.
Laughing gas is Splenda in the form of air.
And pear jelly is laughing gas you can spread on your toast.
Don’t worry – I have the solution to the straight-fructose pear situation.
LEMON
Before you doubt, let me tell you that this jelly came about through much trial and experimentation.
On many canning recipes, there are “recipe variations” listed in the instructions that can safely be maneuvered to spiff-up your jam without compromising the safety of the product.
No botulism, y’all
After trying cinnamon, lime and lemon we have a definitive decked-out, pear-jelly winner & it is LEMON by a mile.
This is a pair made in heaven.
Oh So Good.
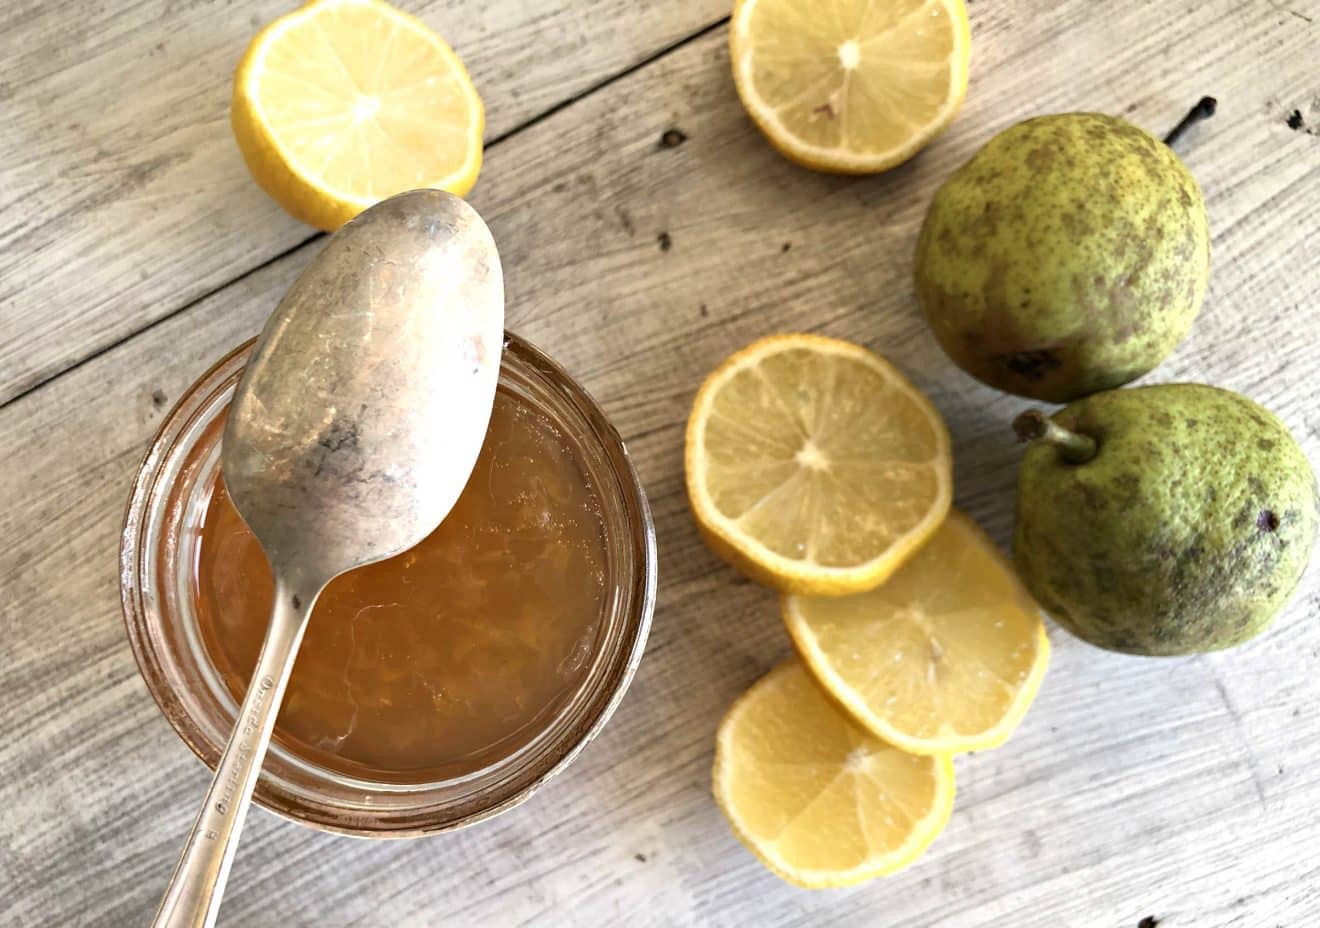
The lemon cuts the sweetness perfectly without making the jelly bitter or sour.
And the zest!
I love lemon zest!
When I was a child, lemon bars were one of my favorite holiday treats. The sweet-tart combination and that wonderful zest. At the time I didn’t know it, but I was in love with lemon zest.
This jelly has everything you love about lemon bars – and you can spread it on a biscuit.
Jelly Making Overview
- Make the juice (you could also start with store-bought juice)
- Make the jelly
- Process in a water-bath canner
That’s all folks.
To make Juice:
Wash pears, cut off stems and ends. Cut into quarters & put in a saucepan. Do not worry about seeds, cores or skin, we will be straining the juice. The peel contains most of the pectin and will make the jelly better.
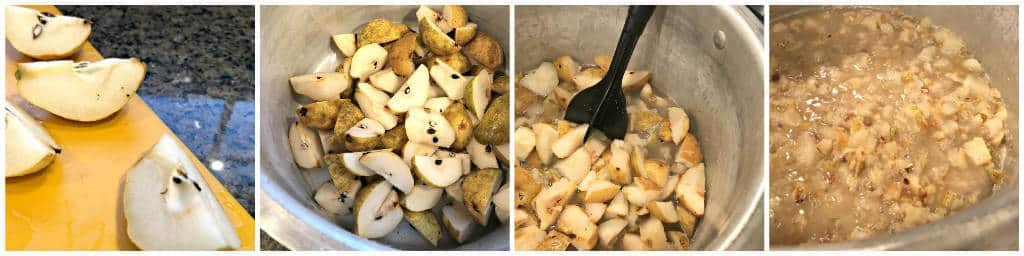
Add enough water to cover the pears. Bring to a simmer on the stovetop.
While the pears are boiling, zest the lemons (then set aside).
Cut them in half and juice. Add the lemon juice to the pears.
Bring to a boil & mash with a potato masher. Continue to simmer and mash until all the pears are soft (about 30 minutes).
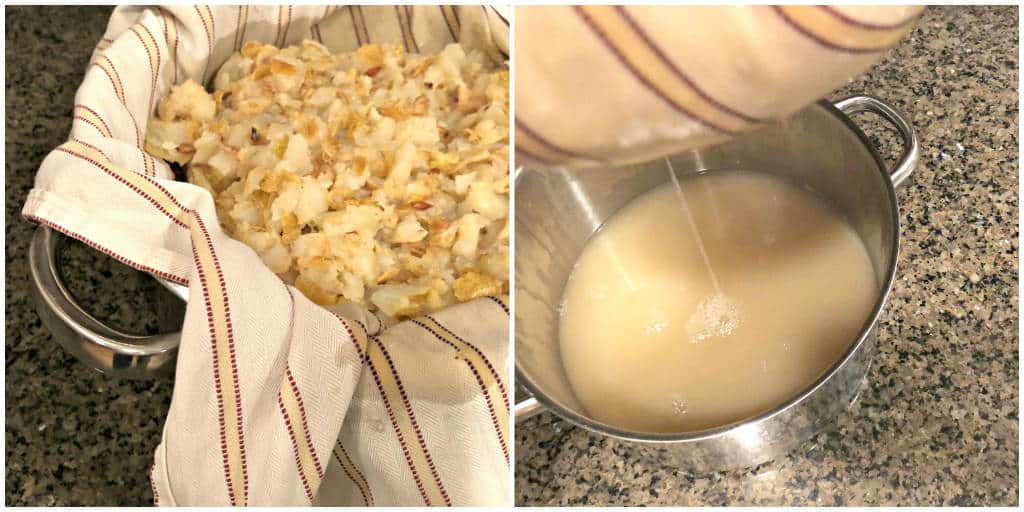
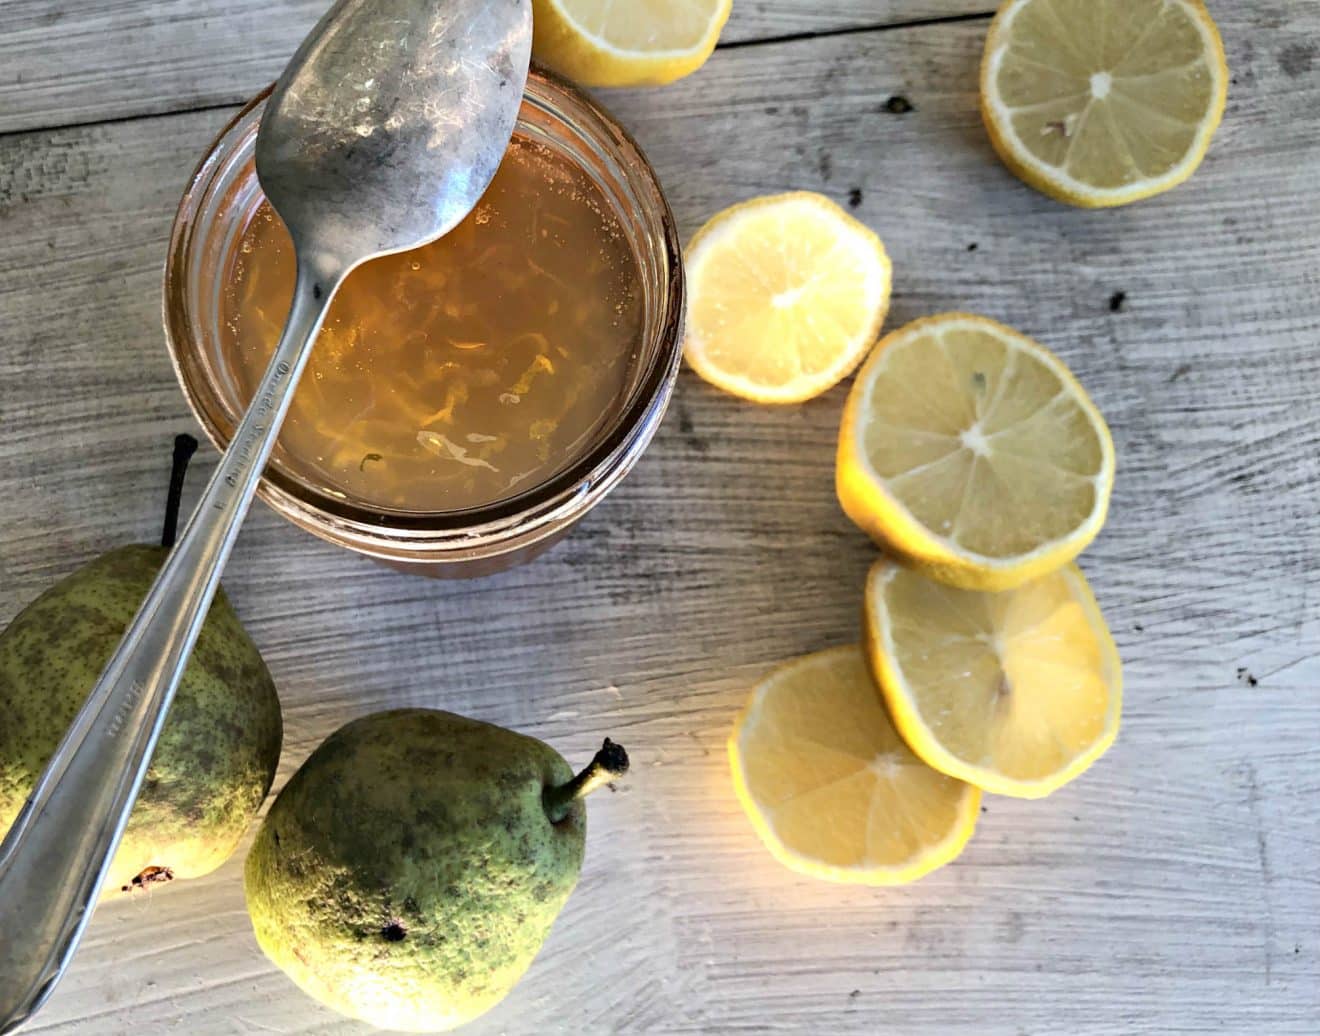
Use several layers of cheesecloth or a milk strainer or a tea towel to strain the pear juice.
The official instructions in the Ball Blue Book advise letting the juice drip 2 hours. It also says you are not supposed to squeeze or press the fruit while it is straining because it will make the cloudy jelly.
I broke the rules. I squished it and I only let it hang for 30 minutes. It was 9 pm and I was tired.
And my jelly turned out great.
To make the jelly:
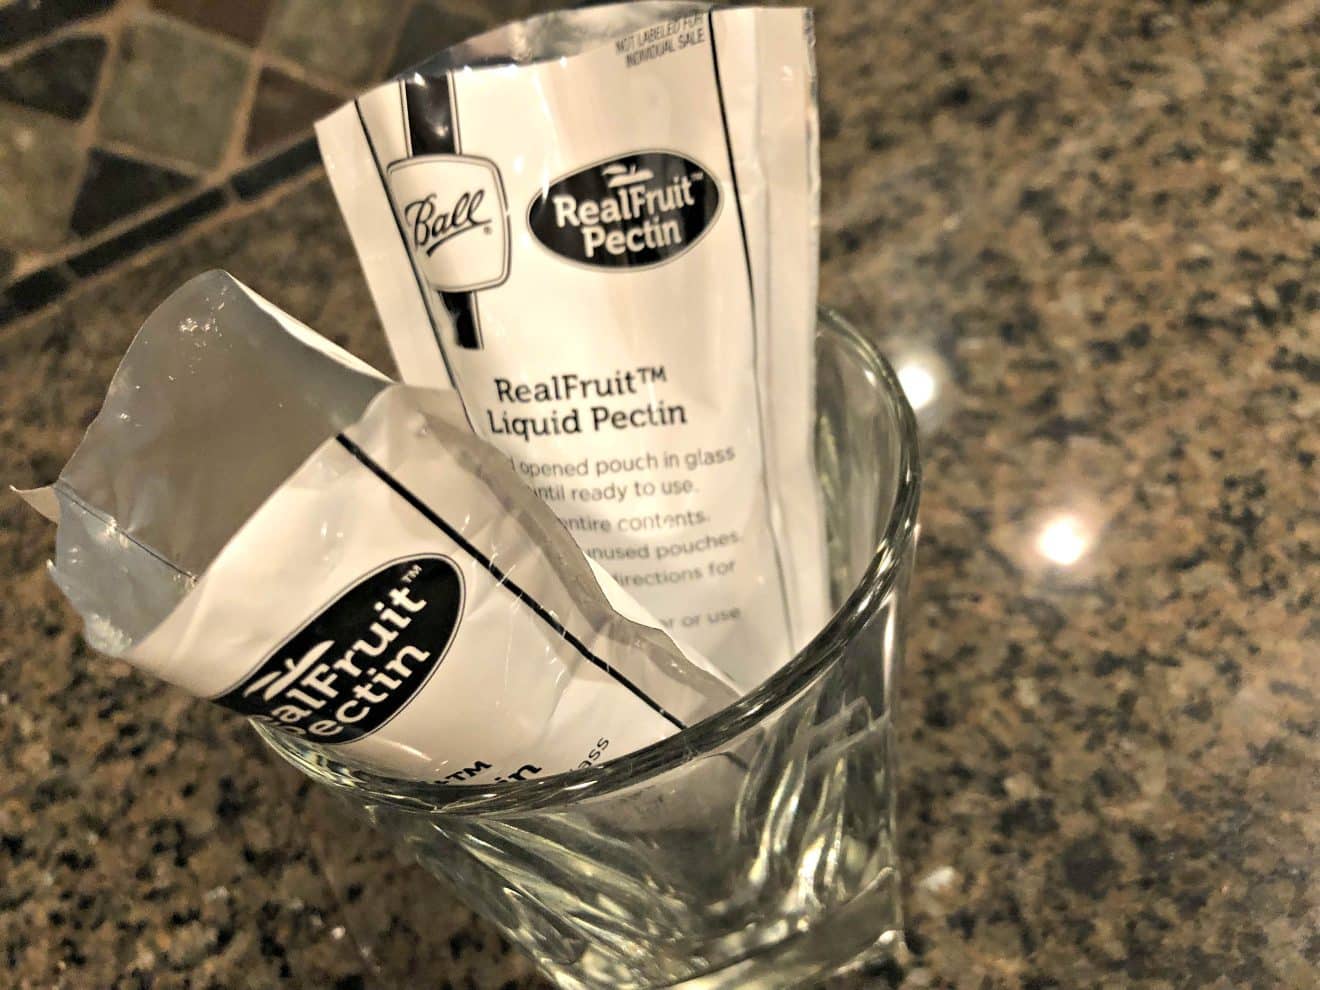
Open 2 packages of liquid fruit pectin (powdered will not work). Use small jars to hold your pectin upright while you prepare the jelly.
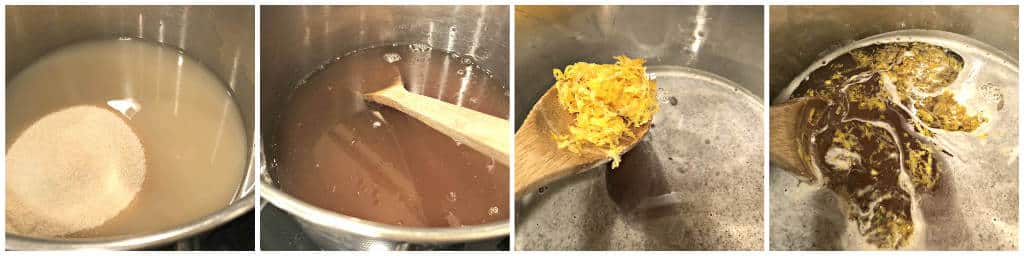
Pour 5 cups of pear juice into a saucepan.
Add sugar (that’s 7 1/2 cups) to the juice in the saucepan. Stir in the lemon zest. Bring to boil.
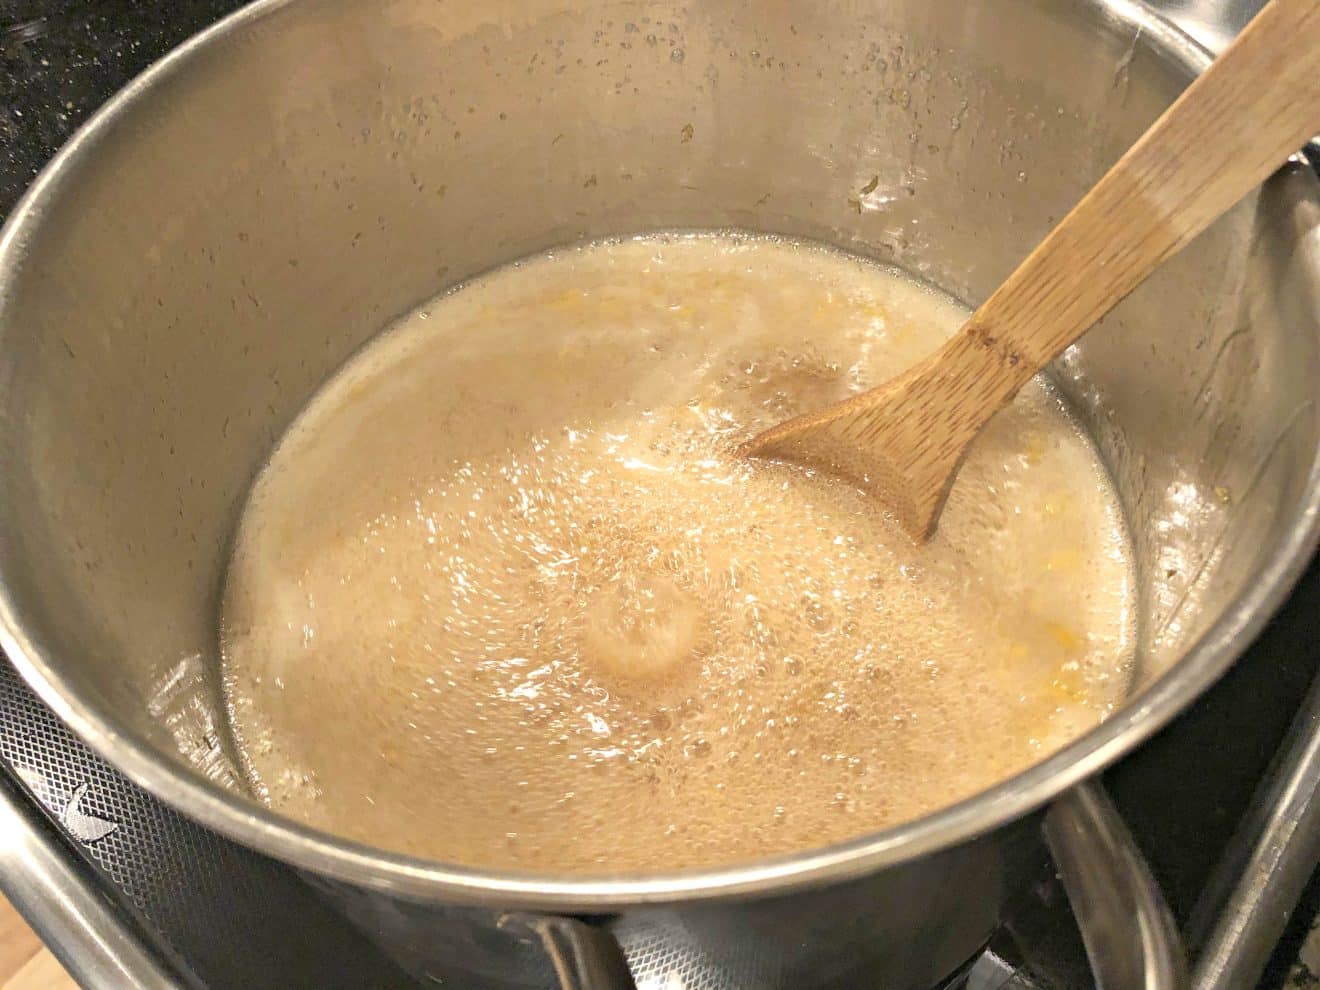
After boiling add the liquid pectin. Bring back to a full rolling boil. Boil 1 minute (no longer).
You can freeze or process this jelly in jars with a water bath canner.
To can:
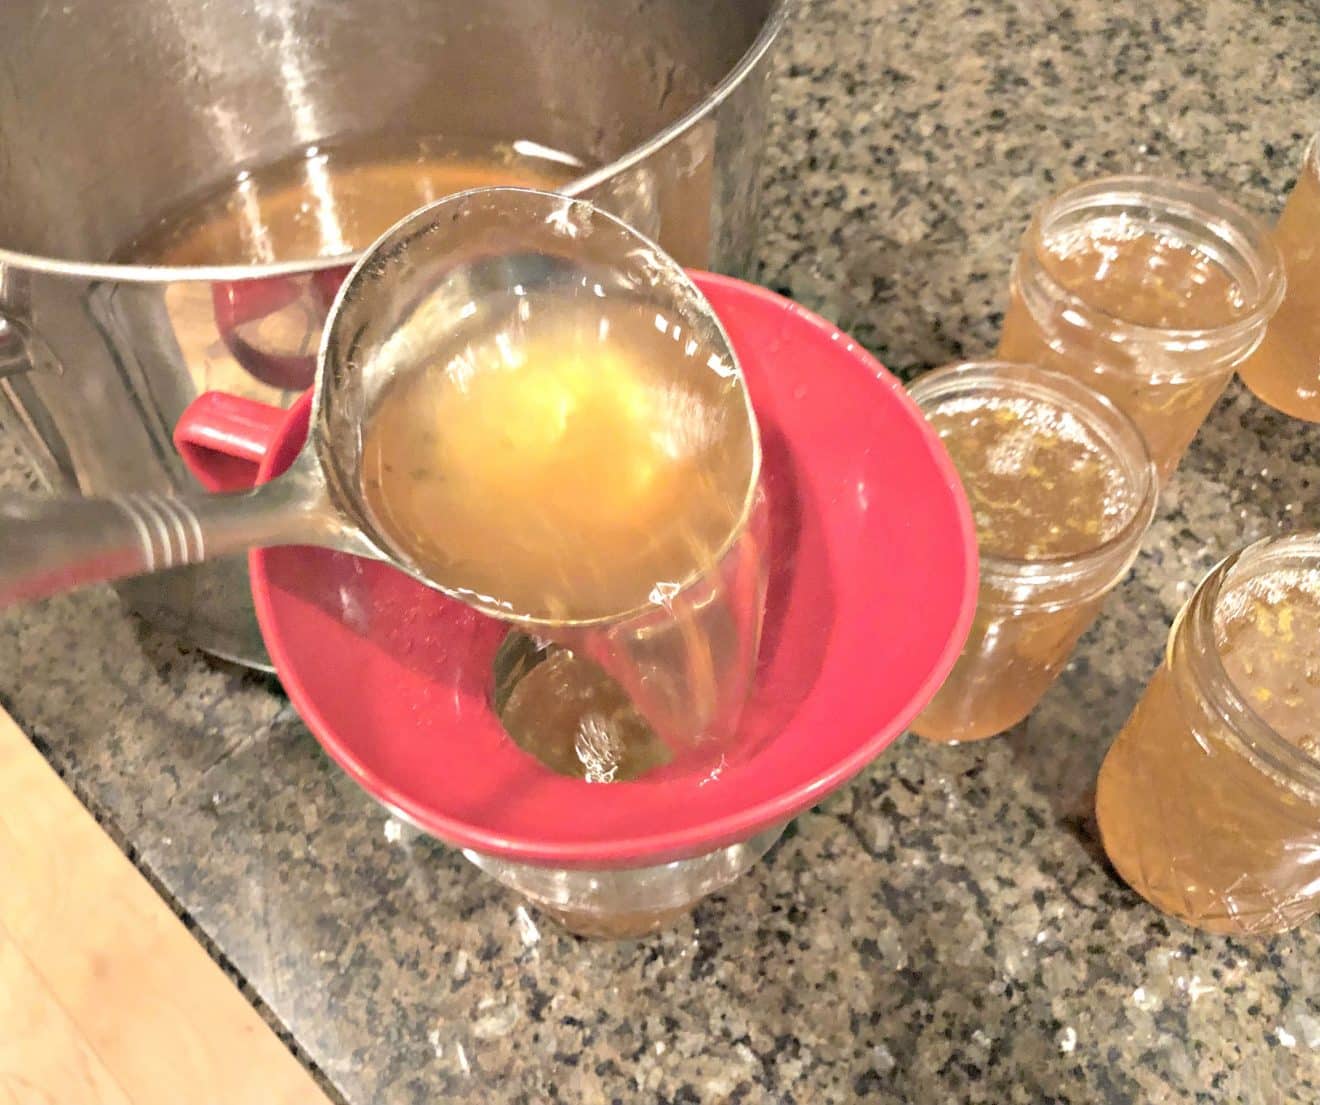
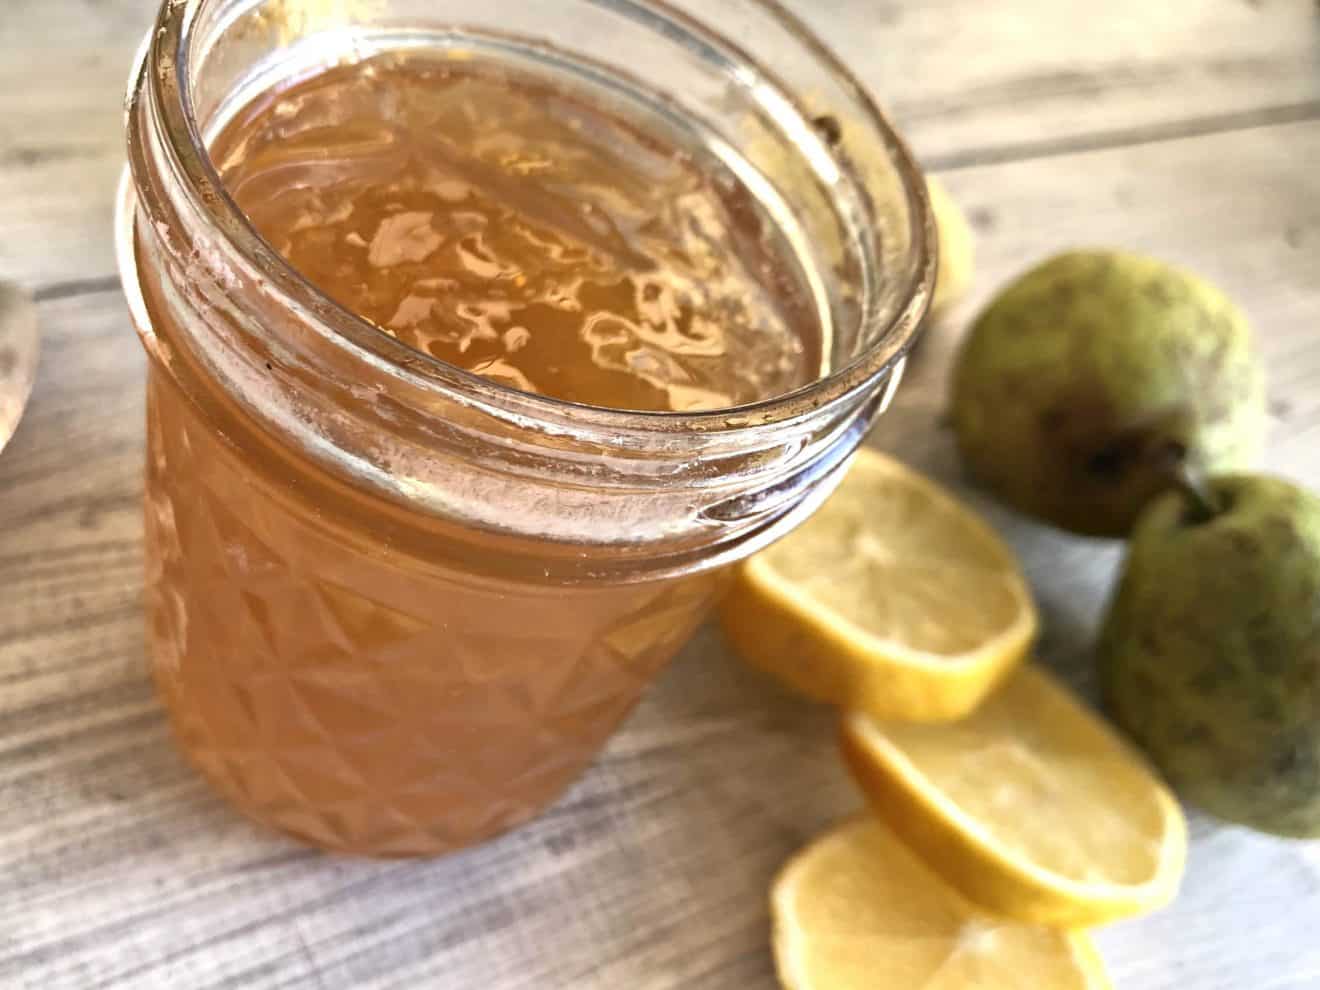
Remove jelly from heat. Ladle hot jelly into hot sterilized jars. Adjust lids and rings leaving 1/4 inch headspace.
Process 10 minutes in a water bath. Set to cool.
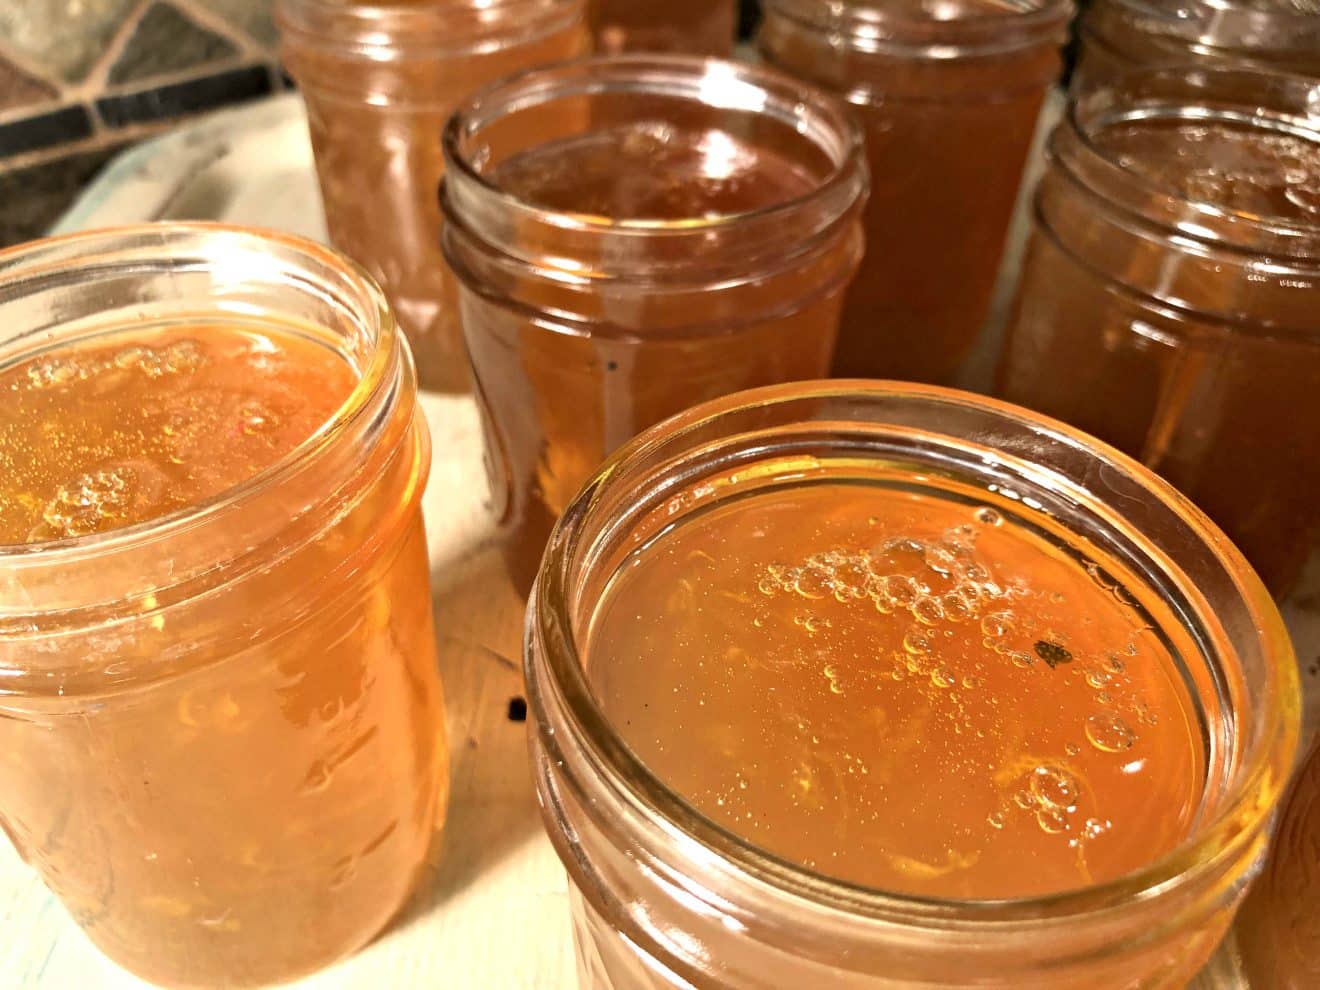
Leave undisturbed 24 hours. Check lids to ensure proper sealing. If any lids pop in the center move them to the refrigerator and use first.
This stuff is so good!
XO,
Candi

| Servings |
half pints
|
- 8 lbs ripe pears washed, ends trimmed, quartered
- water enough to cover pears
- 3 lemons Juice only
- 5 cups pear juice
- 7 1/2 cups cane sugar
- 4 tbsp lemon zest
- 2 packages liquid fruit pectin (6oz)
Ingredients
Juice
Jelly
|
|
To make Juice:
Wash pears, cut off stems and ends. Cut into quarters & put in a saucepan. Do not worry about seeds, cores or skin, we will be straining the juice. The peel contains most of the pectin and will make the jelly better.
Add enough water to cover the pears. Bring to a simmer on the stovetop. Add the lemon juice.
Bring to a boil & mash with a potato masher. Continue to simmer and mash until all the pears are soft (about 30 minutes).
Use several layers of cheesecloth or a milk strainer or a towel-lined colander to strain the pear juice.
Let the juice drip 2 hours. Do not squeeze or press the fruit - this will create cloudy jelly.
To make the jelly:
Pour 5 cups of pear juice into a saucepan. Open 2 packages of liquid fruit pectin (powdered will not work). Use small jars to hold your pectin upright while you prepare the jelly.
Add sugar to the juice in the saucepan. Add lemon zest. Bring to boil. Stir in liquid pectin. Bring to a full rolling boil. Boil 1 minute (no longer).
You can freeze or process this jelly in jars with a water bath canner.
To can:
Remove jelly from heat. Skim off foam. Ladle hot jelly into hot sterilized jars. Adjust lids and rings leaving 1/4 inch headspace. Process 10 minutes in a water bath. Set to cool.
Disclaimer: Always follow directions specific to your equipment and elevation for canning. Dispose of any home canned goods that show signs of spoilage which can include: bulging lids, leaking, corrosion, cloudy, mushy, moldy foods or disagreeable odors.


)
)