
I have a good reason to be showing this one after Christmas. I gave these as gifts this year. I didn’t want to spoil the surprise, so I’m posting this one a little late. If you like it – you can get a jump on next year’s gift!
I borrowed this idea. It is not mine. Pinterest is pretty inspirational if you are ever out of ideas.
In order for a craft to make it into my repertoire, it must:
- Be simple & easy enough for kids to make.
- Use supplies found around my house (“running” to the store is not an option when you live where I do).
- Take no more than a weekend to finish.
This one’s a Trifecta. It’s done in a weekend. It is made from my scrap wood pile. And, it’s easy. All my kids made this. I’ll show you how to do it.
Supply list:
- 4 X4 Post
- Saw (to cut post)
- Drill with 1 3/4 inch bit
- Paint & brushes
- Tea candles

First, a trip to the big red barn.
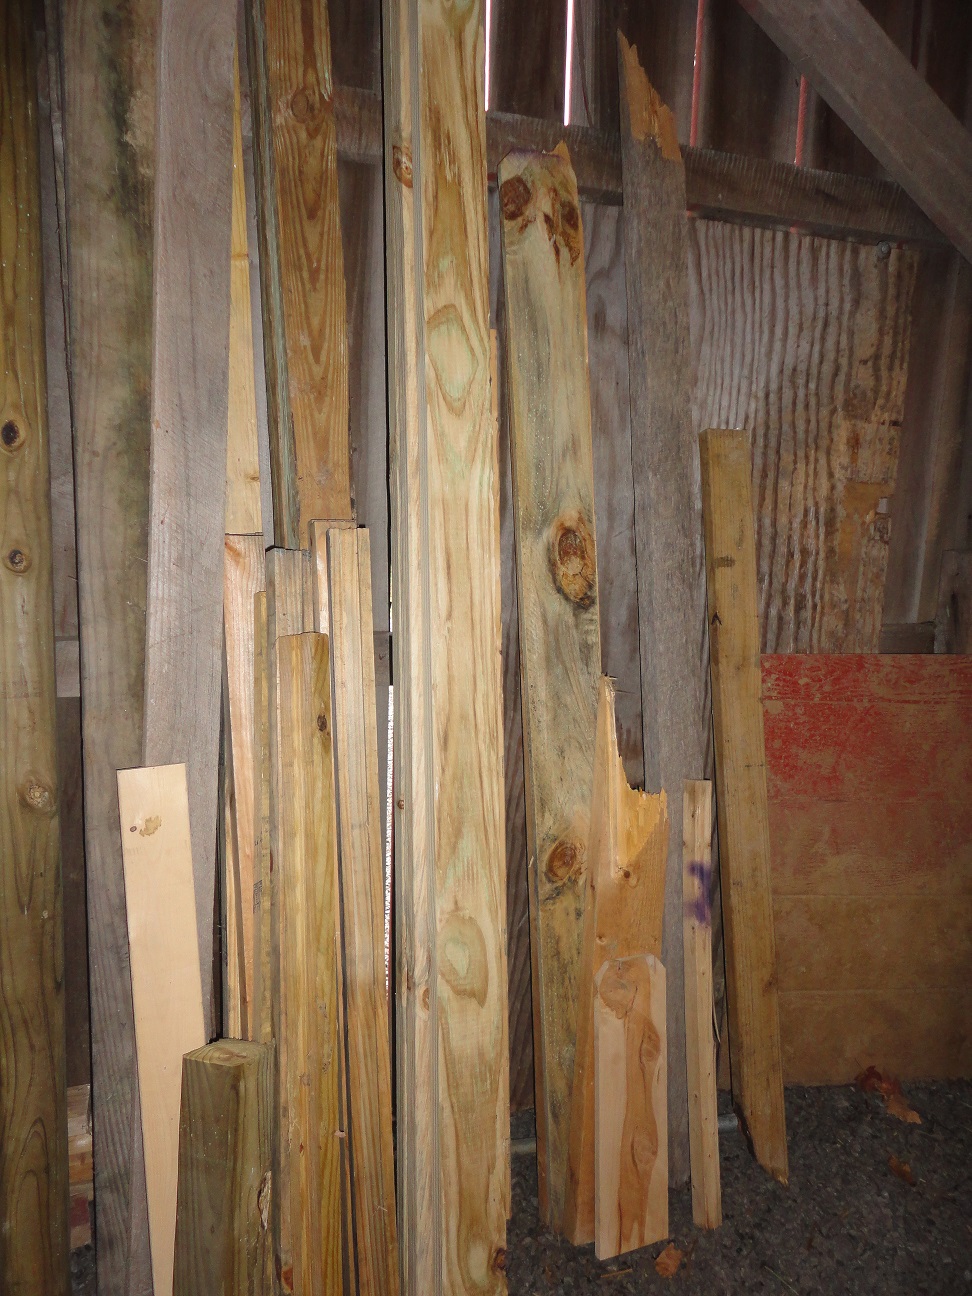
Inside you’ll find a BUNCH of wood leaning against the front wall. I don’t even know where half of this came from. It’s a collaboration of leftovers, garbage, random scraps from other peoples dumpsters, trash from the big-box Home Improvement Store, and even trash people hauled to their curbs (that I may have taken). Maybe.
If you don’t want it. I’ll be happy to take it off your hands. Why buy wood if you don’t have to?
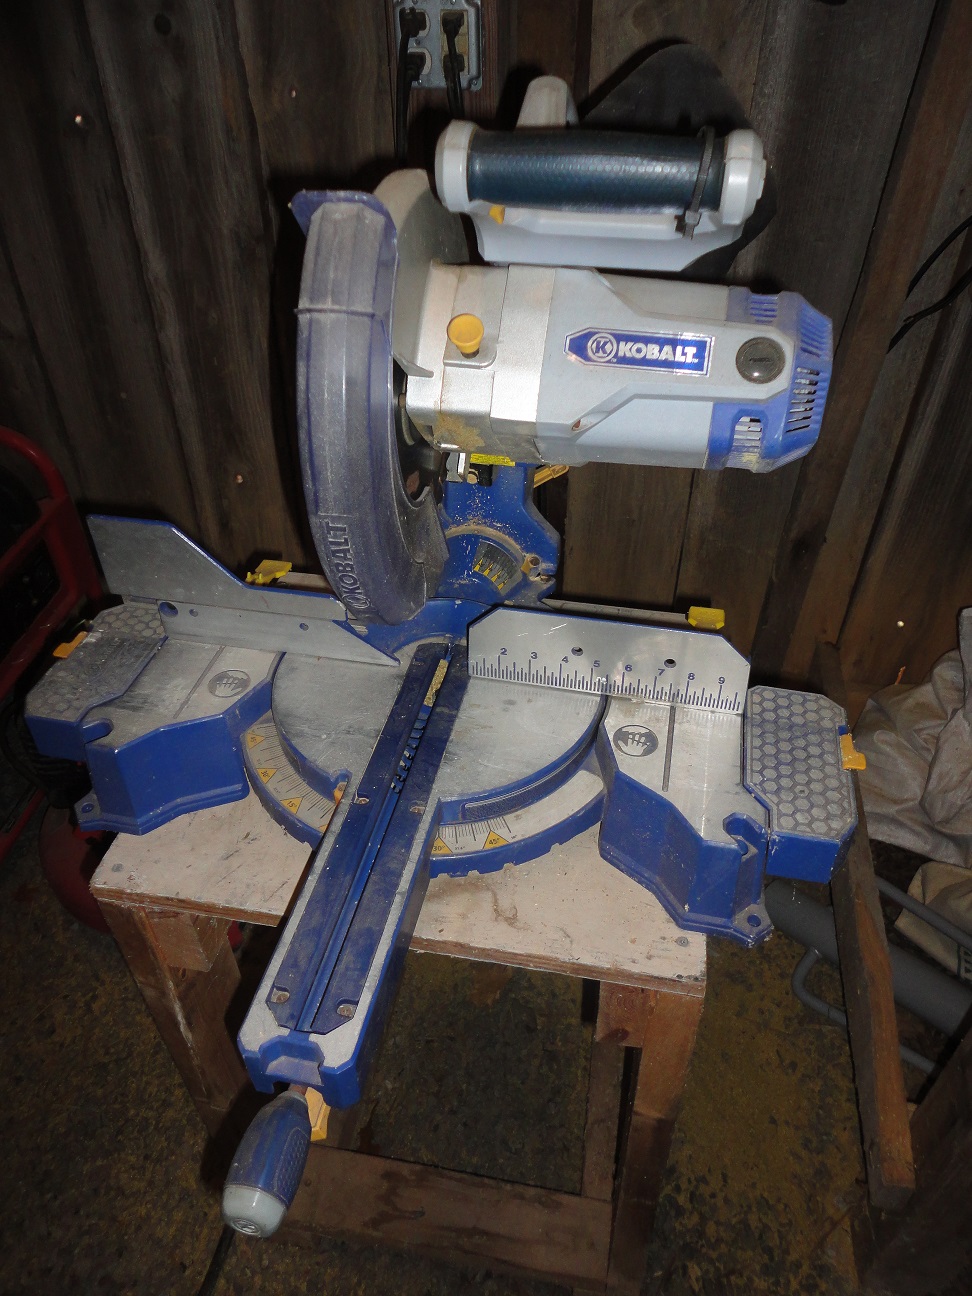
This will come in really handy if you are chopping 4×4 posts into 40 pieces. It is a chop-saw. I love it. Lay the wood on the cutting table. Grab the handle & pull it down. CHOP! Done. In 2 seconds this cuts through a 4×4 – perfectly.
If you don’t have a chop-saw you can use a circular-saw. You’ll just have to cut through one side. Flip it over. Then cut through the other side. Wear goggles, wear gloves, be careful, don’t hurt yourself. 🙂
Here’s the measurements for the 3 posts:
- 1 – 4 inches tall
- 1 – 6 inches tall
- 1 – 8 inches tall
Once it’s all cut to the correct sizes, it’s time to make the hole for the tea candle.
I am using a normal drill with a 1 3/4″ drill bit to make the hole in the top.
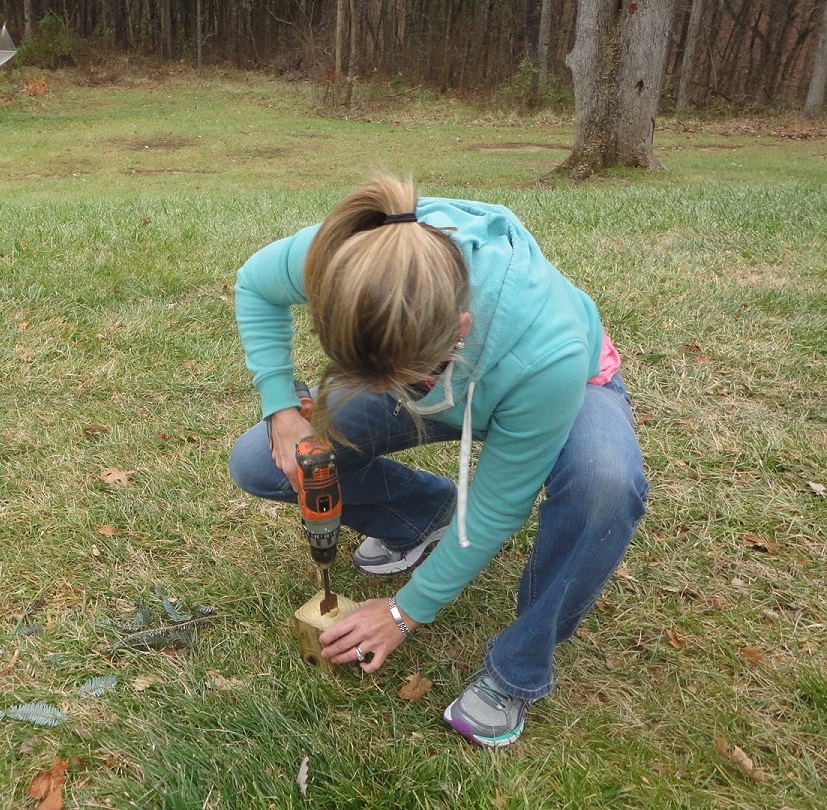
If you are wondering why my pictures are sometimes off center and blurry……..

It’s because I have short photographers who like to take selfies.

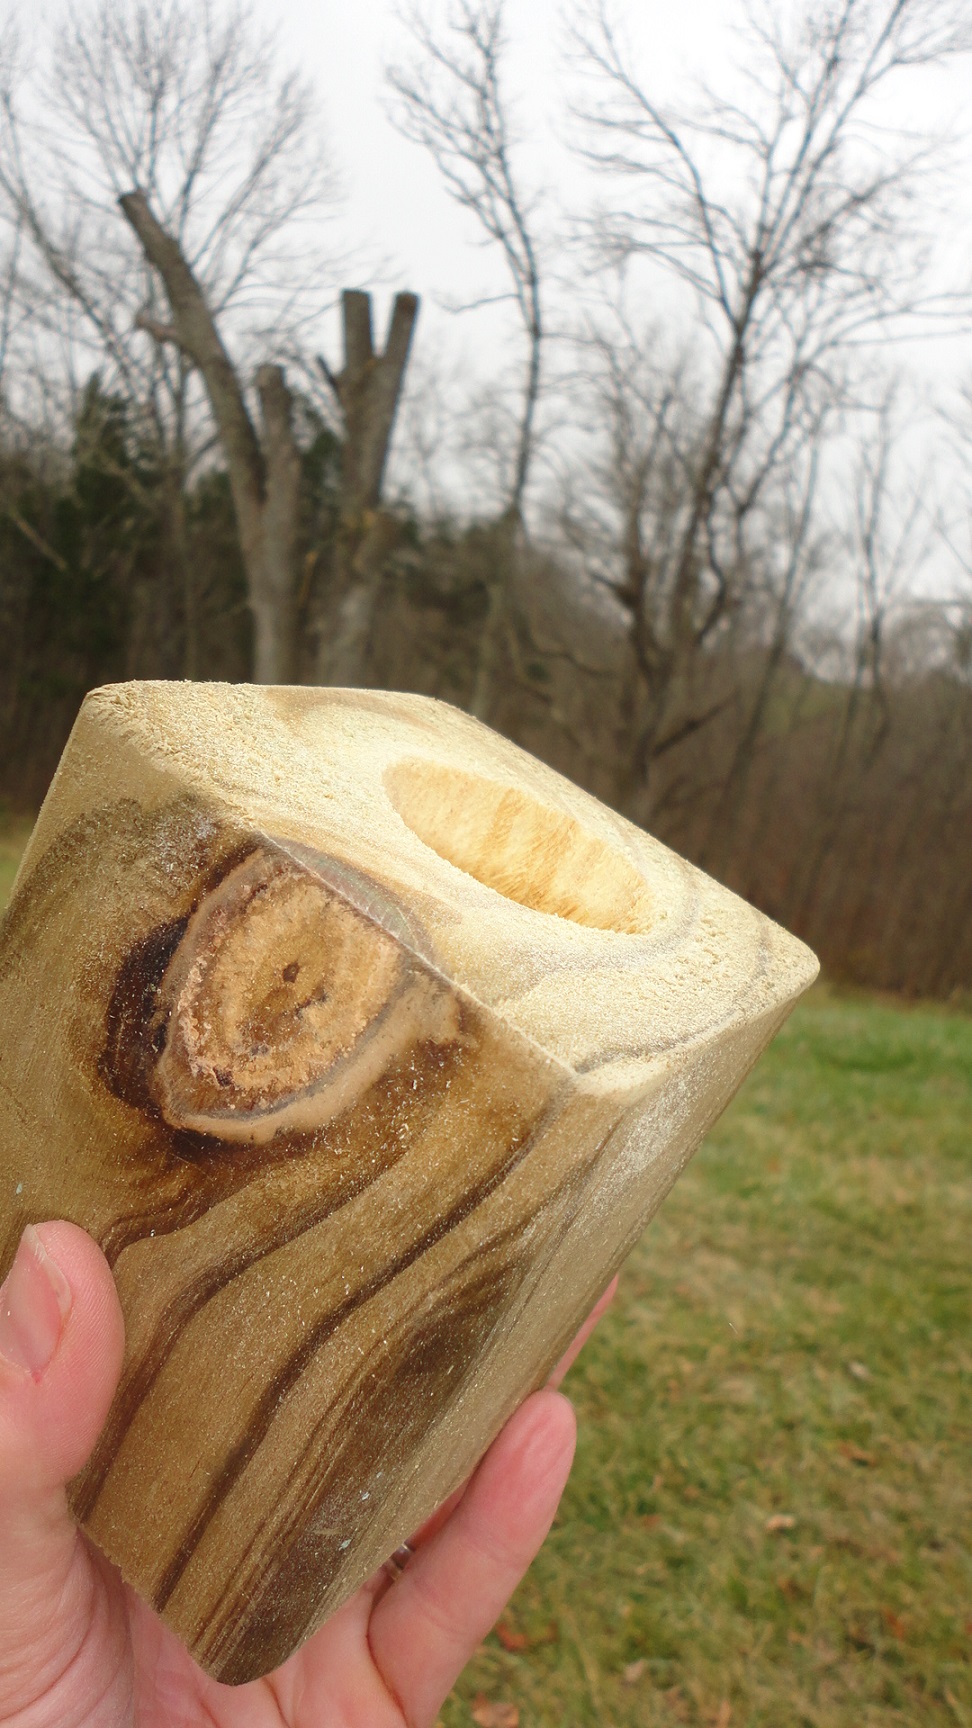
Now we have a hole in the center near the center of the post…
And we can do this.
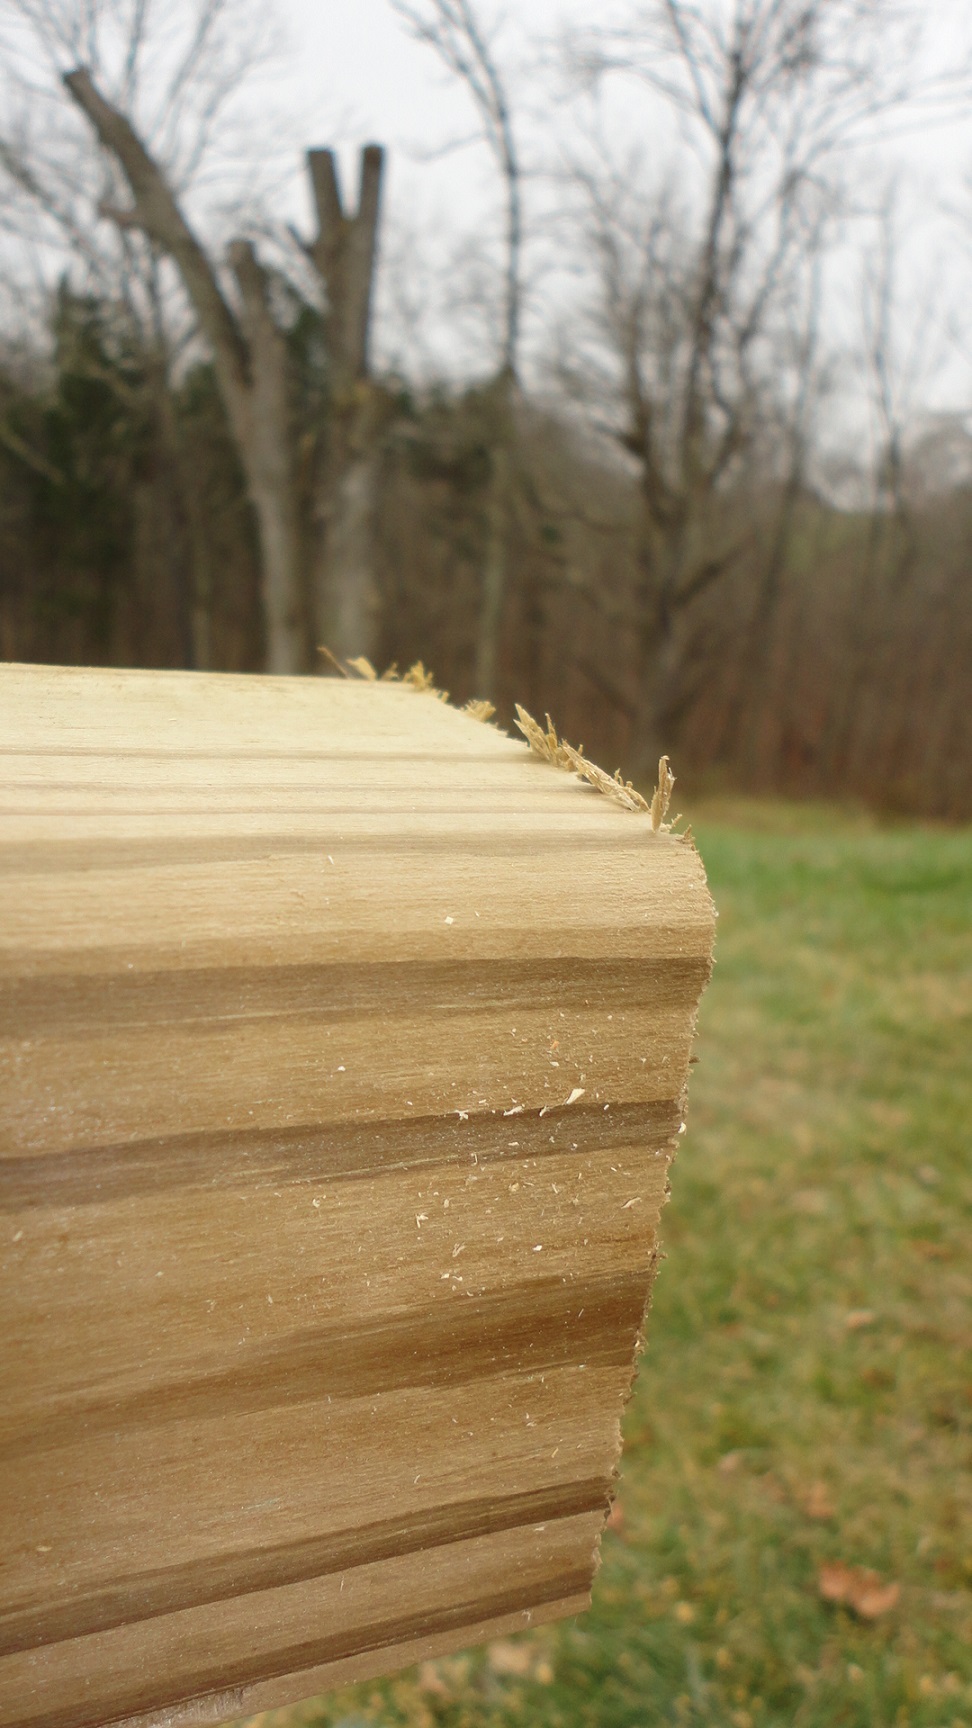
There’s some rough edges.
Just knock ’em off with a little sand-paper.
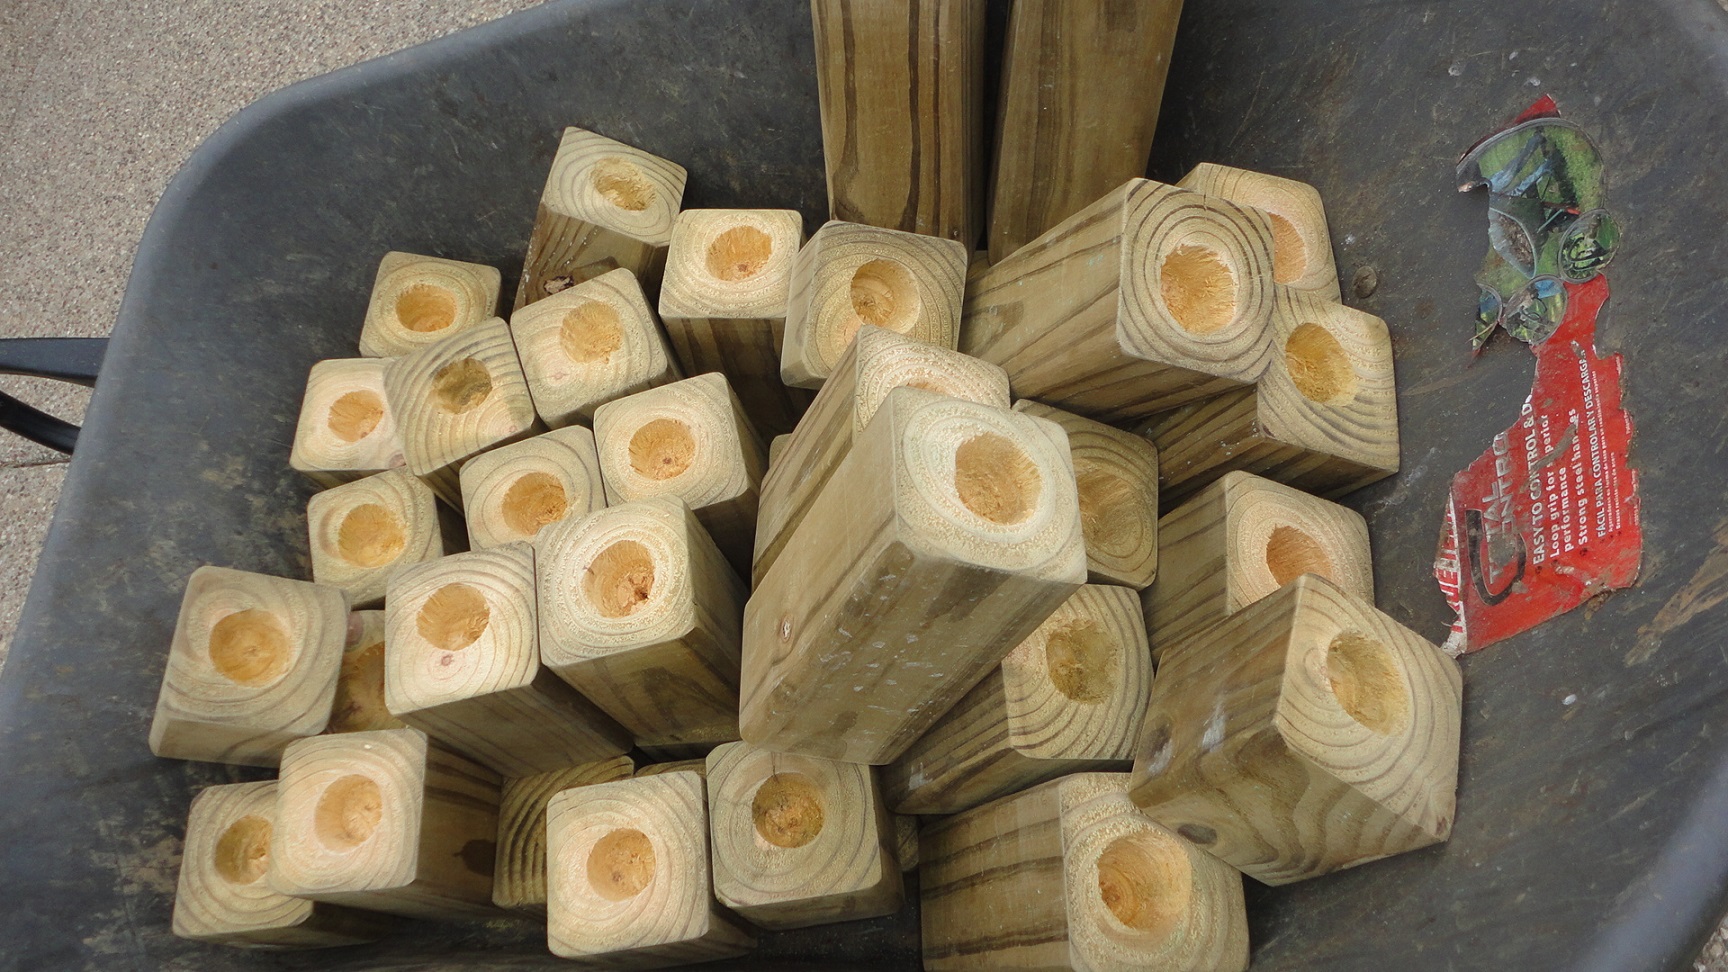
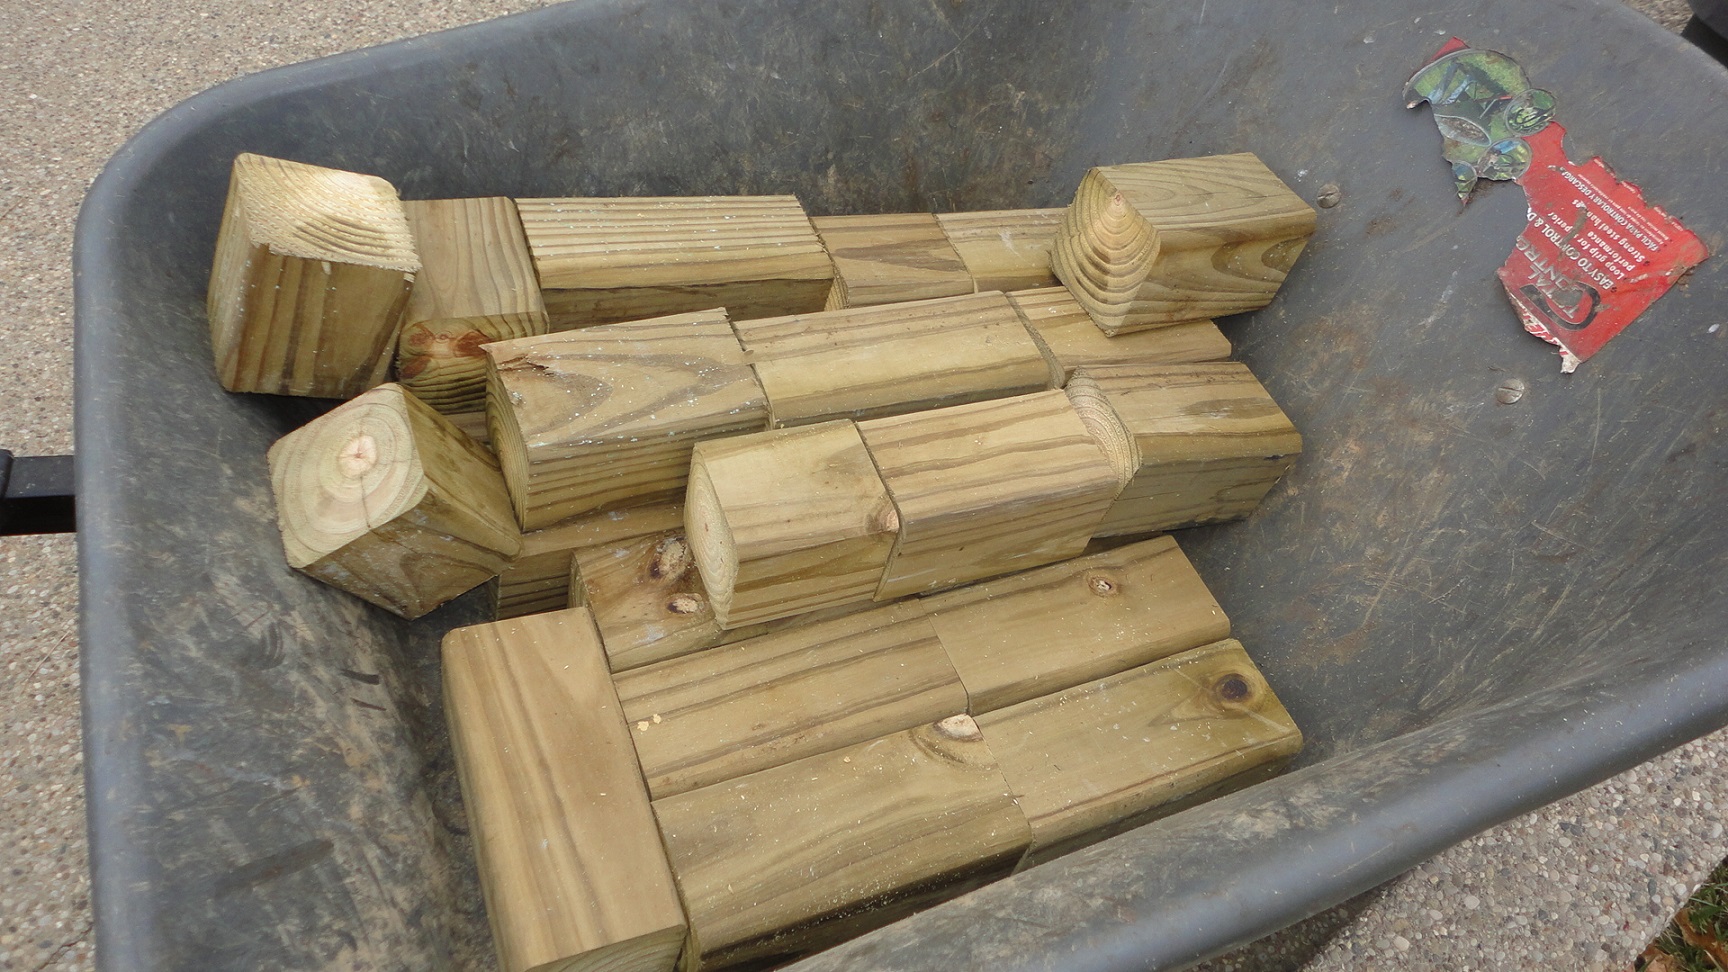
And we have a wheel-barrow full of little posts with holes in the top.

Painting time! Get the kids in the garage now. Give them all a paint brush and some blocks of wood. I just run around after them cleaning up all the drips and hitting the spots they miss. Paint the tallest and shortest white. The middle one is red.
The next day we brought the taller ones into the kitchen to turn into candy-canes. We wrapped them with painter’s tape. The tape is not perfectly straight. Just eye-ball it. Perfection is not necessary. We are going for old fashioned and rustic. There’s nothing perfect about old and rustic. Thank goodness!
Helpers!
Getting creative with the painters tape. It’s a present. Isn’t that cute!
Slap a coat of red paint over the entire thing.
Wait a few minutes and pull off the painter’s tape. You’ll have a candy cane!
I don’t like anything that looks new, so I grabbed my rag and a can of dark stain & hit the edges and corners with it. I also stained the white ones and red ones. All the posts got a little rustic flare.
I coated these guys with a clear gloss spray-paint. It is an optional step. The clear spray paint will give them a shinier more polished look. Totally optional.
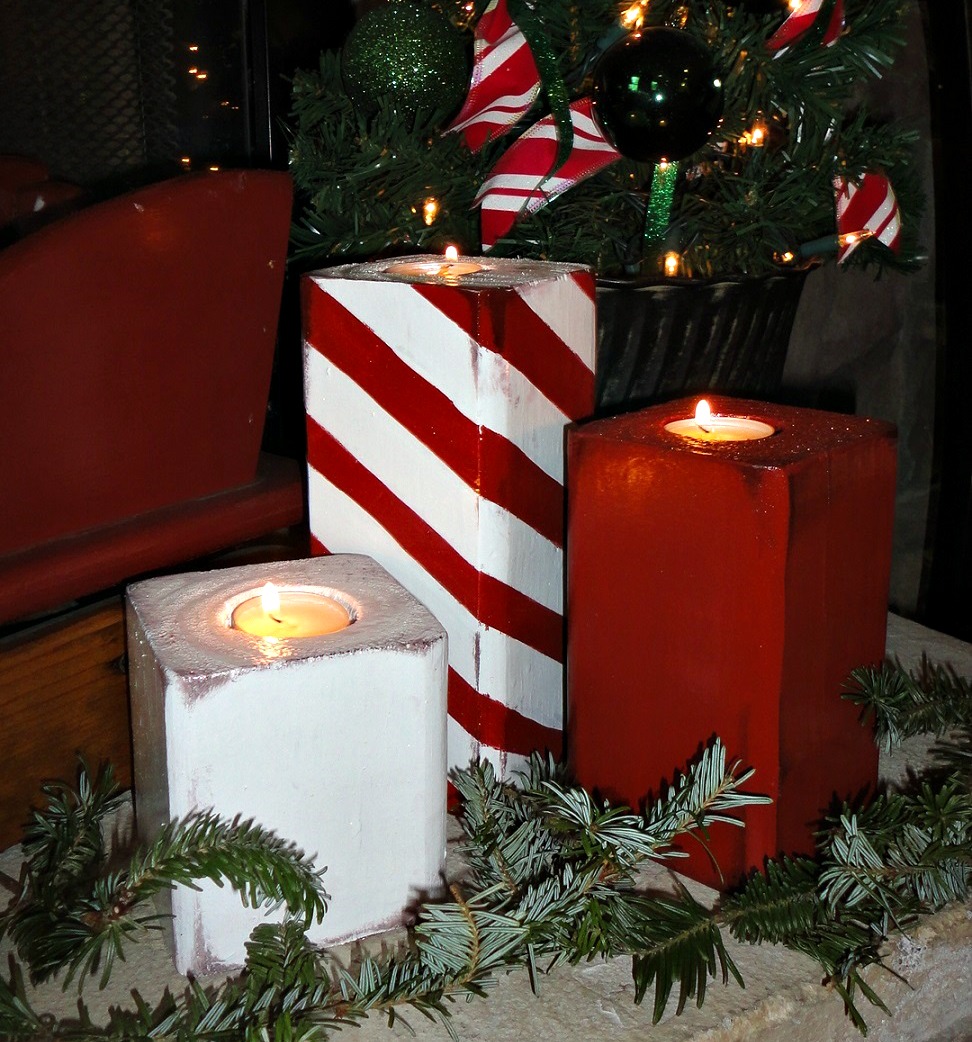
Once they are dry just pop the tea candles into the holes.
Beautiful!
To get old fashioned recipes, farm tips and homesteading advice be sure to subscribe via email (here).


