
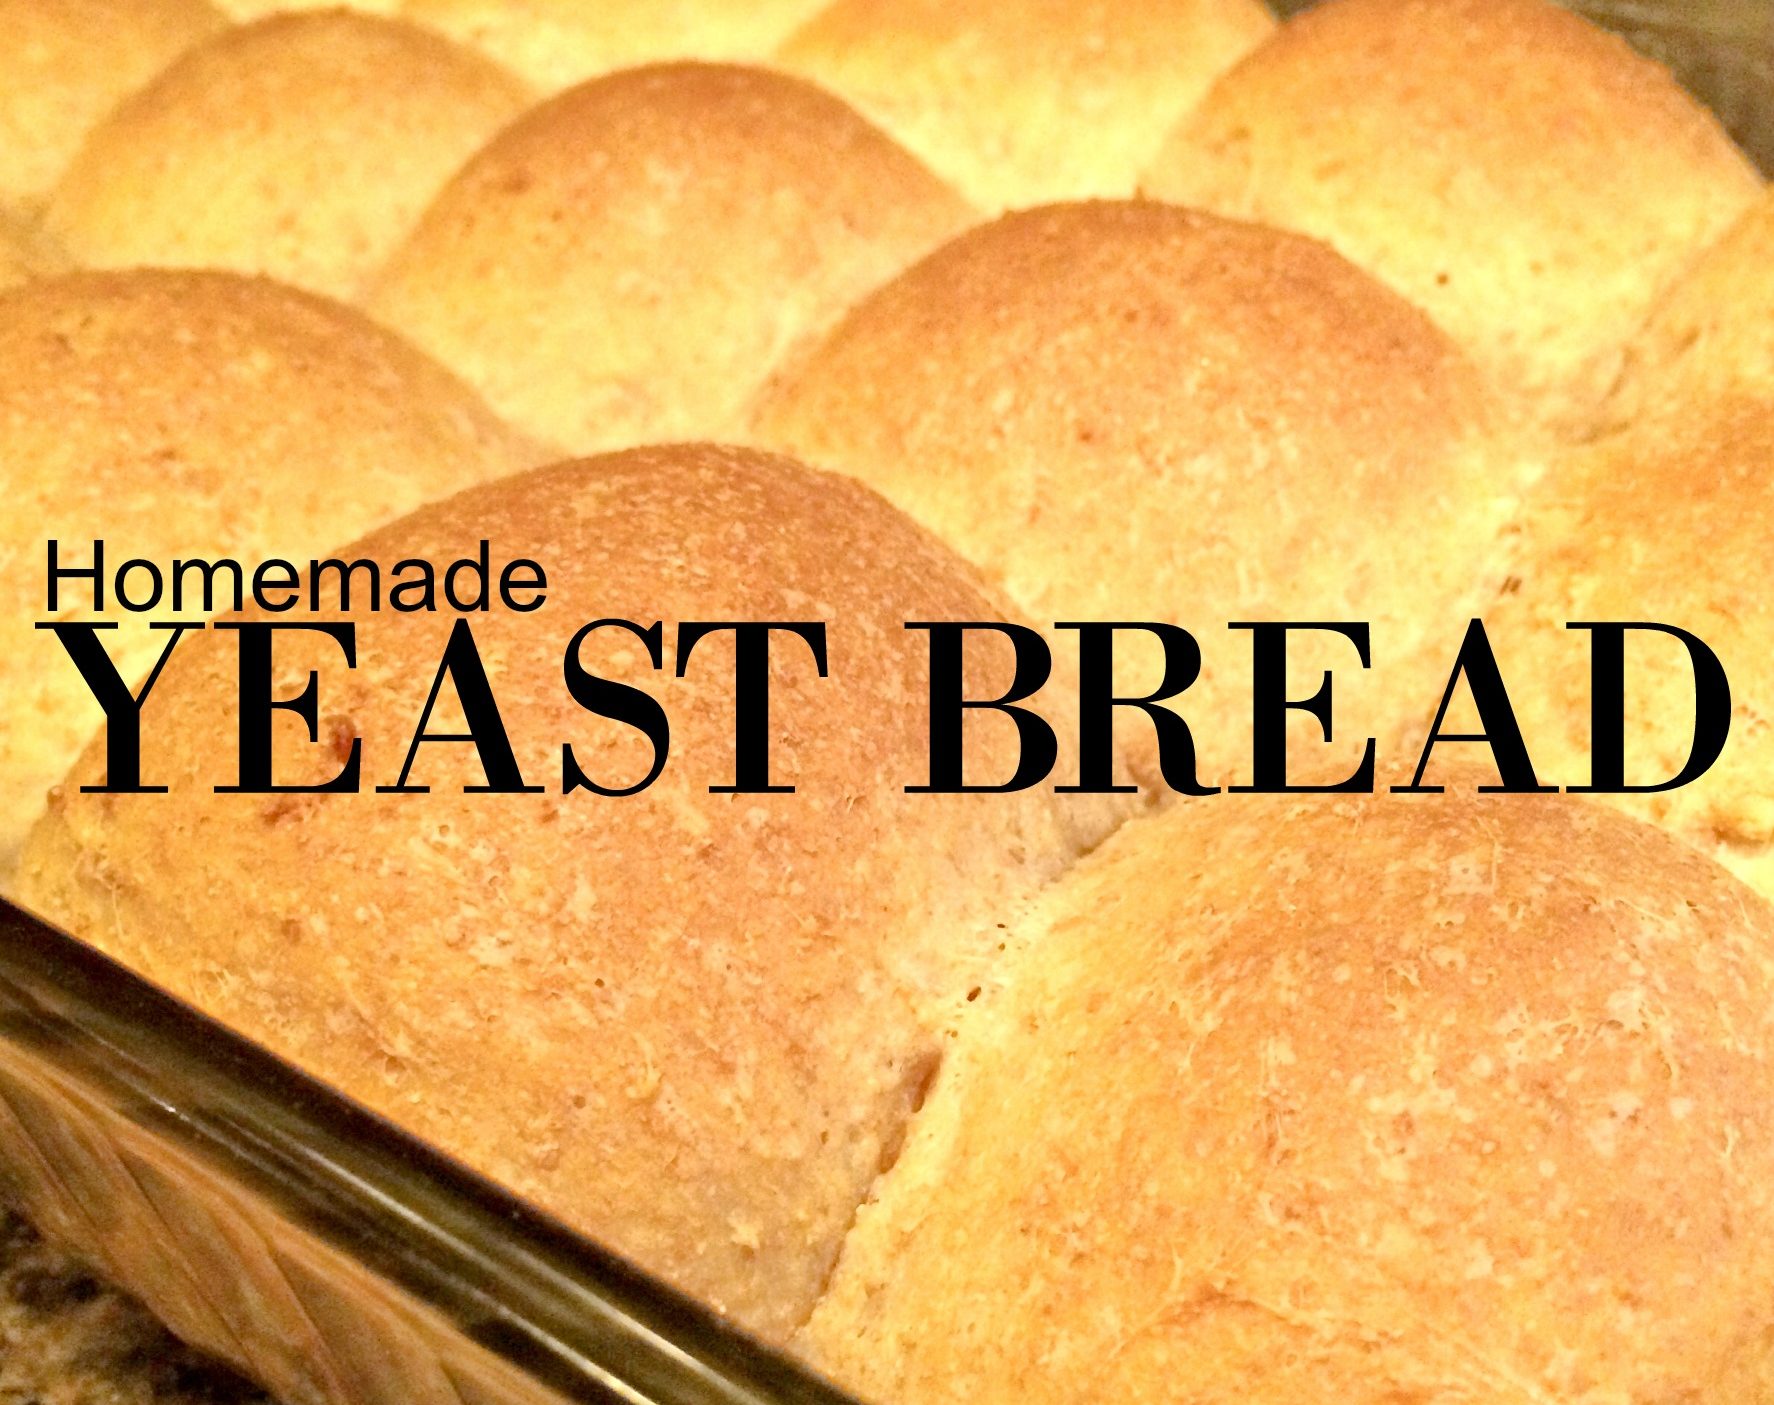
Basic Yeast Dough – Slightly Sweet, Homemade, Easy
This may be the most versatile, most used recipe in my home. It is a very basic, yeast, bread dough with a bit of sweetness that can be used to make all sorts of baked goods.
What I make with this dough:
- Buns – regular buns, hot dog buns, slider buns
- Pita Bread
- Pizza Crust
- Flour Tortillas
- Pan Fried Doughnuts (Goodness Gracius Glory and Beyond amazing)
All of these magnificent delicacies come from this one simple dough.
You may have noticed that “loaf bread” is not on this list. This particular dough isn’t built for loaf pans. If you want to make the most glorious, soft loaves of bread in your kitchen go here. It is fabulous!
Today I want to introduce you to the recipe & let you get your hands dirty!
Making homemade yeast breads is an art. I believe it is more of a “skill” or “craft” than it is a recipe.
I make all my homemade, yeast, breads with fresh ground flour. It is so healthy and easy to do. Go here to learn 4 Reasons to Grind you own flour. Go here to see which mill I use & how to use it.
I only use fresh milled (hard wheat) flour for this recipe. I have no idea what the end result would be if you used store-bought wheat flour. I would think it would be similar, but – that stuff’s not good for me so I’m not eating it.
Here’s the recipe:
Slightly Sweet Bread Dough
- 1 cup very warm water
- 1/4 C honey (Real Maple Syrup works too)
- 1/2 cup butter (melted & warm)
- 1 cup very warm milk
- 1 1/2 tbsp quick rise active dry yeast
- 2 eggs
- 2 teaspoon salt
- Around 6-7 cups Fresh Milled hard wheat* flour (add flour until dough begins to “clean” the sides of the mixing bowl)
*You can use hard red, hard white, hard spring or winter. Soft wheat will not rise & hold its shape in this yeast bread recipe.
Now, you can’t just grab your bowl and start adding ingredients. Homemade yeast breads require order and process.
Things to know about Yeast Breads:
- Salt kills yeast – but there is salt and yeast in this recipe – tricky.
- If your liquids are cold your yeast won’t activate.
- If your liquids are too hot your yeast will die.
- If your liquids are very warm your yeast will activate become foamy, bubbly and make you a light soft bread.
- If you add too much flour your dough will be hard and your bread will be tough.
- If you add the right amount of flour your dough will be sticky and your bread light and fluffy.
See, I told you yeast breads are crafts.
Don’t fret – I’ve been making this stuff for years and years and years and years. You can do it too.
Another tricky thing about homemade yeast breads:
There is no “correct measurement” for the flour in this recipe. That’s why the recipe says “around 6 cups of flour.” It is going to be different nearly every time you make it.
Many factors will effect what is the “right” amount of flour to add to your bread dough.
Some include: humidity, sea level, time of year and temperature in your home.
The amount of flour I use for this recipe varies depending on the time of year. Sorry. You can’t just add the same amount of flour every time and get the same result. You’re gonna need to watch your dough, look at the sides of the mixing bowl and know when it is done.
You can do this!
Let’s start at the beginning.
So you don’t get overwhelmed, here’s a quick overview of what we are going to do:
- Put warm wet ingredients into mixer with yeast & let the yeast activate
- Add eggs, flour & salt
- Knead for 5 minutes
- Let rest
- Shape into buns & Bake!
First, grab your mixer and insert the dough hook.
The mixer I use is this one. It is amazing. It can knead & handle enough dough to make over 10 loaves of bread at once (compared to the Kitchen Aid’s 4 loaf max). This machine makes Kitchen Aid look like child’s play.
I know the Kitchen Aid boasts a 5 Quart capacity which seems similar to the Bosch’s 6 1/2 Quart capacity, but I think the main difference is the power of the motor. It is pricier, but the Bosch has more capacity, more power, a killer warranty and can make anything you throw at it. I love mine.

Sprinkle the yeast right on top of the wet ingredients
You want the water, honey, butter, and milk to all be very warm when they go into the mixer. This will do 2 things:
- Encourage the yeast to activate
- Create a “warm” dough. The dough will stay warm throughout the kneading/ rising/ punching/ working. Warm dough rises better and faster. Warm dough is easier to work with. Warm dough will lift and give you soft bread products.
Add the (very warm) water, honey, melted (warm) butter, (very warm) milk and yeast to the mixer. Turn the mixer on for a few seconds just to mix everything. Cover & let this sit for 10-15 mintues so your yeast can activate.

After a quick mix, the yeast is blended
While the yeast is doing it’s thing, go grab some wheat berries & dump them in the hopper of the mill. Turn the mill on to the finest setting (I want powdery flour, not gritty) and grind up the flour.
When all the grain has been fed through the mill and the hopper is empty it will begin to scream like a jet airplane. This is good. I let my mill scream for 30 seconds in order to clean it.
At this point, the yeast should be done activating.
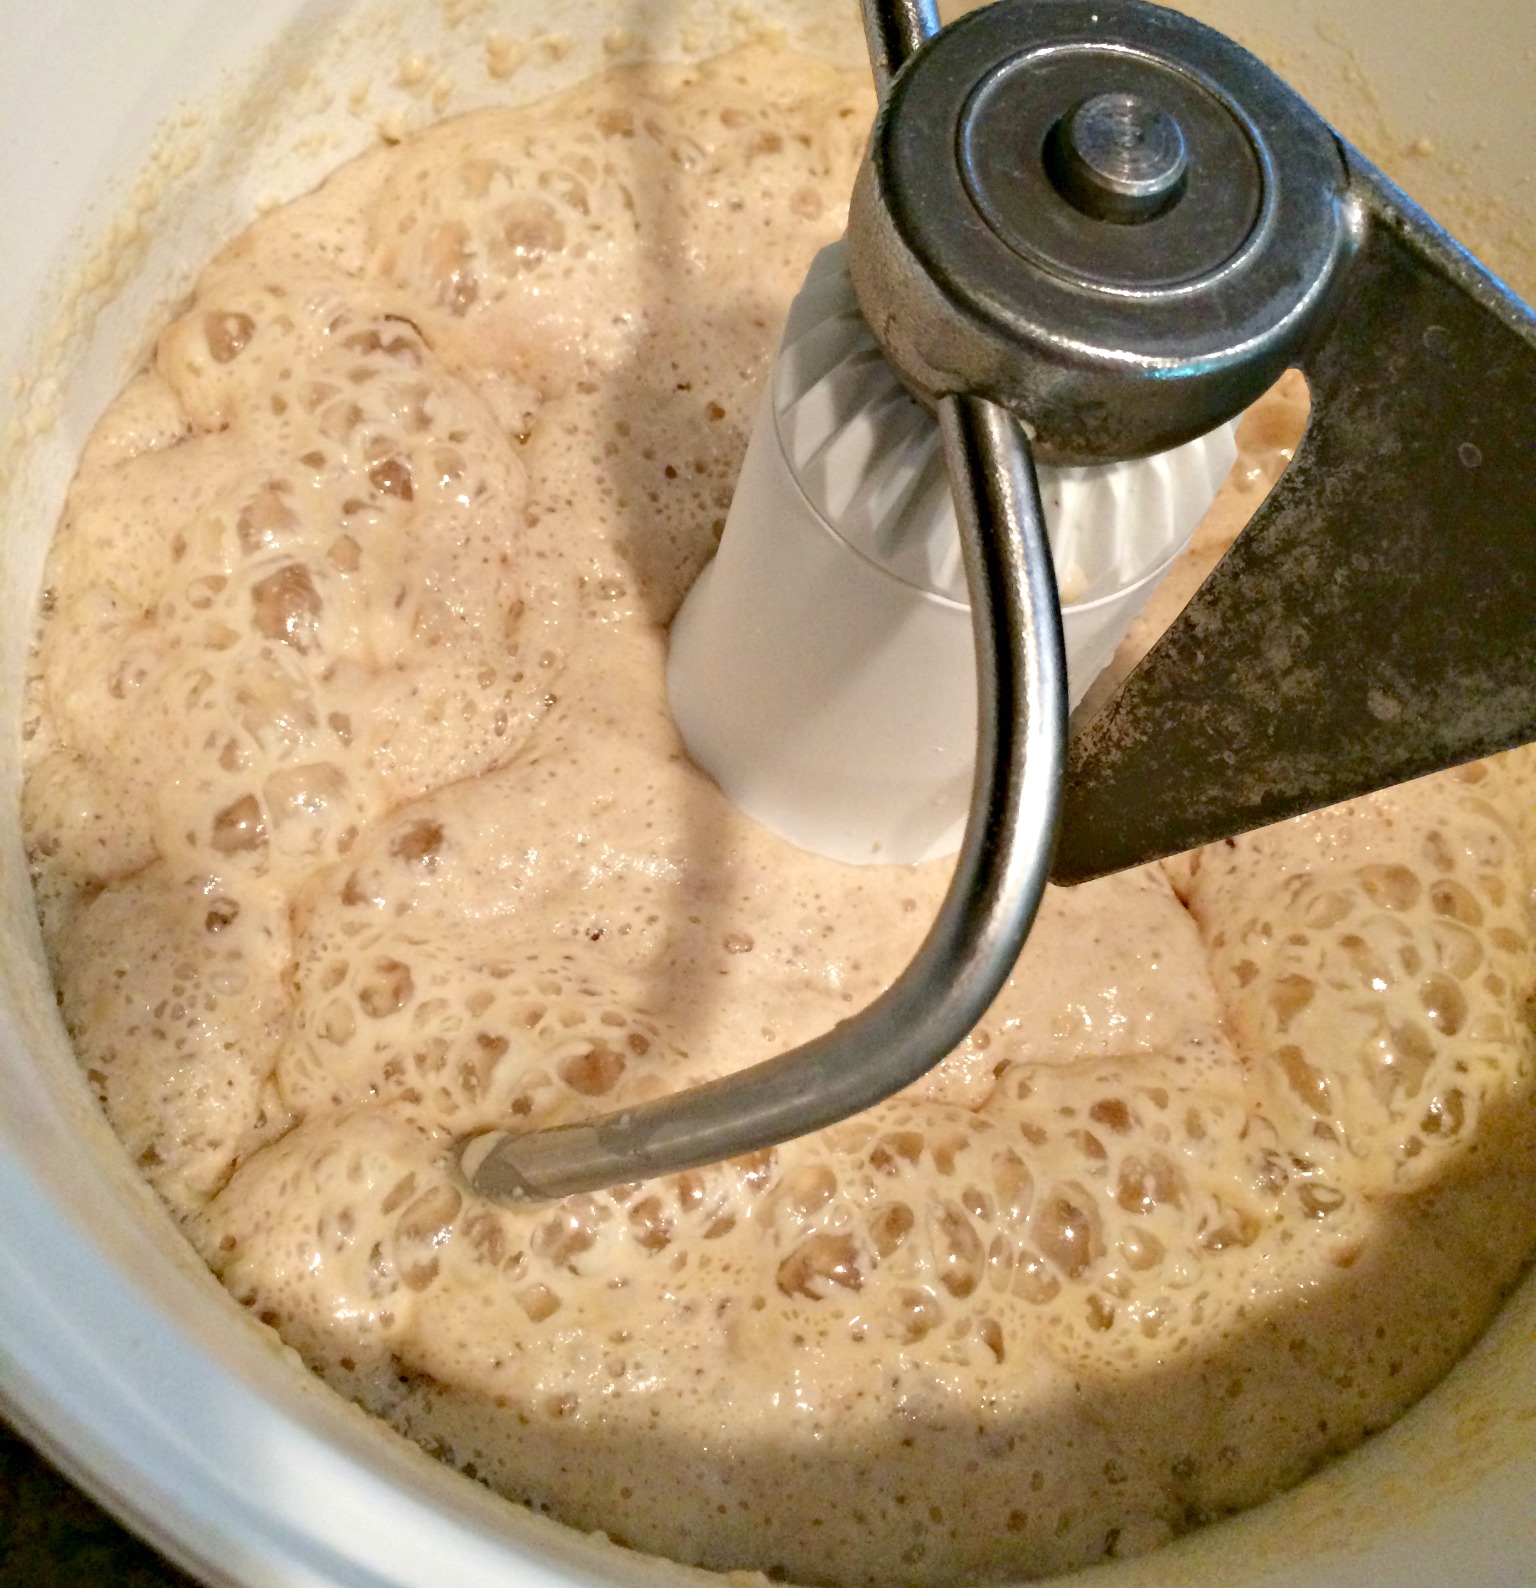
Yeast is foamy & activated
First I’m gonna mix in the eggs. Drop them into the mixing bowl & give it a spin.
It’s time to begin adding the flour.
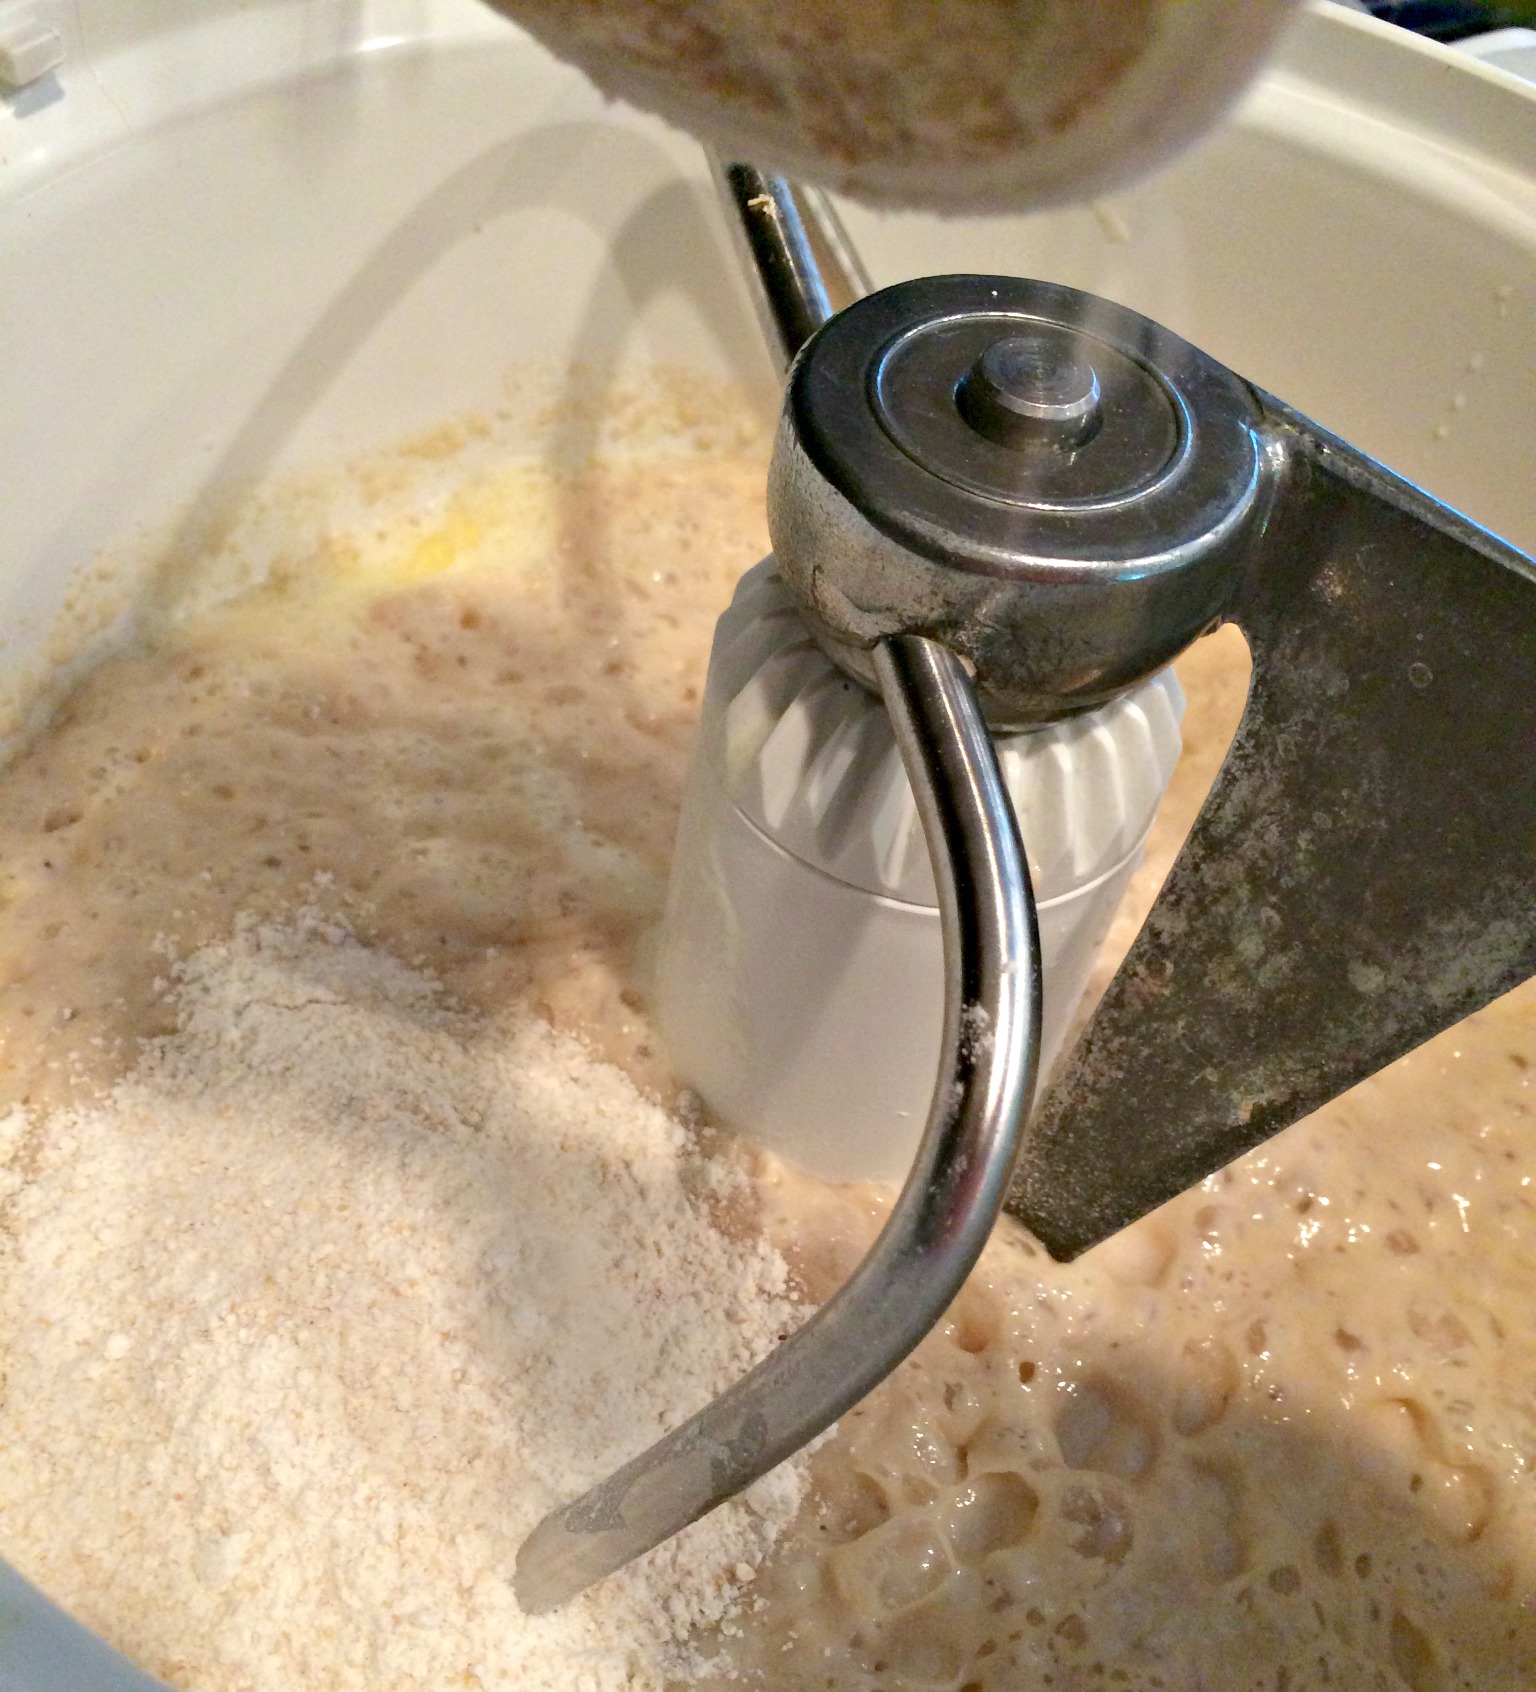
Add a few cups of the flour right on top of the yeast mixture
Add half the flour (3 cups), mix for a few seconds & THEN add your salt. This will prevent your salt from killing your newly activated yeast.
Now that the salt is in, let’s add the rest of the flour.
Add one cup at a time mixing after each cup so you can see the consistency of your dough. When you get close to the 6 cup mark begin to pay attention to the sides of your mixing bowl. Sprinkle in the flour slowly and watch what is happening to the dough. I leave my mixer running on low as I sprinkle in flour.
When is the Dough “Right?”
Here is what you want to see in your mixing bowl:
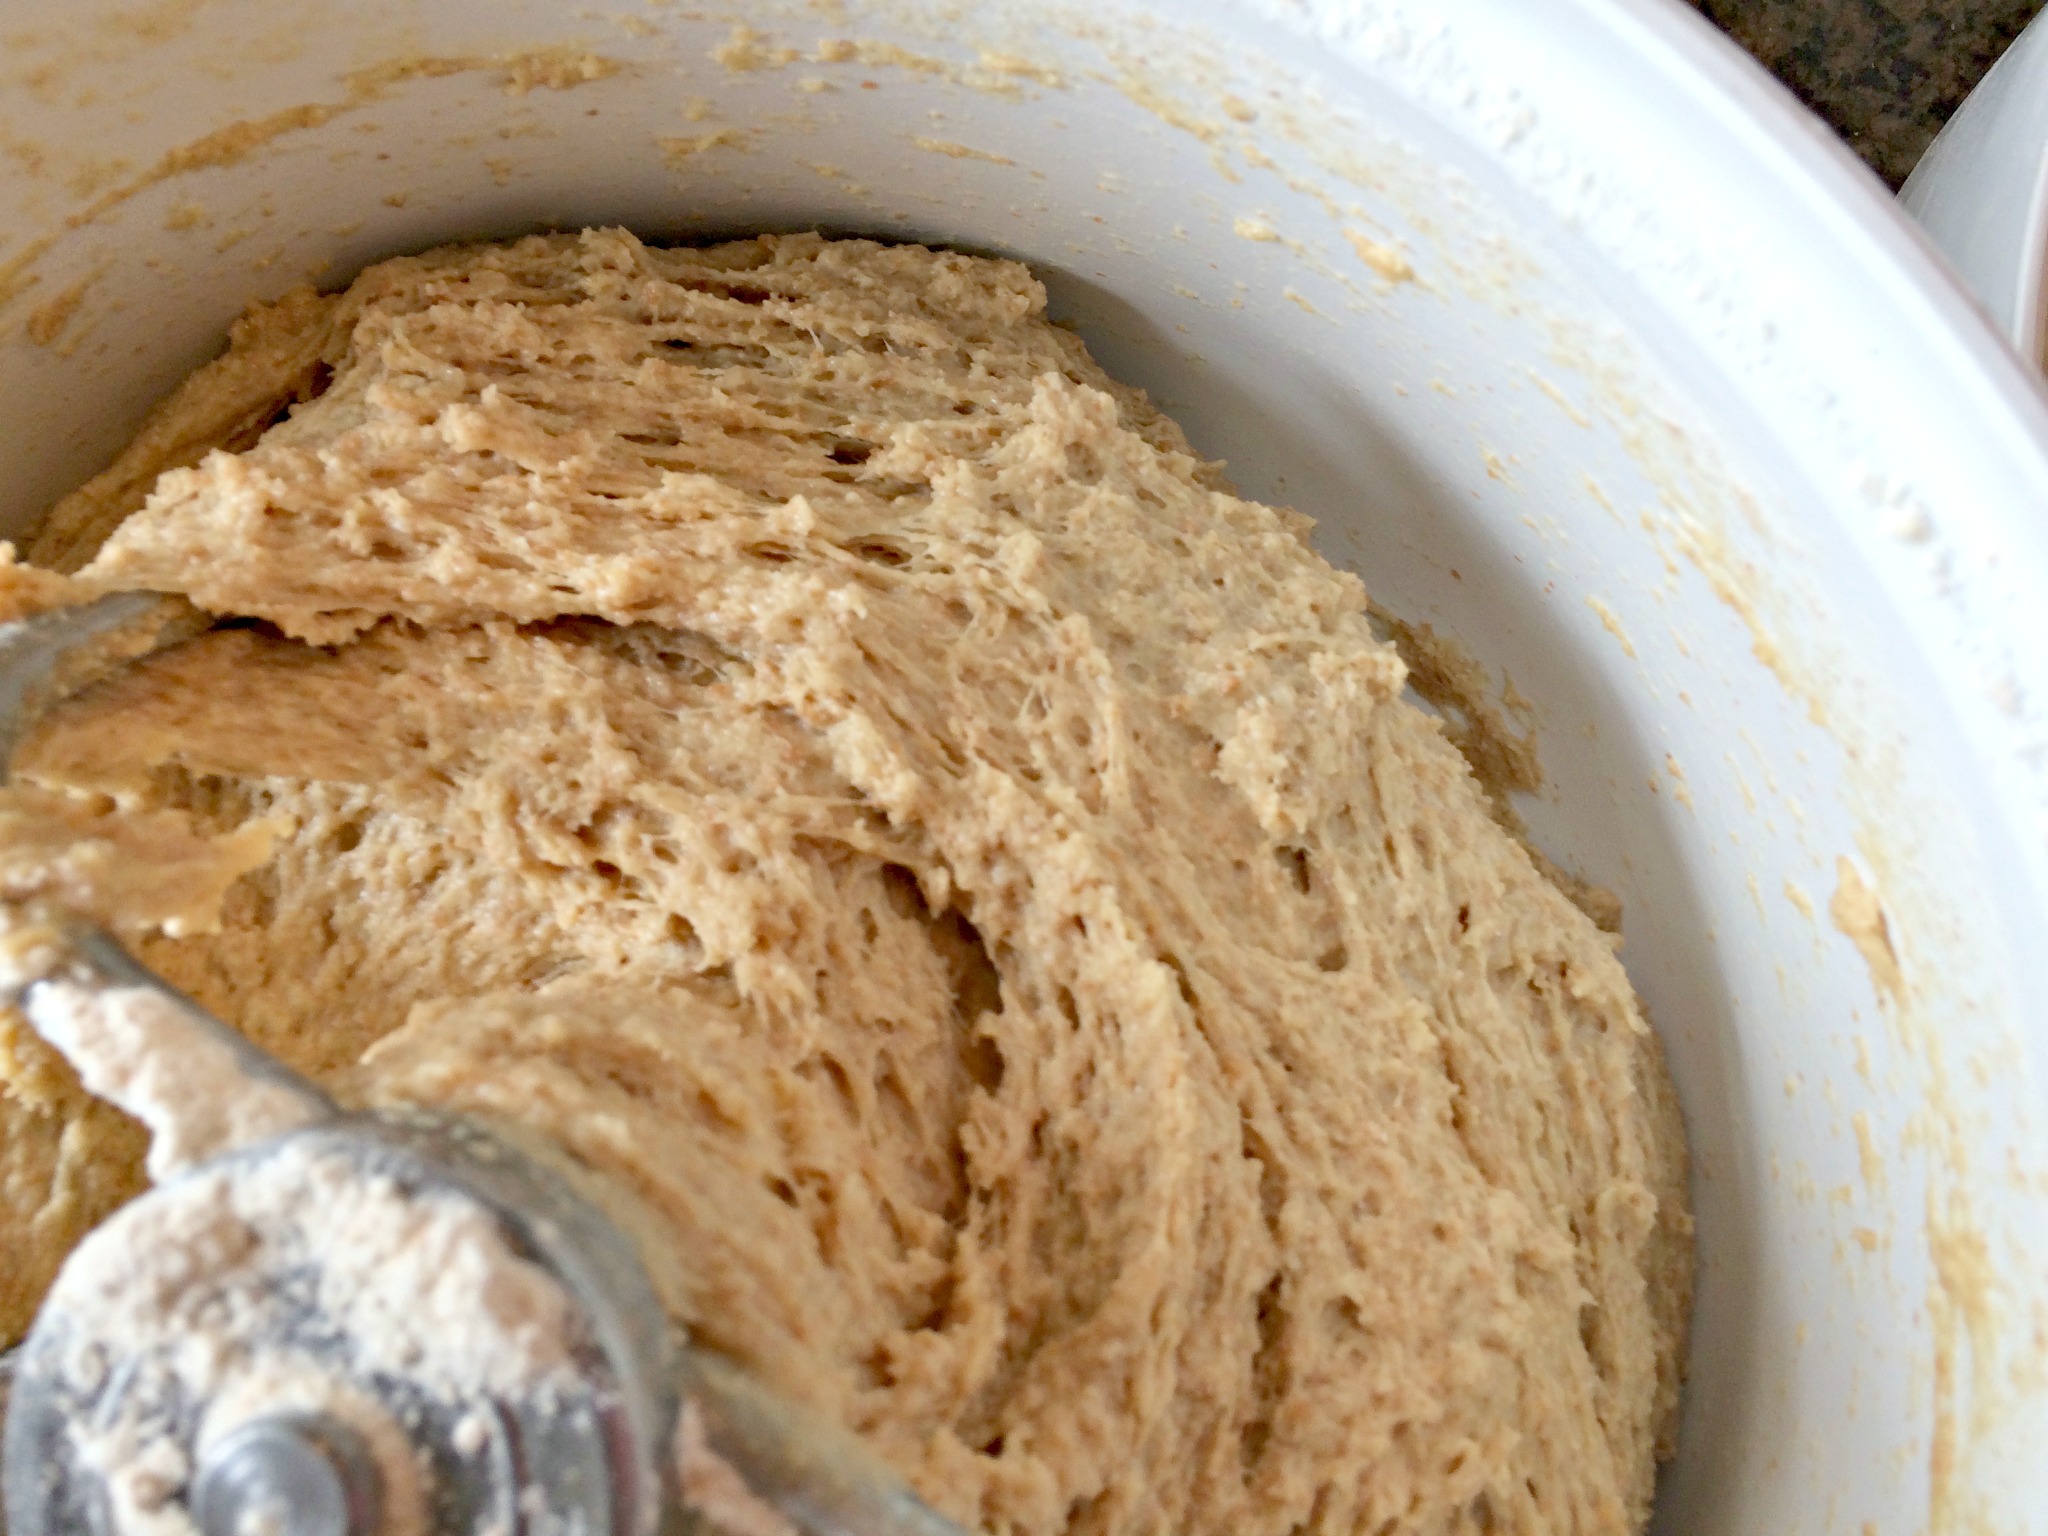
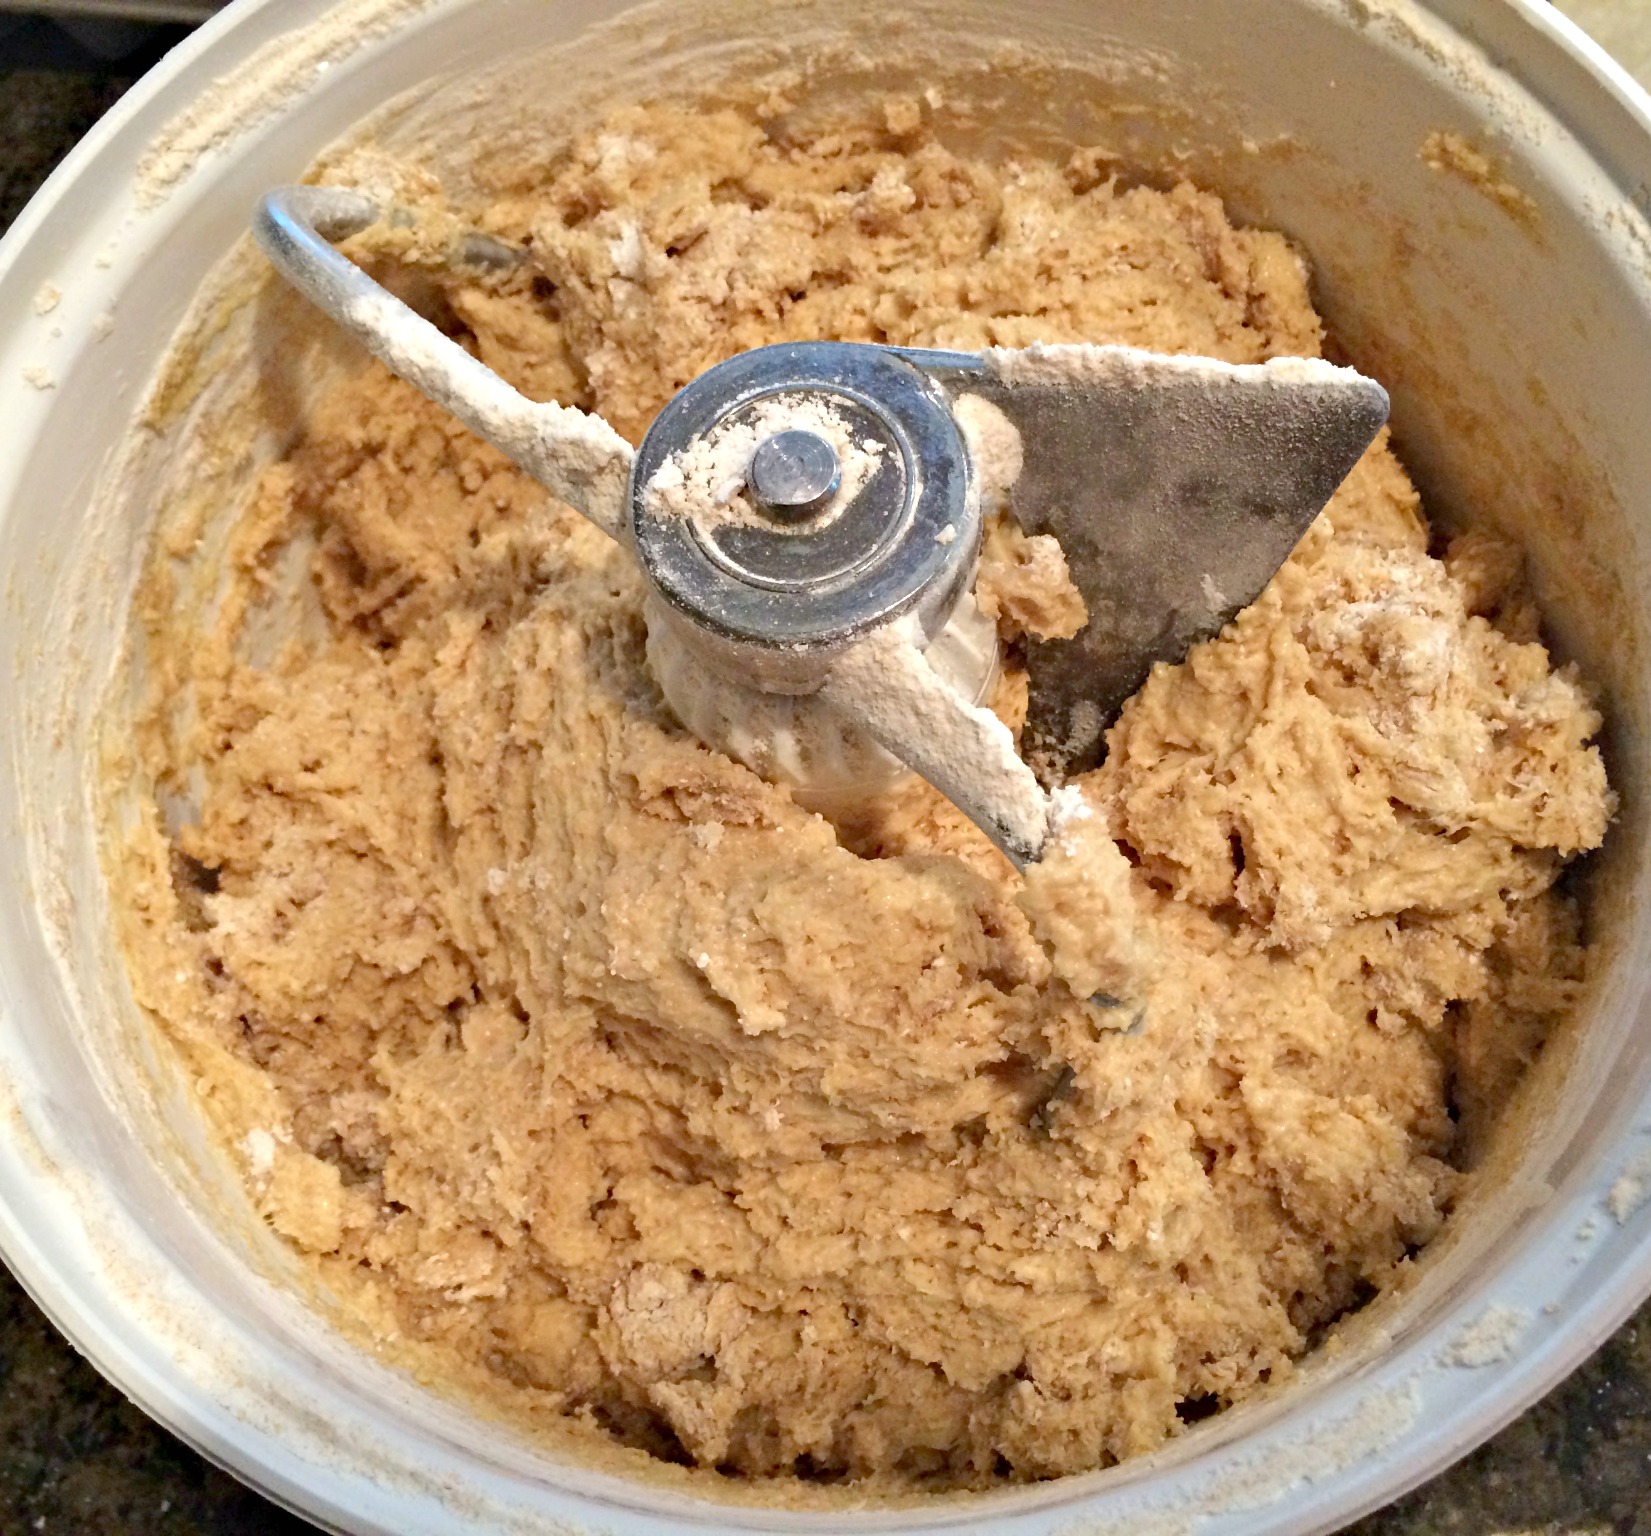
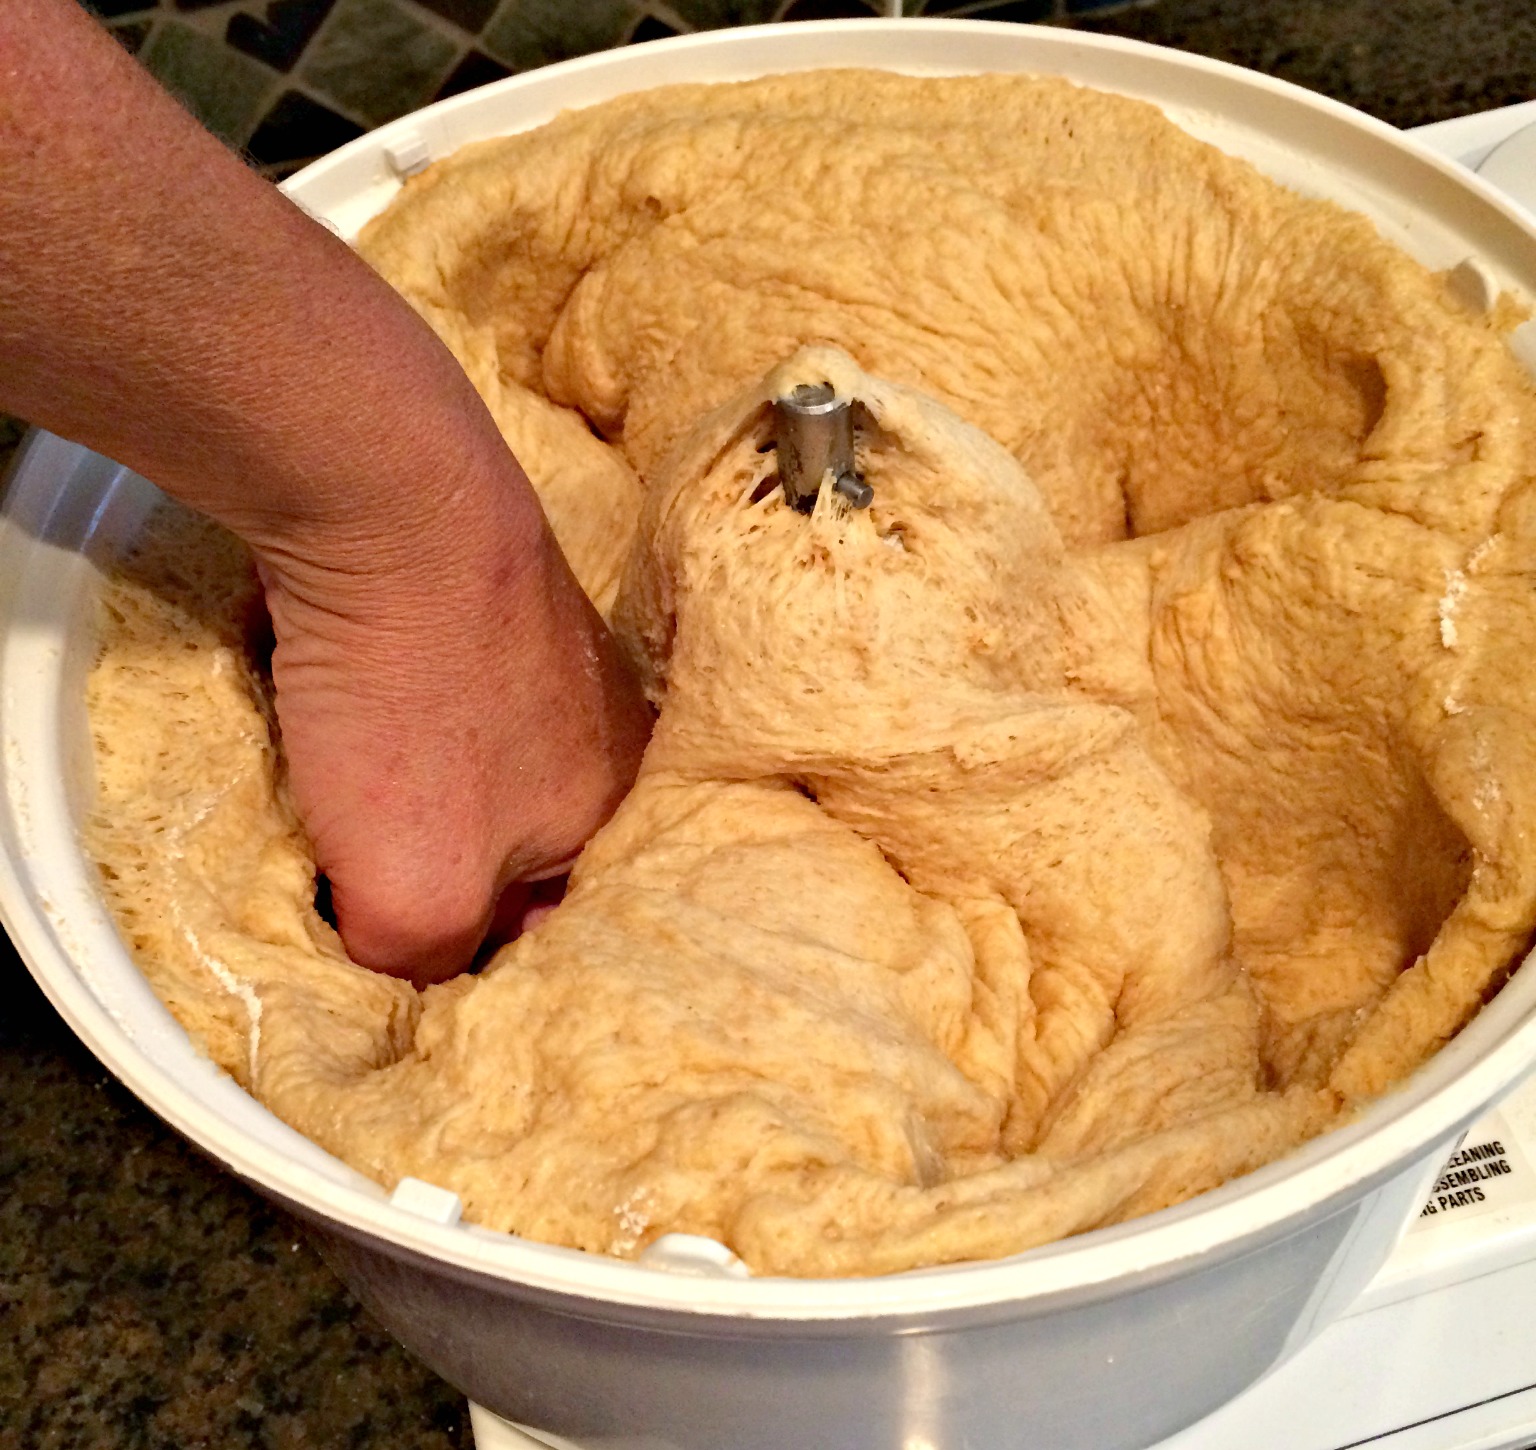
You have added the right amount of flour when the sides of the bowl begin to “clean” but the dough is still sticky
- It is perfect when the dough begins to “clean the sides” or “pull away” from the sides of the mixing bowl as it’s kneaded.
- You want the dough to be sticky to the touch, but not stuck to the sides of the bowl.
- When the mixer is turned off you want the dough to relax back into the bowl.
- You do not want your dough to be hard or firm (hard dough makes very dense, tough bread -yuck)
The beautiful thing about electric mixers (kneading dough for you) is that they don’t care how sticky the dough is. Mixers can knead the stickiest dough. The stickier the dough, the softer your bread will be.
The goal is to leave the dough as sticky as possible (so the bread will be soft) but not too gooey (or you won’t be able to form any loaves/ pitas/ etc). It’s a delicate balance.
Once the dough is the right consistency set your mixer on medium and let it knead your dough for 8 minutes.
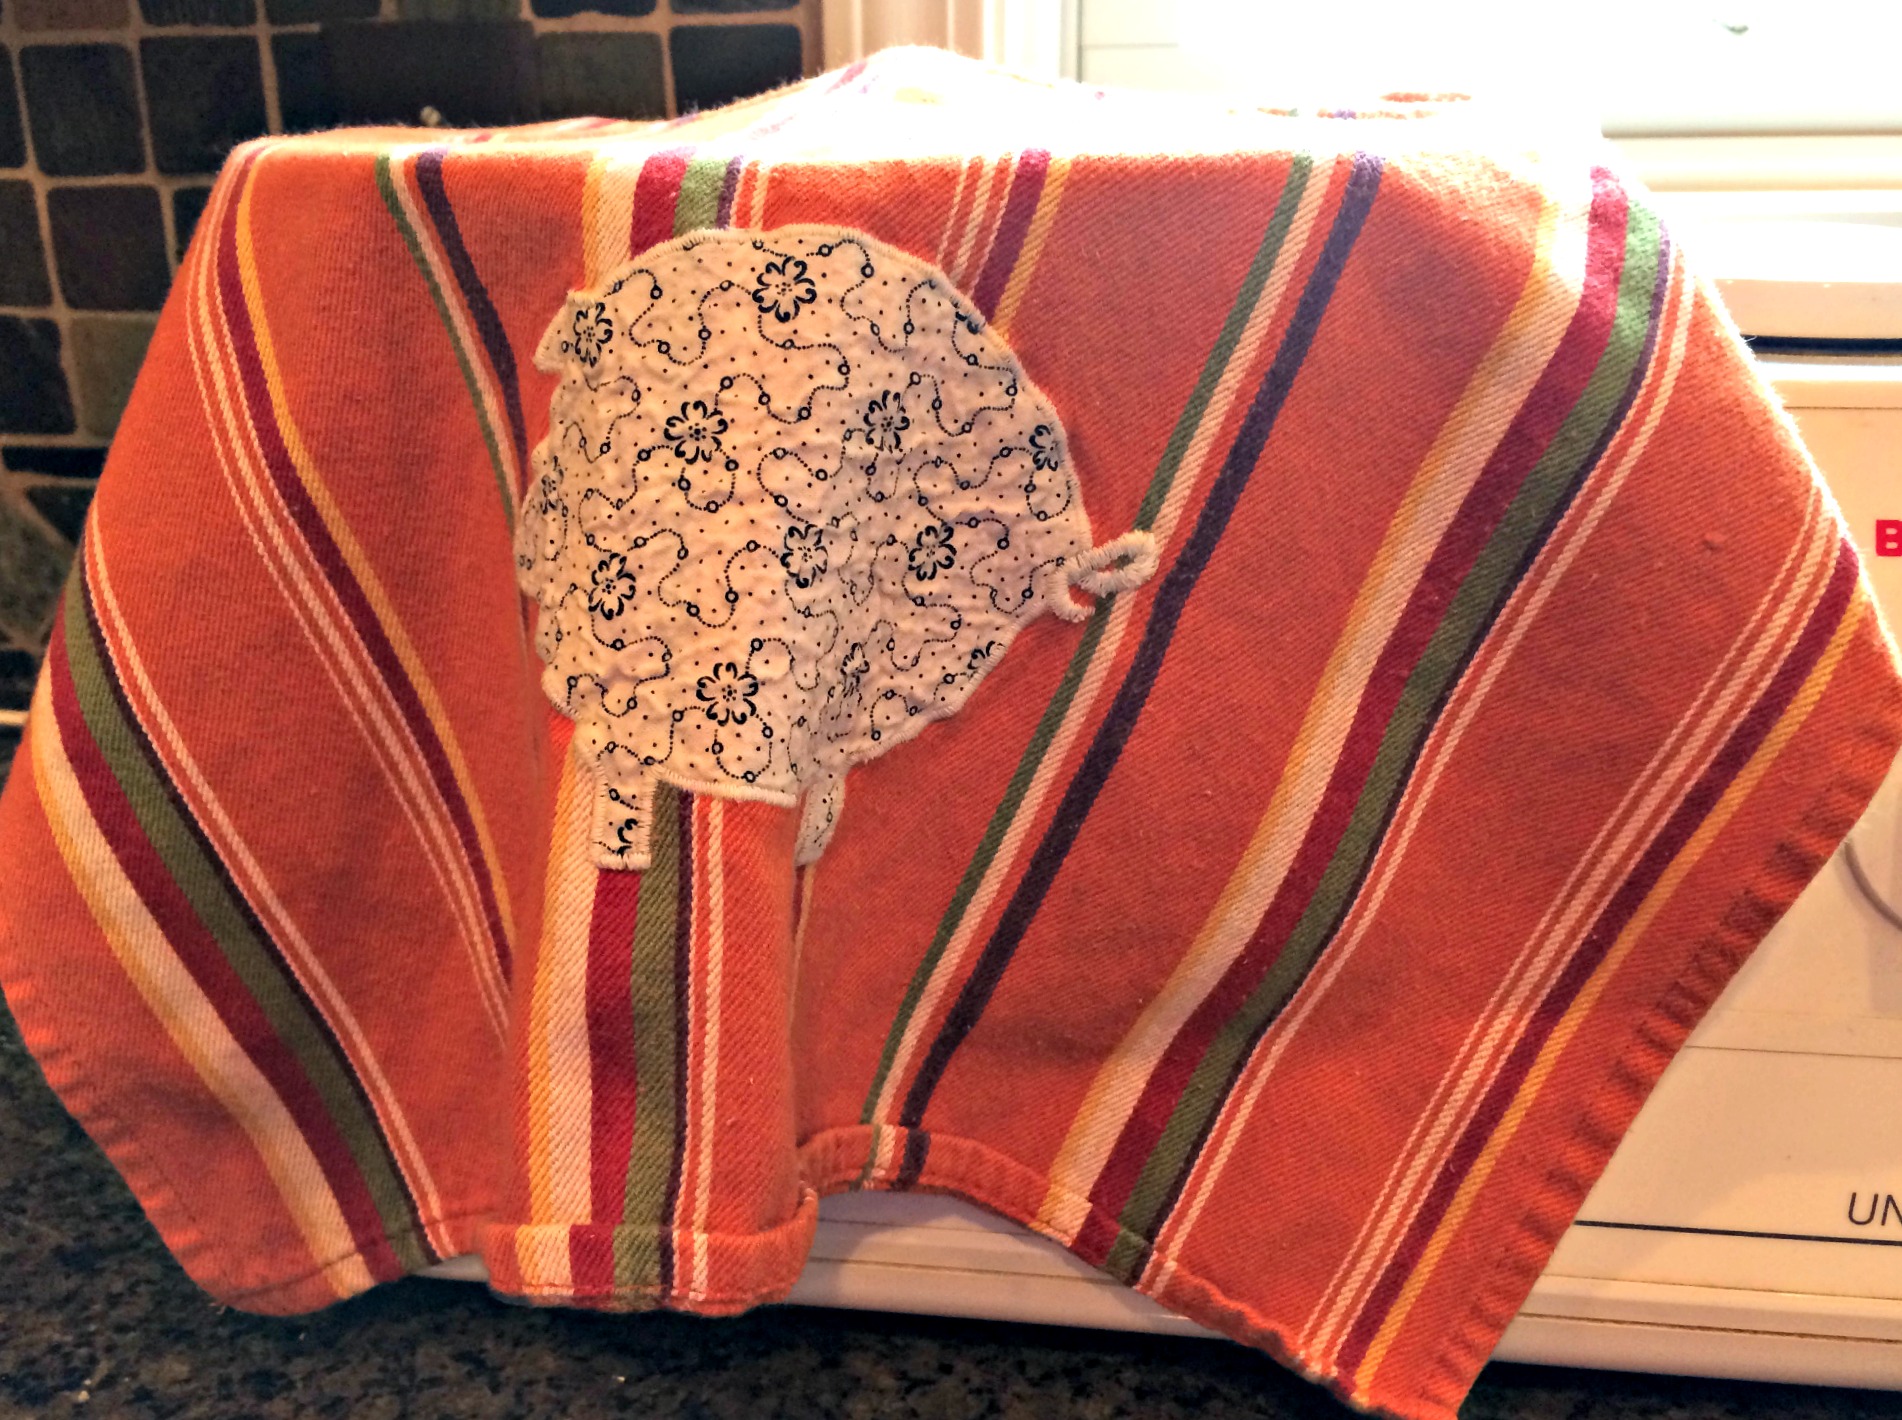
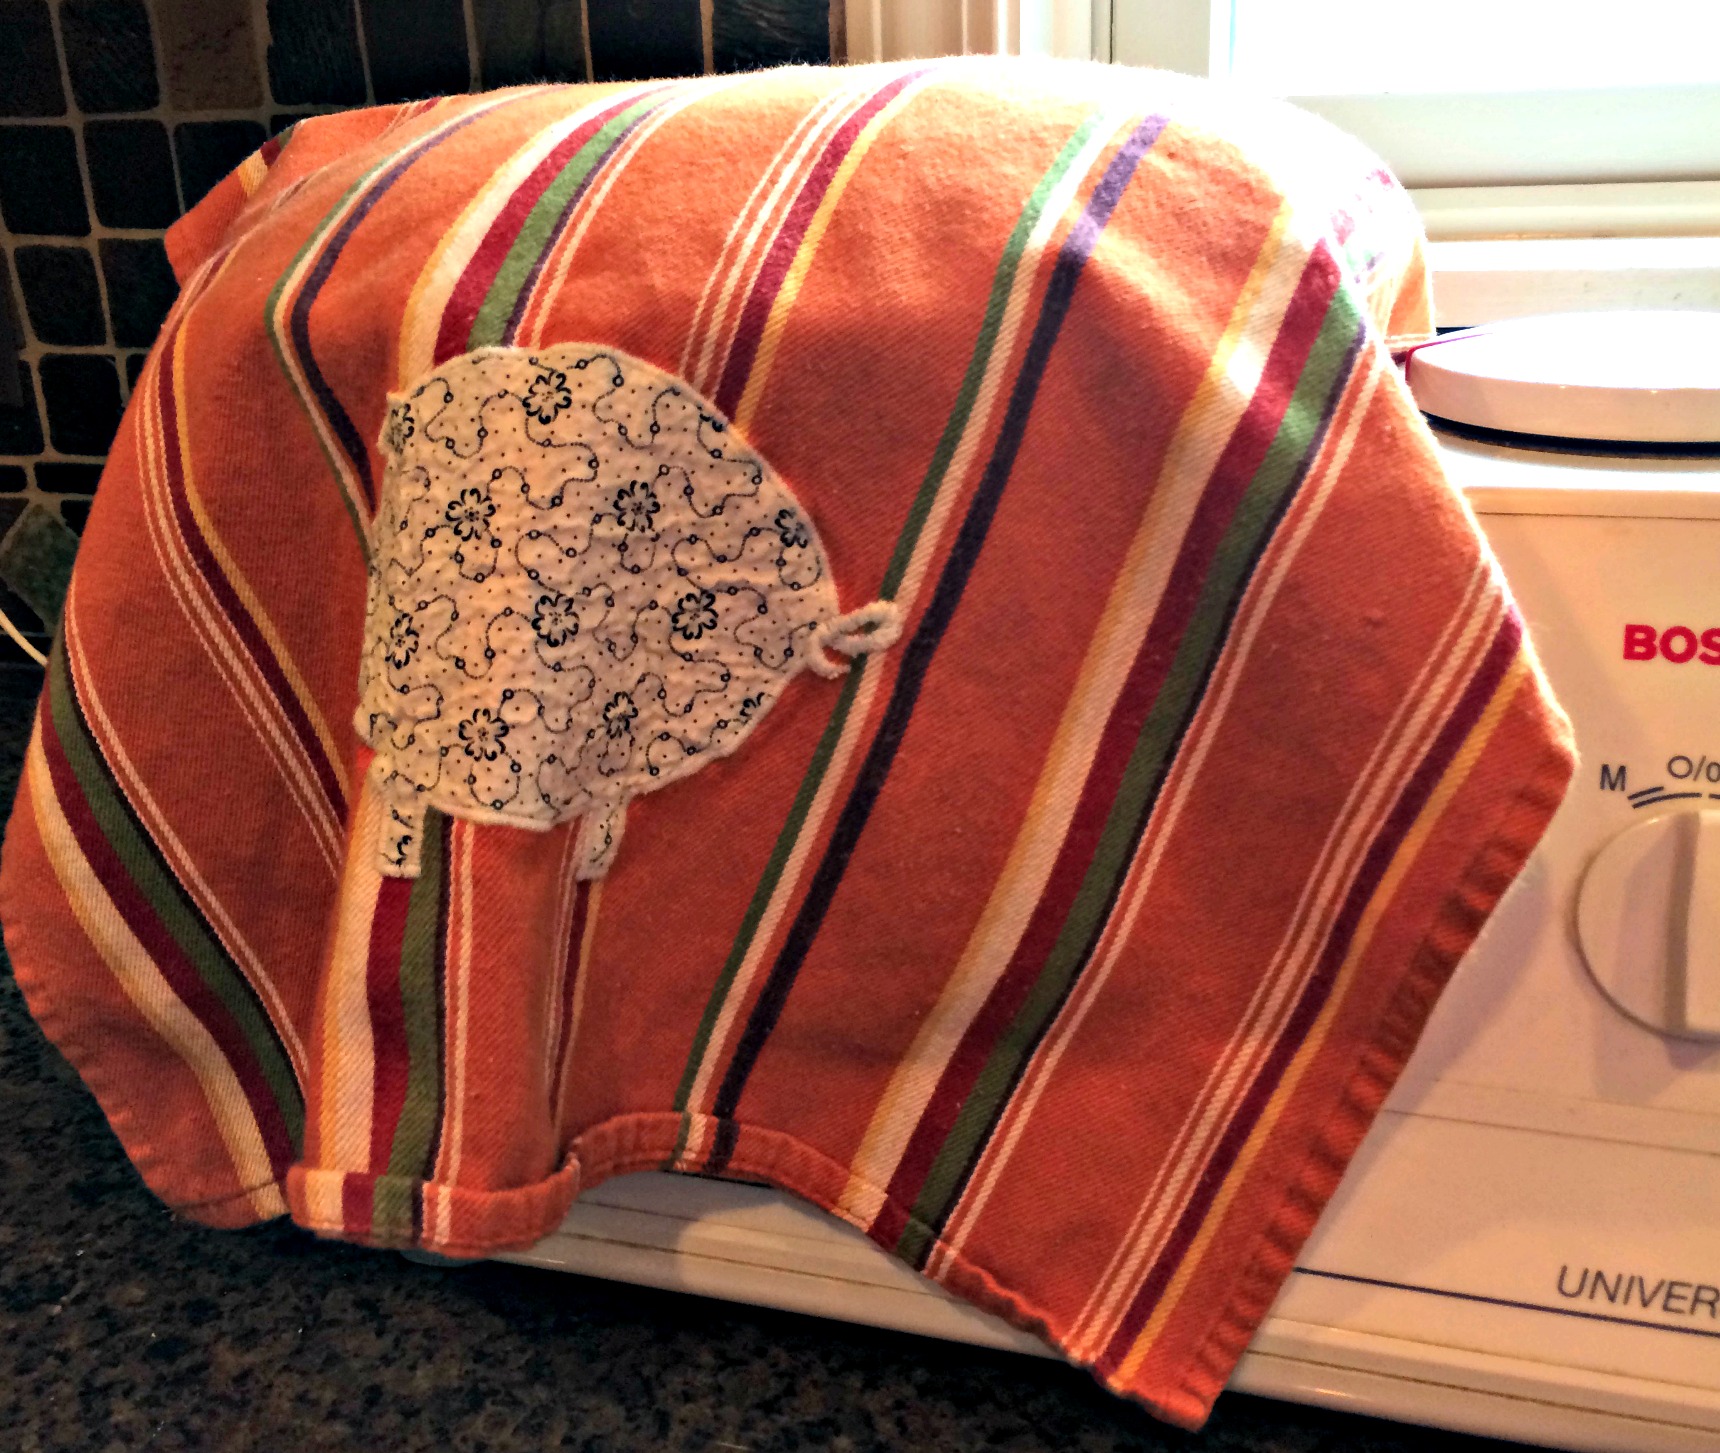
Alright – we’ve got it. Now, remove the dough hook & cover the bowl with a towel so it can rest. I don’t let this rise until it doubles in size. I just let it rest for 10-15 minutes.
Thoughts on rising:
Some people let their dough rise (until it doubles), punch it down, knead it again and then mold it into buns or shove it into a loaf pan and then let it rise again.
2 Rises:
- The first in the mixing bowl cover by a towel
- The second rise happens on or in a pan before baking (covered by thin towel or plastic wrap)
This is absolutely fine and your bread will be fabulous. BUT you don’t have to let it rise twice. If you don’t feel like doing 2 rises you don’t have to. You can finish mixing your dough, shape it into buns, let the buns rise on the pan and bake them.
Why do people let their bread rise twice if it’s not necessary?
Flavor. I think 2 rises allows the yeast to further develop and spread and the result is a more flavorful bread. BUT I think the bread tastes fabulous with one rise.
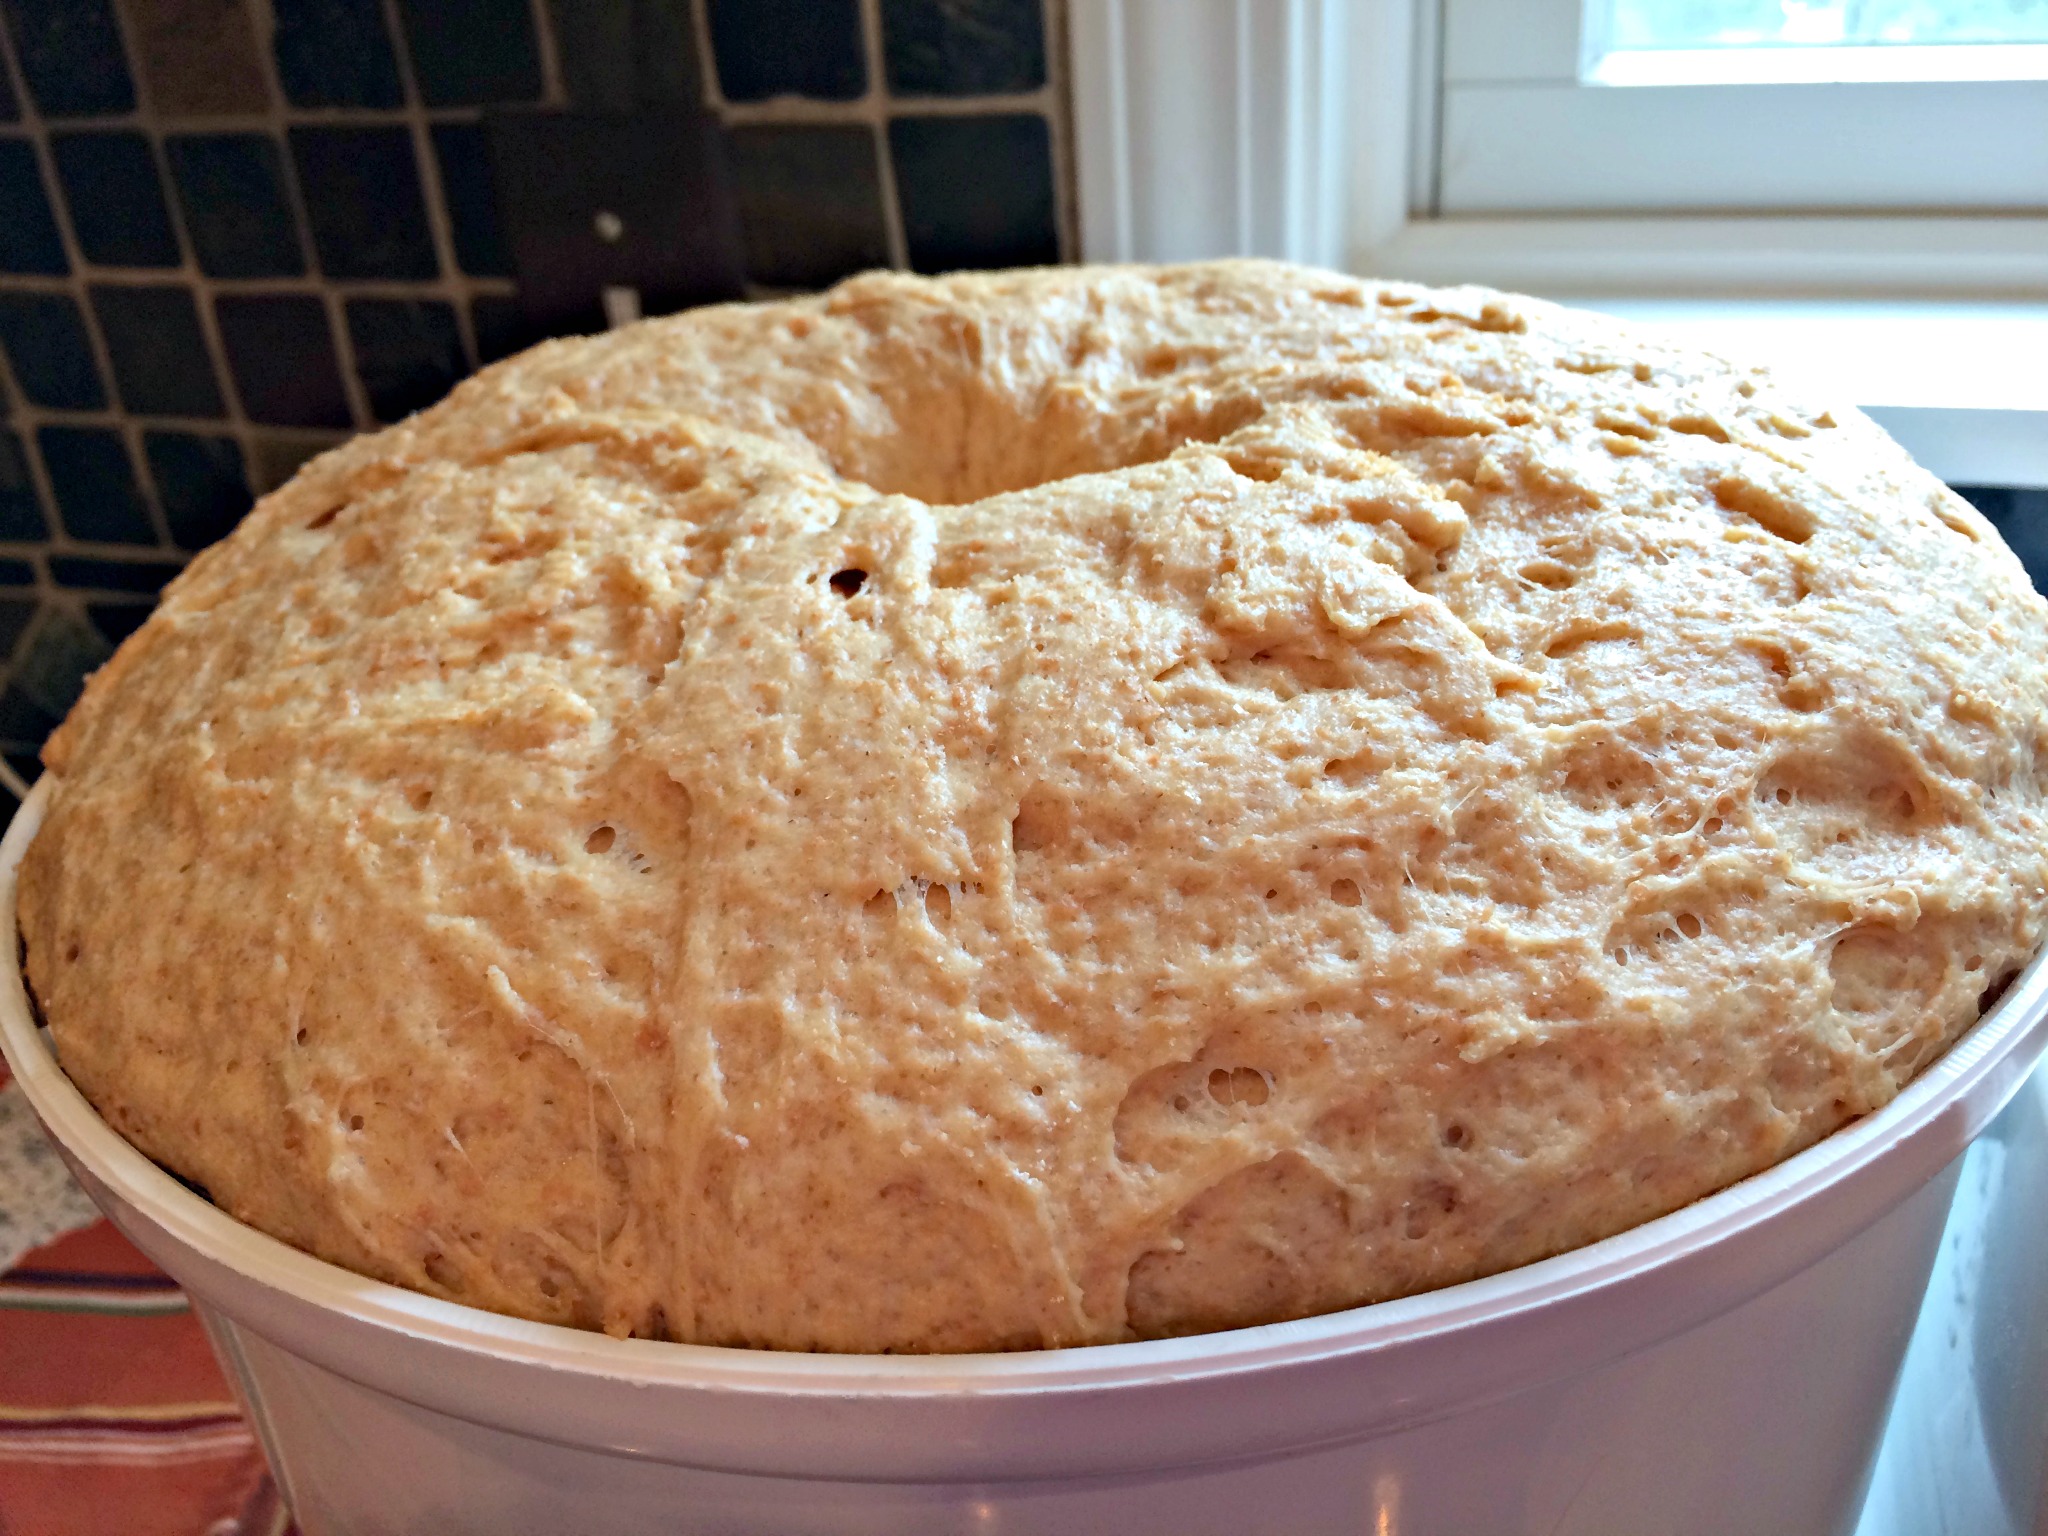
After rising you can see the dome shape
After the 15 minute rest it’s time to get our hands into that dough.
If you have children, they will all love this. It’s like play doh for grownups…… and kids.
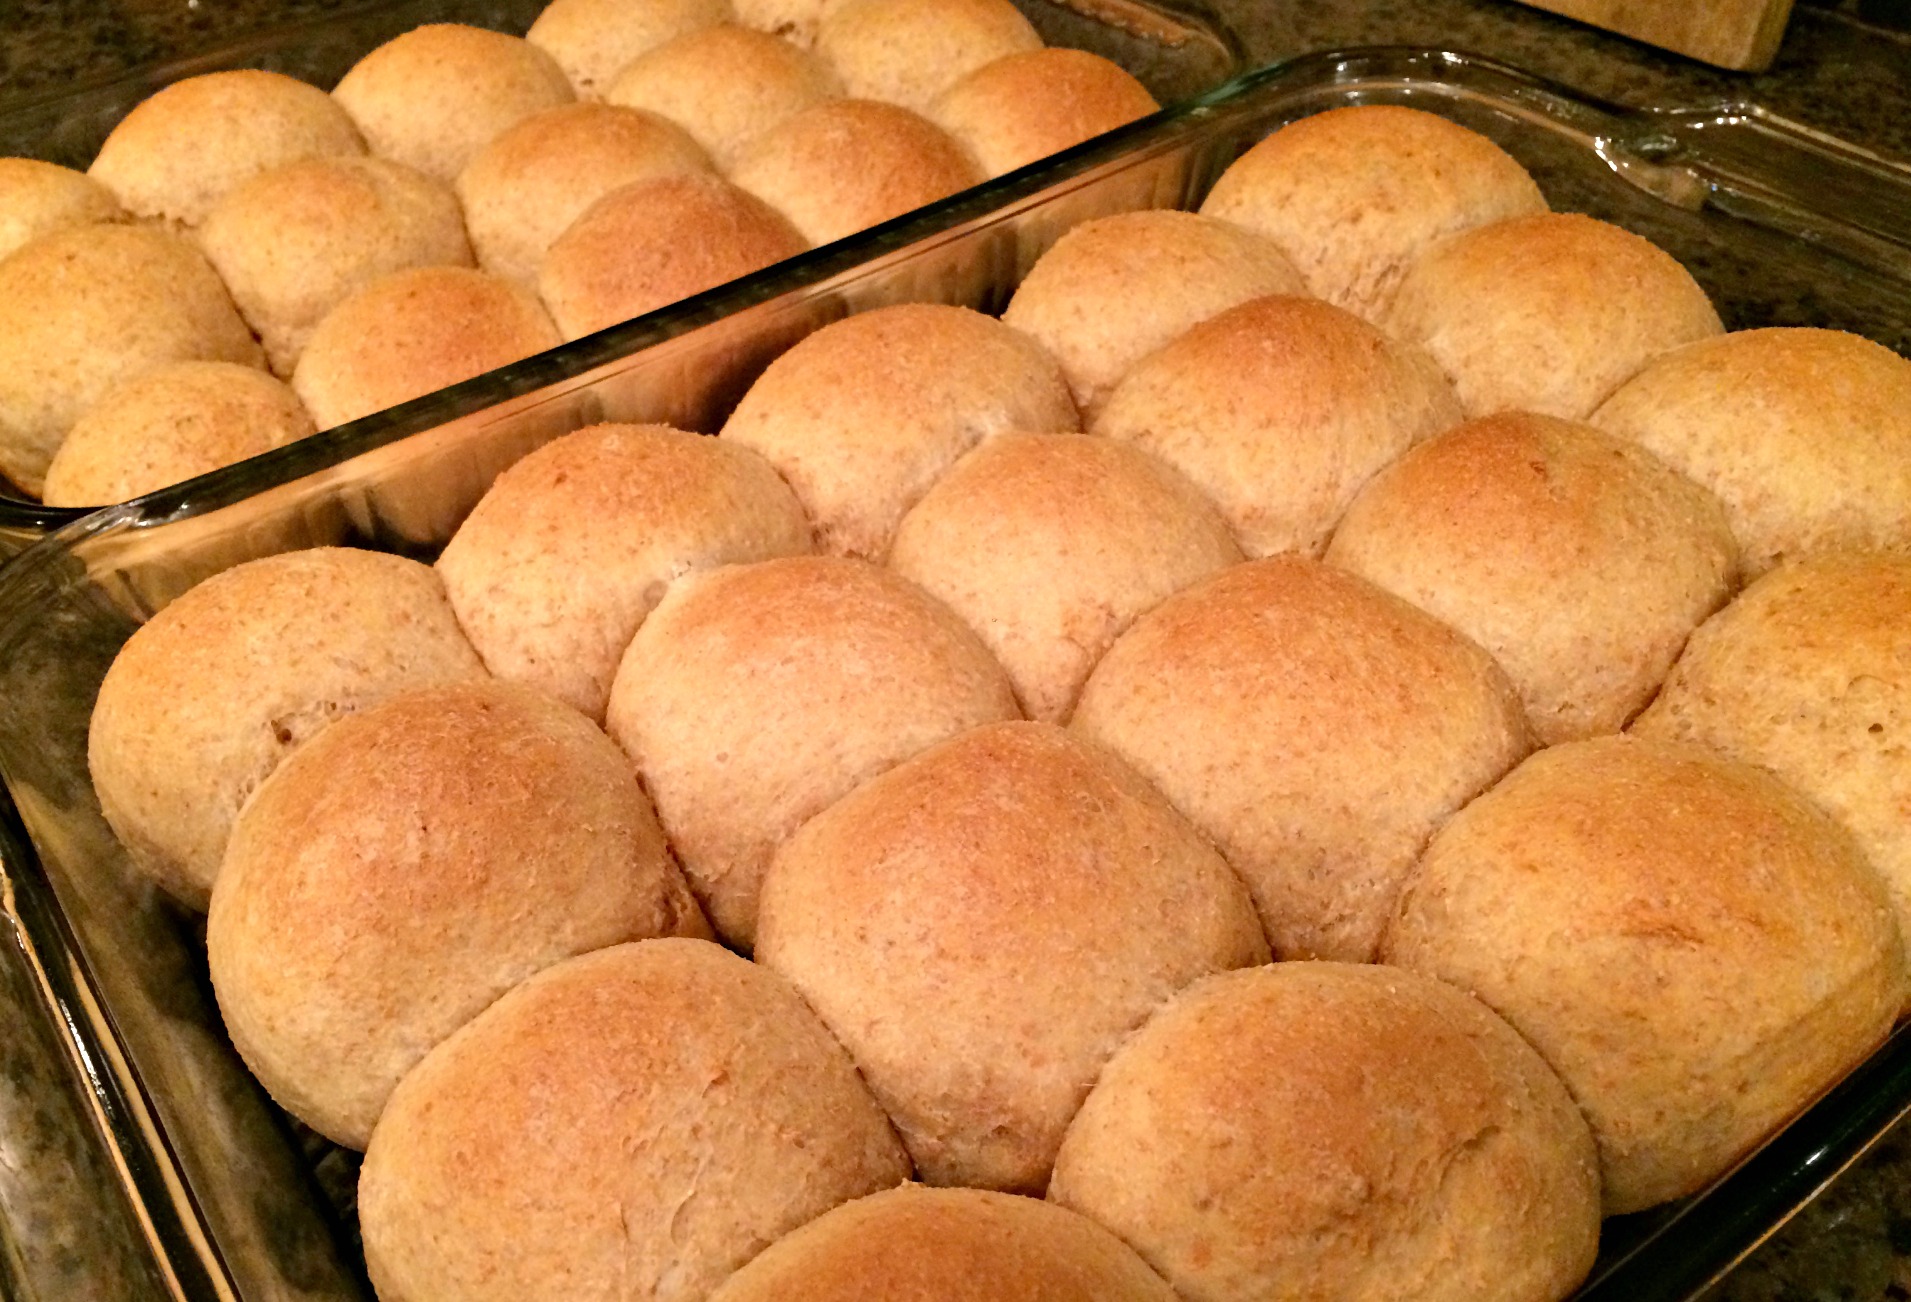
You can make so many baked goods with this recipe, but today I’m going to make slider buns.
First we need to “punch down” the dough so we can shape it and let it rise in our pan.
Work your way around the dough – punch it all down with your fist.
Now we can shape some buns.
To make yeast rolls (or slider buns) you want your dough to be ball shaped. For hot dog buns just shape them into an oval.
You want to stretch the dough around itself and pinch it off at the bottom creating a nice smooth top. Be careful not to stretch your dough too far, if you over stretch it the yeast will tear.
Now, do that 30 more times. 🙂
Buns on the counter rising
Cover the cute dough balls in some plastic wrap and allow to rise until double in size. I use plastic instead of a towel at this point for 2 reasons:
- I can see the dough through the plastic
- The plastic is lighter and won’t squash my buns. I don’t want flat buns.
It should take 20-30 mintues (depending on the temperature in your kitchen) for your buns to double in size.
When they have doubled remove the plastic & place in a 340 degree oven. Bake 30 minutes.
For best results, bake all your dough today. You can cover it and put it in a refrigerator for use later, but beware, the yeast will continue to grow and multiply. The longer this dough hangs around without being baked the “yeastier” it will get. I don’t like super yeasty breads, they taste bitter to me, so I bake all my dough the day I make it.
If you don’t want to bake all of your dough, and you like yeast; you can put any remaining dough into a large airtight container and store in the refrigerator to use later.
To get weekly updates, tips and recipes subscribe via email (here).
To learn more about home bread-making, see instructional videos and dozens of premium recipes you may want to consider a membership.
Happy Baking!
-Candi

| Servings |
batch
|
- 1 cup water very warm
- 1/4 cup honey
- 1/2 cup butter melted & warm
- 1 cup milk very warm
- 1 1/2 tbsp active dry yeast
- 2 eggs
- 2 tsp Salt
- 6-7 cups fresh milled flour hard white wheat
Ingredients
|
|
Add water, honey, melted butter & milk to your mixer with dough hook attached. Sprinkle yeast over surface of liquid. Turn mixer on low to mix in the yeast & turn off. Cover the bowl & allow yeast to activate for 10-15 minutes. Once yeast is bubbly add eggs. Begin adding flour 3 cups at first & mix in. Add the salt & mix in. Continue adding flour one cup at a time while your dough hook is kneading. Watch the dough as you add the flour. When the dough begins to “clean the sides or pull away from the sides” you have added the correct amount of flour.
Set mixer to knead the dough on medium for 8 minutes. Take out dough hook, cover & let rest for 15 minutes. Remove cover, punch down dough & shape as desired. After shaping the dough, cover lightly and allow to rise before baking. It should take 20-30 minutes (depending on the temperature in your kitchen) for your buns to double in size.
When they have doubled remove the plastic, brush with egg wash if desired & place in a 340-degree oven. Bake 30 minutes.


