
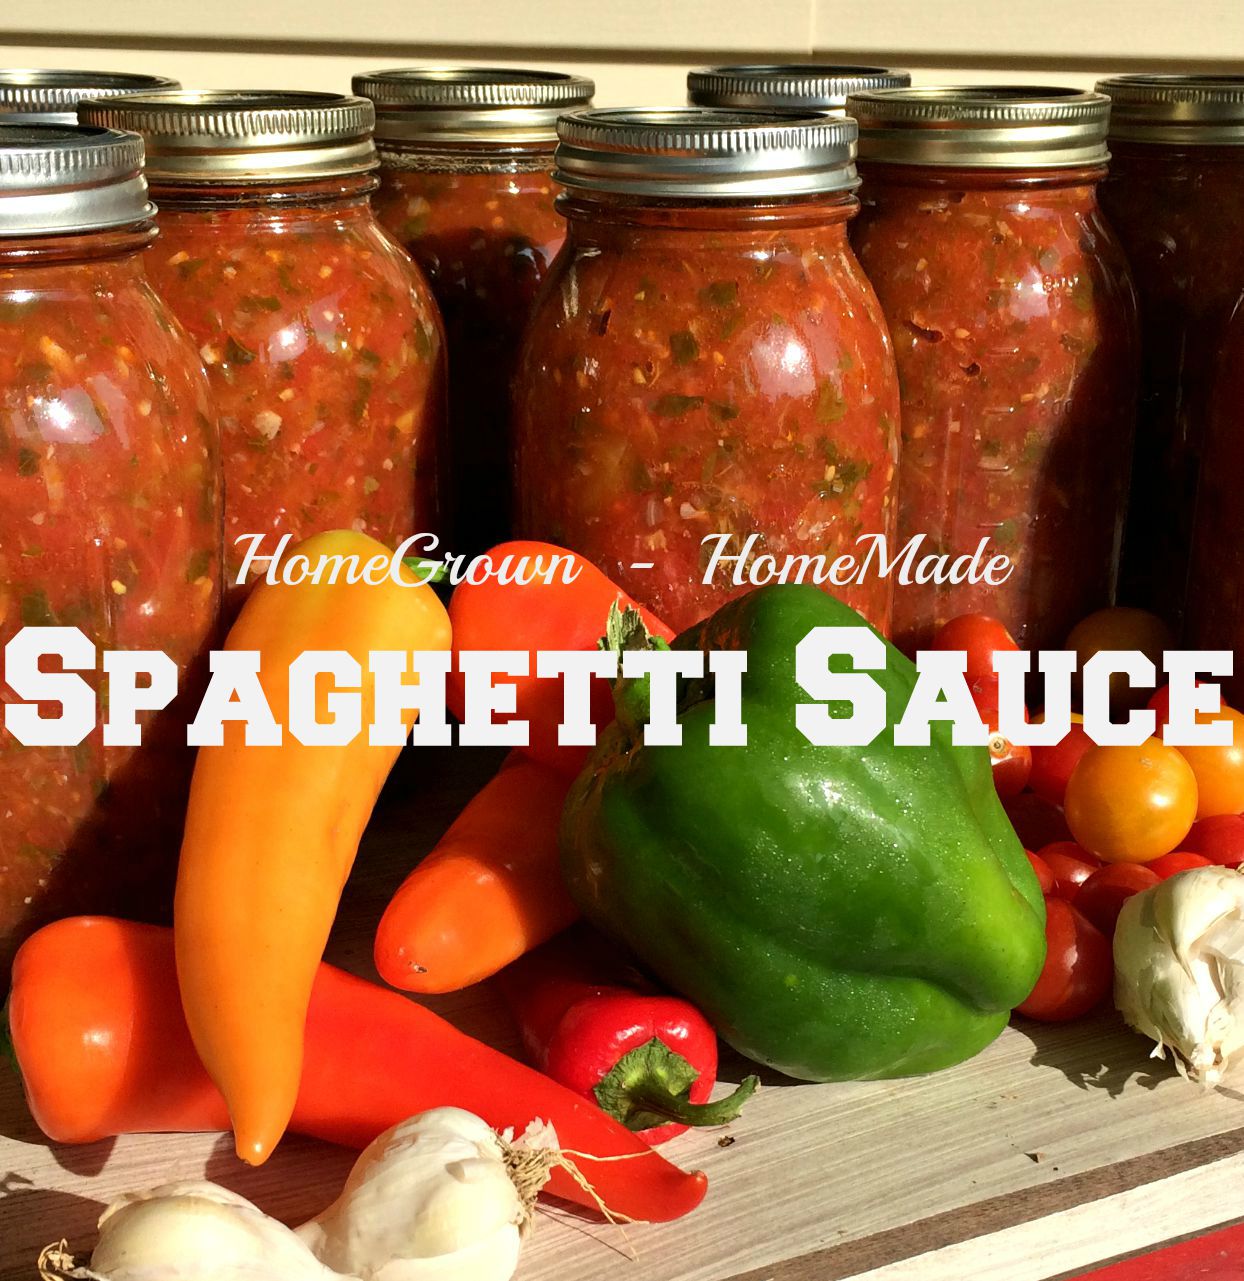
How to Properly Store Home Canned Jars
If you have embraced the art of home-canning, you may have a plethora of jars stuffed with garden-goodness adorning your shelves. If you have ever wondered what the BEST approach to storing all that bounty – this is for you.
There are steps you can take to ensure optimum shelf life.
PROPER CANNING STEPS
Storing home-canned goods begins with the canning process.
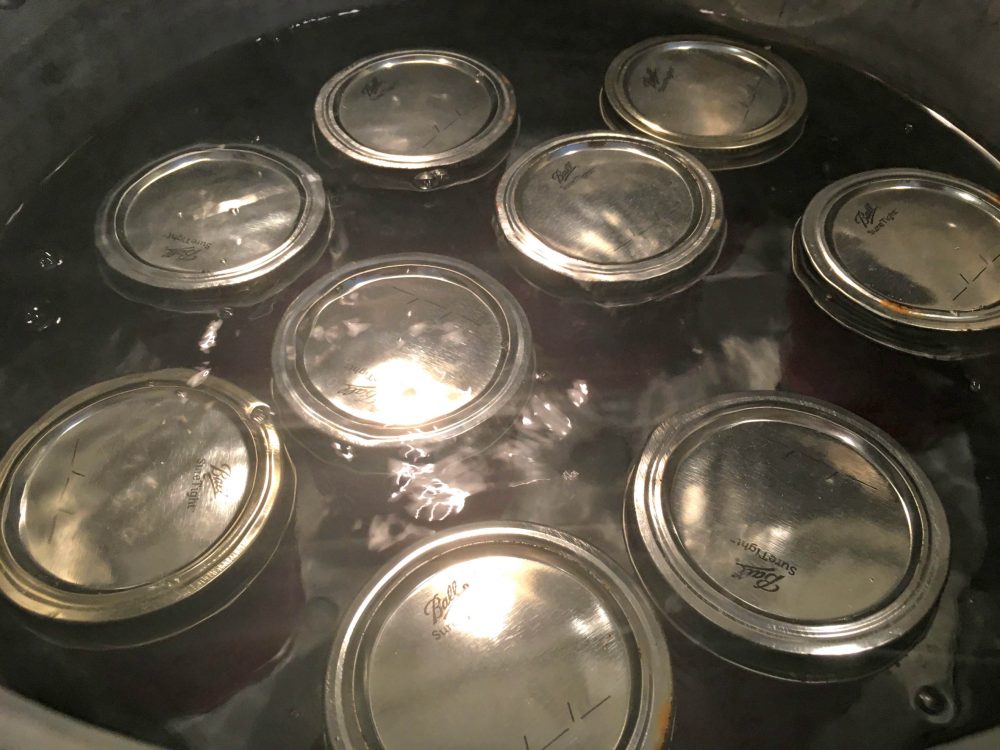
Always start with clean (sanitized jars), new lids, and follow all the canning instructions properly. Because if you introduce bacteria into your concoction, there are no storage techniques that will cure it.
Once the goods have been canned according to all the Ball Blue Book-botulism-proof-instructions, you can keep these bad boys for a loooooooong time in the correct environment.
STEP 1 – Clean Jars
One of the premier goals is to store jars in such a way that you can easily tell when something has gone wrong. If a lid isn’t properly sealed, comes unsealed, is leaking, or damaged; you want to know. Any unsealed jars should be discarded (or if the culprit is caught right out of the canner – cook him up for supper).
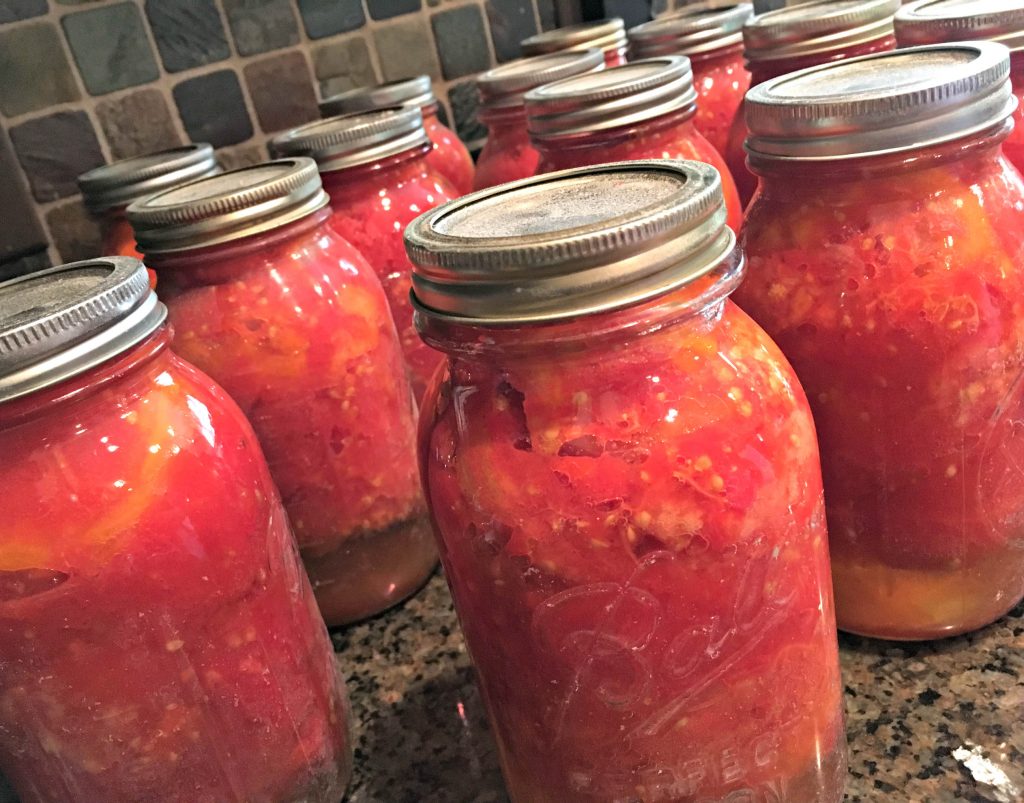
Jars that go into the pantry need to be squeaky clean. When you begin with pristine jars, a suddenly sticky jar undeniably reveals a problem.
If you suddenly notice a seeping liquid around the lid or rim – you will know he’s garbage.
The easiest way to clean jars is to pour a splash of white vinegar in the water bath canner (into the water) during the canning process. Your jars will come out looking like crystal. It’s unbelievable.
Step 2 – Remove the rings
Though this may surprise you, you should store your sealed canning jars without the rings.
If there is a problem with the seal, it will be obvious.
Unfortunately, sometimes the ring is the only thing holding the lid in place, giving a false impression that a jar is sealed.
If you keep the rings on, it is harder to discern if the seal has been compromised.
Step 3 – Store jars upright
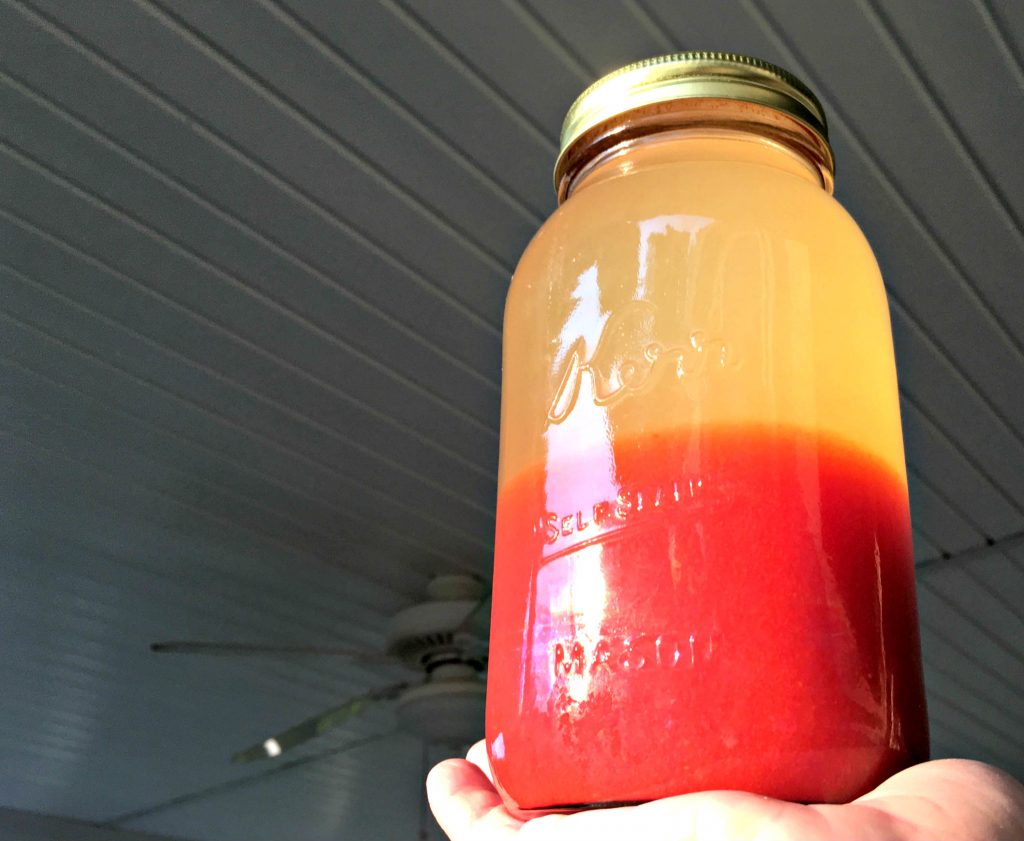
Storing jars upright ensures the contents will not touch the lid. Some canned items can corrode the lid and break the seal (like tomatoes).
Step 4 – Don’t Stack jars
Stacked jars are more likely to fall and break, but more importantly, the weight of one jar on top of another (just like the rings) can deceive you into thinking a jar is sealed when it is not.
Step 5 – Store in a Cool Dry Place
Lower temperatures (like in a cellar or basement) will preserve the quality of the food. A dry environment will prevent lids from rusting.

Step 6 – Keep track
When those glorious, colorful jars are set onto the shelves in the pantry, it seems obvious that they were stuffed and processed in August of 2020 – but trust me, a year from now you will have no idea which jam was from 2020 and which was from 2019.
Lable your jars. When I first began canning, I used adorable decorative labels that I stuck onto the bright jars outlining the contents and date.
After spending a few good hours attempting to scrub those stubborn stickers off jars, I vowed to never use them again.
Years of experience has taught me to simply write the name and date of the contents on the lid. You always know what’s inside and when it was canned.
We had 90 peach trees on our first homestead. Each year I made an assortment of peach concoctions: Peach Jam, Peach Chutney, Peach Jelly, Rum Peach Compote… the list goes on and on.
Let me tell you, 12 months later, they all looked like orange jars. Without labeling, it would have been a game of Russian Roulette with biscuits.
Another great reason to simply write the contents and date on the lid is the fact that they are disposable. The lids get tossed after use – so you’ll never need to scrub them clean.
Yee Haw!
Earthquake food storage
If you happen to live in earth-quake country, you will want to take extra measures to protect your home-canned provisions.
It would be a shame to hear them go crashing down during a quiver.
Storing glass jars in rows on shelves is not going to earthquake-proof your efforts.
Here are some ideas to help your glass jars survive the Rictor scale:
- Sip jars into orphaned socks (or go to the dollar store and buy some super cheap ones)
- Store glass jars in cabinets with doors that securely close
- Keep glass jars in boxes or buckets and run pieces of cardboard between jars
- Reuse the boxes and dividers that the canning jars cam in to store them once filled
Of course, if a doozy of an earthquake hits, there may be little that can be done to save the jars – but hopefully, during moderate earthquakes, these precautions could help.
XO,
Candi


