
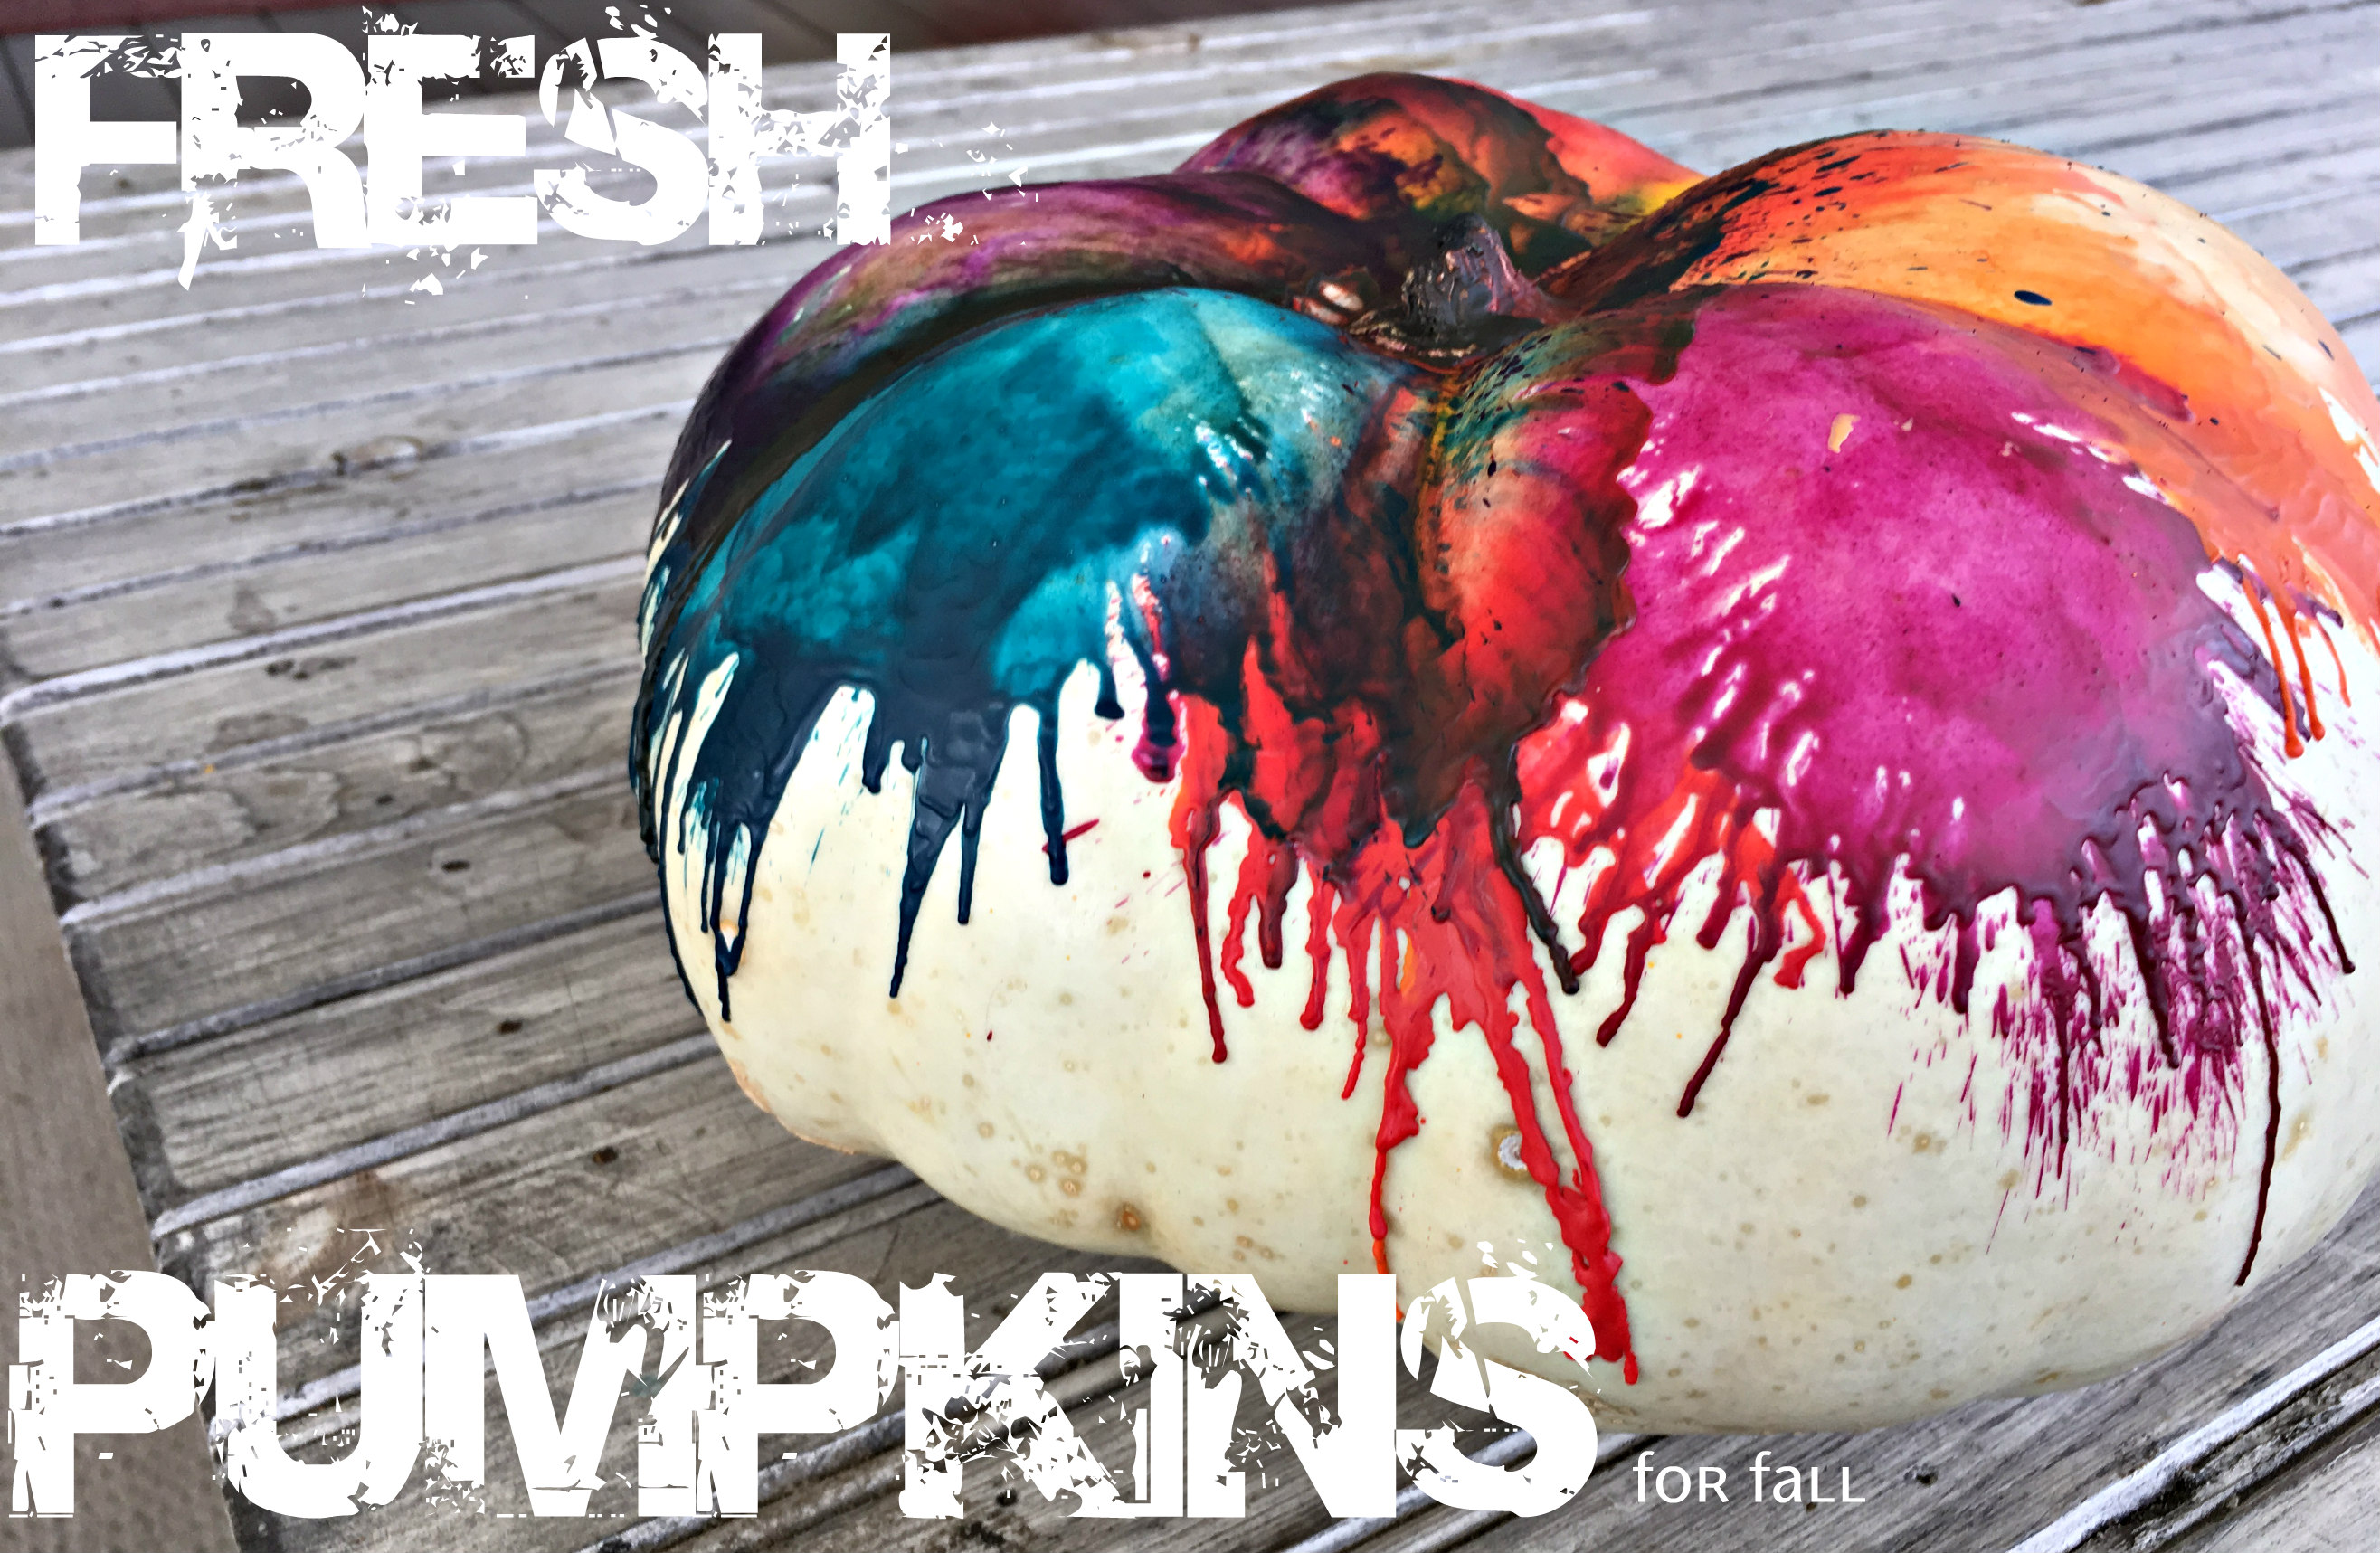
Decorating a Pumpkin with Melted Crayons
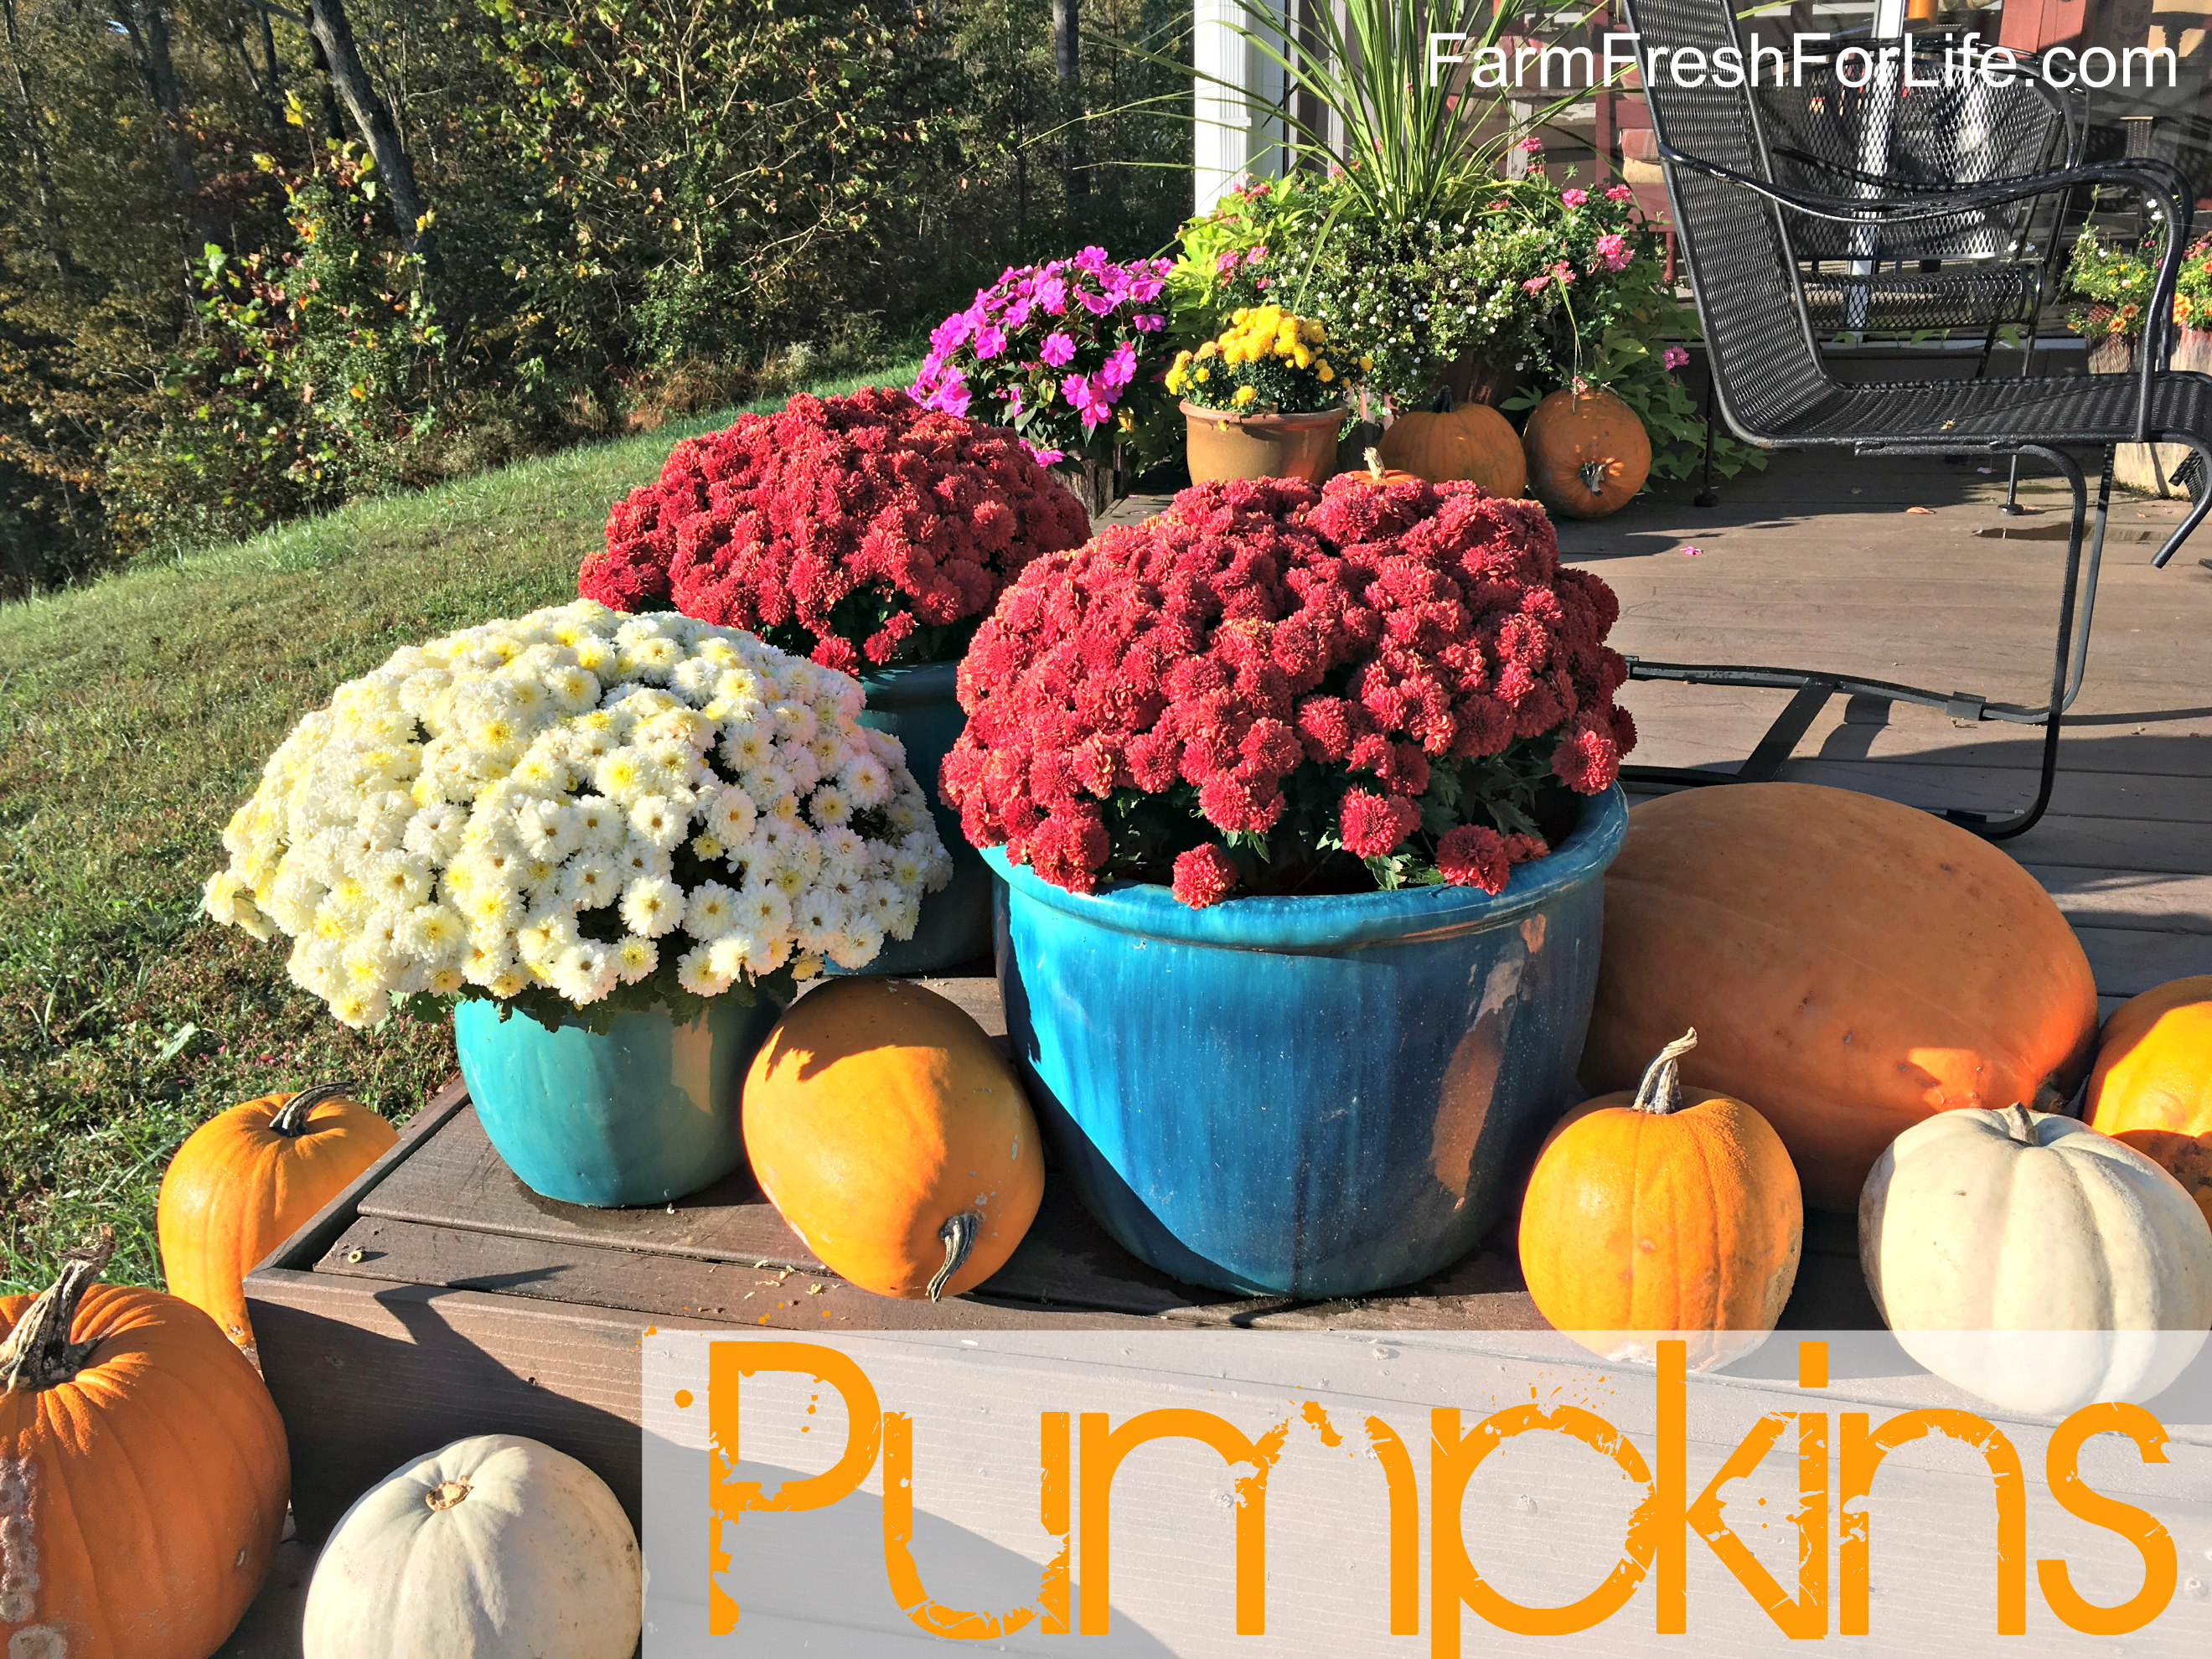
I don’t decorate for “Halloween.” I decorate for “Fall.”
There are a couple of advantages:
#1 – You can leave your fall decorations up until after Thanksgiving.
#2 – You won’t scare anybody.
#3 – They’re cuter.
Most of my fall decorations involve pumpkins… the real kind.
The great part about using real pumpkins is that you won’t need to store them in your basement (or garage) until next year. Once pumpkin season is over you can eat them or use them for target practice or give them to your chickens.
Next year, you’ll get to go pick (or grow) some more!
My oldest daughter (15) is super creative. She was home alone the other day & decided to use some old broken crayons to decorate a pumpkin….
It turned out so cute I wanted to show it to y’all!
How to Decorate a Pumpkin with Melted Crayons:

It was super easy to do!
I love this technique. The pumpkin isn’t being punctured so it doesn’t rot.
My daughter started with a white pumpkin – but you can use any color pumpkin & it will look great.
STEP 1
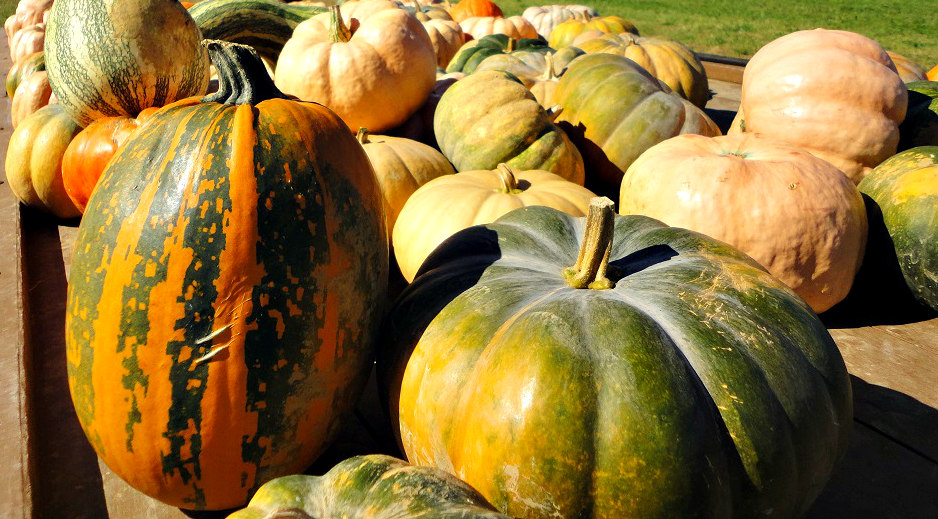
Head off to the nearest farm-market and grab some pumpkins. Out here where I live pumpkins sell for between $2 – $3. There is usually a clearance trailer or pile with the ugly pumpkins for a dollar a piece.
With $25 I can cover our farm in pumpkins.
STEP 2
Peel the paper wrappers off some old crayons.
STEP 3
Use some tacky glue to hold your crayons in place on the pumpkin.
STEP 4
Use a hair dryer to melt the crayon. Be careful – don’t burn yourself.
As the crayon melts you can tilt the pumpkin for desired effect.
You can use any color pumpkin and any color crayons to create the perfect waxed pumpkin!
Happy Fall Y’all!
XO,
Candi


