
I spent an afternoon weeding, planting and clearing paths. I wanted the garden to look great when I took pictures for my blog. Then it rained for approximately 4 days straight. The sun finally returned and I ventured out to the garden to take pictures. When I got there all the weeds had come back and had babies. So, please ignore the weeds.
I have raised beds. I think I have 23 of them. Right now, the plants (and weeds) have gone mad, so it’s difficult to figure out what’s what.
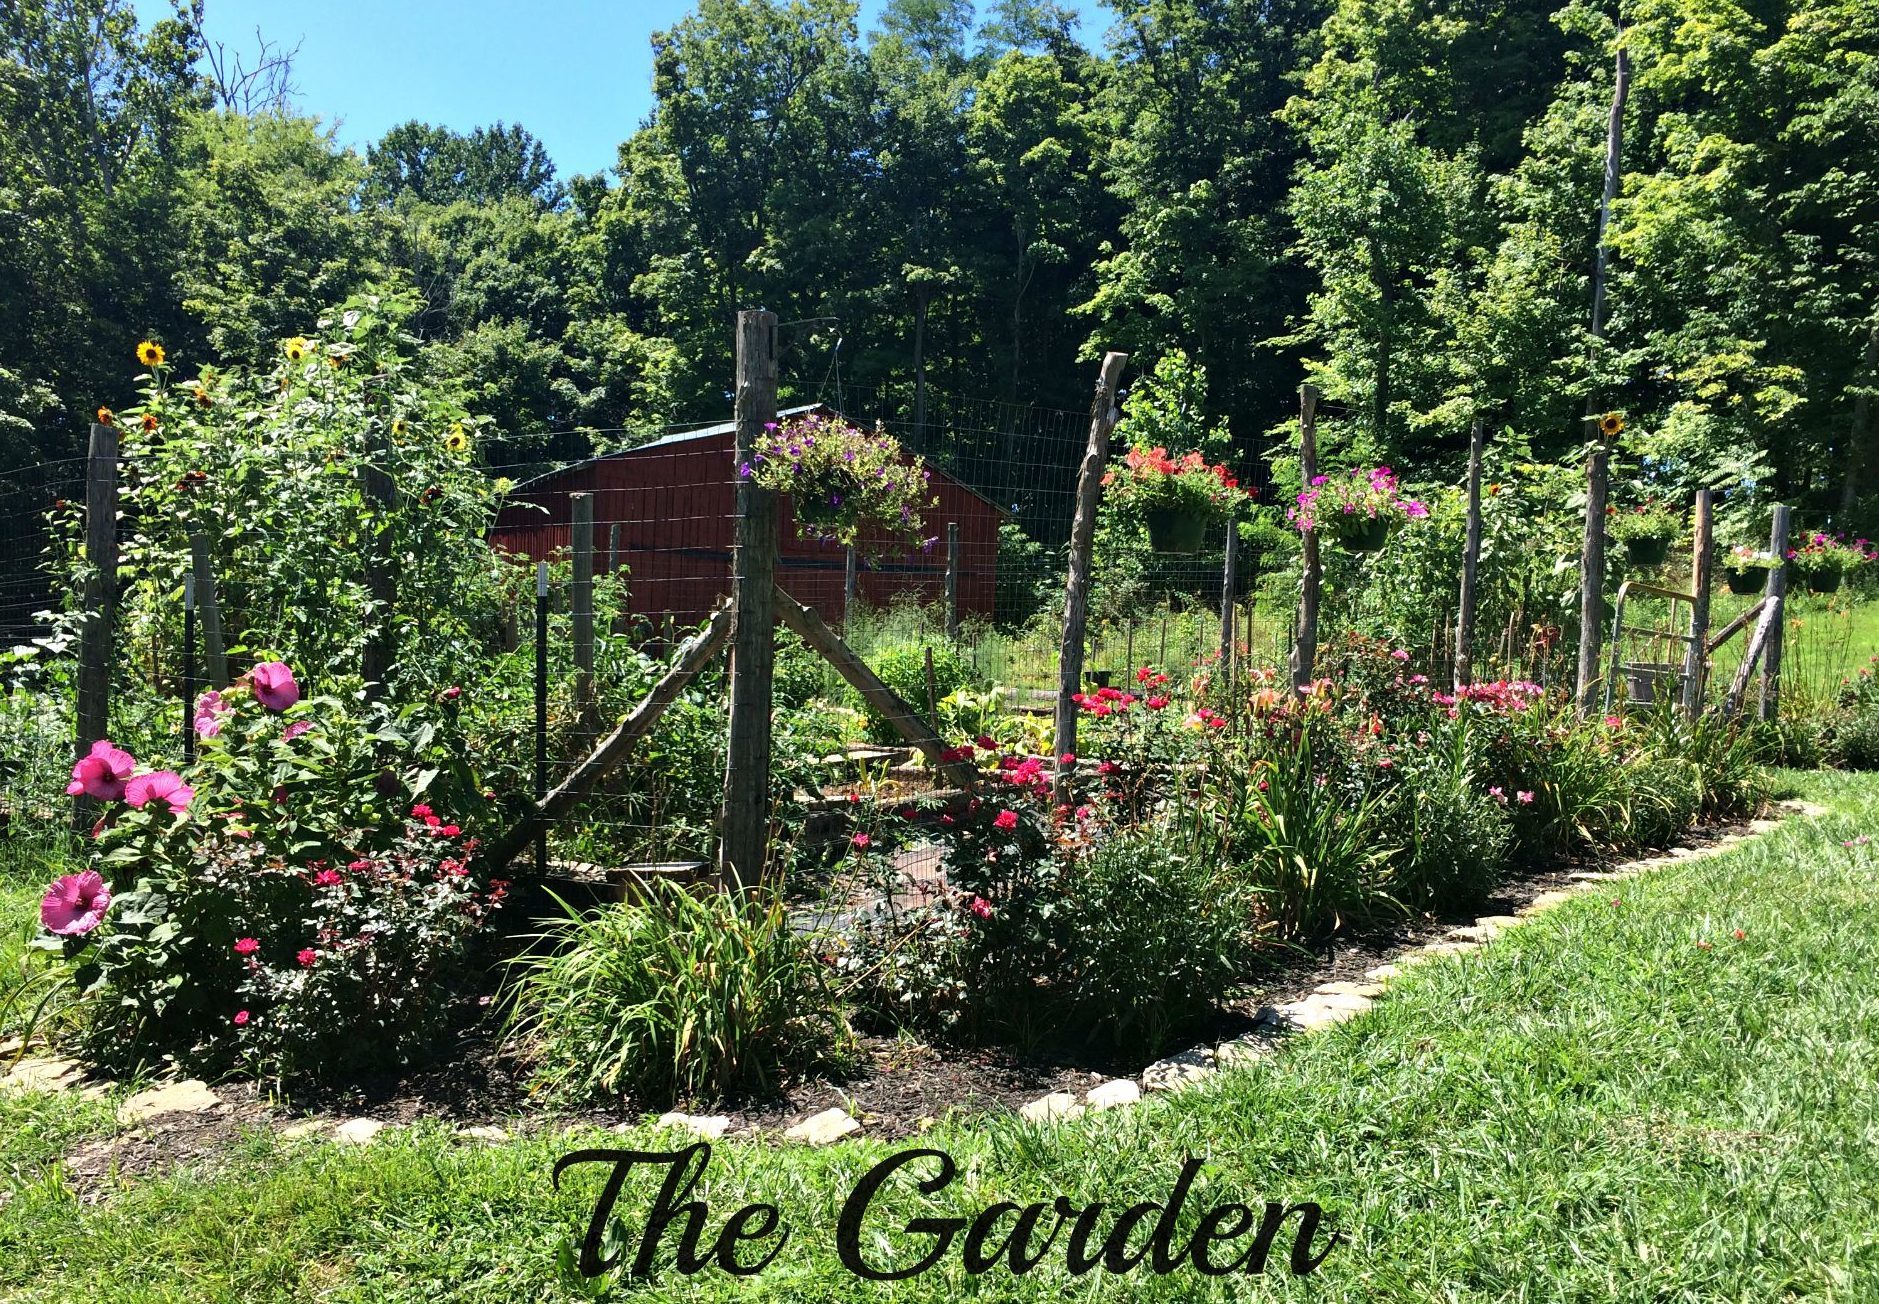
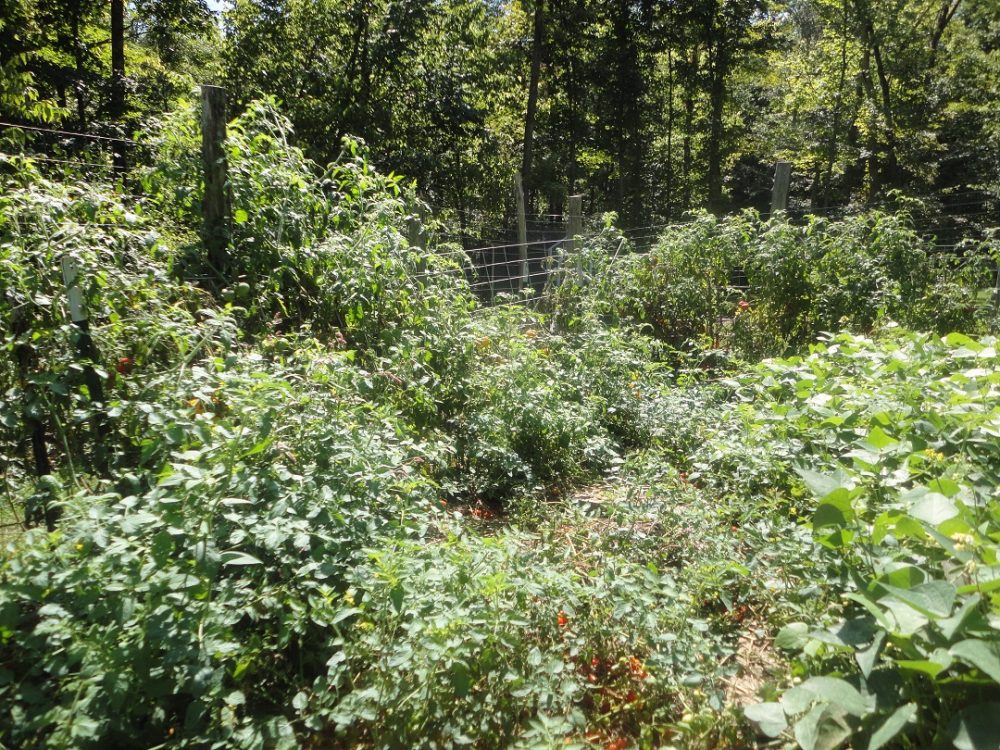
Here’s the garden. My husband and I fenced it in because I got tired of feeding the local deer, raccoon, opossum and ground hogs.
The buffet is Closed!
My husband acquired the cedar posts from our woods. They were cedar trees that had fallen down during storms. He just cut them into posts with his chainsaw. We rented a 2 man auger and drilled a bunch of holes. We set the posts & stretched the fencing. It took 1 weekend. To learn how to we put up fence go here.
Beds You Can Reach
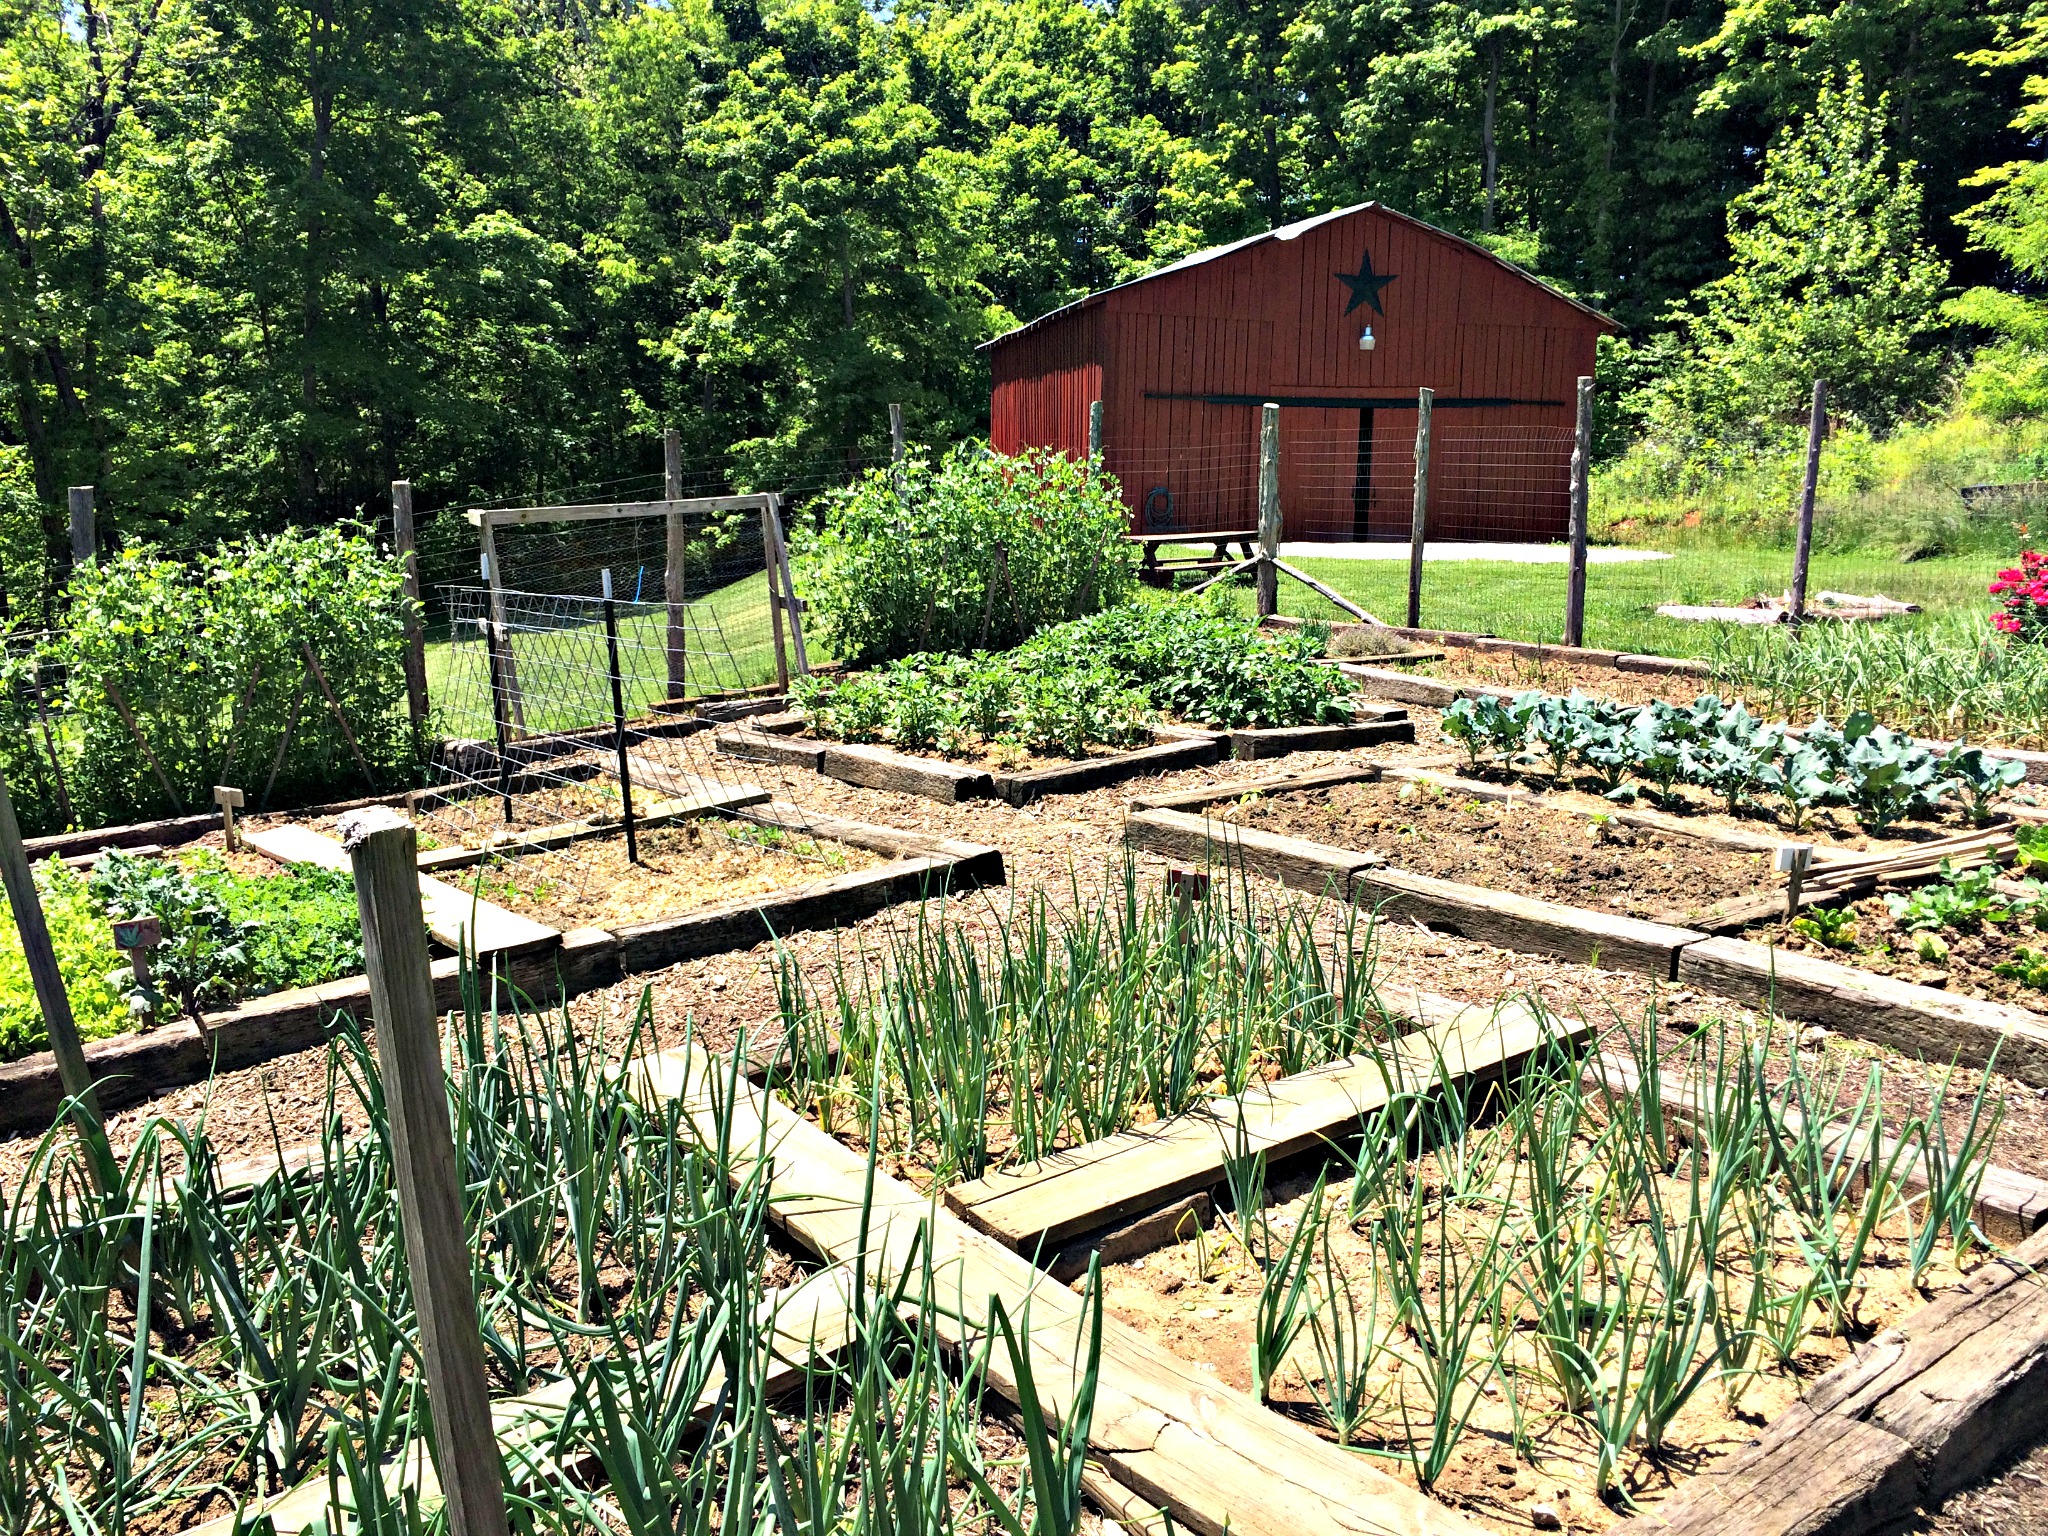
We then arranged beds that are 4ft X 8ft. This way I can reach into the entire bed without having to step into it. There are many things that will compact your soil. Rain, snow, debris, among others. The fluffier and workable you soil remains, the healthier your plants will be. If you constantly walk around your plants and in your growing areas you will inevitably pack down the soil.
By creating beds that I can reach across, I never have to walk in them.
Pathways
As mentioned above, I don’t want to walk in my growing areas, therefore, I have designated pathways throughout my garden. This way, I never have to step into a bed. The paths are hard, horrible clay and it doesn’t matter. They are only for walking on. Mine are covered in a free mulch I obtained by the scoop at a recycling center.
Fertilizer
Once the designated beds are erected it is easy to fill them with beautiful organic soil for planting. I focus all my manure, straw, and compost in the beds. No “good” soils are wasted on my pathways. I can top off my beds anytime with debris from the cow’s run-in or the chicken coop and be sure all that goodness goes straight to my plants.
Less Weeding
Creating pathways and beds for planting will greatly eliminate your weeding efforts. I used to have a giant plot of land that was my garden. It had rows of plants and rows that I walked in. The entire space was huge and full of weeds. I was always walking where things were growing and the weeds were unbelievable.
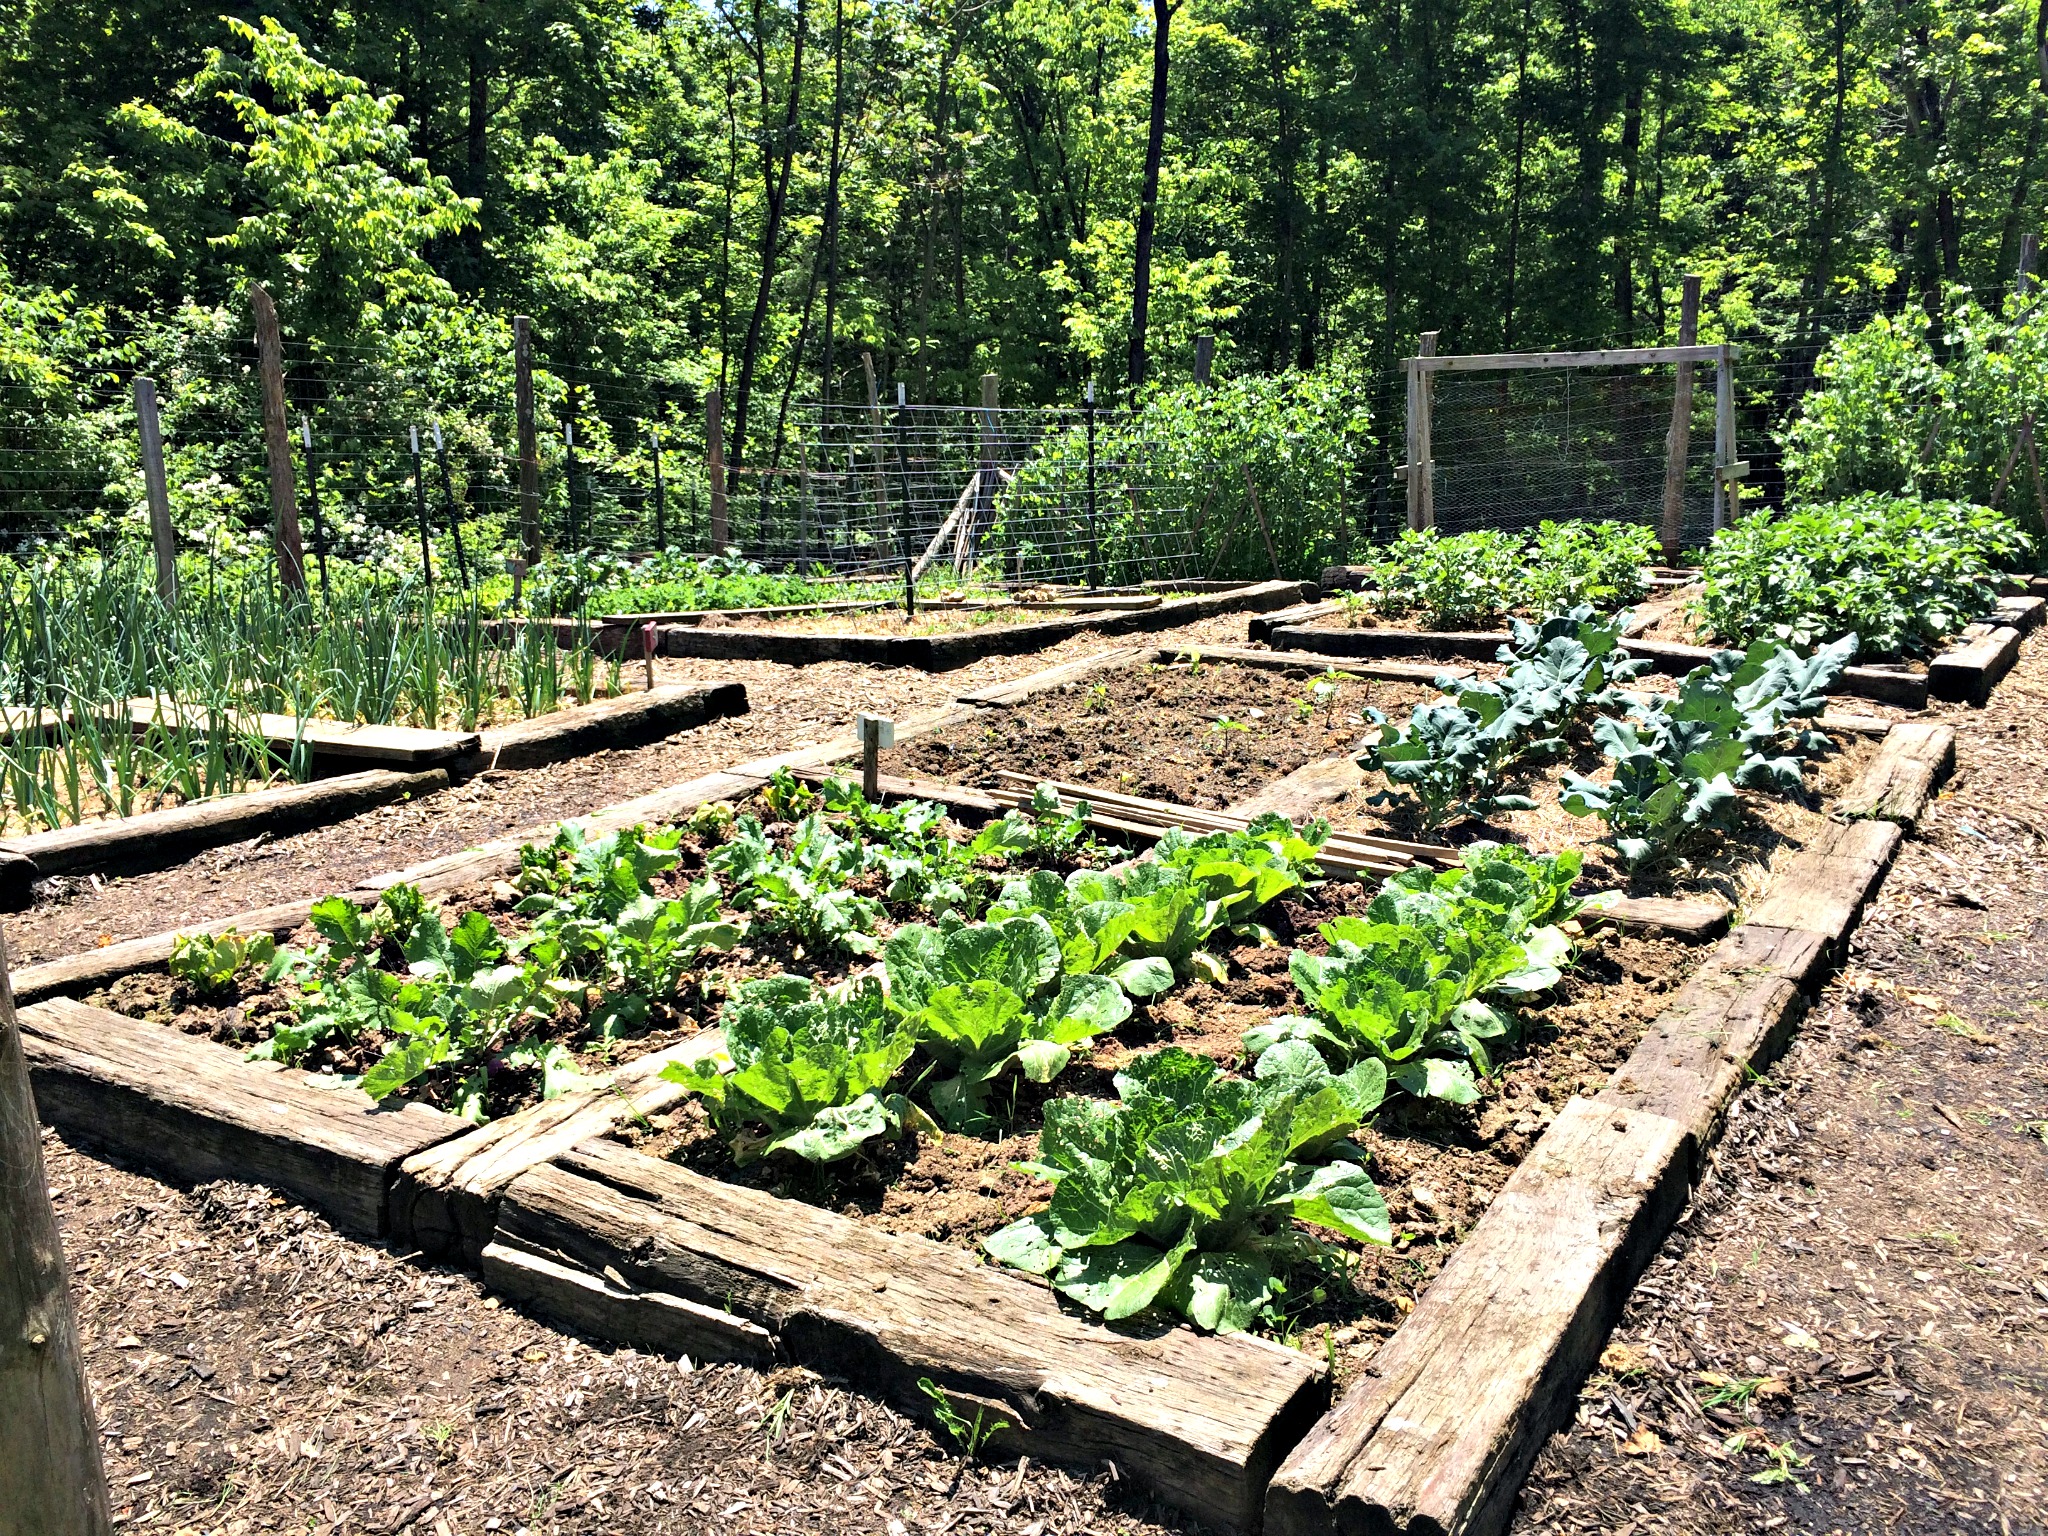
Once I created beds and paths the weed problem greatly decreased. Pathways can be covered in straw, rocks, stone, landscape fabric or other light blocking substance. This prevents the weeds from growing in your pathways. Once the paths are in place you only have to fight the weeds in your beds. Yay! What a difference this made for me.
More Plants in Less Space
Another benefit of using raised beds to grow your plants is the ability for the roots to travel down. When my garden was one giant plot of flat land I had to space my plants out quite a bit so the roots had somewhere to go. The soil was compacted. The ground was hard. The compost was thin and spread everywhere. The plants needed space to perform.
With raised beds, those plants have more depth to travel. They have light, well-fertilized soil that is full of nutrients and easy for root systems to maneuver. Because of the fertile, workable soil more plants can be supported in less space.
Lower Maintenance
Even though I have 20+ raised beds, I feel that they are easy to manage and keep tidy. I don’t have to maintain the paths – they are fine. I only water, feed, fertilize (with compost), weed and care for the beds.
When I had a 1/4 acre, traditional-row garden (paths, plants, weeds and everything) and it was time to weed – I wanted to cry. Weeding was a never ending battle that I always dreaded.
With raised beds it is a cinch to keep the garden (mostly) under control (especially with 4 children). With their help, we can weed all the beds in no time.
A Tour of what’s Growing
It is the middle of September here in Kentucky, so the summer plants are ending their life & the fall plants are just coming on.

Here is a crooked neck squash plant. If you can keep the squash bugs from finding your plants, you will have more squash than you can eat. My husband likes to eat squash once a year, so I have to get creative with this veggie.
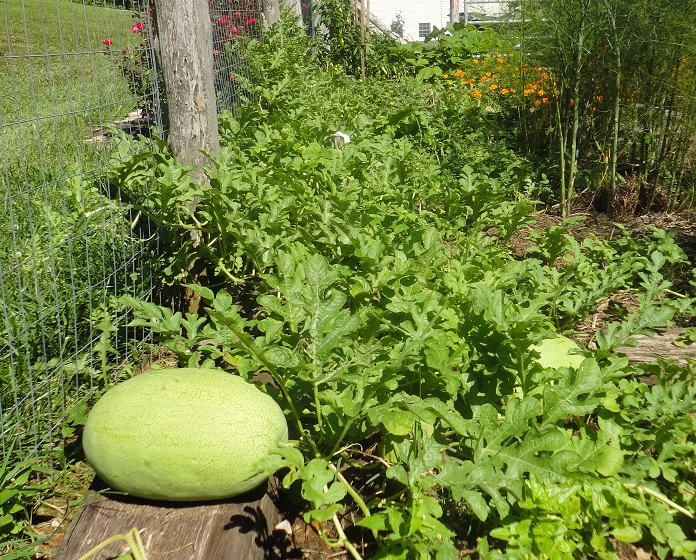
Watermelons are getting big. All his friends are hiding under the leaves.
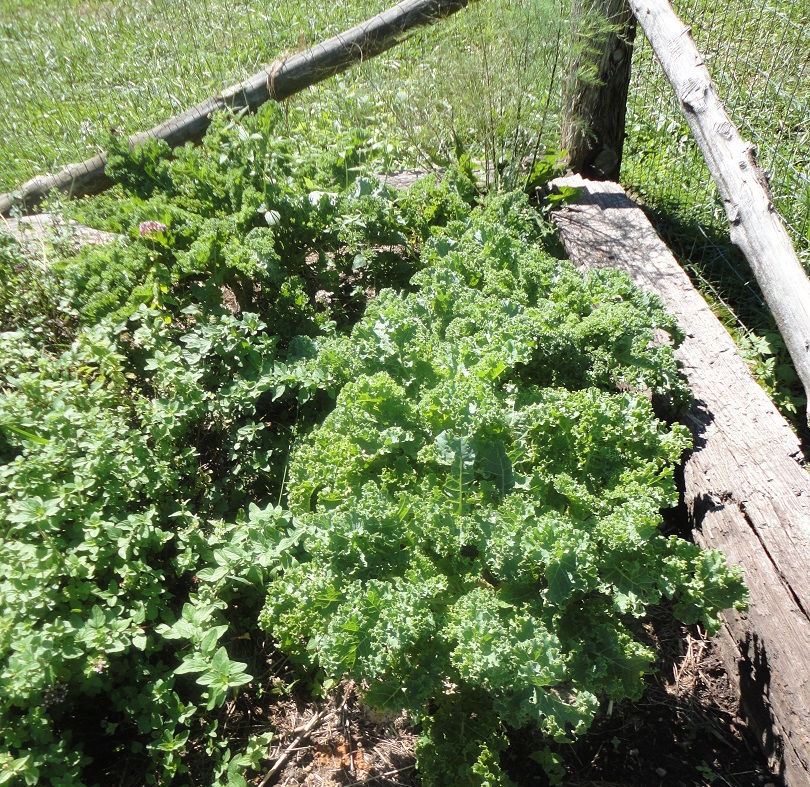
I have 4 Kale plants. Kale is easy to grow and hard to kill. I am good at growing kale. Did you know this plant will continue to thrive even when it is 10 degrees out?
When I want kale to eat, I just pull off some leaves. Leave the rest of the plant & it will continue to produce new tender leaves. At least, it will continue to produce new leaves until it gets below 10 degrees.
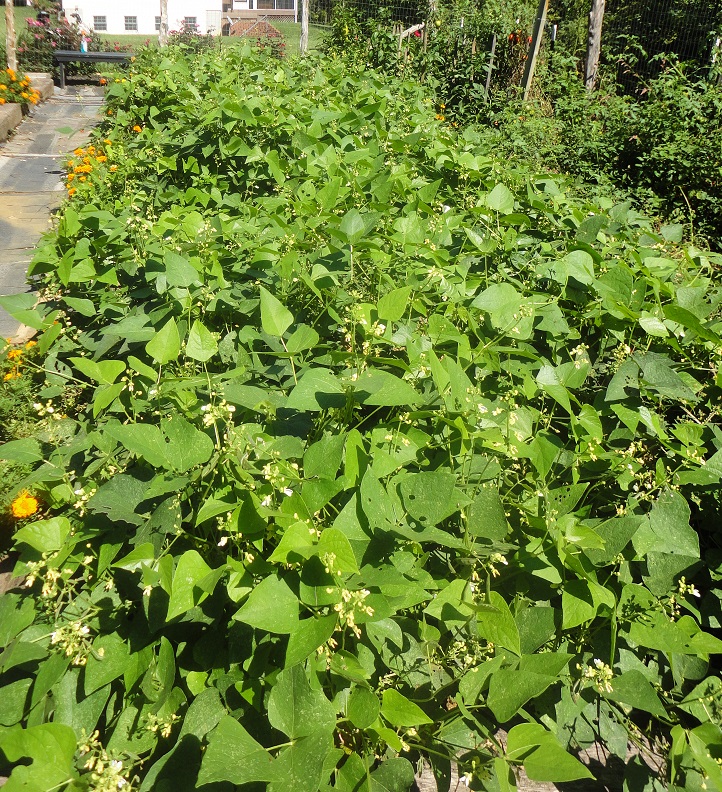
These are lima beans. They are also called butter beans. I grew lima beans for the first time this summer. They are easy to grow, but a pain to process.
To get these guys ready to eat you have to (1) pick the pods (2) shuck the pods (get the beans out) (3) wash (4) can or cook. It was a lot more work than I realized. I love lima beans, and have a new appreciation for those cans on the grocery shelf. It takes an amazing amount of pods/ beans to fill one tiny can of limas.
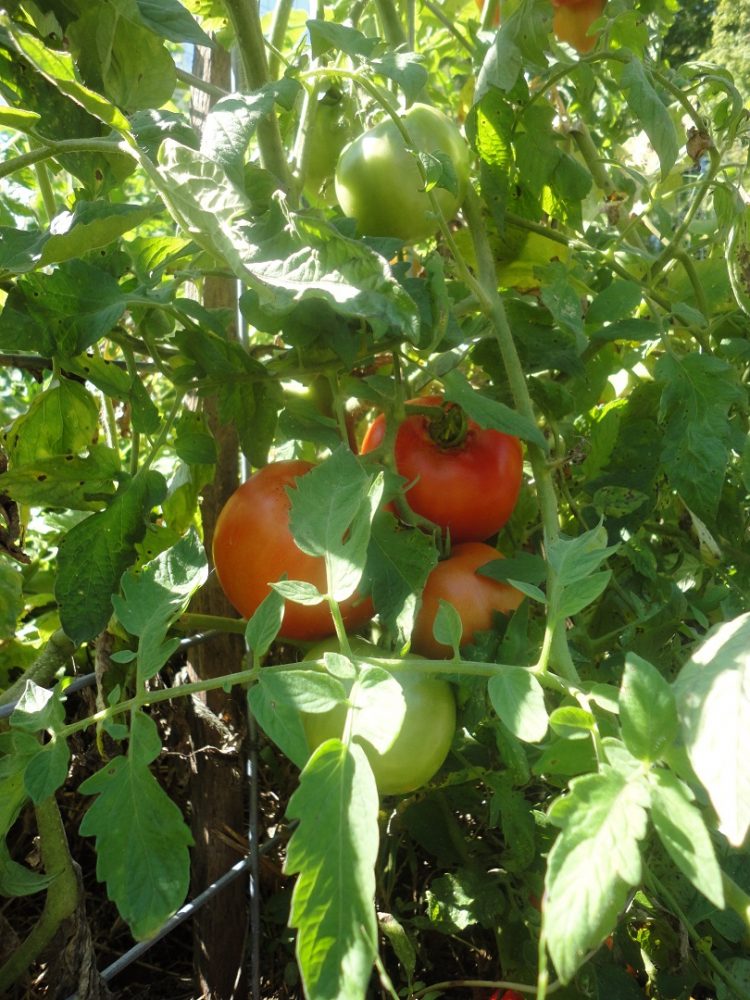
Tomatoes. I still have to make my salsa. It is always what I do last. I’ve made the spaghetti sauce. I have quarts of whole tomatoes filling the storage shelves. The salsa is all that’s left.
.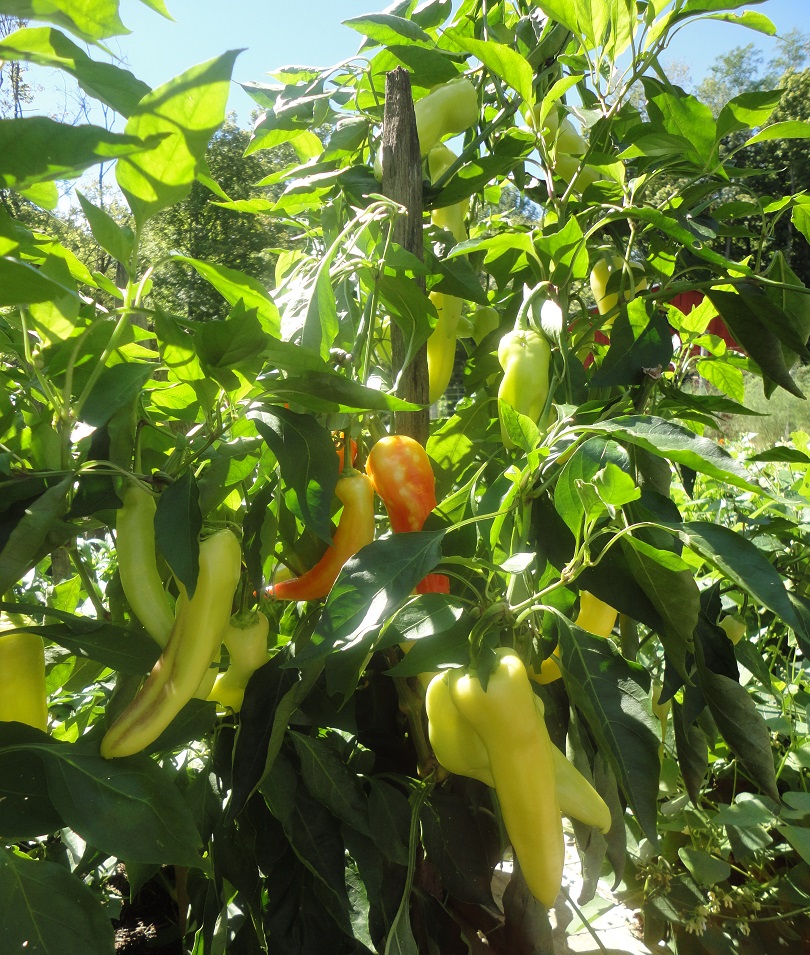
Colorful Banana Peppers. These guys can be pickled, caned, or processed with garlic and tomatoes. I prefer to freeze them.
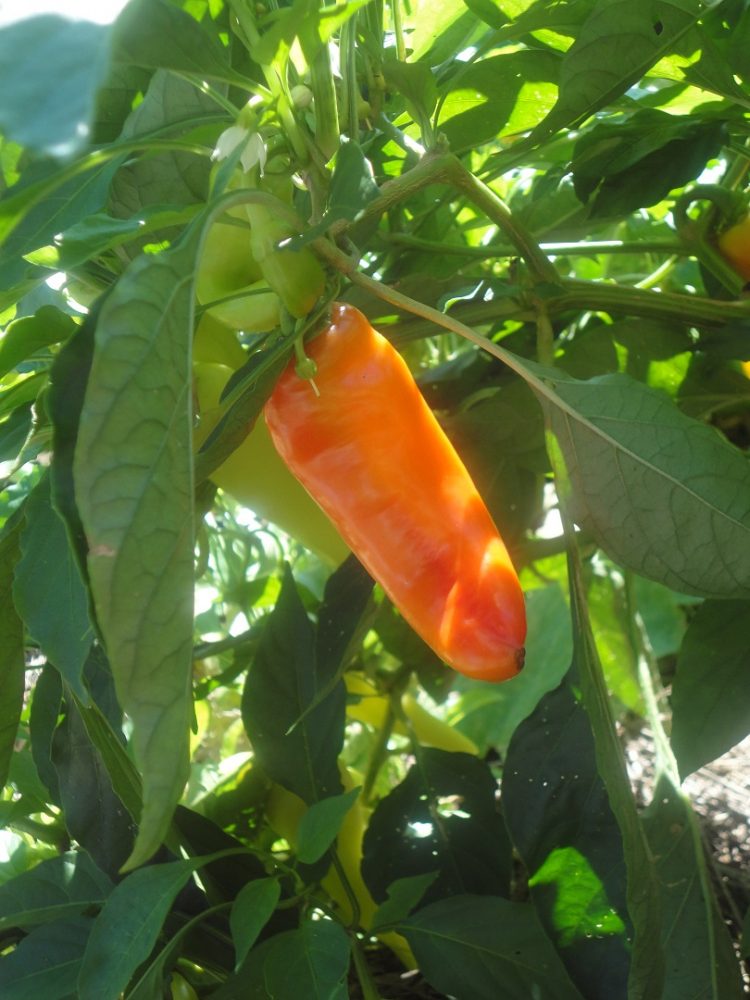
I think I’ll eat this guy with lunch. Sweet as sugar. All my kids love peppers from the garden.

Green Bell Peppers. Again – I freeze ’em. I just chop them up & lay on a cookie sheet. Freeze. Once frozen, I transfer them into freezer bags. Easy. I can grab a handful of peppers whenever I need them for a dish. They are already chopped and ready to go. Go here to see how I do it.
This disaster is the potatoes. There are some tomato plants that are supposed to be growing along the fenceline in the back. The tomatoes have overstepped their boundaries a bit & are covering my potatoes and taking over the world.
I grow Irish Cobbler potatoes. They are big and buttery . We plant them late spring & dig them up in September.
Potatoes are an interesting crop. The “seed” that you plant into the ground is actually a chunk of a potato. You know the “eyes” on the potatoes? Those are actually sprouts that will grow. Place the chunk of potato about 8 inches underground with the sprout shooting upward toward the sky & cover with dirt.
In a few days there will be a plant. Then a big green bush. Then beautiful, light-pink blossoms will appear to lay on top of all the green bushes.
What happens next looks sad – but it is just part of growing potatoes. The entire plant dies. The whole bush, flowers, stems, everything turns brown and is gone. This is when something magical is happening underground. My friend at the local hardware store told me to just leave them in the ground and dig them up in September.
We will dig up potatoes as we need them for dinner all summer long & leave the main harvest in the ground until September.
In the late fall the tops will turn brown & I’ll cut them off at ground level. Next March, there will be asparagus spears shooting out of the ground once again.
I’ll keep you posted as more food is coming on. We have sugar snap peas, radishes, and beets just beginning. Fall is a wonderful time in the garden. The summer crops are still bountiful & the fall crops are on their way.
Get old fashioned tips and recipes delivered straight to you! Just subscribe via email (here).
Love,
Candi


