
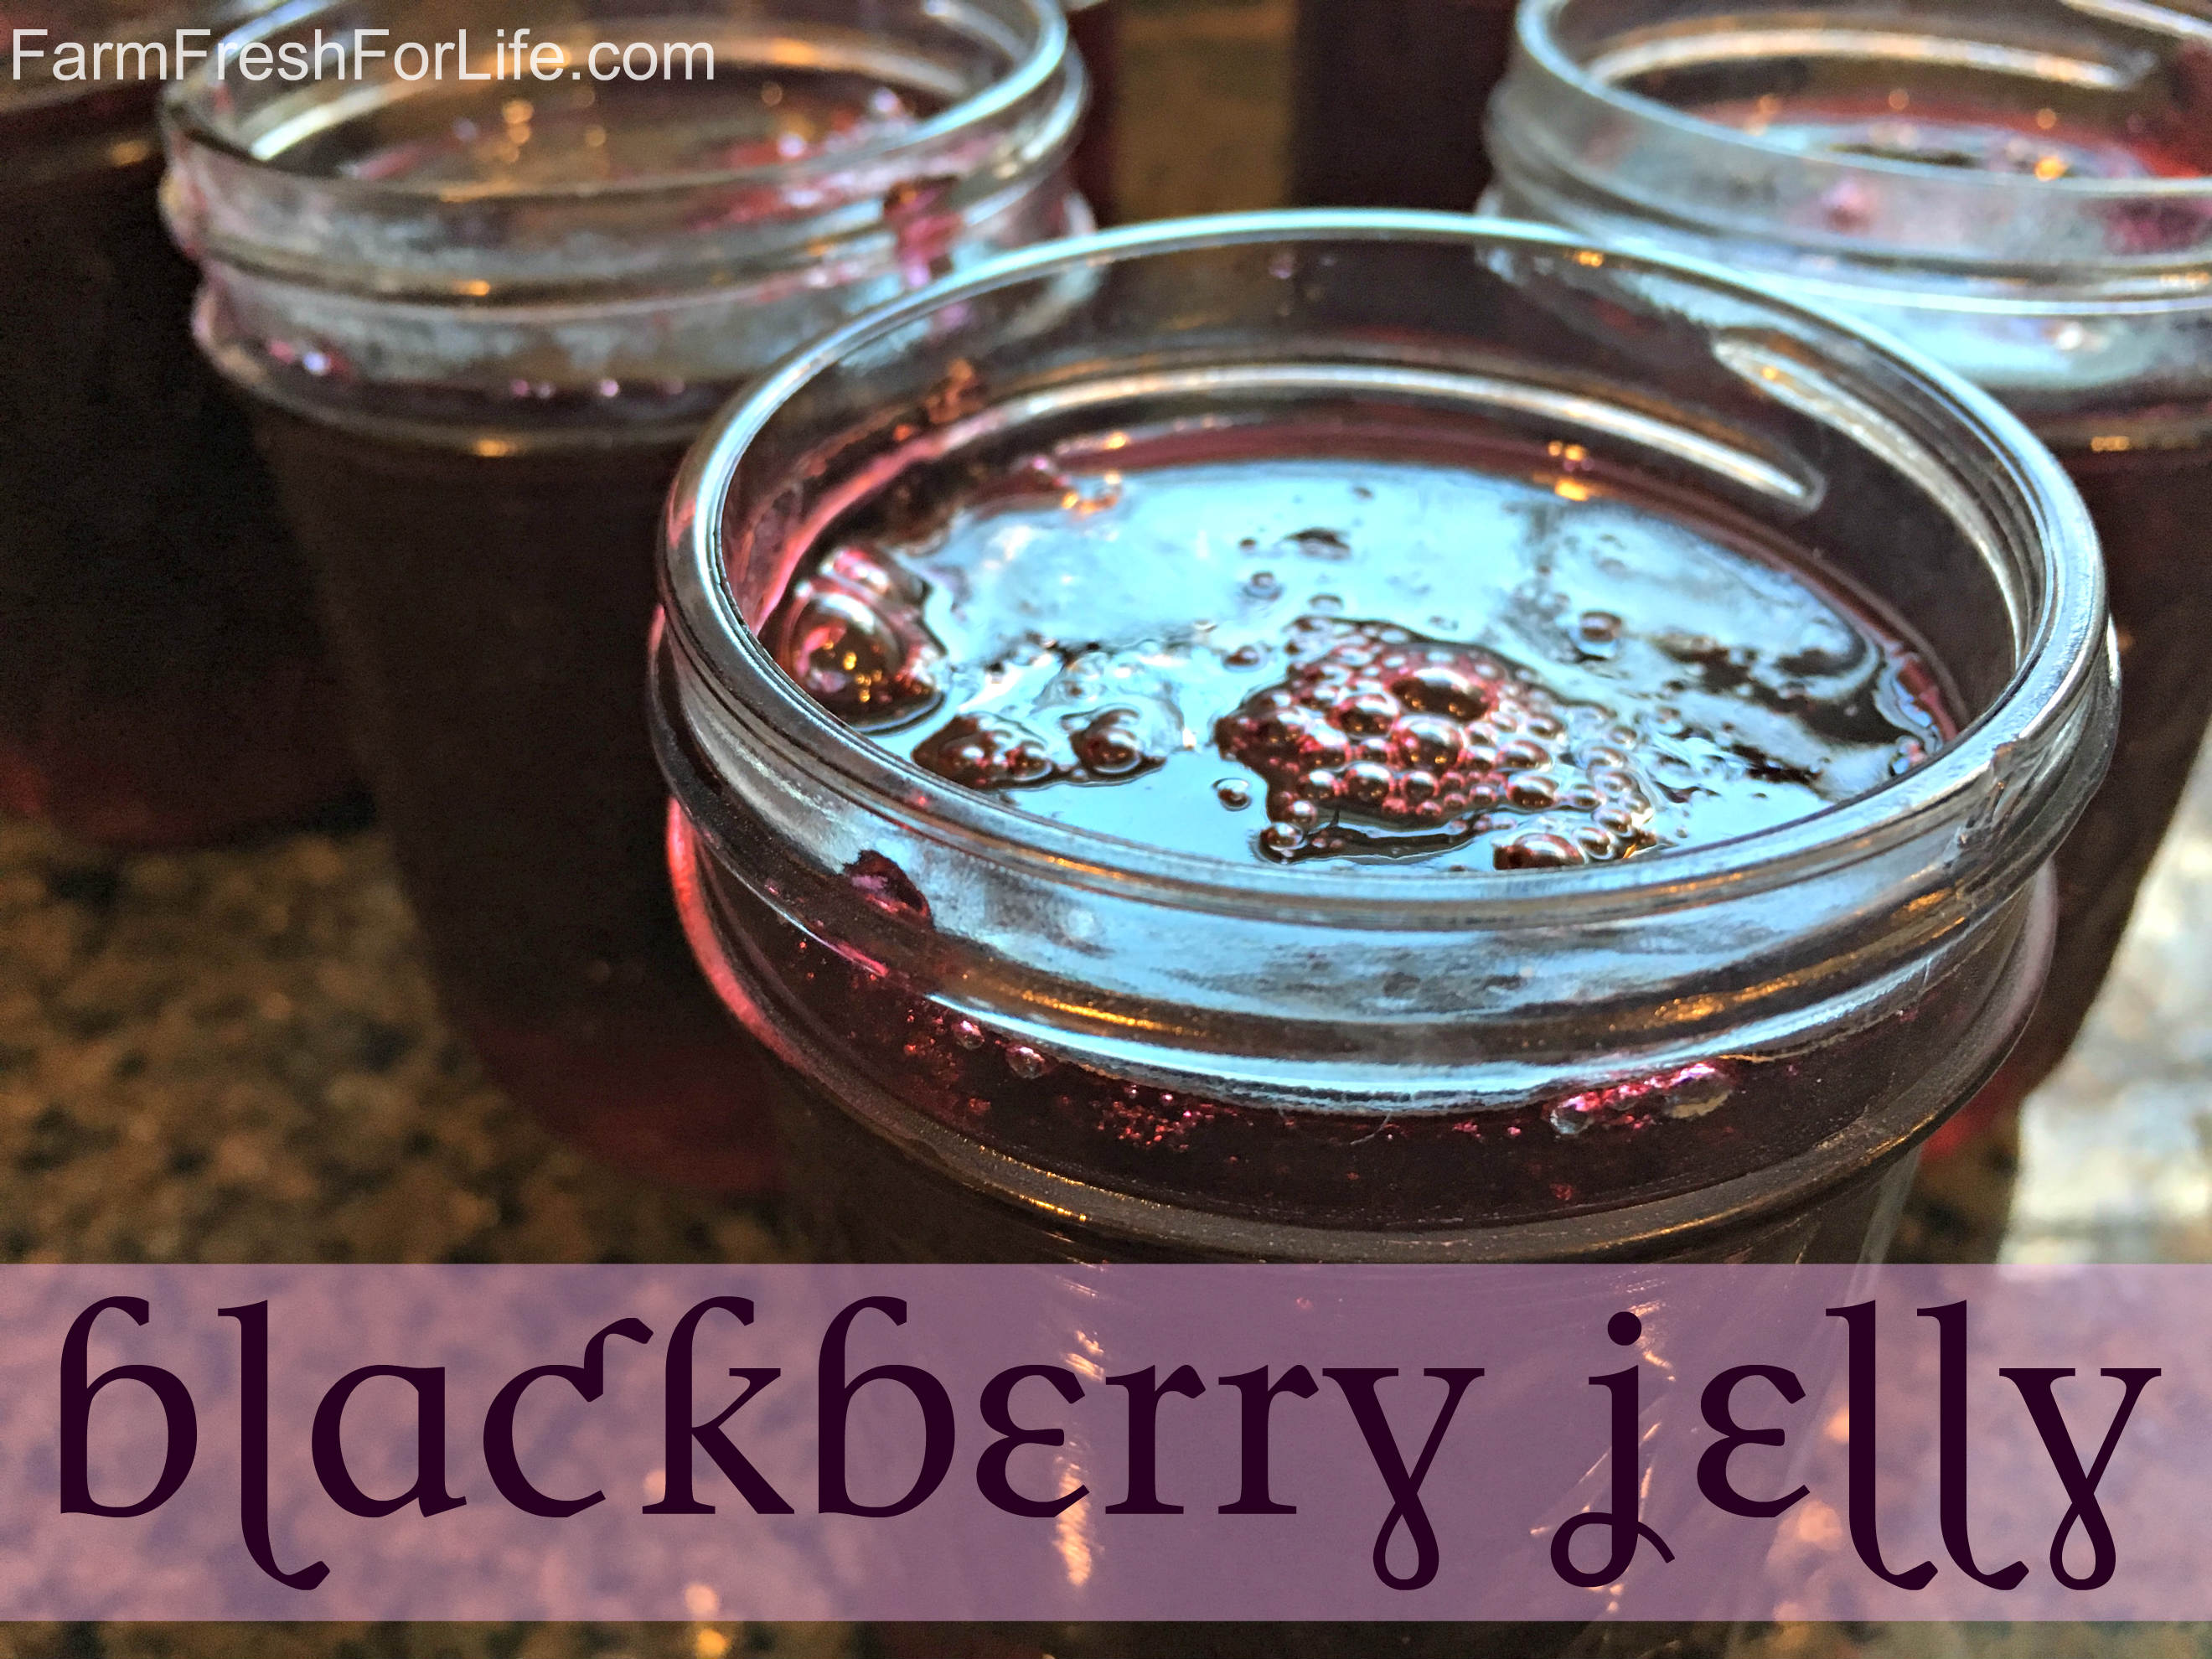
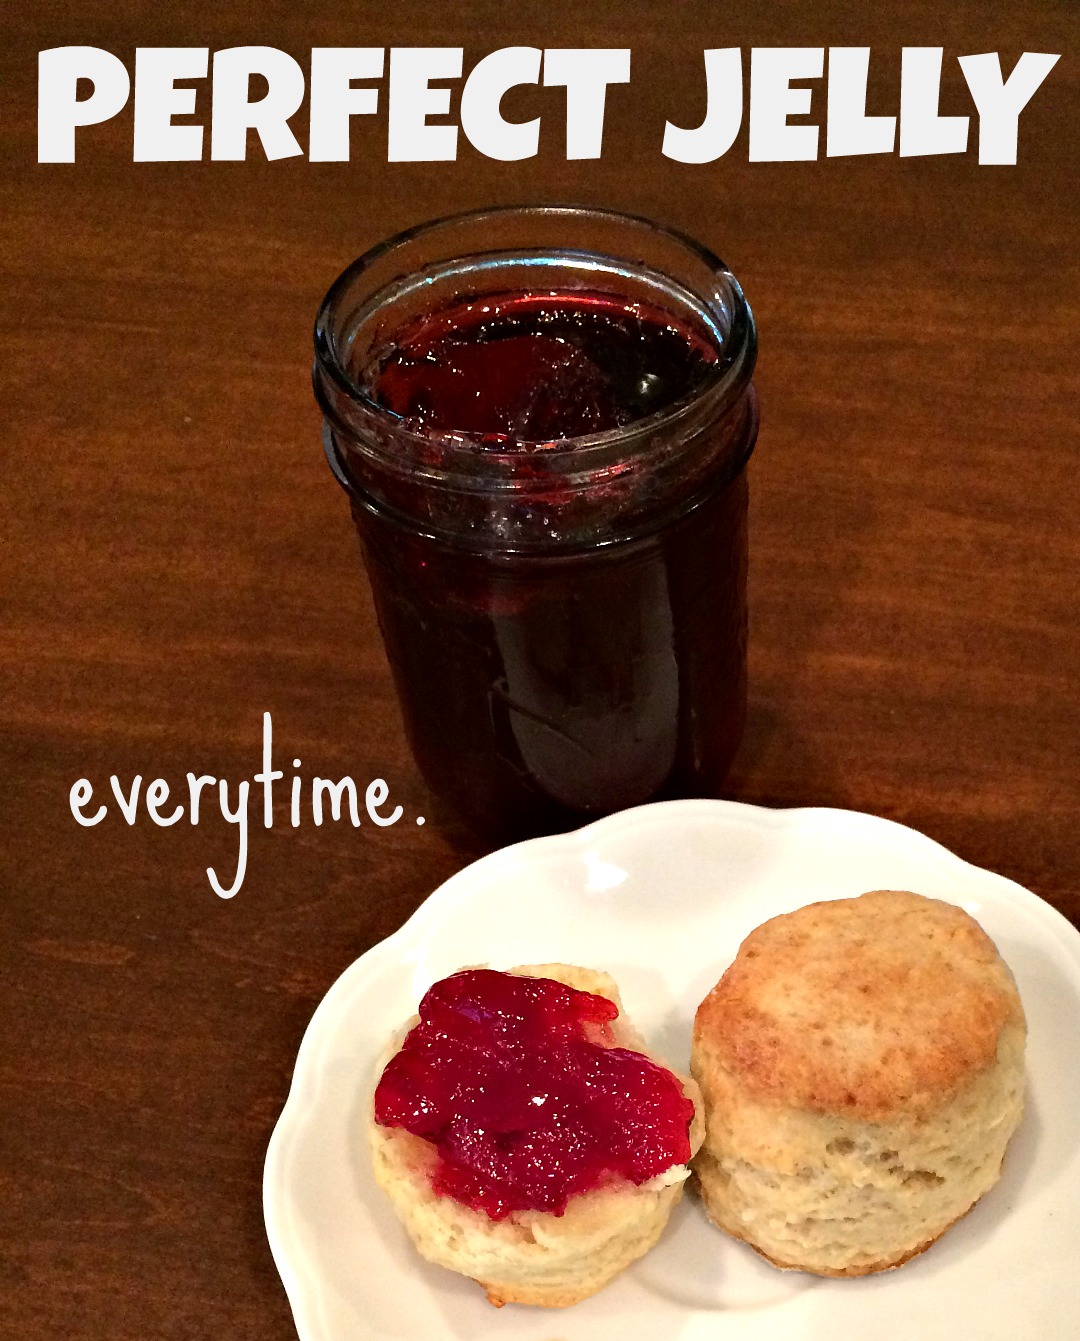
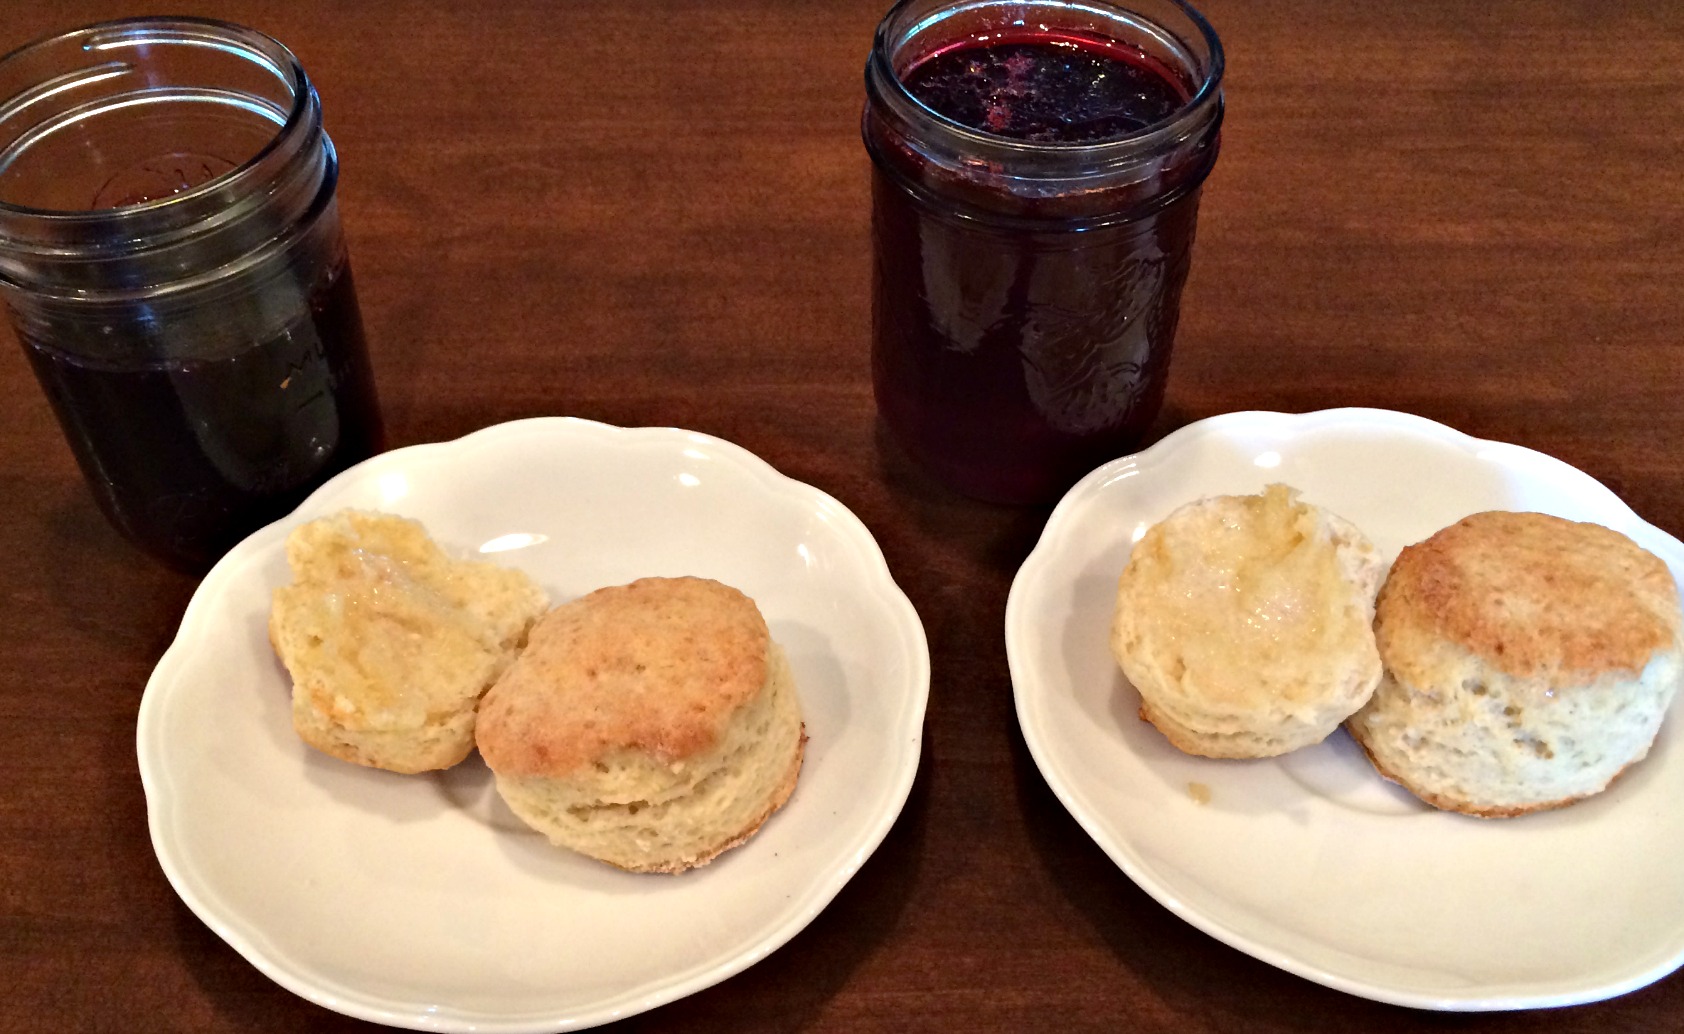
Perfect. Easy. Blackberry jelly.
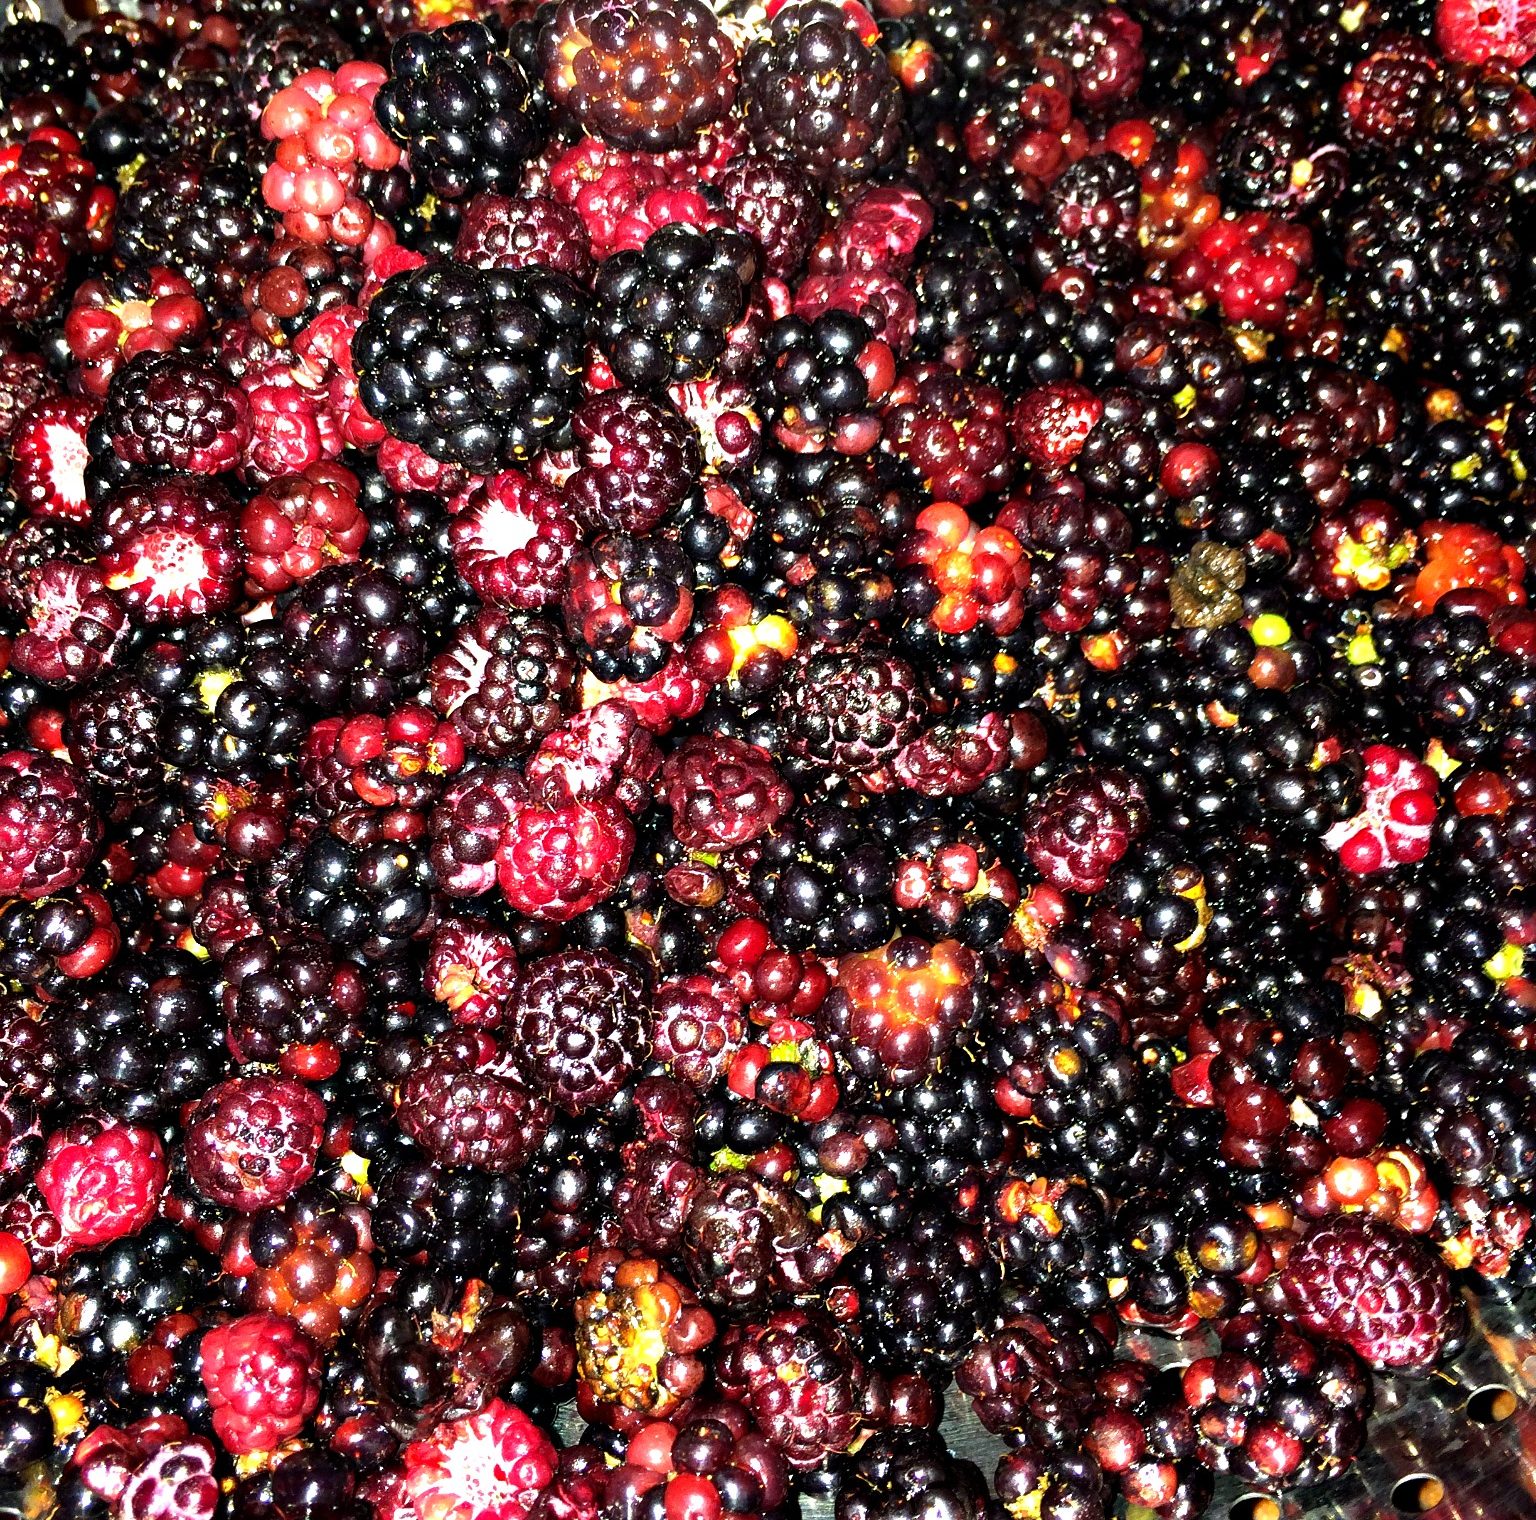
The blackberries are “ON.” If you have any canes around your homestead, and you live near me, you probably could eat blackberry flavored foods for the next month and still not run out of berries. The woodline is dripping with them.
I have spent years trying to figure out the jelly mystery. Eureka, Friends! I have found it. Look no further if you want to make your own blackberry jelly and you don’t want it to end in disaster. This is a sure thing. It’s also delicious and all natural. Jelly-Trifecta!
There are only 5 Ingredients: Berries, Cane Sugar, juice from 1 Lemon & 1 Lime, & Liquid Pectin.
That’s it.
I don’t like blackberry jam.
If you are thinking potatoes/ po-TA-toes…….. here’s a quick jelly v/s jam lesson:
- Jelly: Clear and sparkling fruit spread consisting of firmed fruit (or vegetable) juice. Holds itself in place. Made from fruit juice. Usually does not contain pieces of fruit.
- Jam: Made with whole (mashed) fruit. Fruit spread will contain crushed, diced, or grated pieces of fruit and/or rinds.
I don’t like blackberry seeds on my biscuits. I know many people don’t mind the seeds. Some folks grind up the stems and throw them in there too.
Not me.
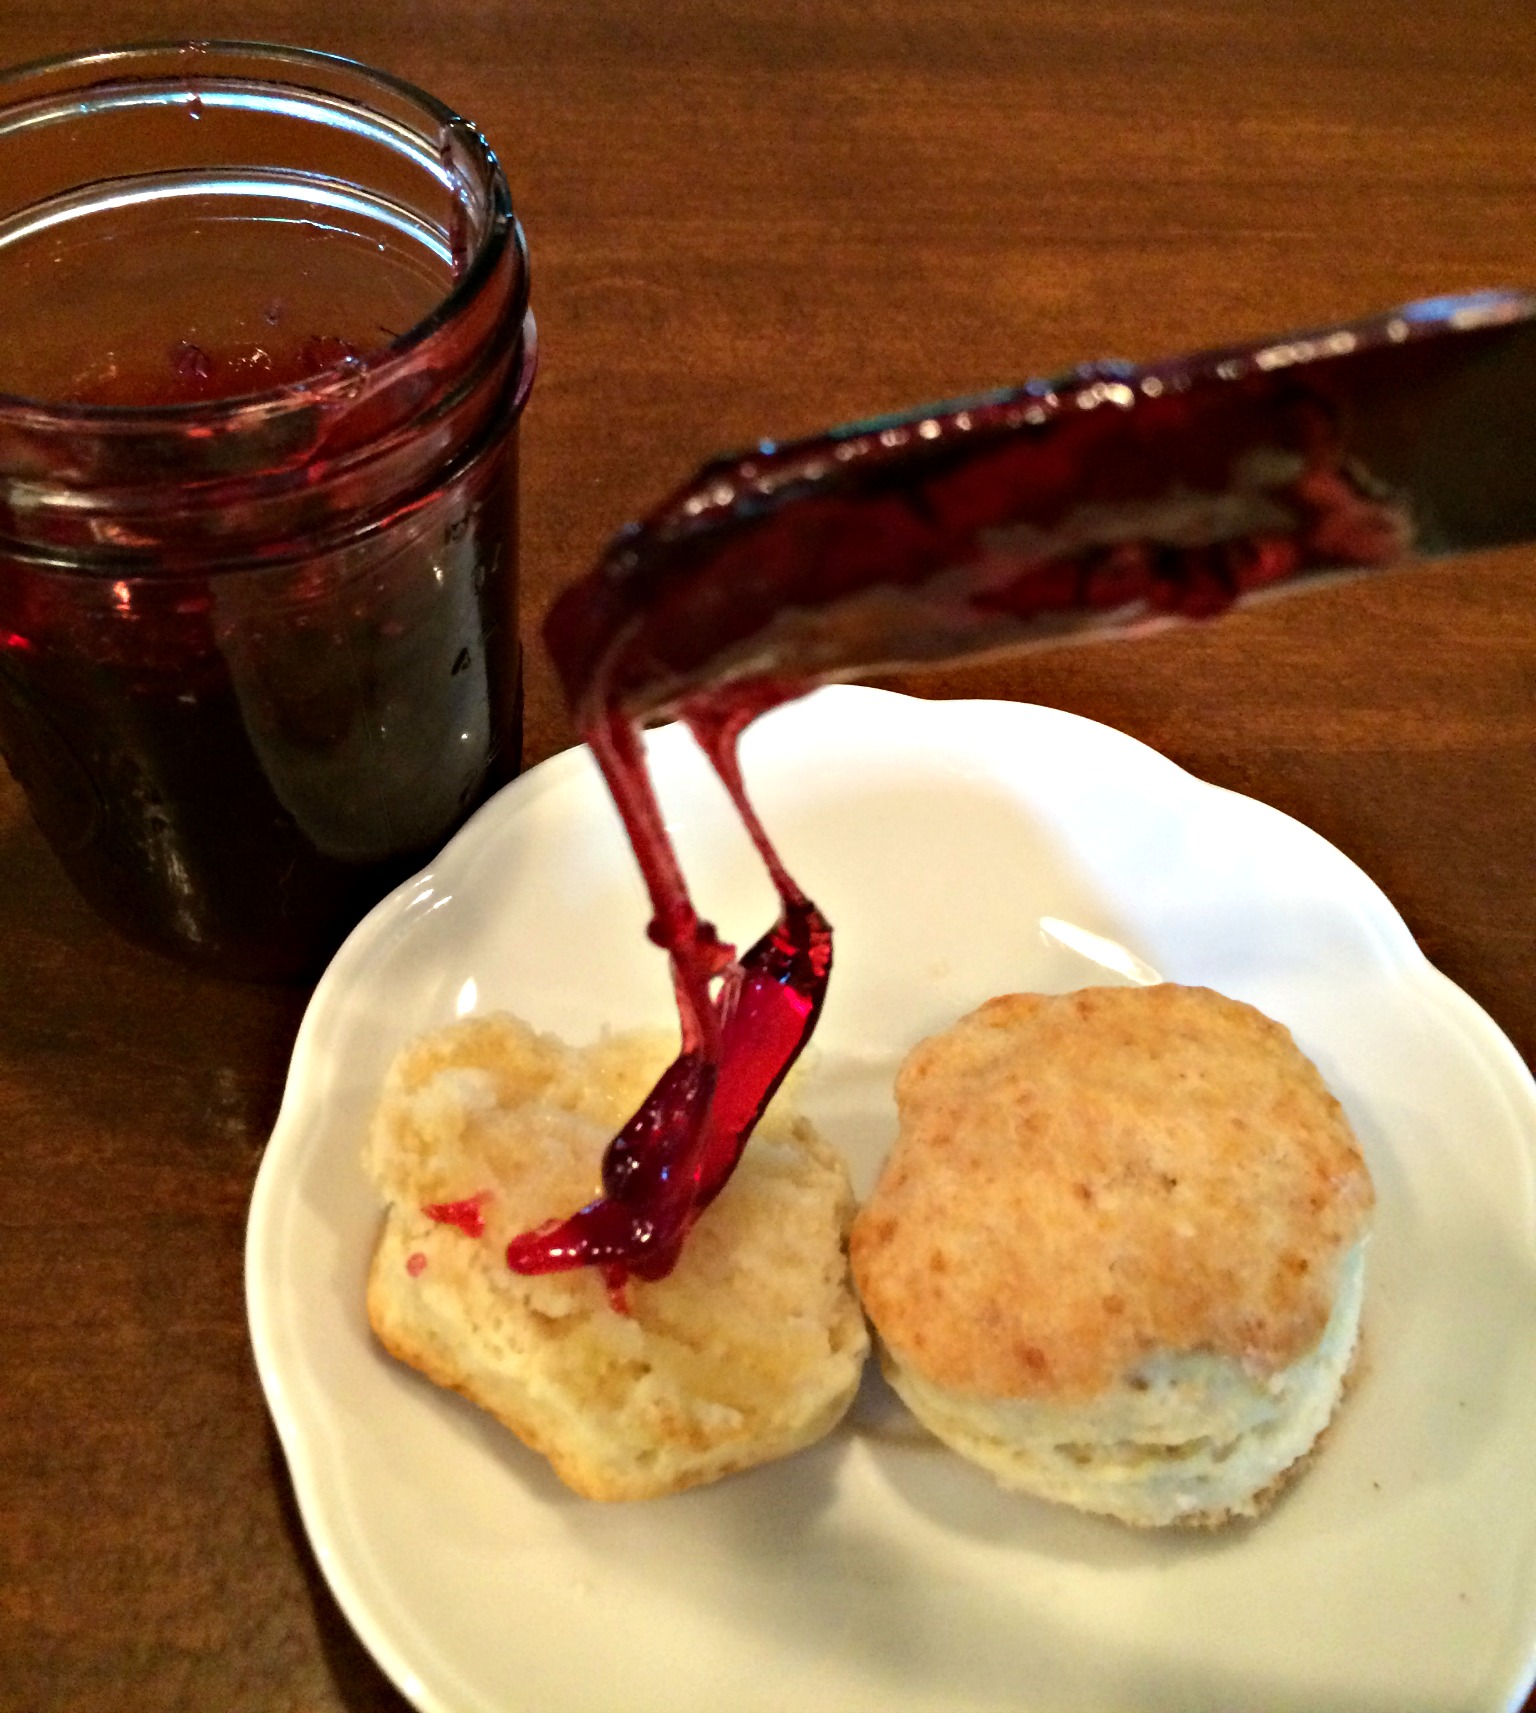
I want my blackberry jelly to be crystal clear, sweet, slightly tart and seed-free.
There are 3 Stages to making perfect Jelly.
- Get some Blackberries. Yea! Picking!
- Make Juice
- Make Jelly
STEP 1: Blackberries
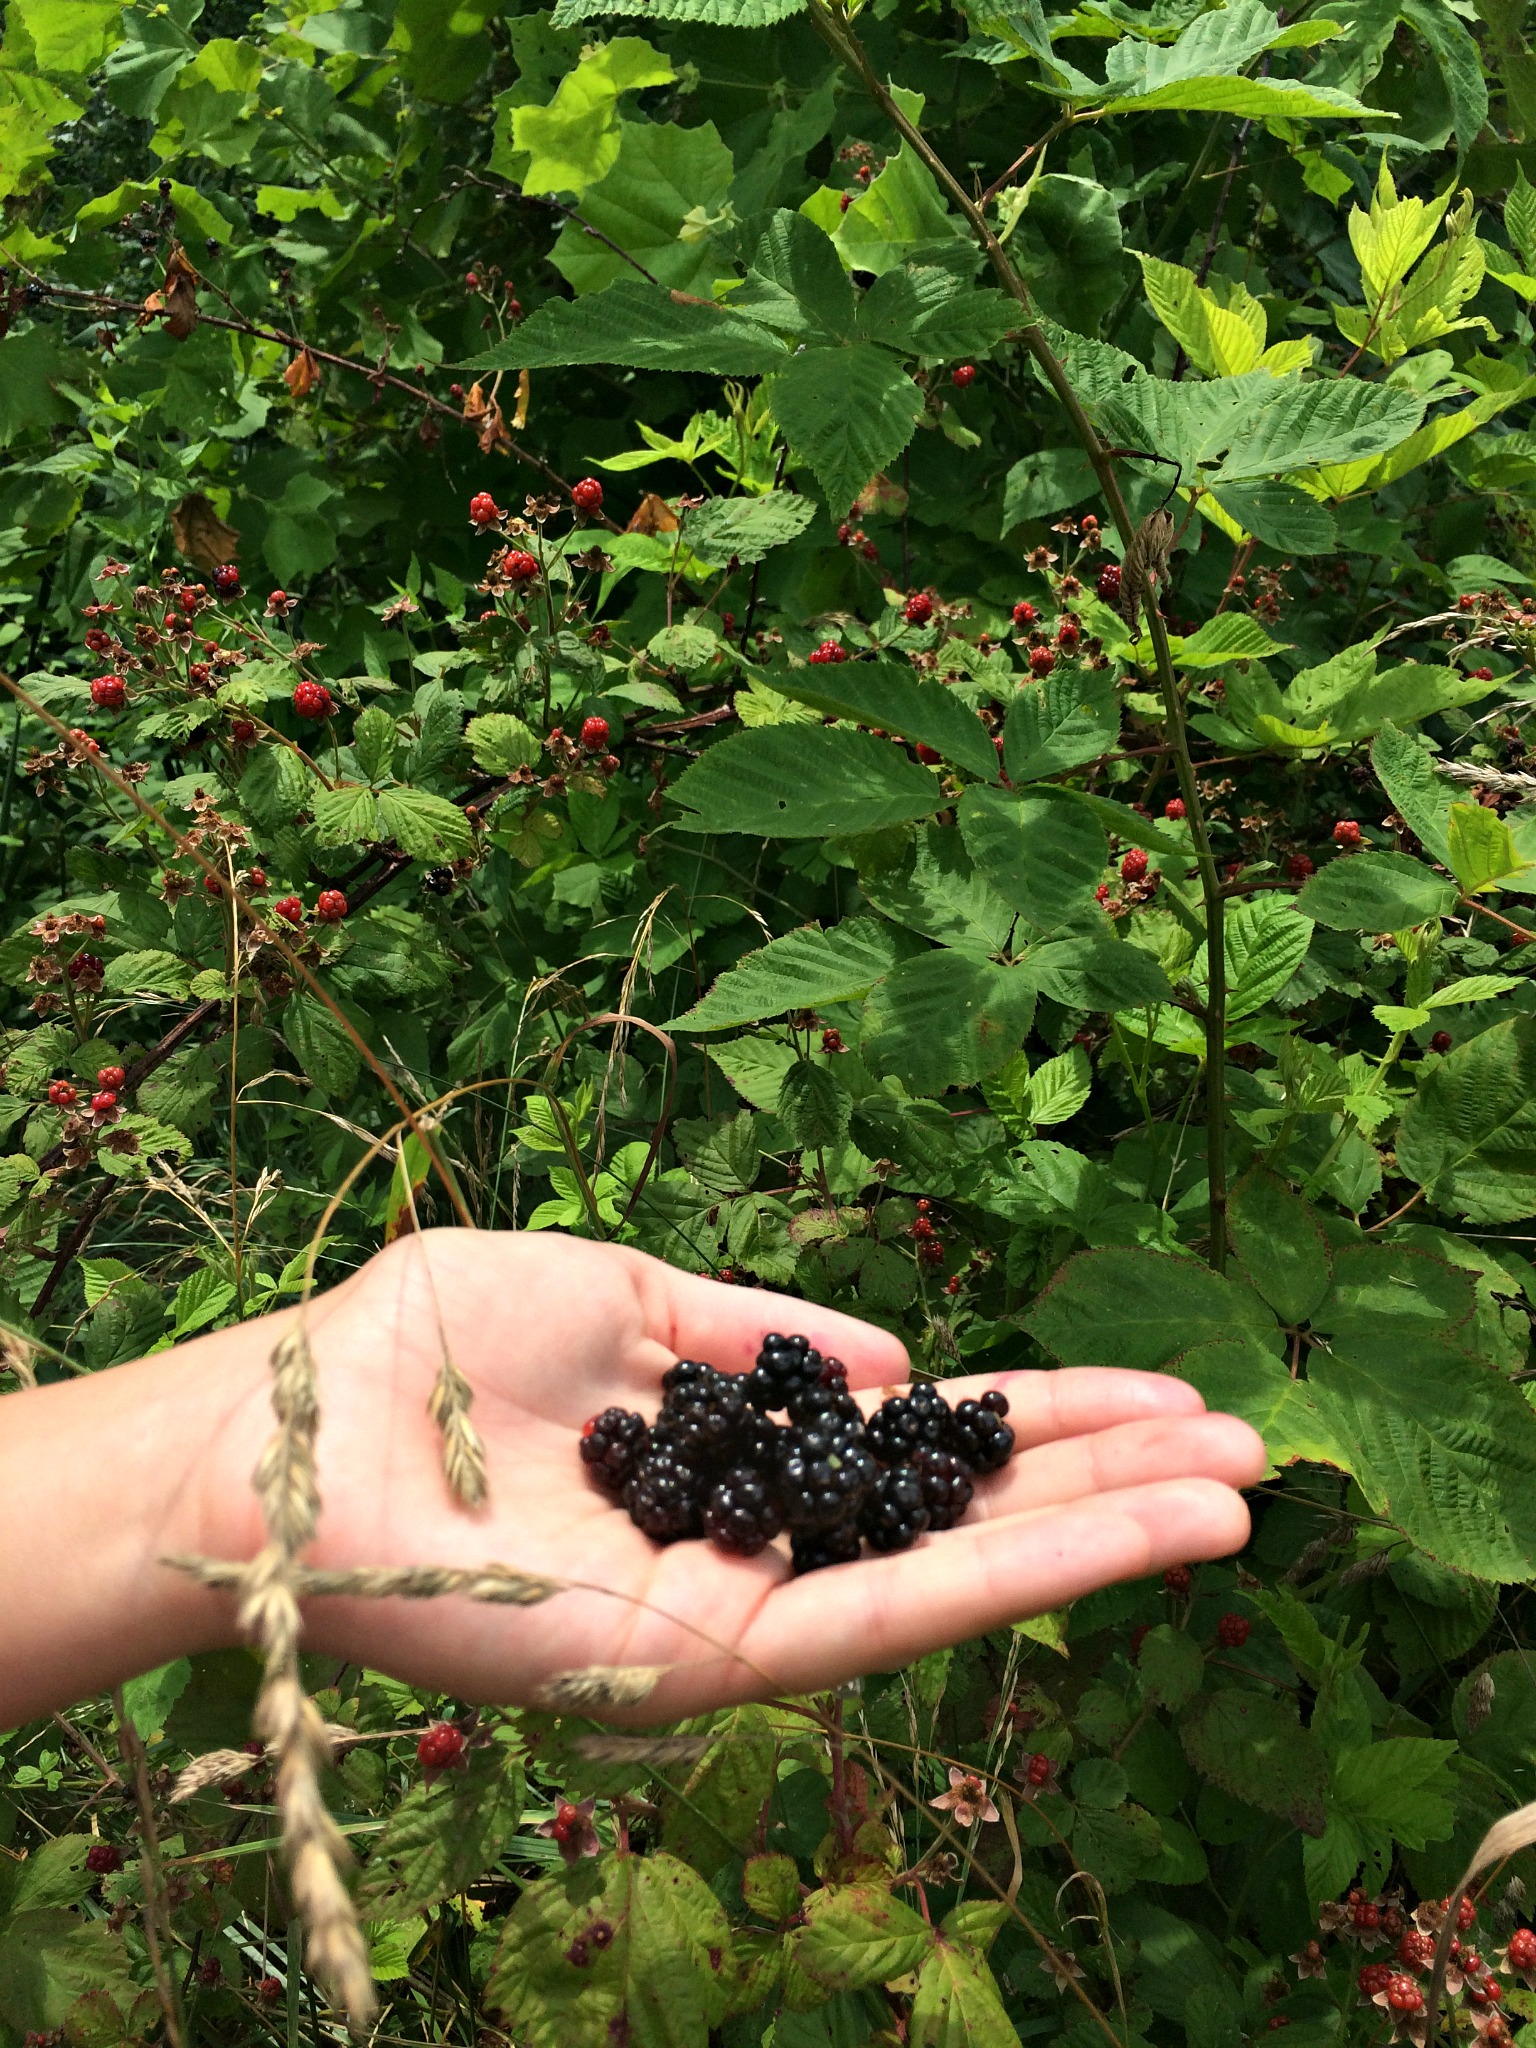
Before we can make perfect jelly, we must get some blackberries! You can buy them. You can put in blackberry “canes” or bushes and raise your own. Or, you can do what we do:
Forage.
The chickens aren’t the only ones scratching around this place looking for tasty bites.
Around here, the birds plant the blackberry canes. I’ll explain.
Birds love blackberries. They eat the berries from surrounding farms. Then they come to sit in trees at our place. I don’t know if the birds prefer the trees along the woodline, or if the woodline is the only place that provides enough sun for the berries to thrive or both……. but all our berries grow along the woods.

We walk the woodline around our home and fields picking berries on the way.
When the blackberries are “on” you can pick enough berries for a batch of jelly in one day. If you don’t get enough in 1 day, stick them in the fridge & continue picking, adding to the collection each day until you have enough berries.

Be sure to wear boots when berry picking. Birds aren’t the only ones who like to eat them. We find snakes in the berry bushes every year. Shudder.
STEP 2: Juice
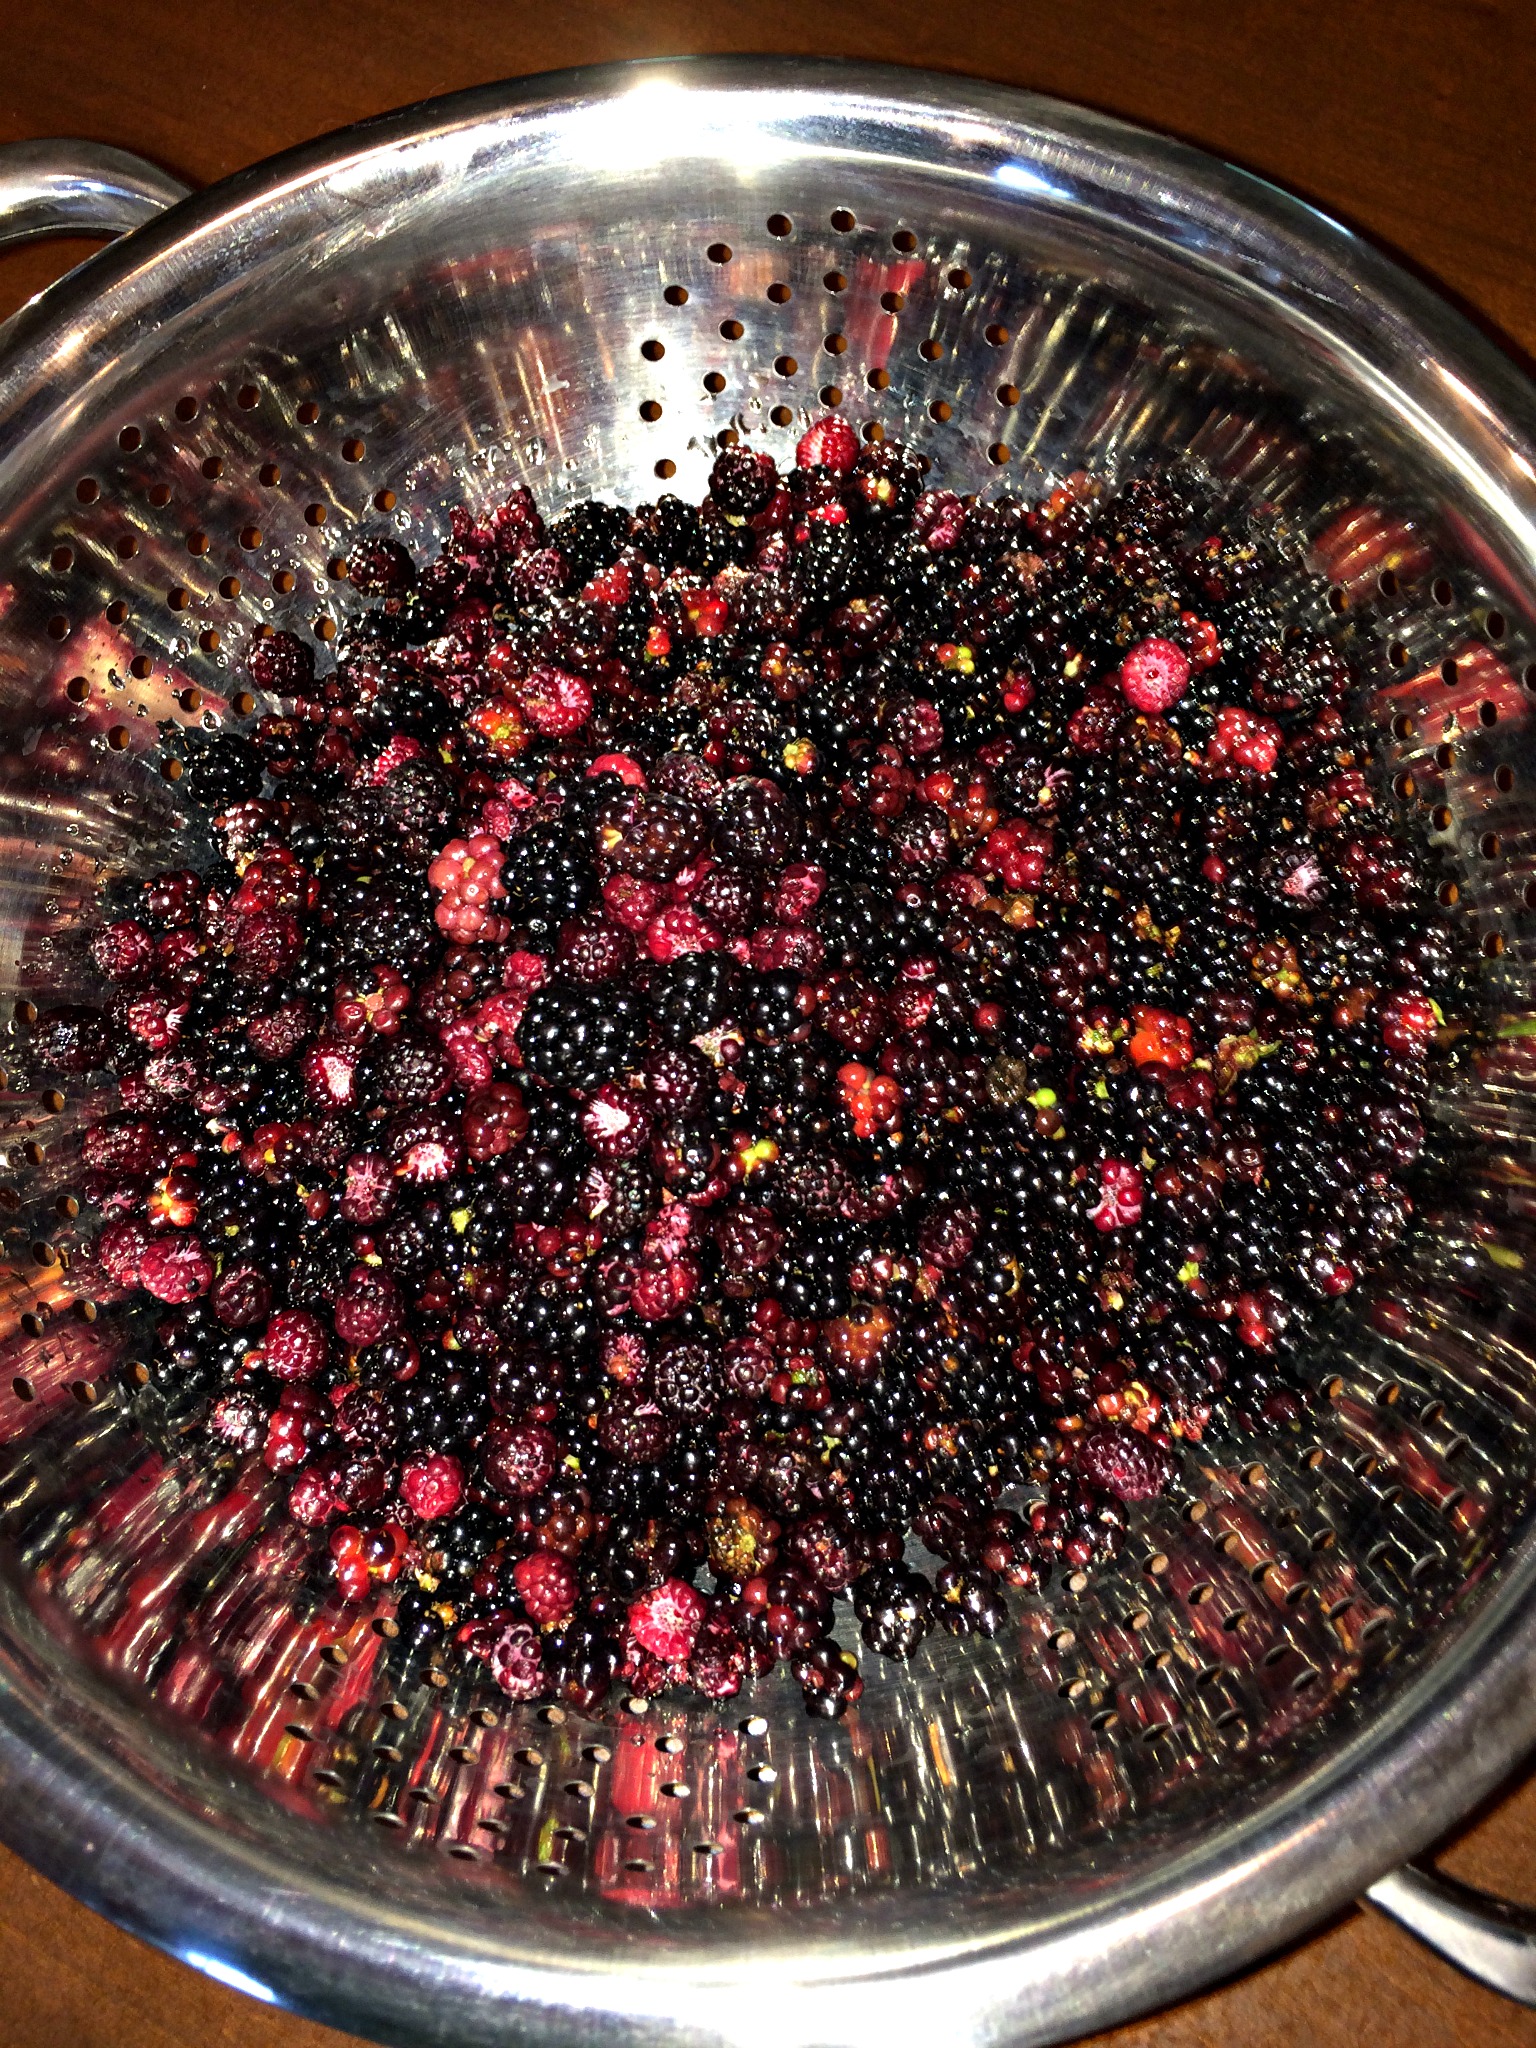
Once you’ve collected enough berries (about 5-6 cups) it’s time to make juice. Don’t worry, you won’t need a juicer to make this juice.
If you want to make Jam – you can use the entire fruit. I don’t want seeds, I want crystal-clear, sparkling jelly; therefore, I am going to turn these berries into juice.
First, wash them. Then transfer them into a sauce pan.
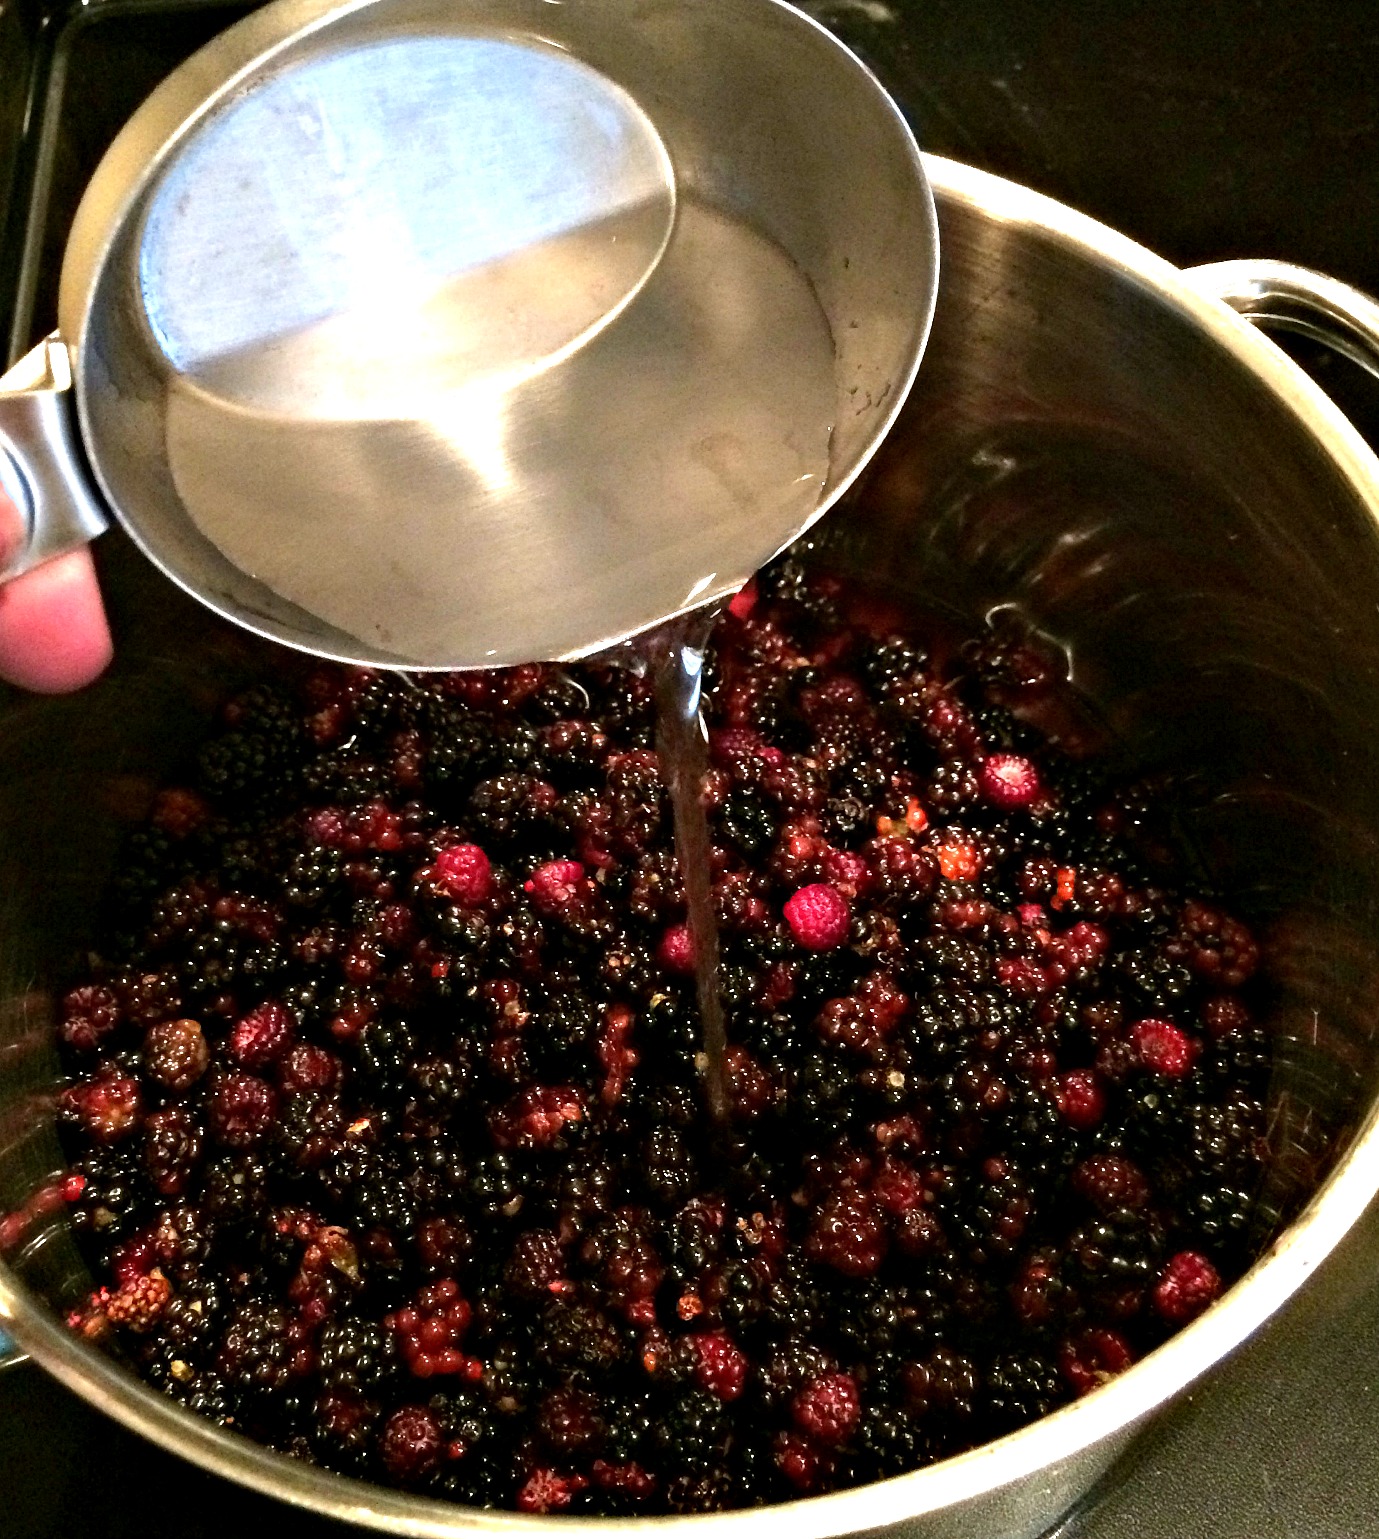
Add 1 Cup of filtered water (to learn why and how we filter our water go here). 
Now squeeze the juice from one lime and one lemon into the saucepan with the berries and water. You can use 2 lemons if you don’t have a lime.
It’s ok if the pulp and seeds fall into the pan. We will be straining the juice in a few minutes. 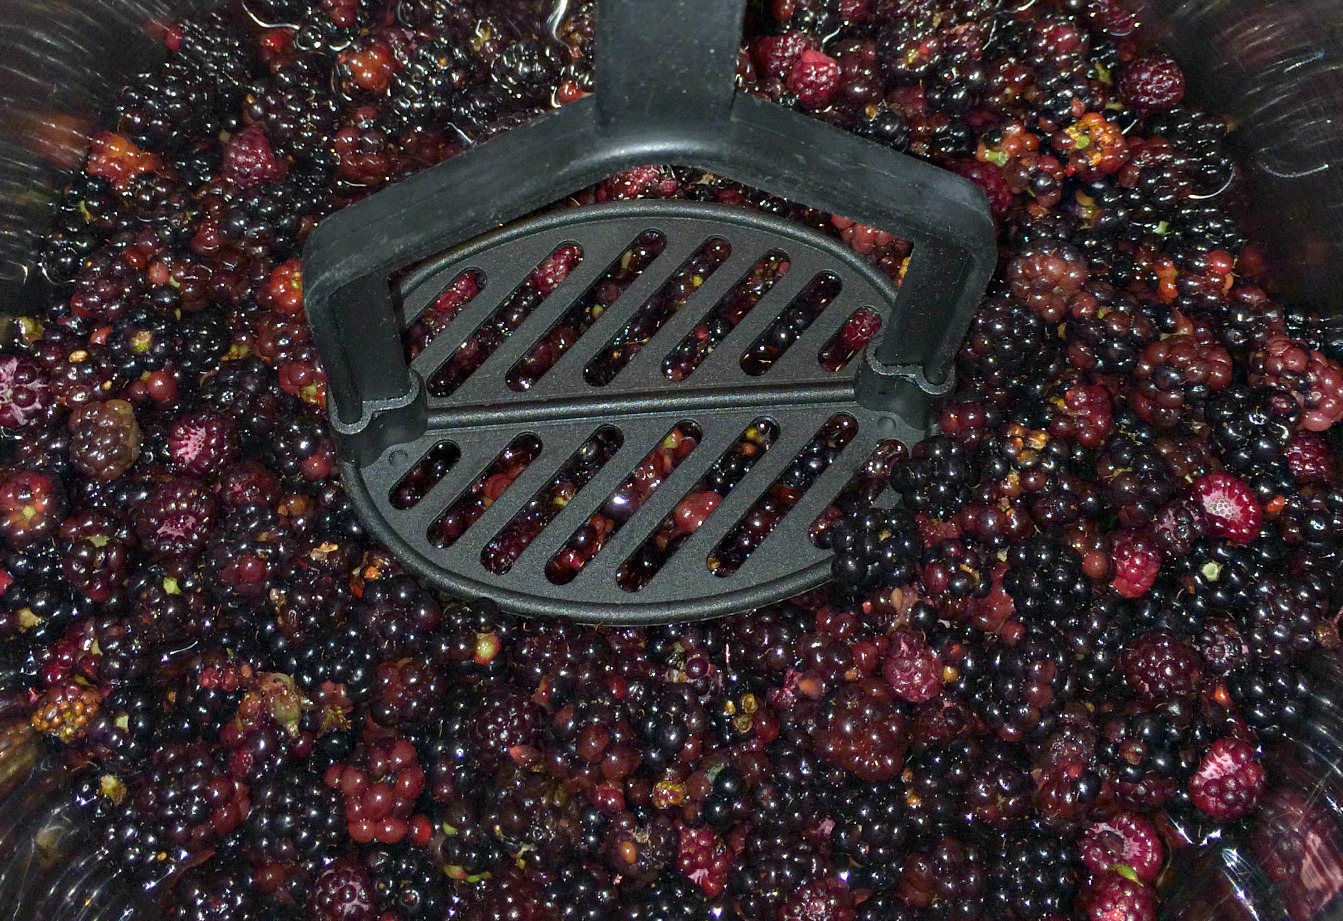
Get the heat turned up to medium-high and start smashing the fruit. 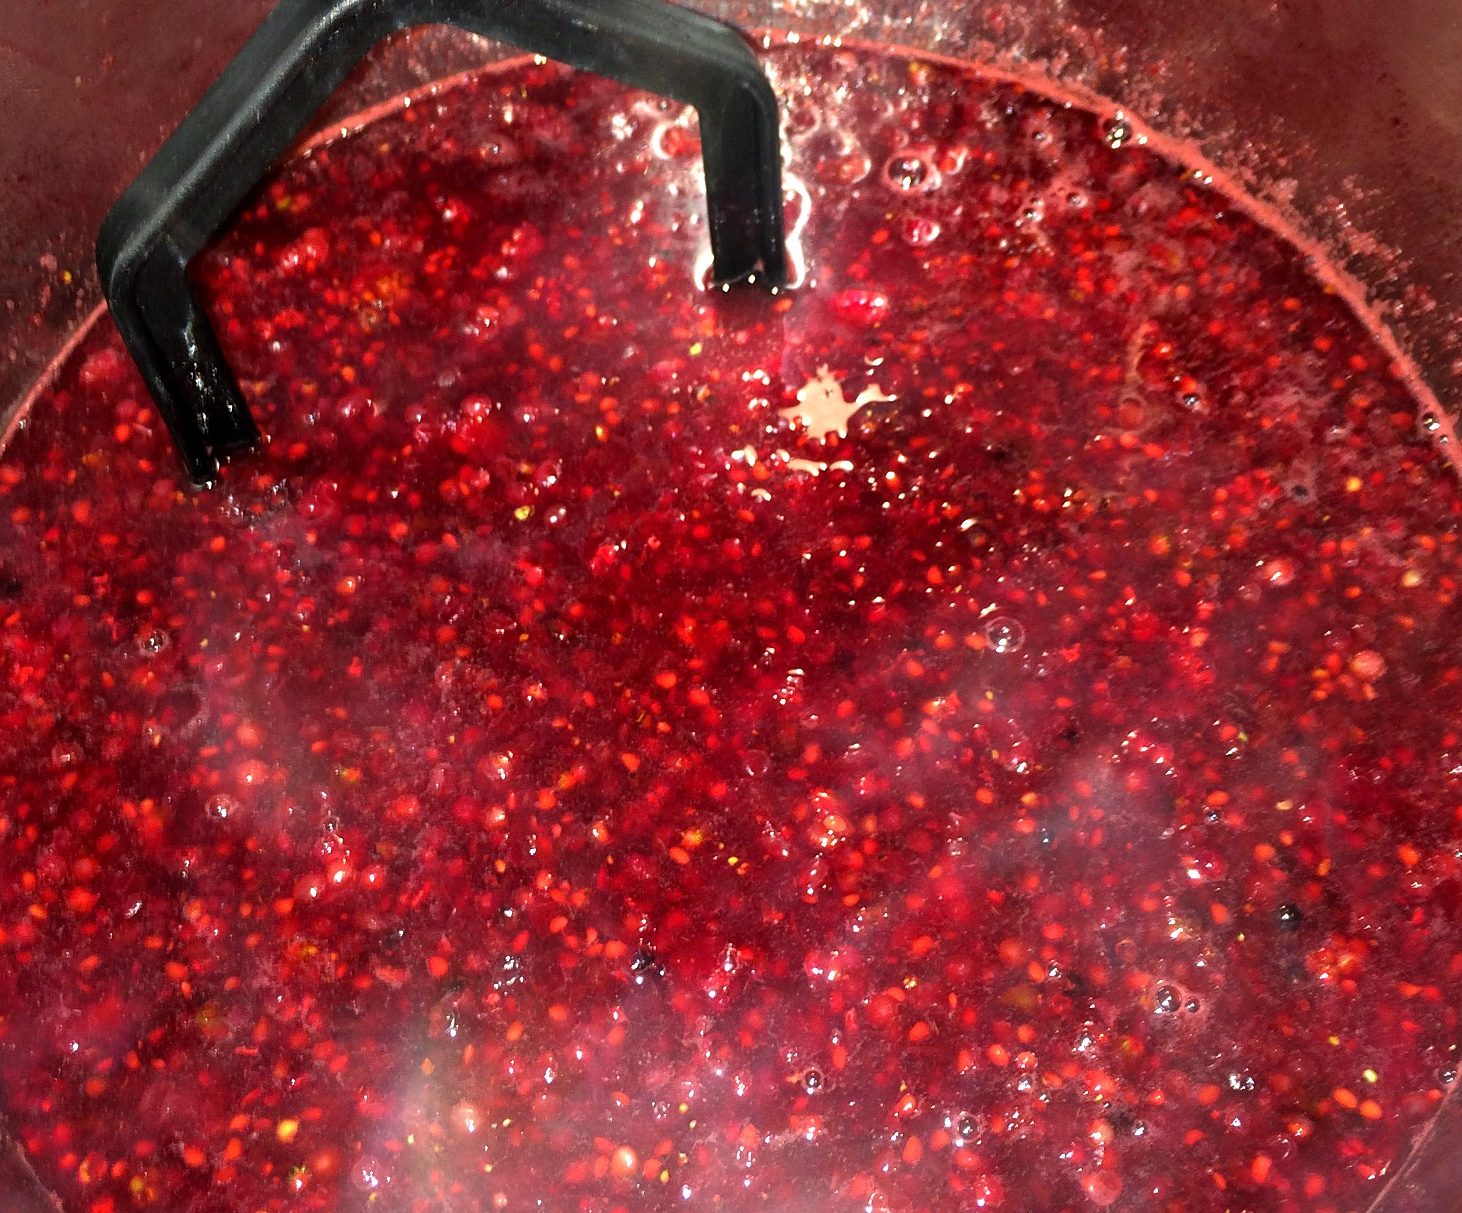
Bring the mixture to a boil. In just a few minutes it will look like this. Keep mashing!
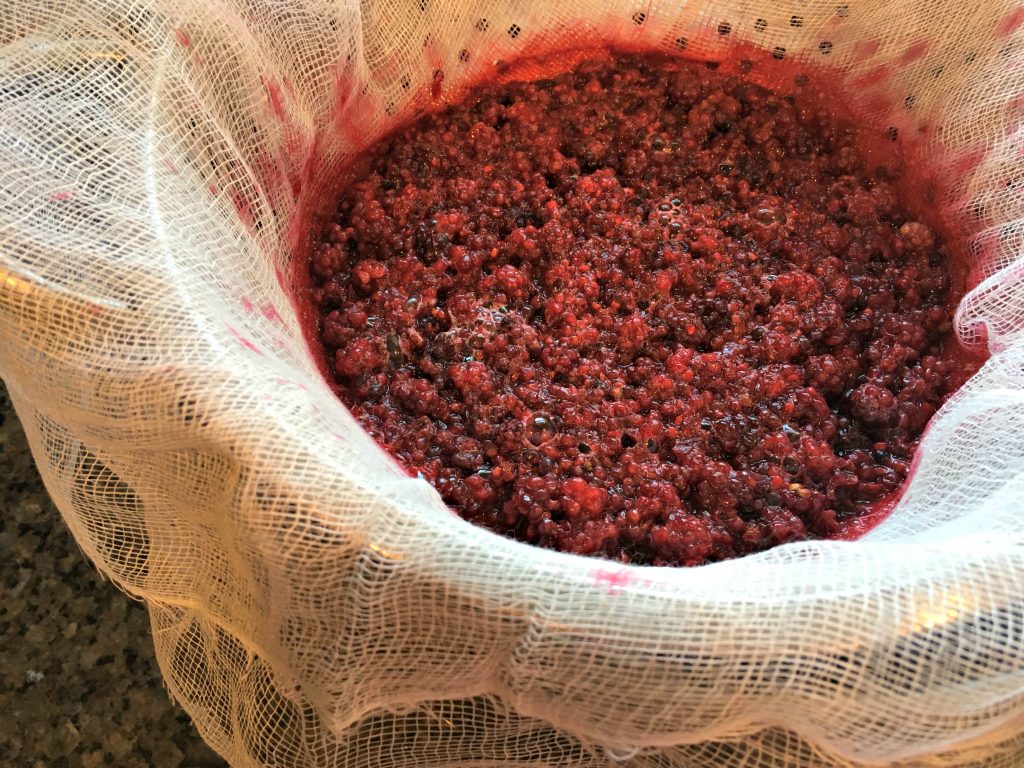
Now, to strain the juice from the berries. There are several great ways to do this. You can use cheesecloth. You can use a jelly bag. You can use a strainer.
- Yes, You Need a Milk Strainer (even if you don’t have a cow) here
Pour the berry mixture into the strainer and let the juice drain into the container below.
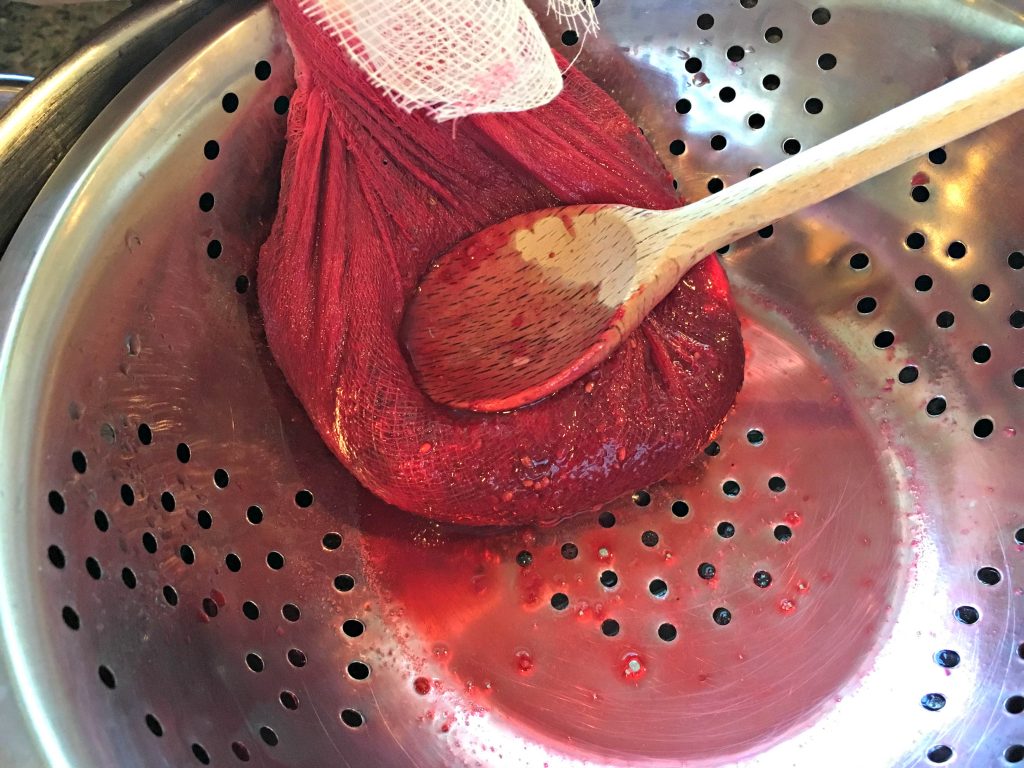
To encourage your berries to release all the juice, you can use a spoon to apply pressure.
You can also give the cloth a squeeze. Be careful, don’t burn yourself.
NOTE: Wring gently. Wringing out the juice can result in a cloudy jelly.
STEP 3: Jelly
Now that we have some fresh juice we can make the jelly.
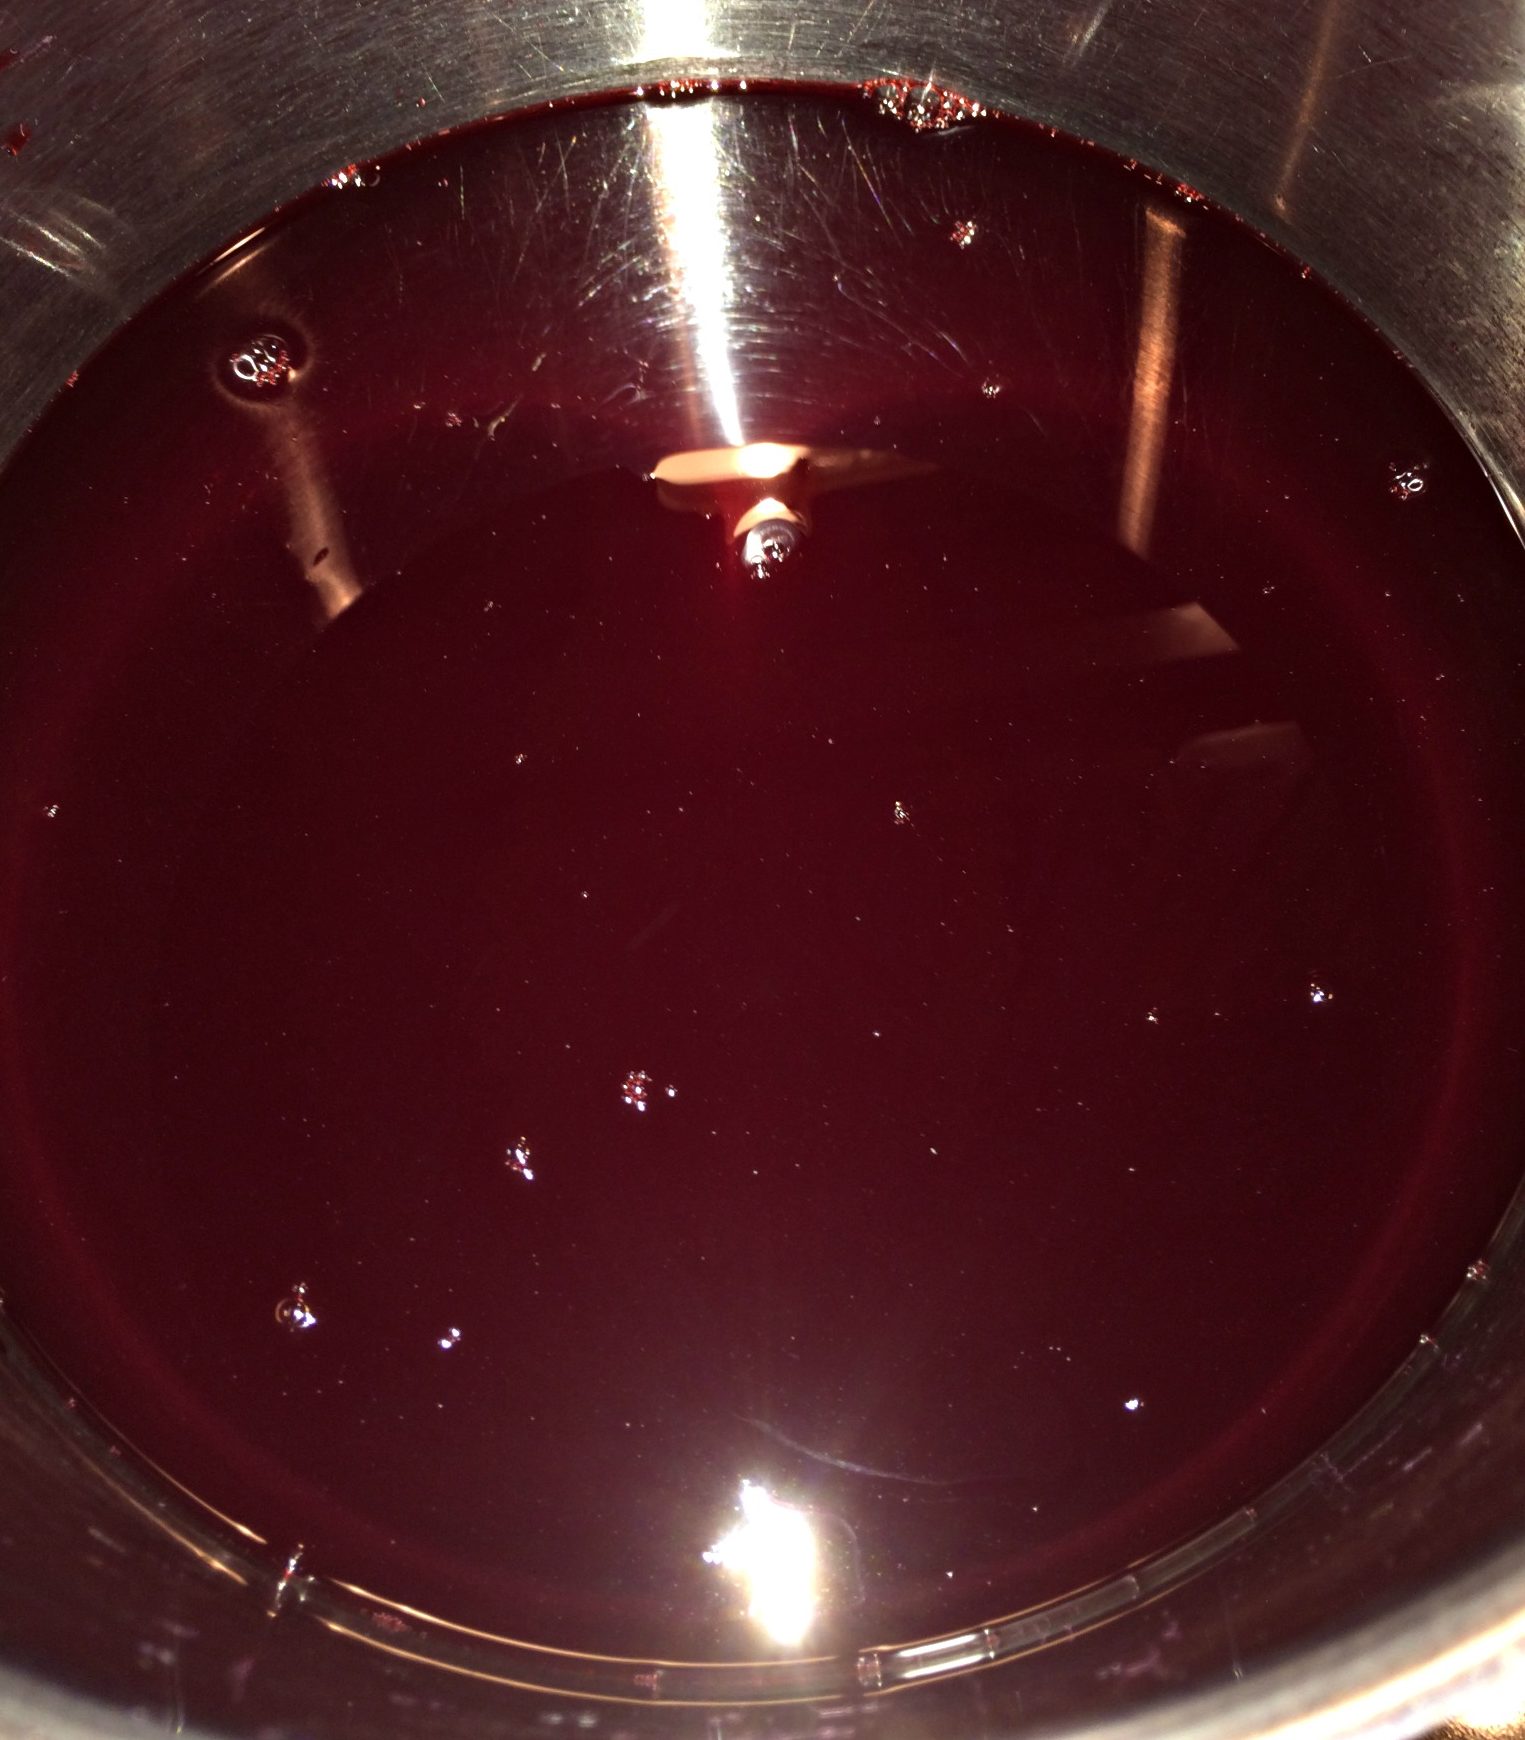
Pour the juice into a sauce pan (I washed and reused the pan I used to make the juice).
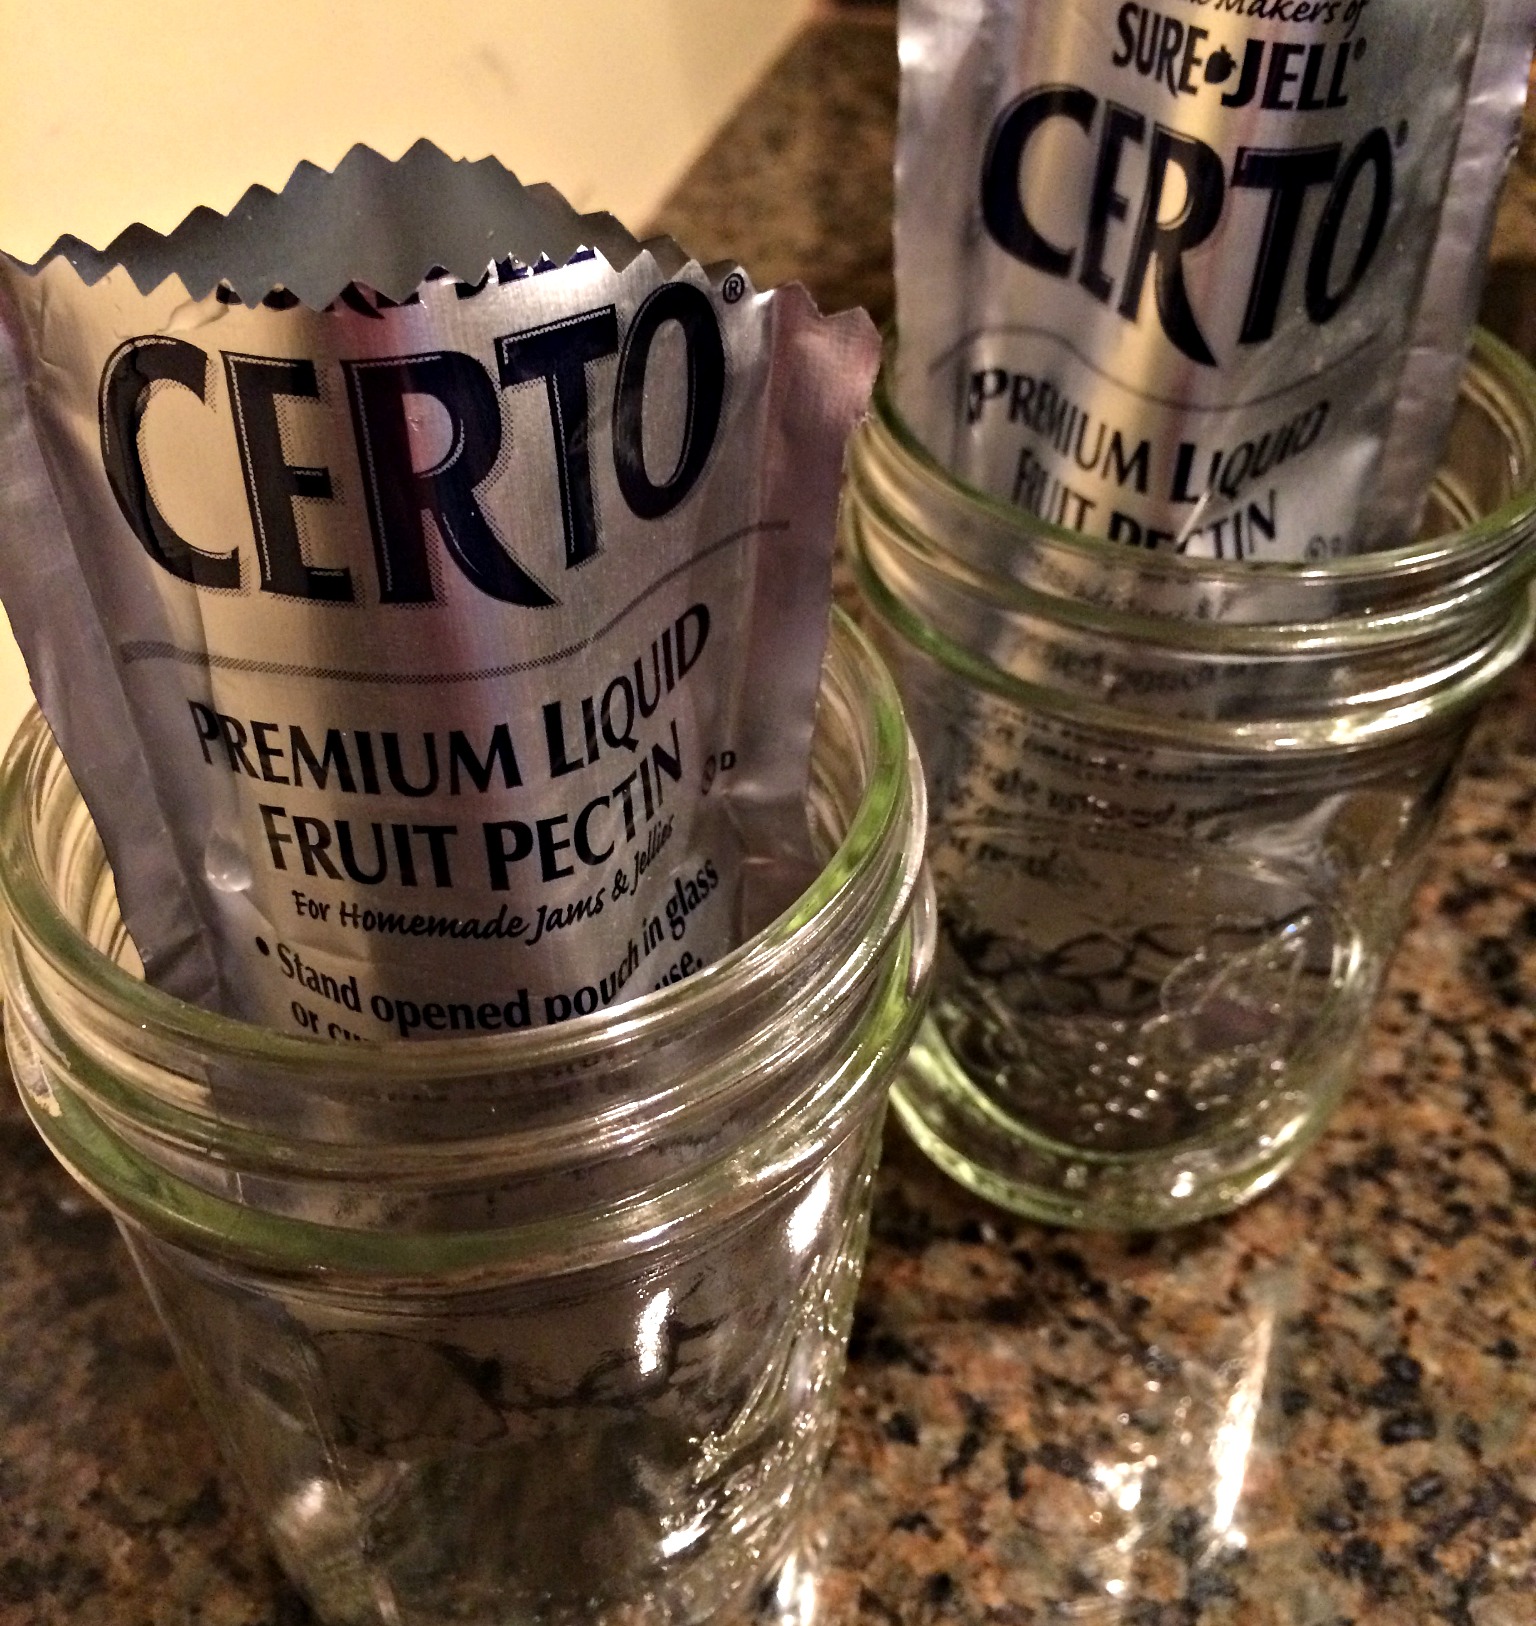
At this point go ahead and cut open 2 packages of LIQUID fruit pectin. It must be Liquid pectin. Powdered pectin will not work. If you use powdered pectin you will end up with blackberry, sticky syrup instead of blackberry jelly. No Powder. Must use liquid pectin. If you don’t have any liquid pectin, but have 15 boxes of the powdered stuff – drop everything and go to the store. Powdered won’t work. Trust me on this one. Go get some liquid pectin.
Now that we are all clear on that, let’s get the liquid (not powdered) pectin ready to dump into the jelly.
Use scissors to cut open the (liquid) pectin packages and put them in jars to hold them upright. Set aside.

We’re going to need 7 1/2 Cups of sugar. I use organic, non-GMO pure cane sugar.
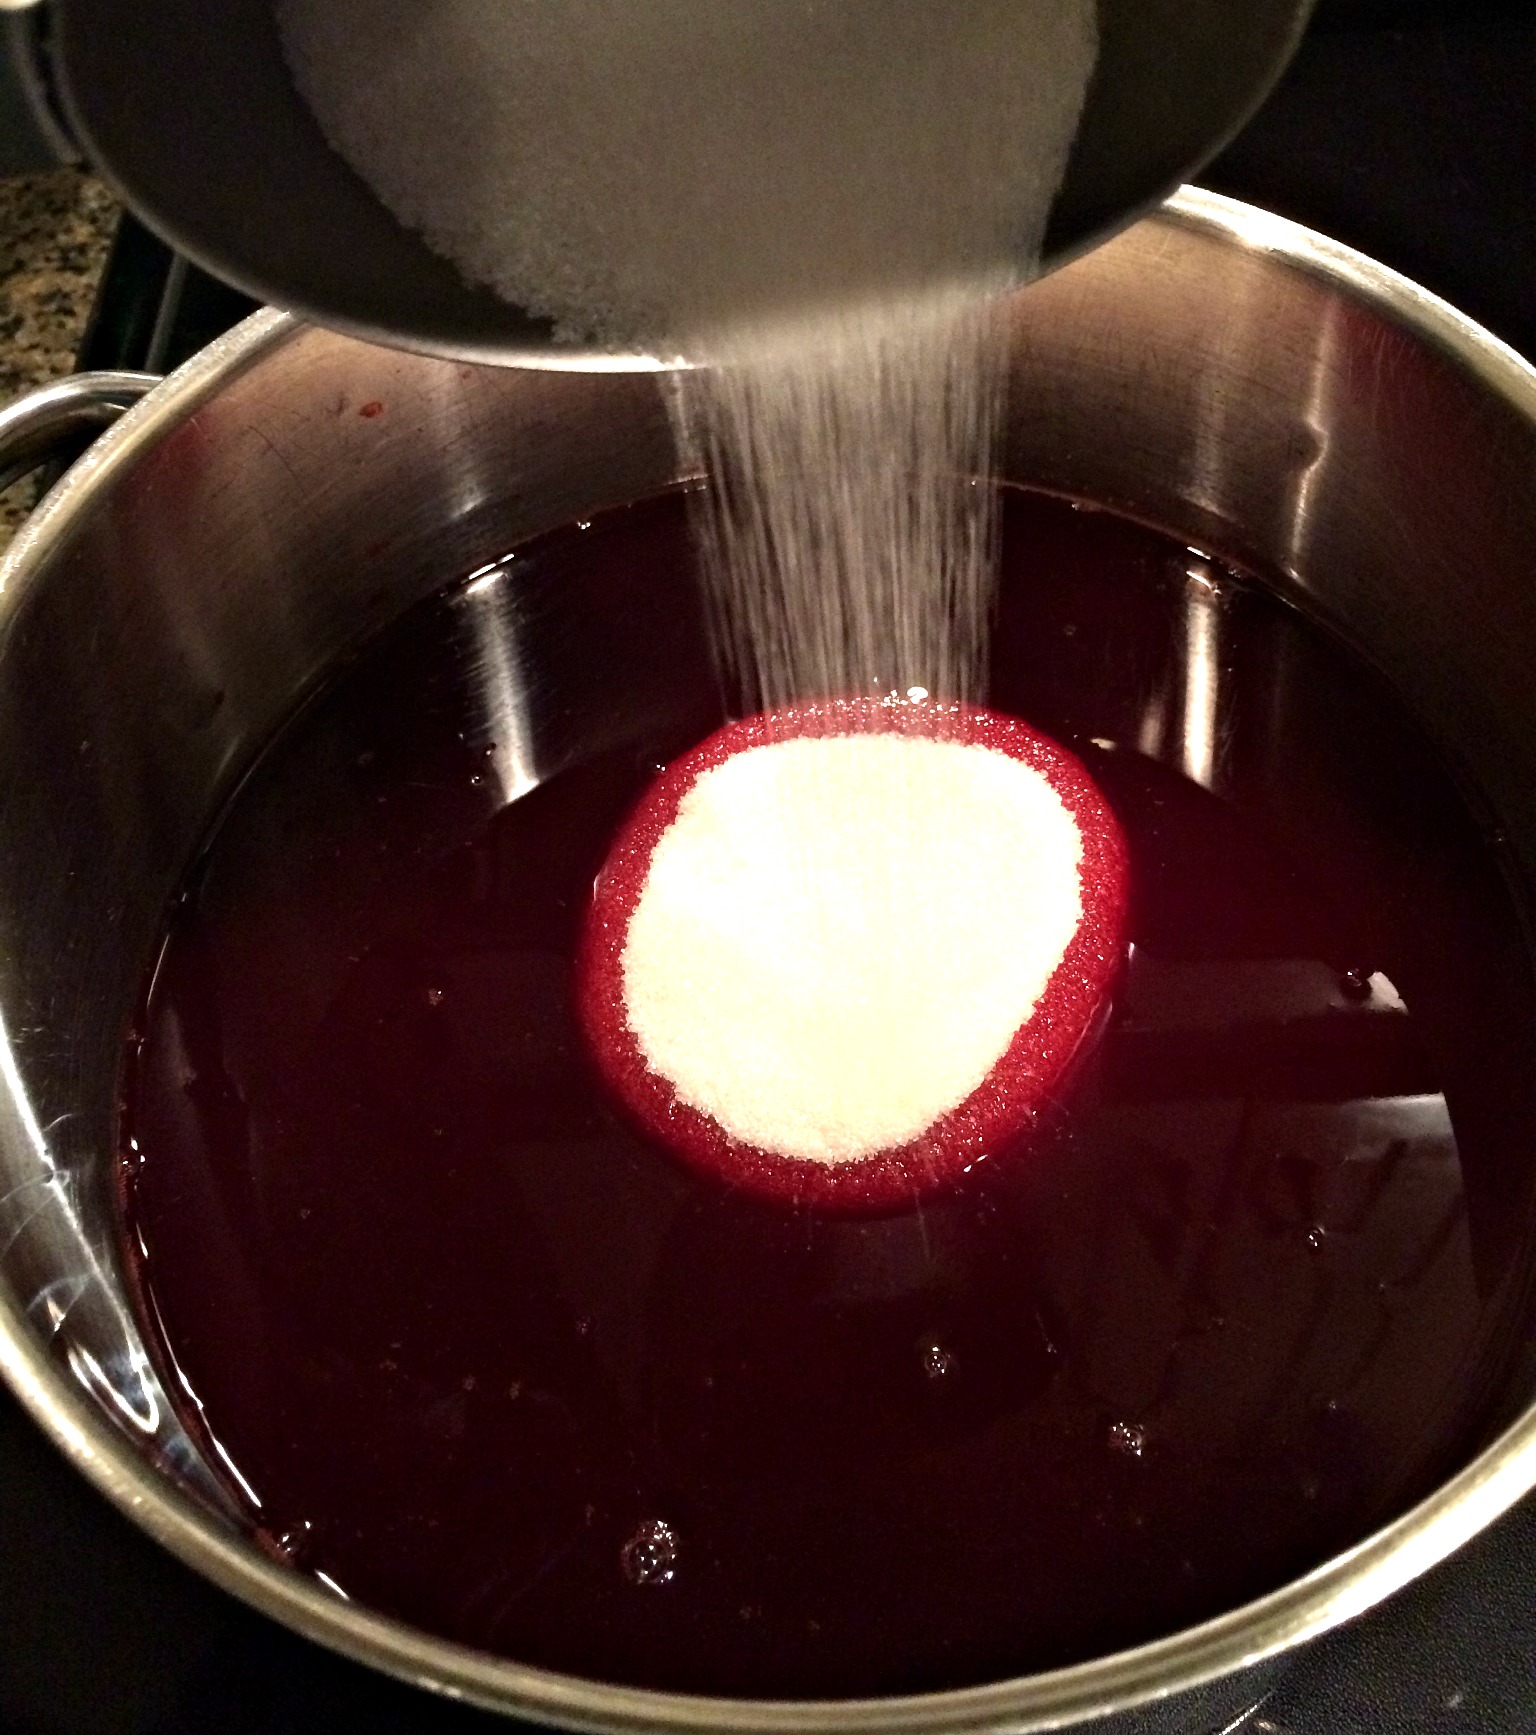
Pour the cane sugar into the saucepan with the juice.


Stir, stir, stir (I use a whisk) and bring to a boil.
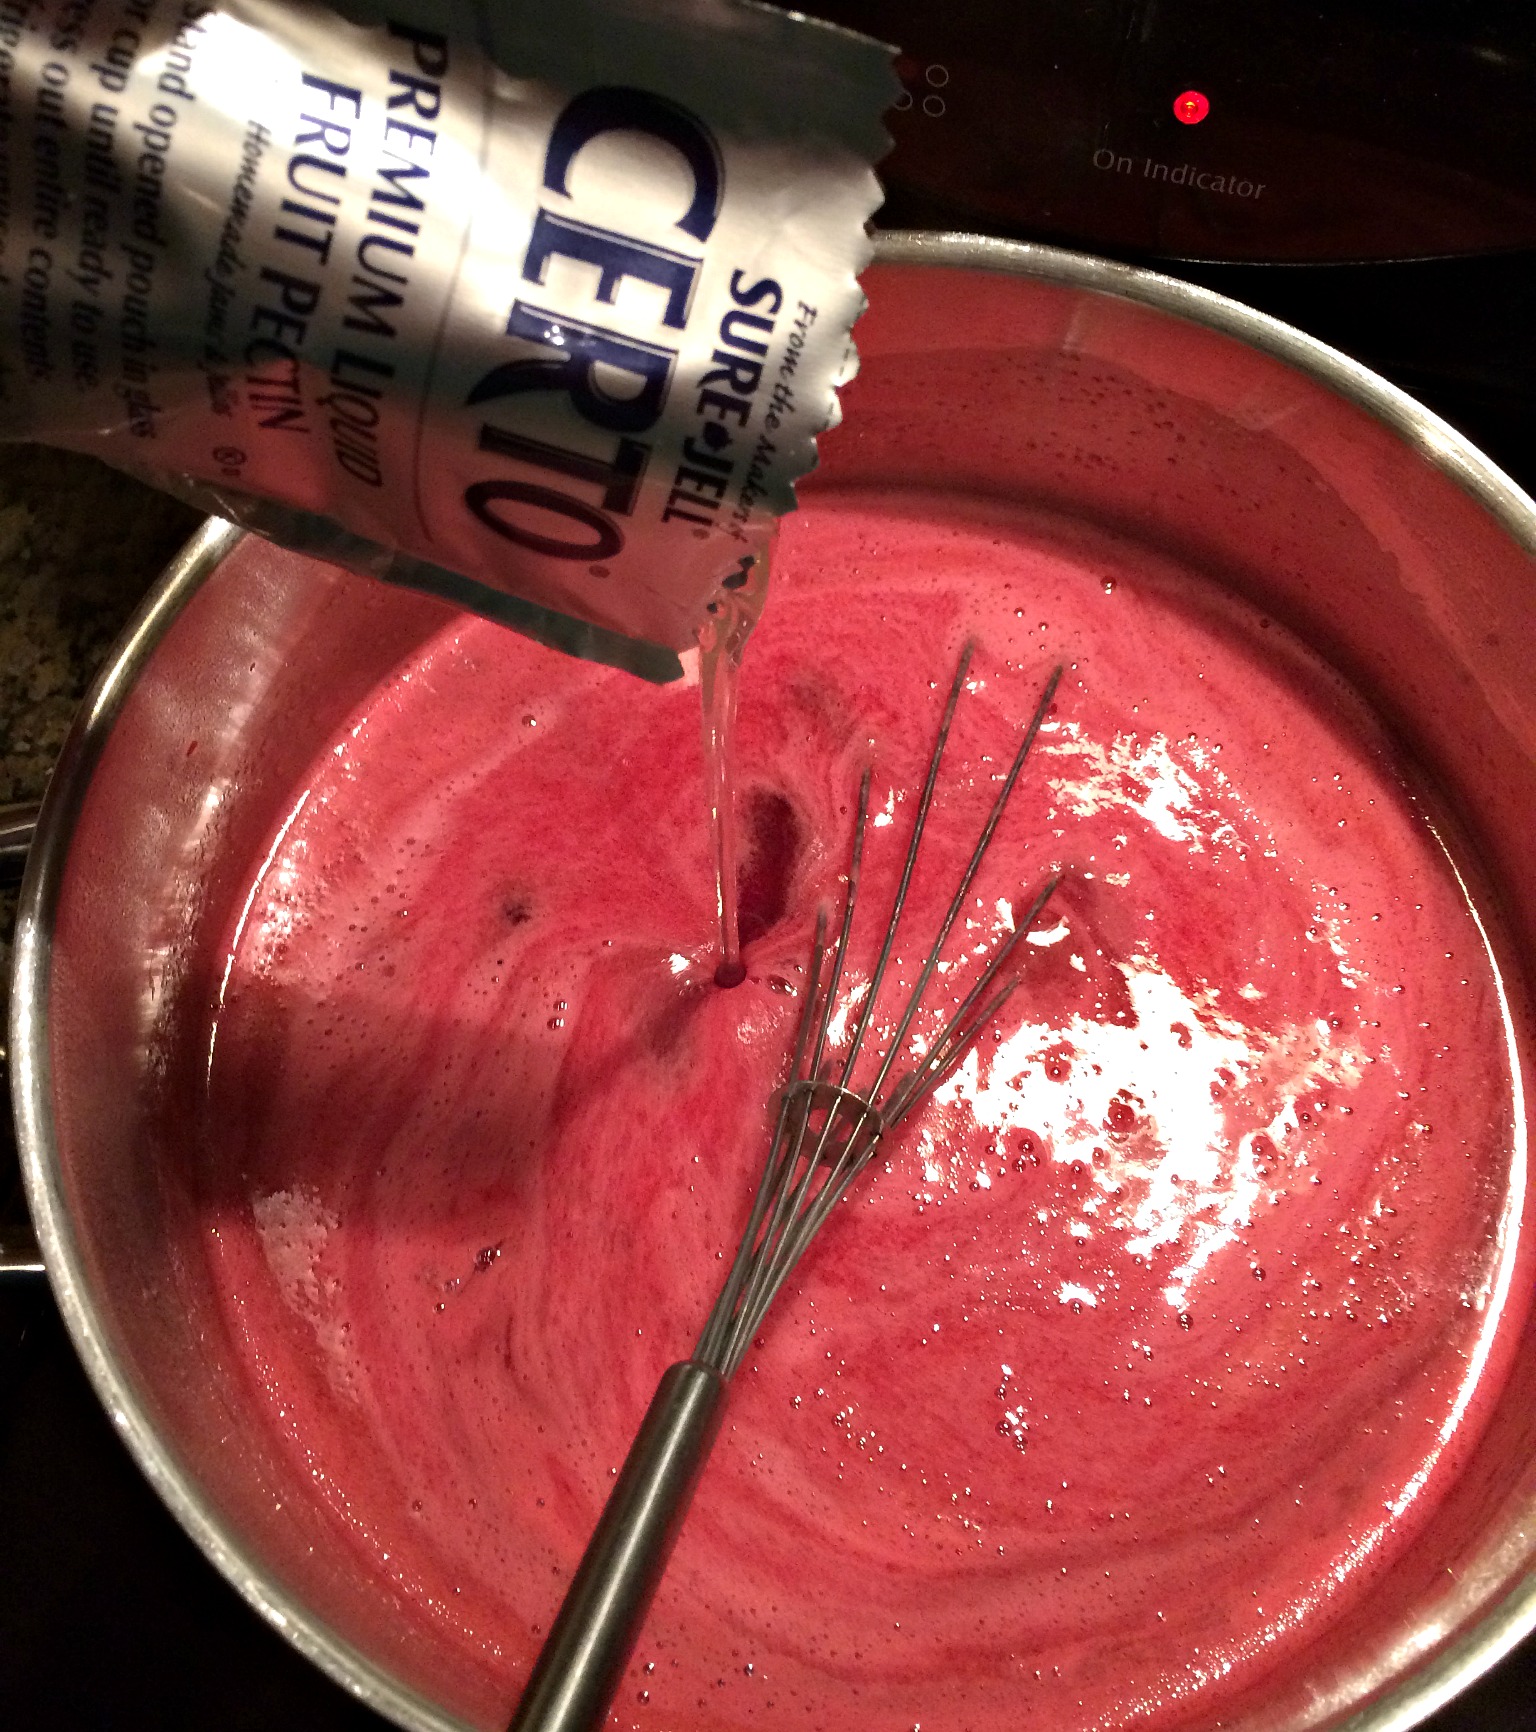
Once boiling stir in both packages of liquid pectin. 
Bring to a full rolling boil (keep stirring). Boil 1 minute. Use a timer. Don’t overcook it. Remove from heat.
TROUBLESHOOTING: If you overcook the jelly it will be a sticky, gooey mess. It is important that you bring this to a full rolling boil for 1 minute and not longer. Overcooked jelly can taste scorched and is thick and sticky. There is not a good way to salvage overcooked jelly (that I know of). You can reheat it and thin it with some water to make a syrup (as long as it doesn’t taste scorched) – but it will never be jelly. 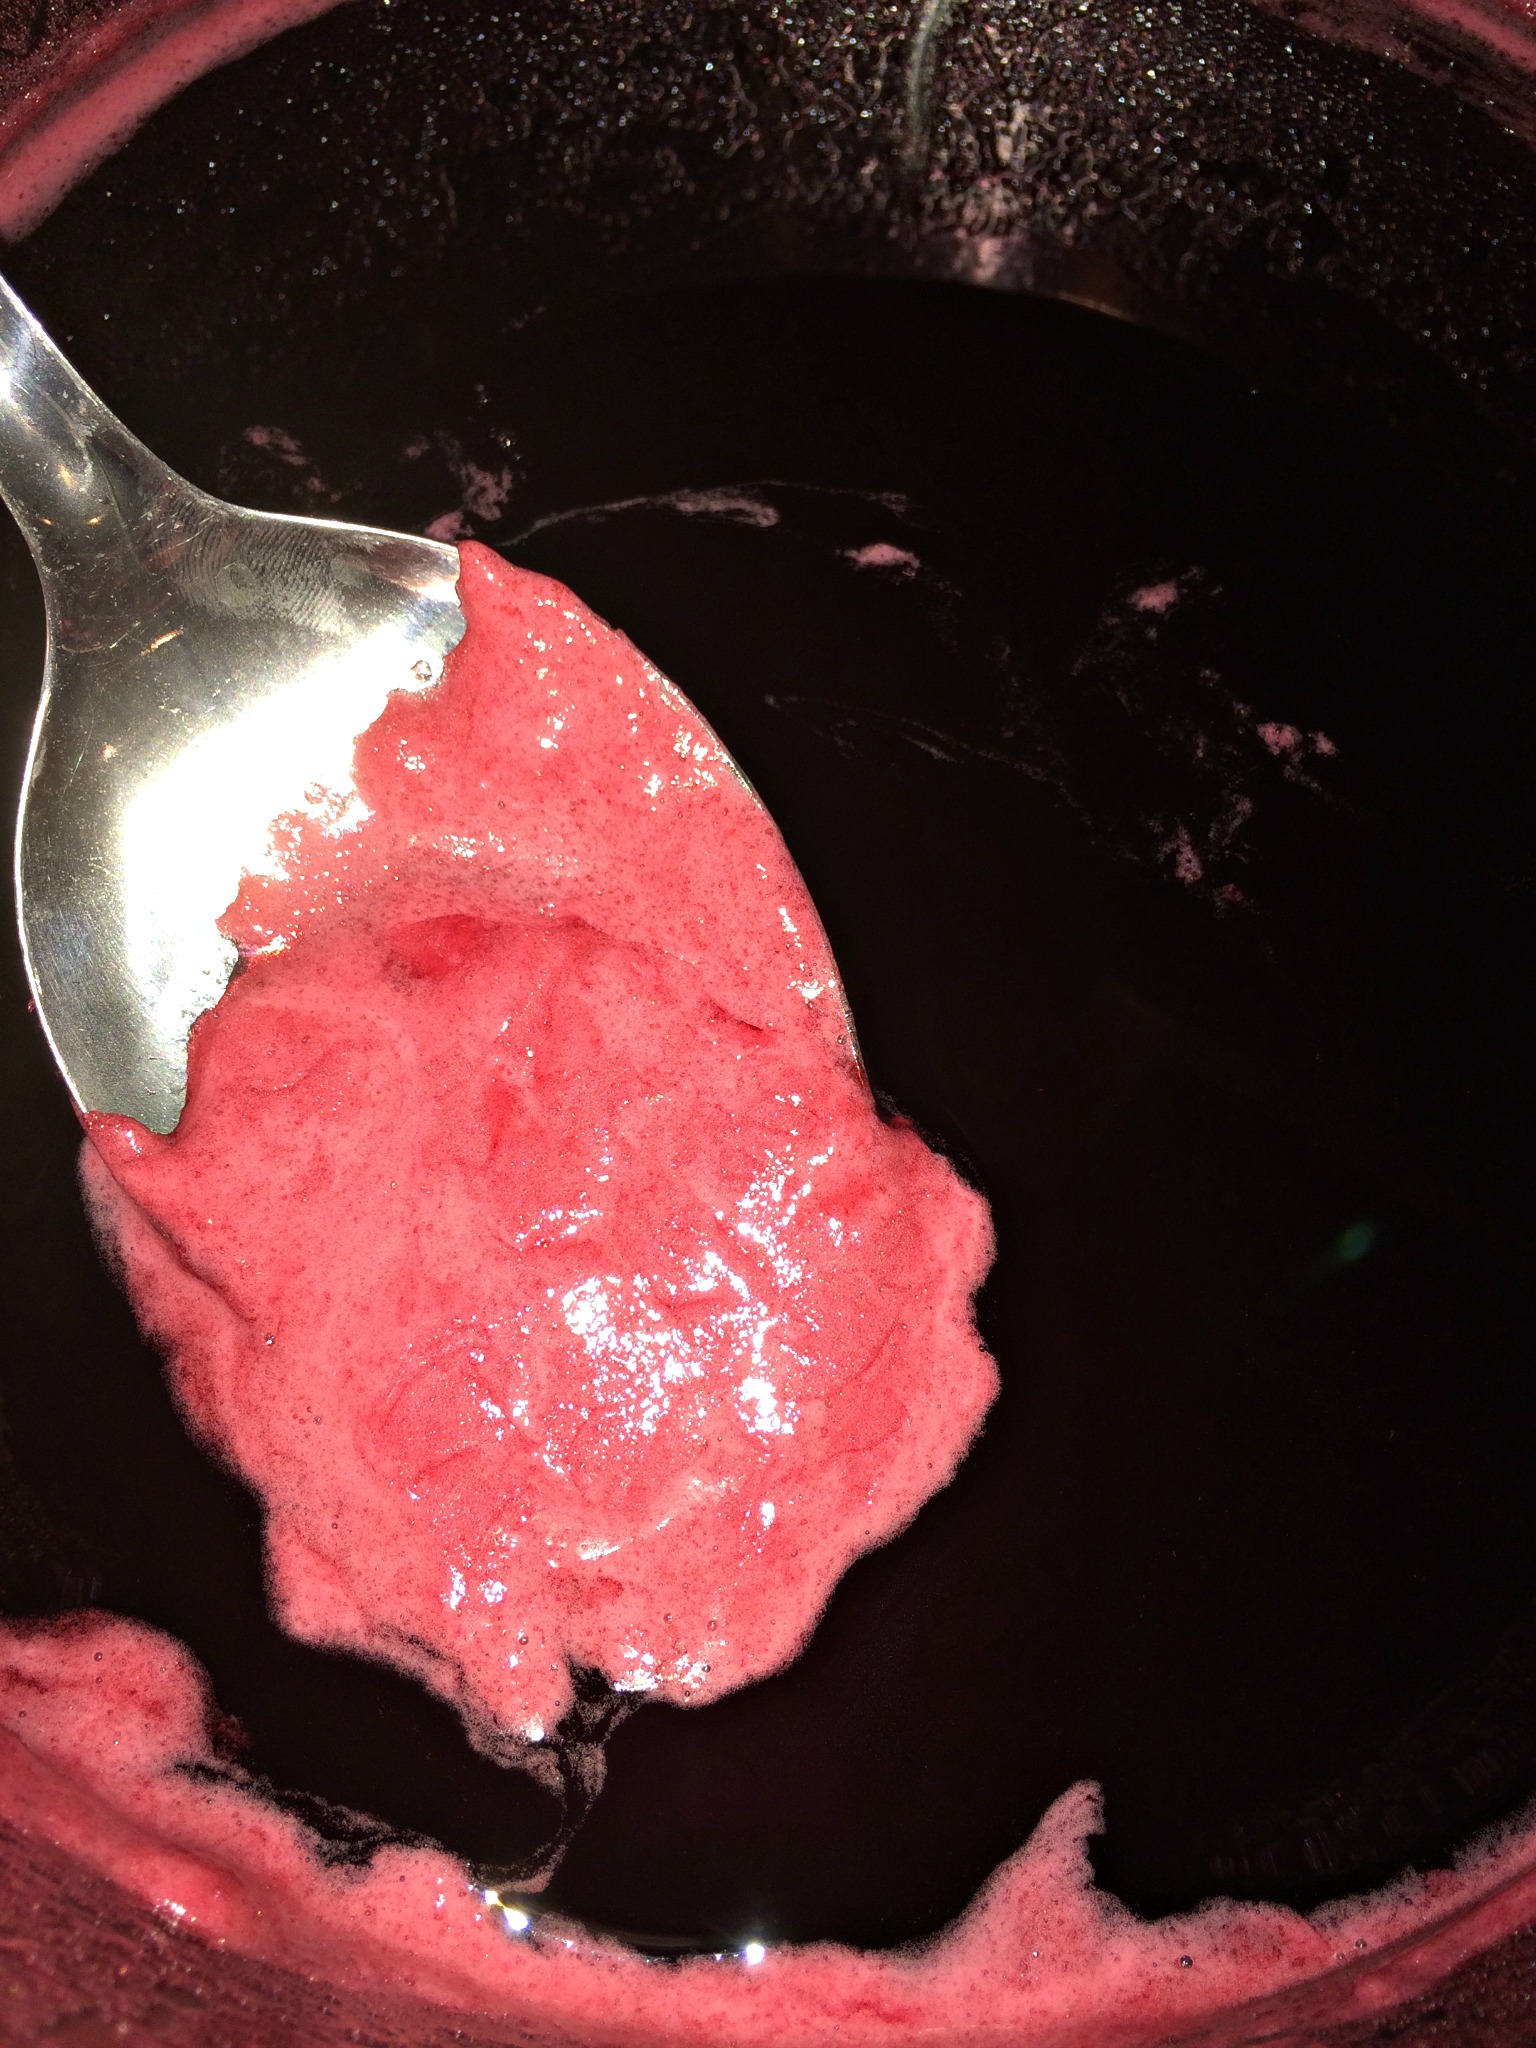
Skim off foam.
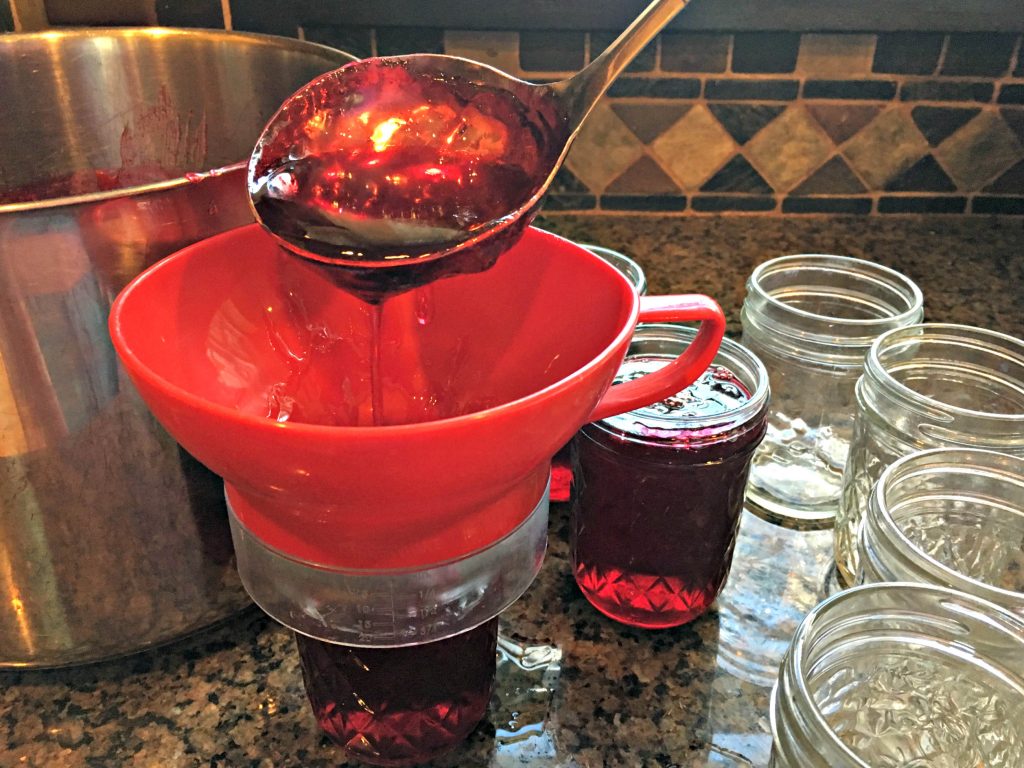

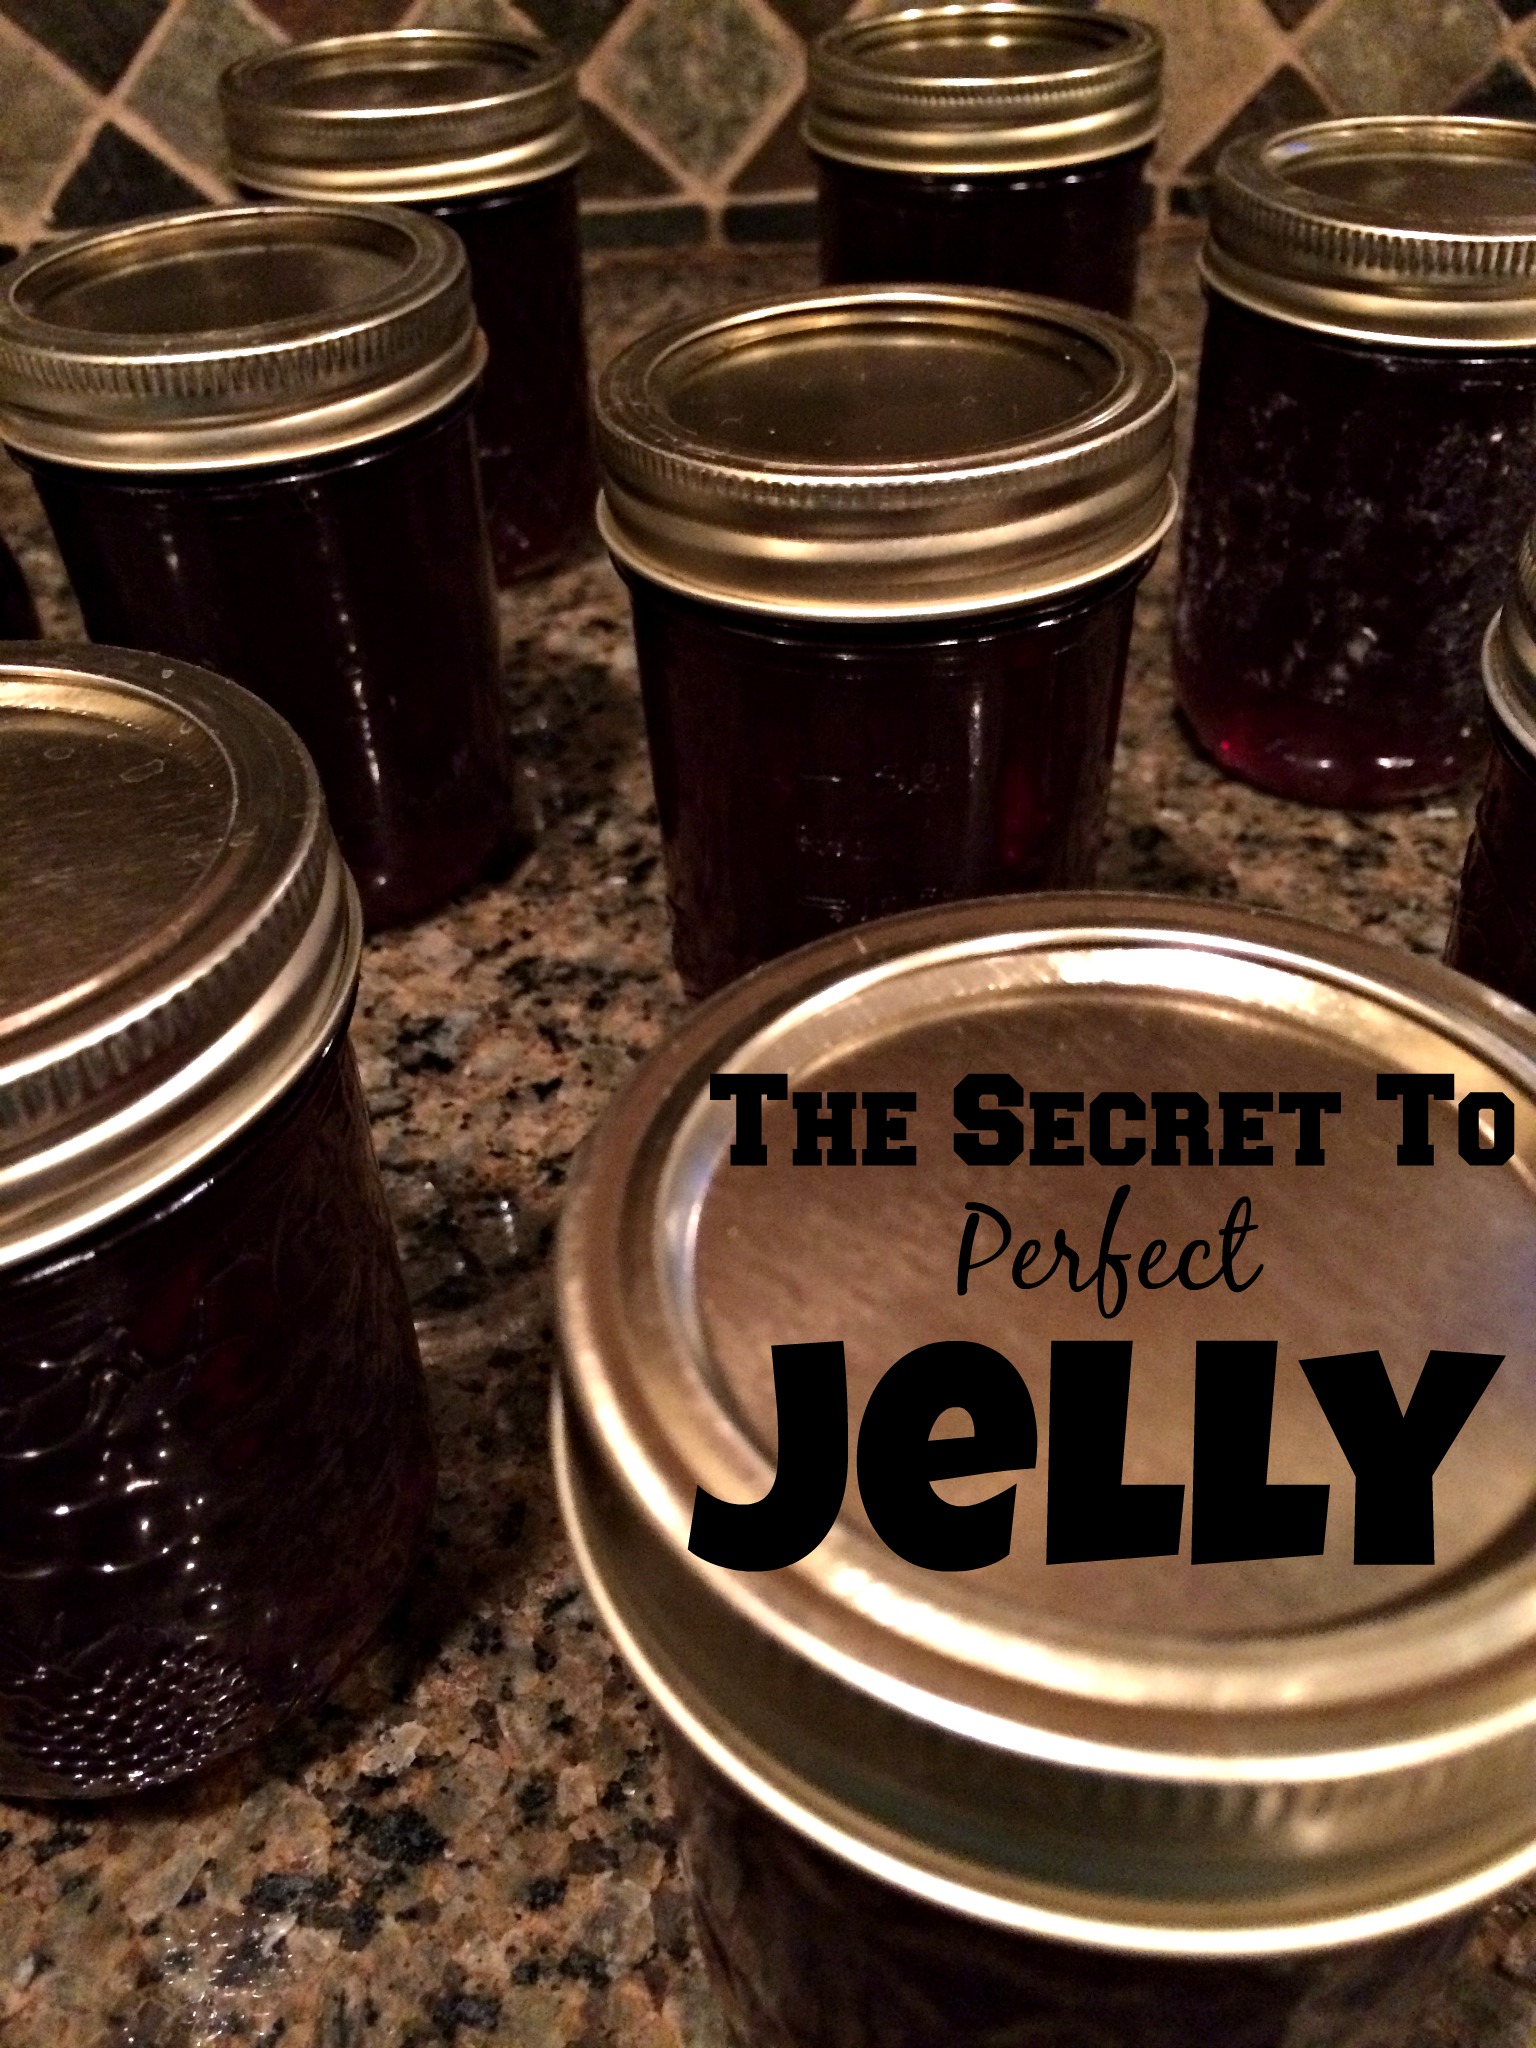
Ladle into sterilized, hot jars leaving 1/2 inch head-space. Sorry about my ugly, red, plastic funnel. I am planning to get a nicer one. I haven’t yet, and this one does the job, so it’s what I’m using.
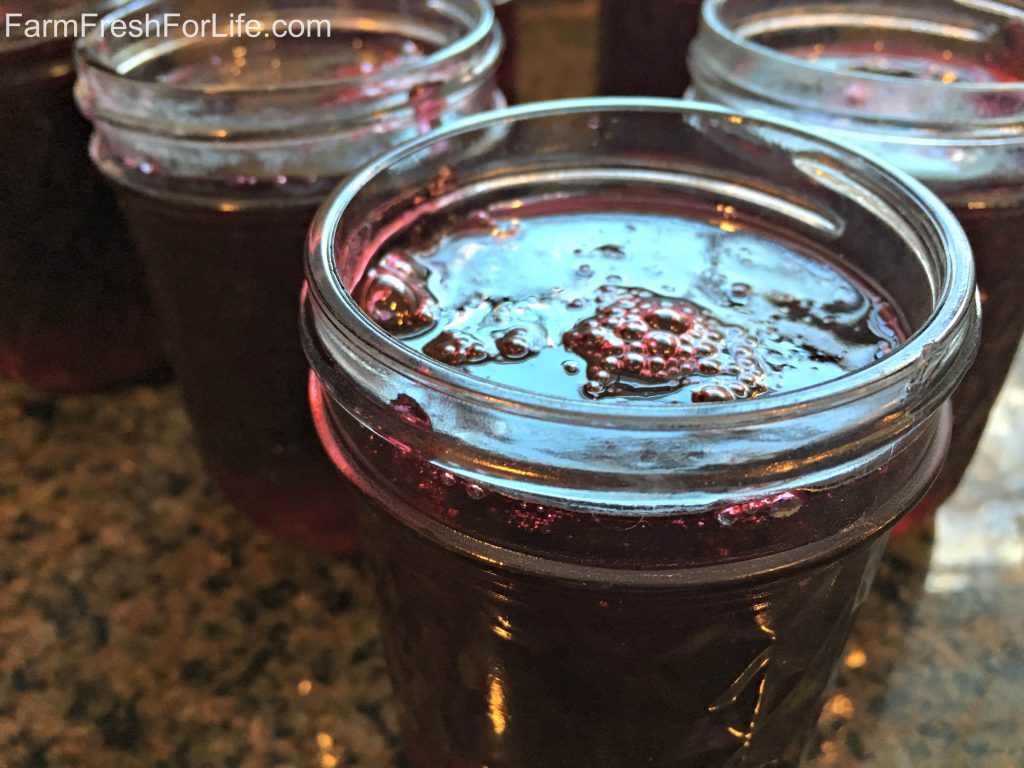
Wipe rims with a clean, damp cloth. Top with sterilized lids and adjust rings.
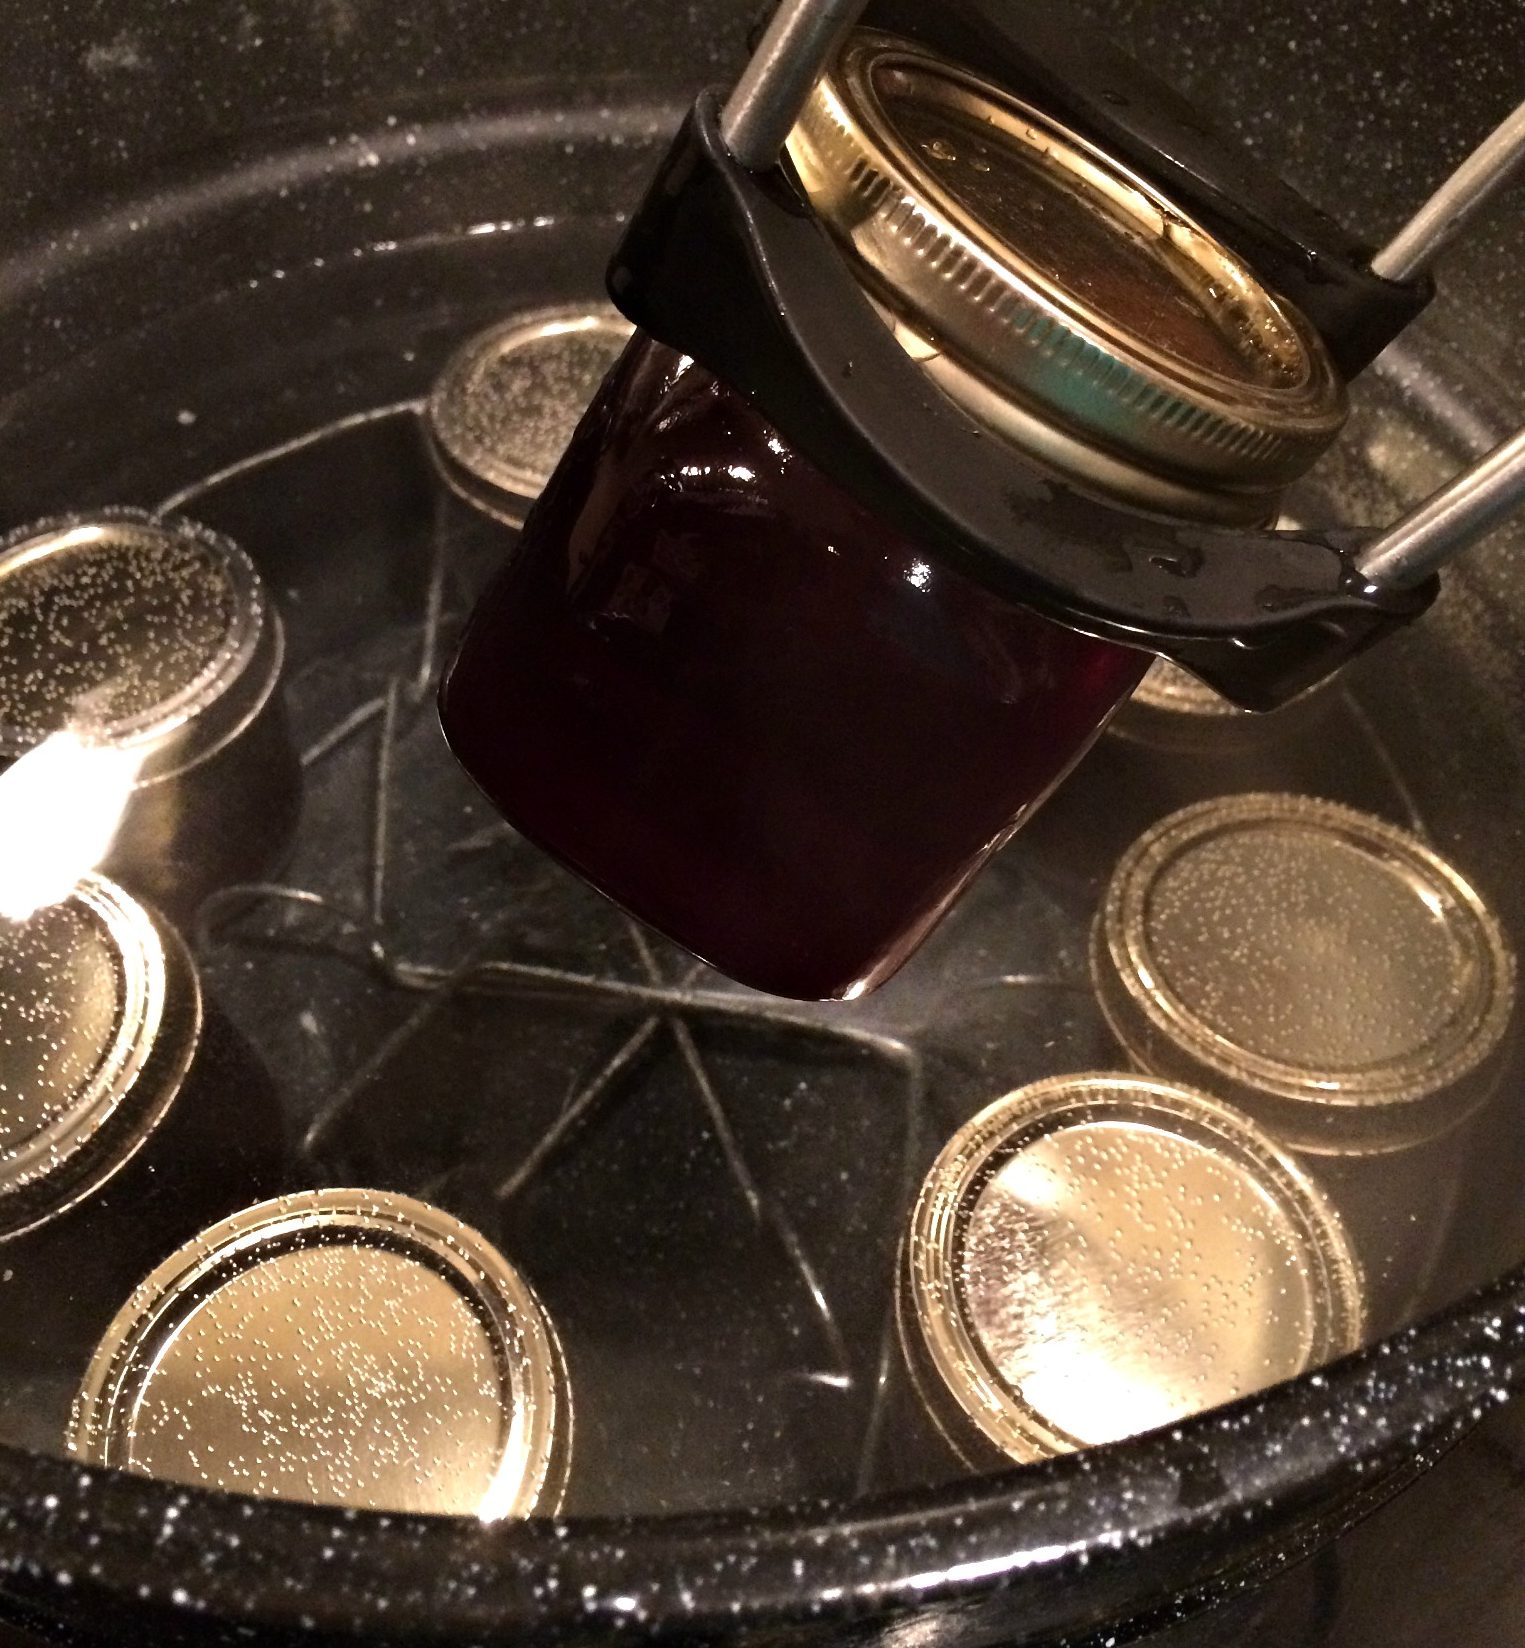
Process in boiling water-bath canner 10 minutes.
If you are new to this process here are some tips:
- Be sure you are filling hot jars with hot jelly liquid. Filling cold jars with hot liquid can cause jars to spontaneously explode in your kitchen. I’ve done it. It’s startling, to say the least.
- When adjusting rings – you want them to be fingertip tight. Tight enough that water won’t get in, but not so tight that Hulk couldn’t open them.
- Use an elevated rack to hold jars. These are great and allow you to dunk all your jars into the bath at once (most canners come with a rack).
- Be sure your water is just beginning to simmer when you lower your jars in. If you put semi-warm jars into crazy-hot, boiling water this can also cause jars to spontaneously explode in your canner. I’ve also done this. It’s not as loud or shocking, but just as messy.
- Be sure the water level is 1-2 inches over the jars. Add additional boiling water if necessary.
- Bring back to boil – then start a timer for 10 minutes.
- After 10 minutes remove jars and set to cool.
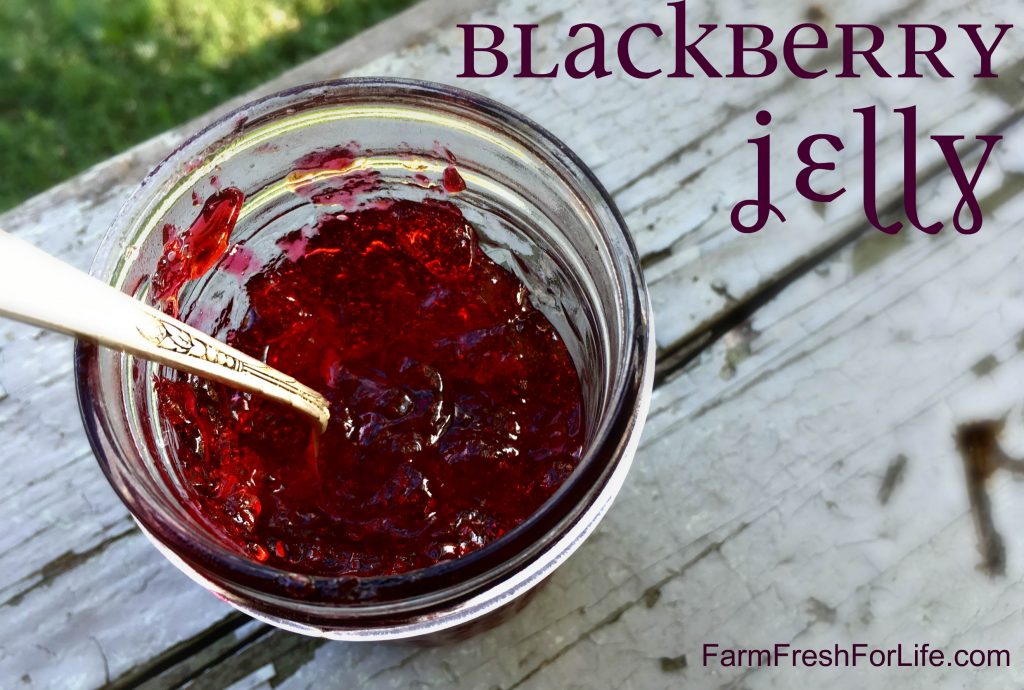
Now you know how to have crystal-clear, sparkling jelly every time.
Be sure to join the email list (for free) here.
Learn more about becoming a member here. Joining is cheap & your pants will thank you.
Happy Canning!
Candi

| Servings |
half pints
|
- 4 cups juice
- 7 1/2 cups cane sugar
- 2 packages liquid fruit pectin (6oz)
Ingredients
Jelly
|
|
To make Juice:
Wash berries & put in a saucepan. Add enough water to cover berries (1-2 cups), lemon juice, and lime juice. Do not worry about seeds or pulp, we will be straining the juice.
Bring to a boil & mash with a potato masher. Continue to simmer and mash until all the berries are destroyed.
Use cheesecloth or a milk strainer or a towel-lined colander to strain your berry mixture.
To make the jelly:
Pour the juice into a saucepan. Open 2 packages of liquid fruit pectin (powdered will not work). Use small jars to hold your pectin upright while you prepare the jelly.
Add sugar to the juice in the saucepan. Bring to boil. Stir in liquid pectin. Bring to a full rolling boil. Boil 1 minute (no longer).
You can freeze or process this jelly in jars with a water bath canner.
To can:
Remove jelly from heat. Ladle hot jelly into hot sterilized jars. Adjust lids and rings leaving 1/4 inch headspace. Process 10 minutes in a water bath. Set to cool.
Disclaimer: Always follow directions specific to your equipment and elevation for canning. Dispose of any home canned goods that show signs of spoilage which can include: bulging lids, leaking, corrosion, cloudy, mushy, moldy foods or disagreeable odors.


Donnie Johnson
06/14/2016Every time I read these I get hungry. Oh! when will I ever learn?
gracefulcoffee
06/23/2016This looks so yummy! I’d love to try and make jelly someday 🙂
Blessings,
Edye | http://gracefulcoffee.wordpress.com
Candi
12/12/2016Thanks! You should make some – you’ll not be disappointed!
-cj
Anonymous
07/30/2016I found some lovely jelly jars at a resale shop. I want to use them for jelly. They are quite large, holding about a guard of jelly,y problem is a few of the seals don’t seem to air tight. I would like very much trying patrician wax but I’ve never sealed with wax. Help, anyone? Cyndy Hutchinson
Candi
07/31/2016Paraffin is not recommended. I know our grandmothers used it, but it could be unreliable. If I were you I would re-can the unsealed jars. Use different jars if you need to & re-process the jelly in the new jars with new lids. If you don’t want to re-do everything – you could just stick the unsealed jars in the fridge and eat first – or freeze it (be sure to use freezer safe containers).
mel
08/15/2016We waxed and used canning lids but I don’t remember how. I want to learn to can again. Sometimes we had a little mold to scrape out. Mom always took out about an inch to throw out each time she opened a jar any way.
Anonymous
12/10/2016Does your liquid pectin contain dextrose or any other corn derivitive? Maybe there are new brands out there, but by me all store bought pectin has corn in it, making it a GMO product. I have stopped using store bought pectin. You can make it from organic granny smith apples, or search for recipes using no pectin.
Candi
12/12/2016Too cool! I make all sorts of wierd things around here that I never thought I’d consider making (like crackers & cheese), so pectin sounds like a new adventure.
The store bought variety is terribly convenient.
Dang it! Dang it! Dang It! Stinkin GMOs. Just when you think you’ve banished them from your kitchen – they sneak into your jelly!
I do not know if my liquid pectin has GMO’s. 🙁 Here’s why: most pectin is produced in Europe. Europe is Hardcore, Crazy, Intense on the GMO battle.
There are a couple of non-gmo pectin choices out there. Here’s one: http://www.pomonapectin.com/
I will probably try to find a liquid non-gmo pectin (or make one) for my future jelly.
I have 2 granny smith trees on my property – I may have to (try to) make some pectin when they start fruiting.
Thanks again for your help! – I like to avoid GMOs…. it is so stinking hard. They are everywhere!
XO,
Candi
Jane
08/25/2017After years of not knowing what to do with the overabundance of blackberries from the backyard I’m soo glad to find your recipe! We love the taste of blackberries – HATE the seeds so its hard to figure out what to do with them. The berries must really love the soil here or something because it felt like it already had some pectin in it since it was a bit thicker as I was bringing it to a boil. By the time I poured it into the jars the jelly had already started to set in the jug I was pouring it from lol. No worries about a thin runny jelly today! Will be making this from now on until the bushes get too old to produce anymore lol
Candi
08/26/2017So happy you found me too!!!
We also use our wild blackberries in pancakes & muffins. If you have an abundance you can freeze them & you’ll have berries all winter.
🙂
-cj
Loretta
07/29/2018Sorry, but you are wrong about the powdered pectin. That’s all I have ever used and my jelly is perfect every time. Especially blackberry. That’s what my mom used, and it’s what I now use.
CJ
07/30/2018That’s great that it works for you – maybe you have superpowers that I don’t have. LOL
XO,
CJ
Ralph W Hawkins
07/14/2020I am curious as to why you insist on using 2 packets of Certo when the directions only call for 1 packet. Is it to insure jelling?
CJ
07/17/2020My instructions call for 2 packets – weird? Not sure why yours only wants one.
You can give one a try. It may be loose though.
🙂