
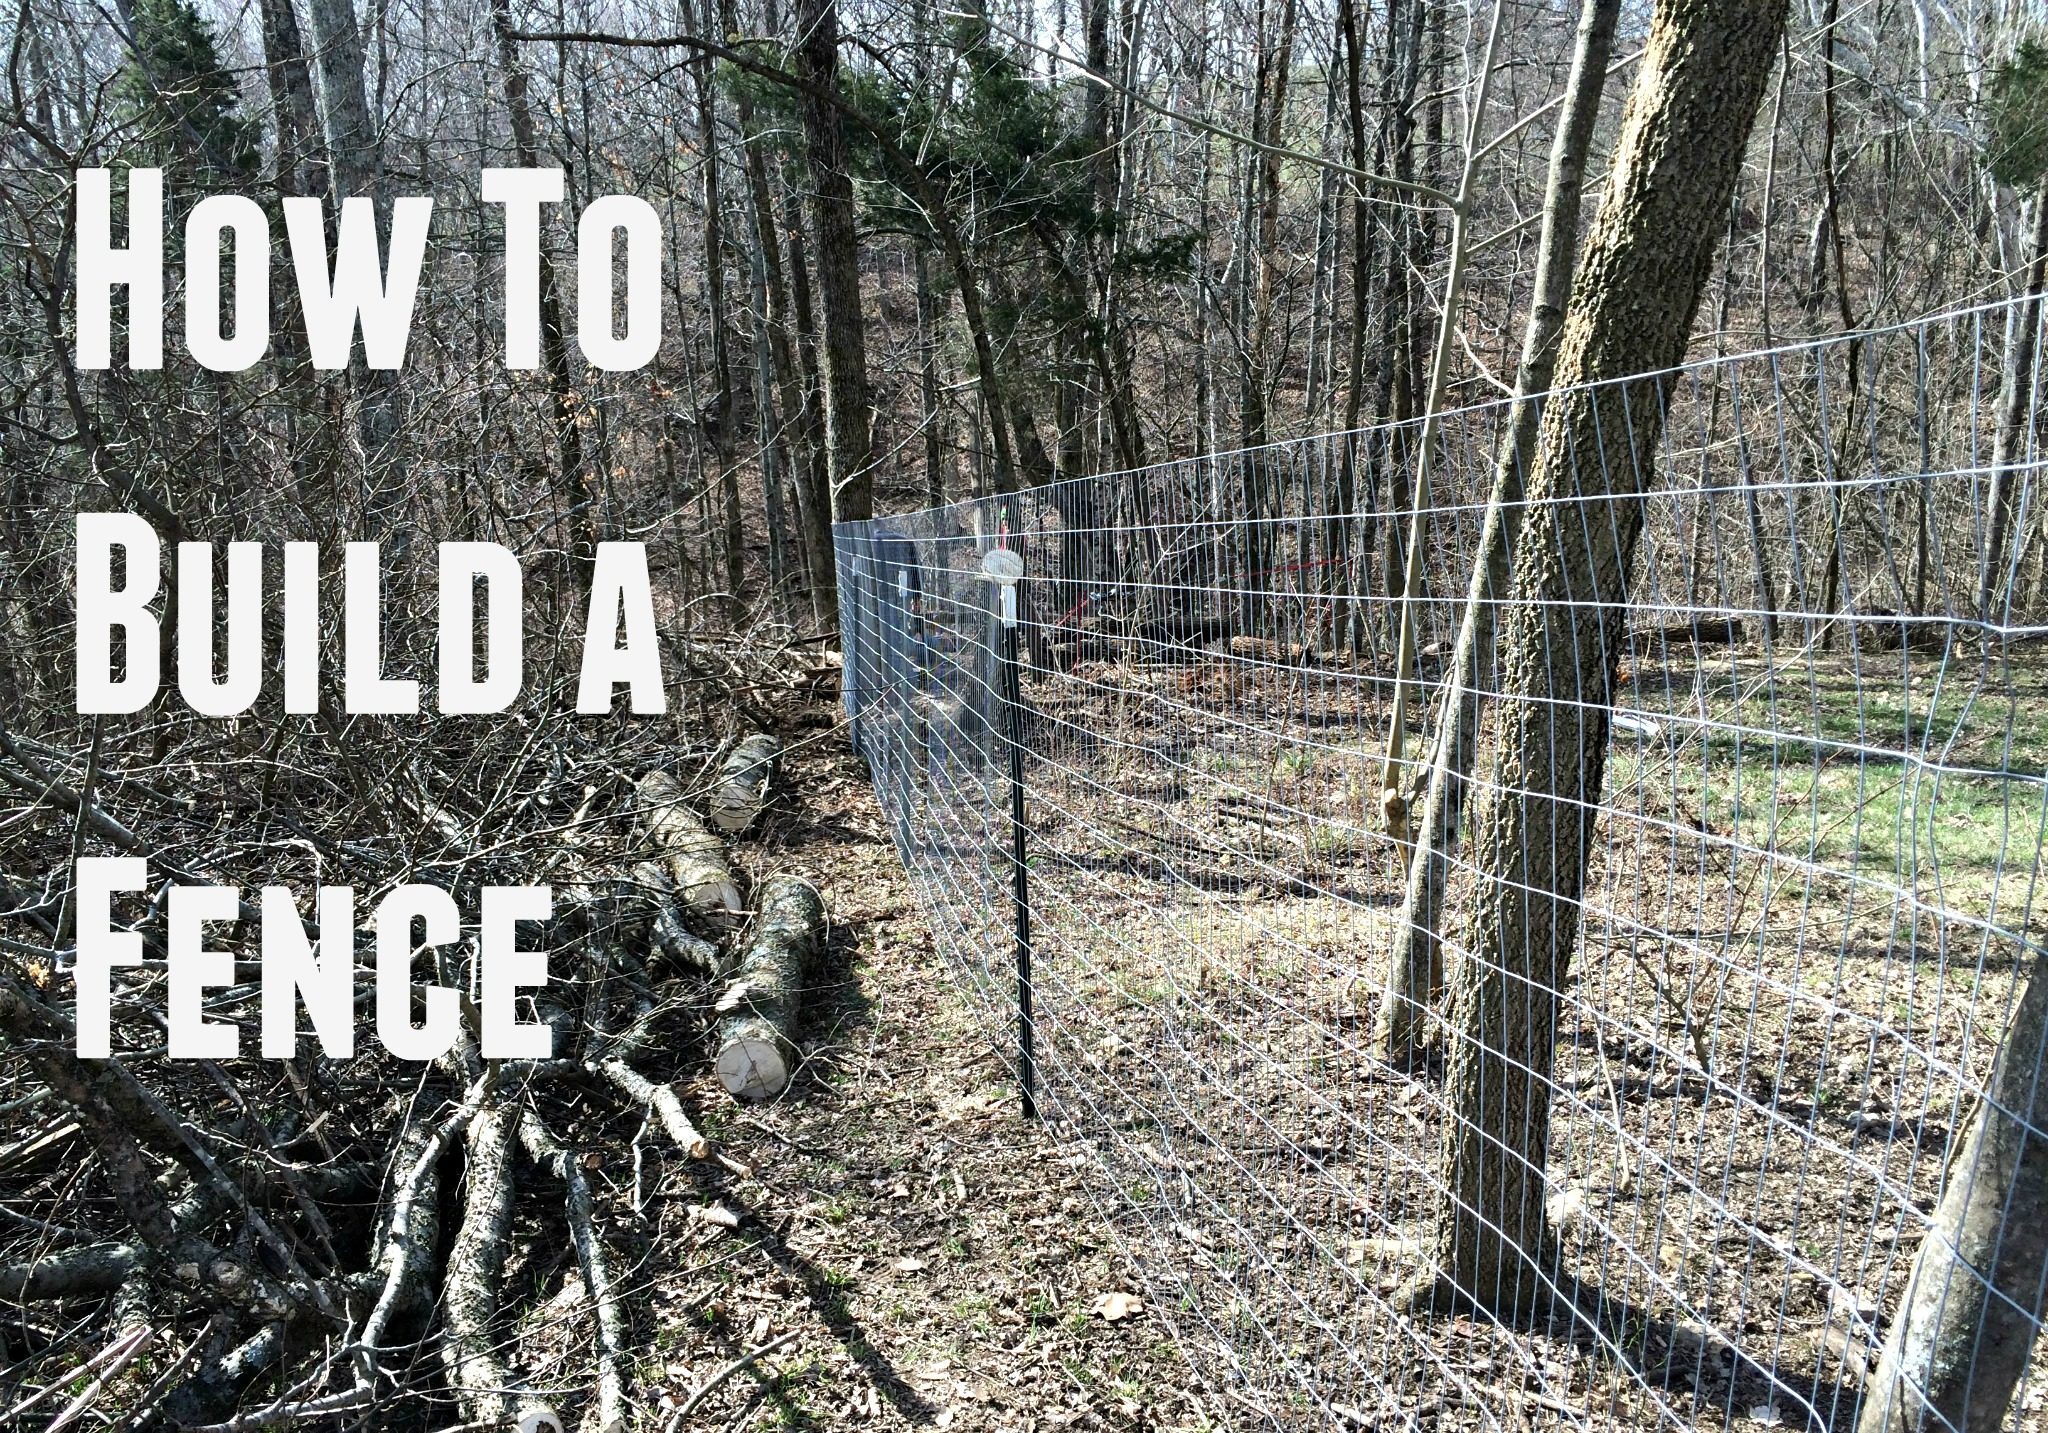
How to Build a Fence.
I did something I said I would NEVER do. I fenced in my chickens.
We have been keeping chickens “the red-neck way” for years and years. We love it. There’s no messy chicken pen. There’s no large grass-less, lifeless, vegetation-less area because the chickens ate it bald. There’s no feed to purchase (except in winter). There’s no worries about keeping the chickens “in.”
They roam free. The world is their buffet. They eat all the bugs, worms and ticks they can scavenge. They dot my yard and fields with their colorful, plump bodies. Happy free-range chickens. No more.
My husband wants grass around our house.
In the past 4 years our chickens have consumed approximately $500 worth of grass seed. (That may be why we don’t have to buy chicken food…… hmmm…… deep thoughts). It doesn’t matter how far he spreads it. It doesn’t matter how much he spreads. It doesn’t matter if he covers it with hay and straw. They will find it. It will be eaten. It will never become little blades of grass. Ever.
Unless…….
We put up a fence.
Why I submitted to the nasty, disgusting, mud-pit, fenced-in chicken yard:
- I like grass too.
- It is only temporary; once the little, grass seed has a fighting chance of becoming a blade with roots we will set the girls free to chomp on the baby grass.
- Once the grass is rolling outside of the nasty chicken yard, we are going to lock the chickens OUT of their mud-pit and grow some grass in there. Yipee!
- Having a fenced in chicken yard is also a convenient thing to have. On days that we are going to be away from the house until after dark we won’t have to call the neighbors, or panic, or rush home at the speed of light to save the chickens from the wildlife. I know nothing is fool-proof, but a fence won’t make things any easier on the raccoons.
We have built some fences in the past. We built the fence around cow fields. We built the fence around the pig pen. We built the fence around the garden.
When we bought our property it was 95% woods. No house. No out-buildings. No sheds. No fences. The only things on our property besides woods was an old tobacco barn and a peach grove. We had a clean slate – actually it was more of a “wooded slate.” We had to fence it ourselves.
We are far from experts on fencing. Neither of us had childhoods involving “fencing” during the summers. Thankfully,our neighbor did. He taught us how to put up fence.
Here’s the step by step on fencing (at least the way we do it):
STEP # 1 – Clearing the fence-line
First, and worst of all, is clearing the fence line.
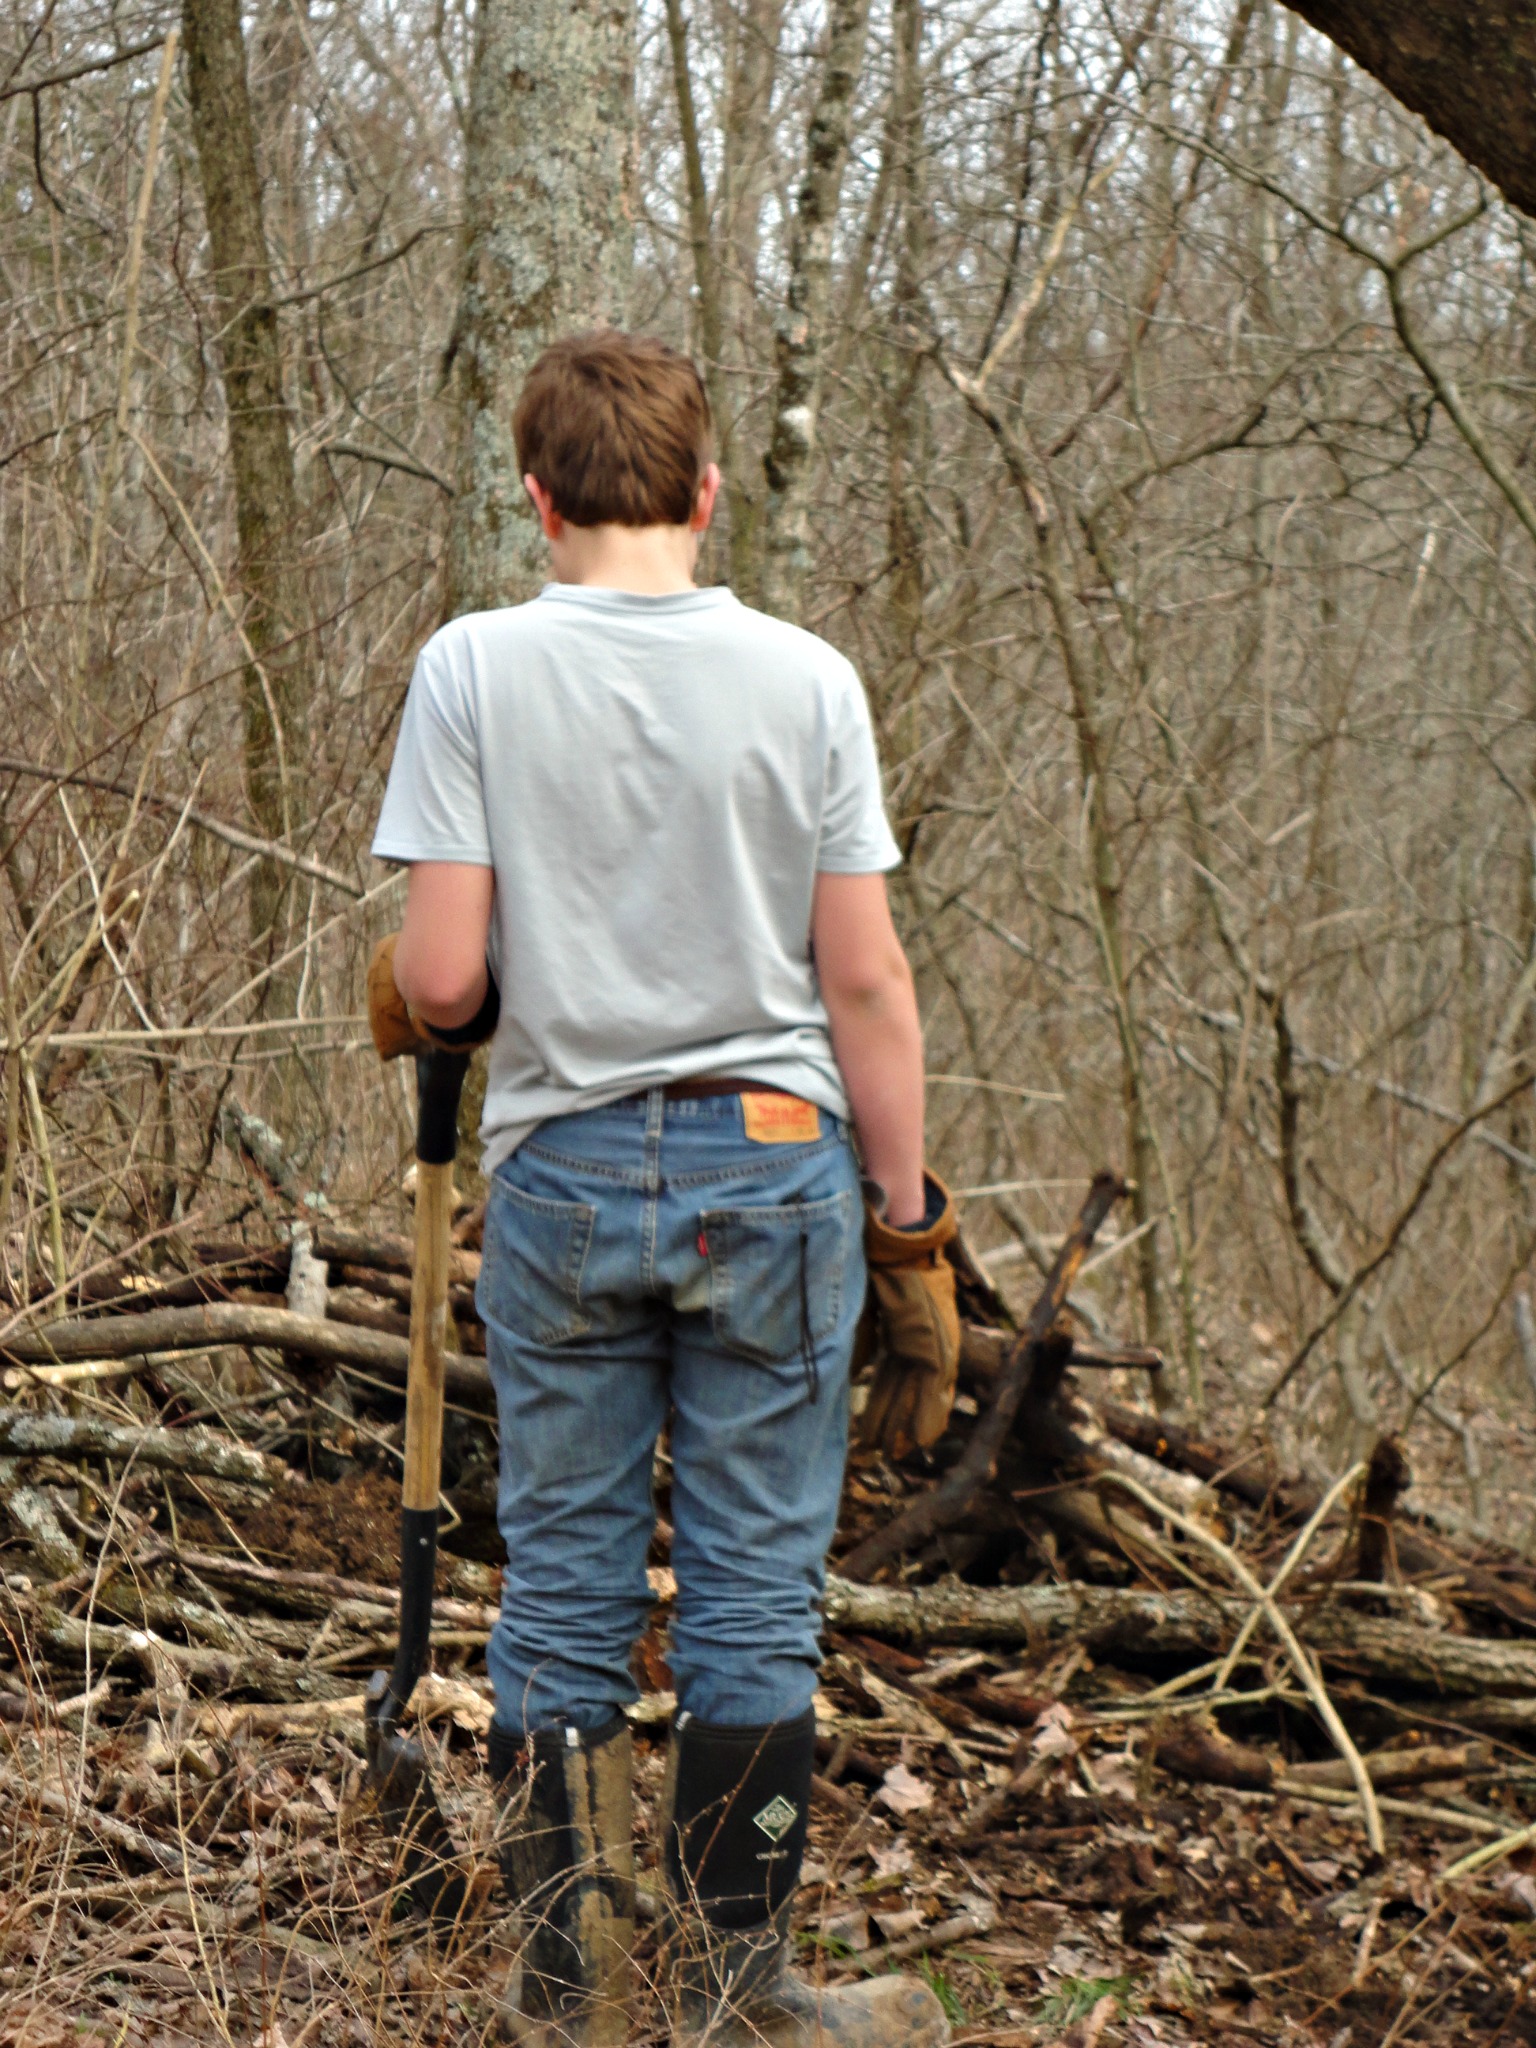
That pile of fallen trees and brush is right where we need to run the fence line. Can’t you just imagine the look on my son’s face as his dad said, “That pile needs to be moved.”
Moving all the fallen trees and brush is the hardest and the most time consuming part of fencing (for us). I suppose, if you had open fields, with no trees, it would be the easiest part – because you wouldn’t have to do it.
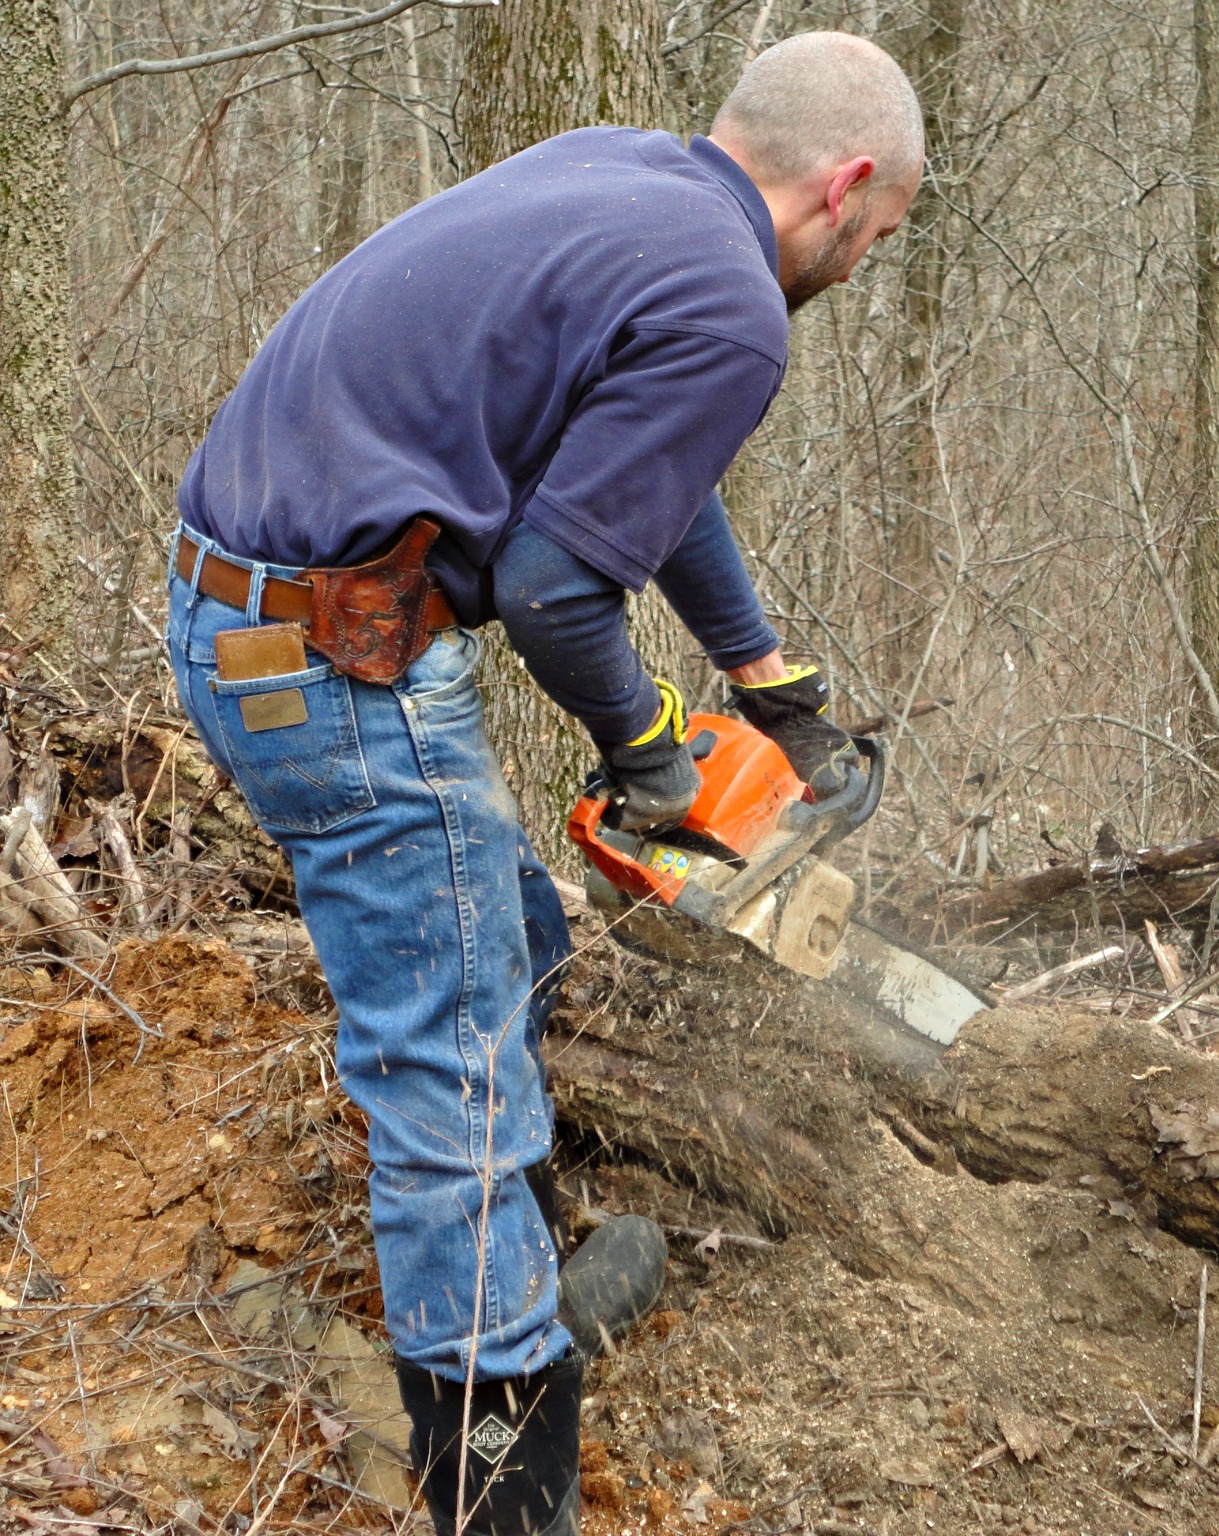
My husband gets out “Larry” (his chain saw) and cuts everything into smithereens.

Have I mentioned that we believe in teaching children to work?
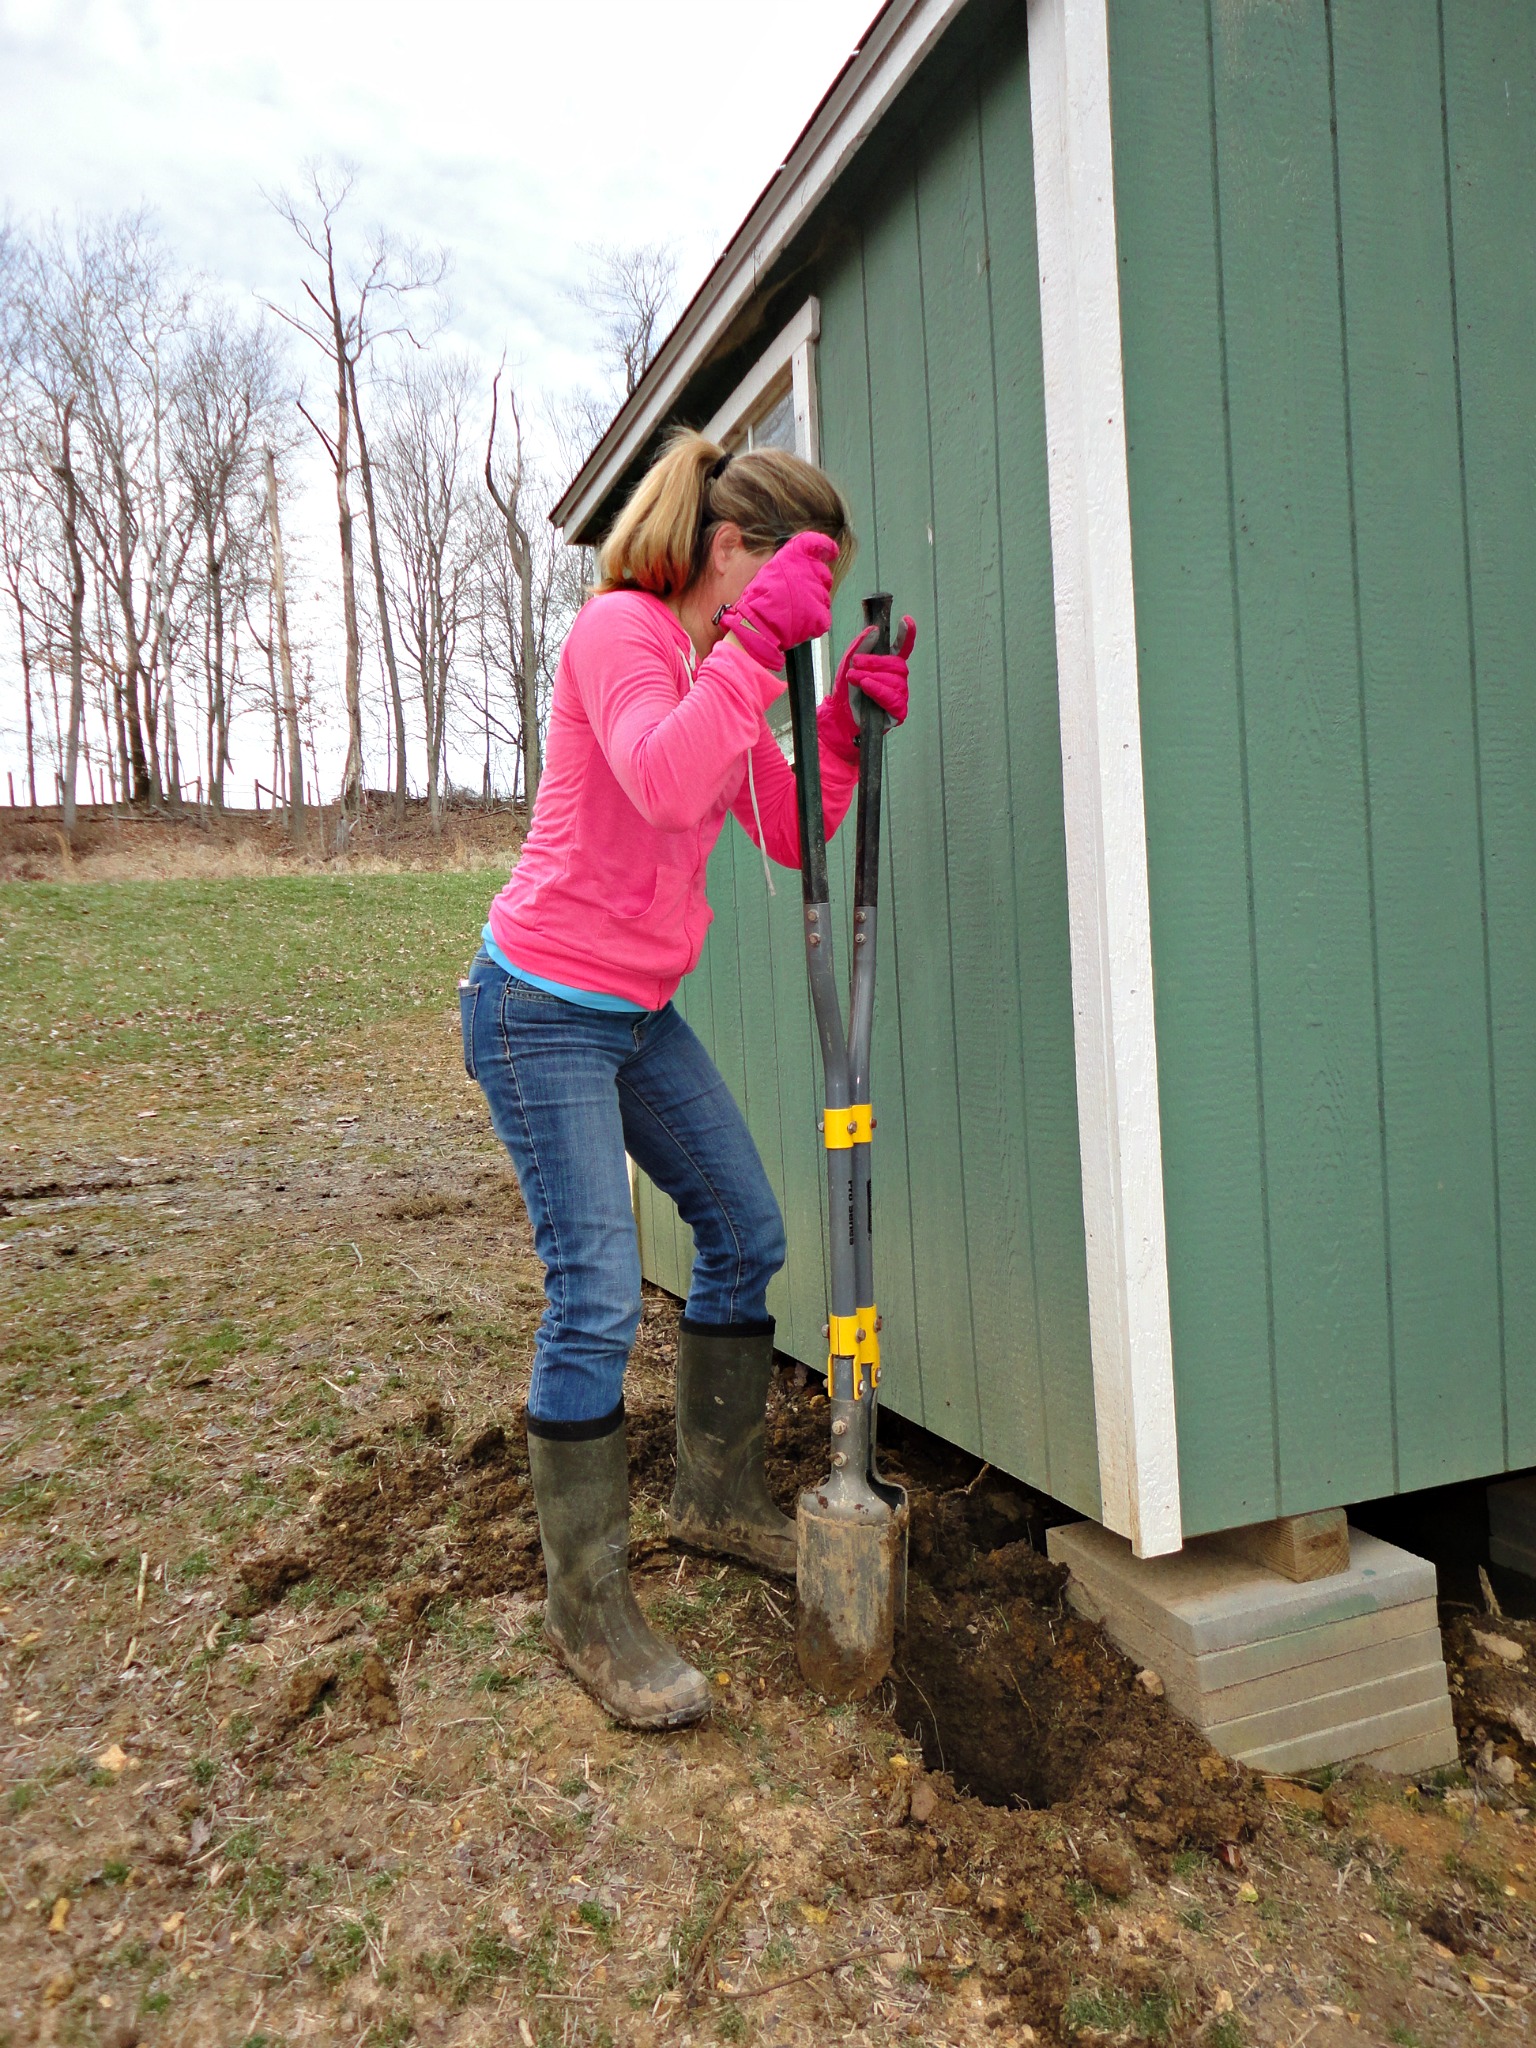
STEP # 2 – Set the Posts
Once the path for the fence is clear it’s time to put up the posts that will hold the thing up. You could use a tractor and a auger, or rent a 2 man auger, or use a post hole digger like the one I am holding in this picture.
We are using as many trees as possible for this fence, but we had to put in a few posts.

After the hole is dug about 18 inches deep, shove the post into it. Then put a little dirt back in the hole around the post and use a stick to “tamp” the dirt tightly. Add a little more dirt & tamp. Add a little more dirt and tamp. Keep adding and tamping until all the dirt is packed tightly around the post & the post is rock solid in the ground.
I know some folks use cement, we just tamp it good. Cement is messy, and heavy, and needs time to cure. Tamping is easy and instantly done.
STEP # 3 – Stretch the Woven Wire Fencing
Finally the fun part: stretching fence. First, staple the woven wire fence around the first post. This post needs to be strong since the entire fence will be “pulled” from it.
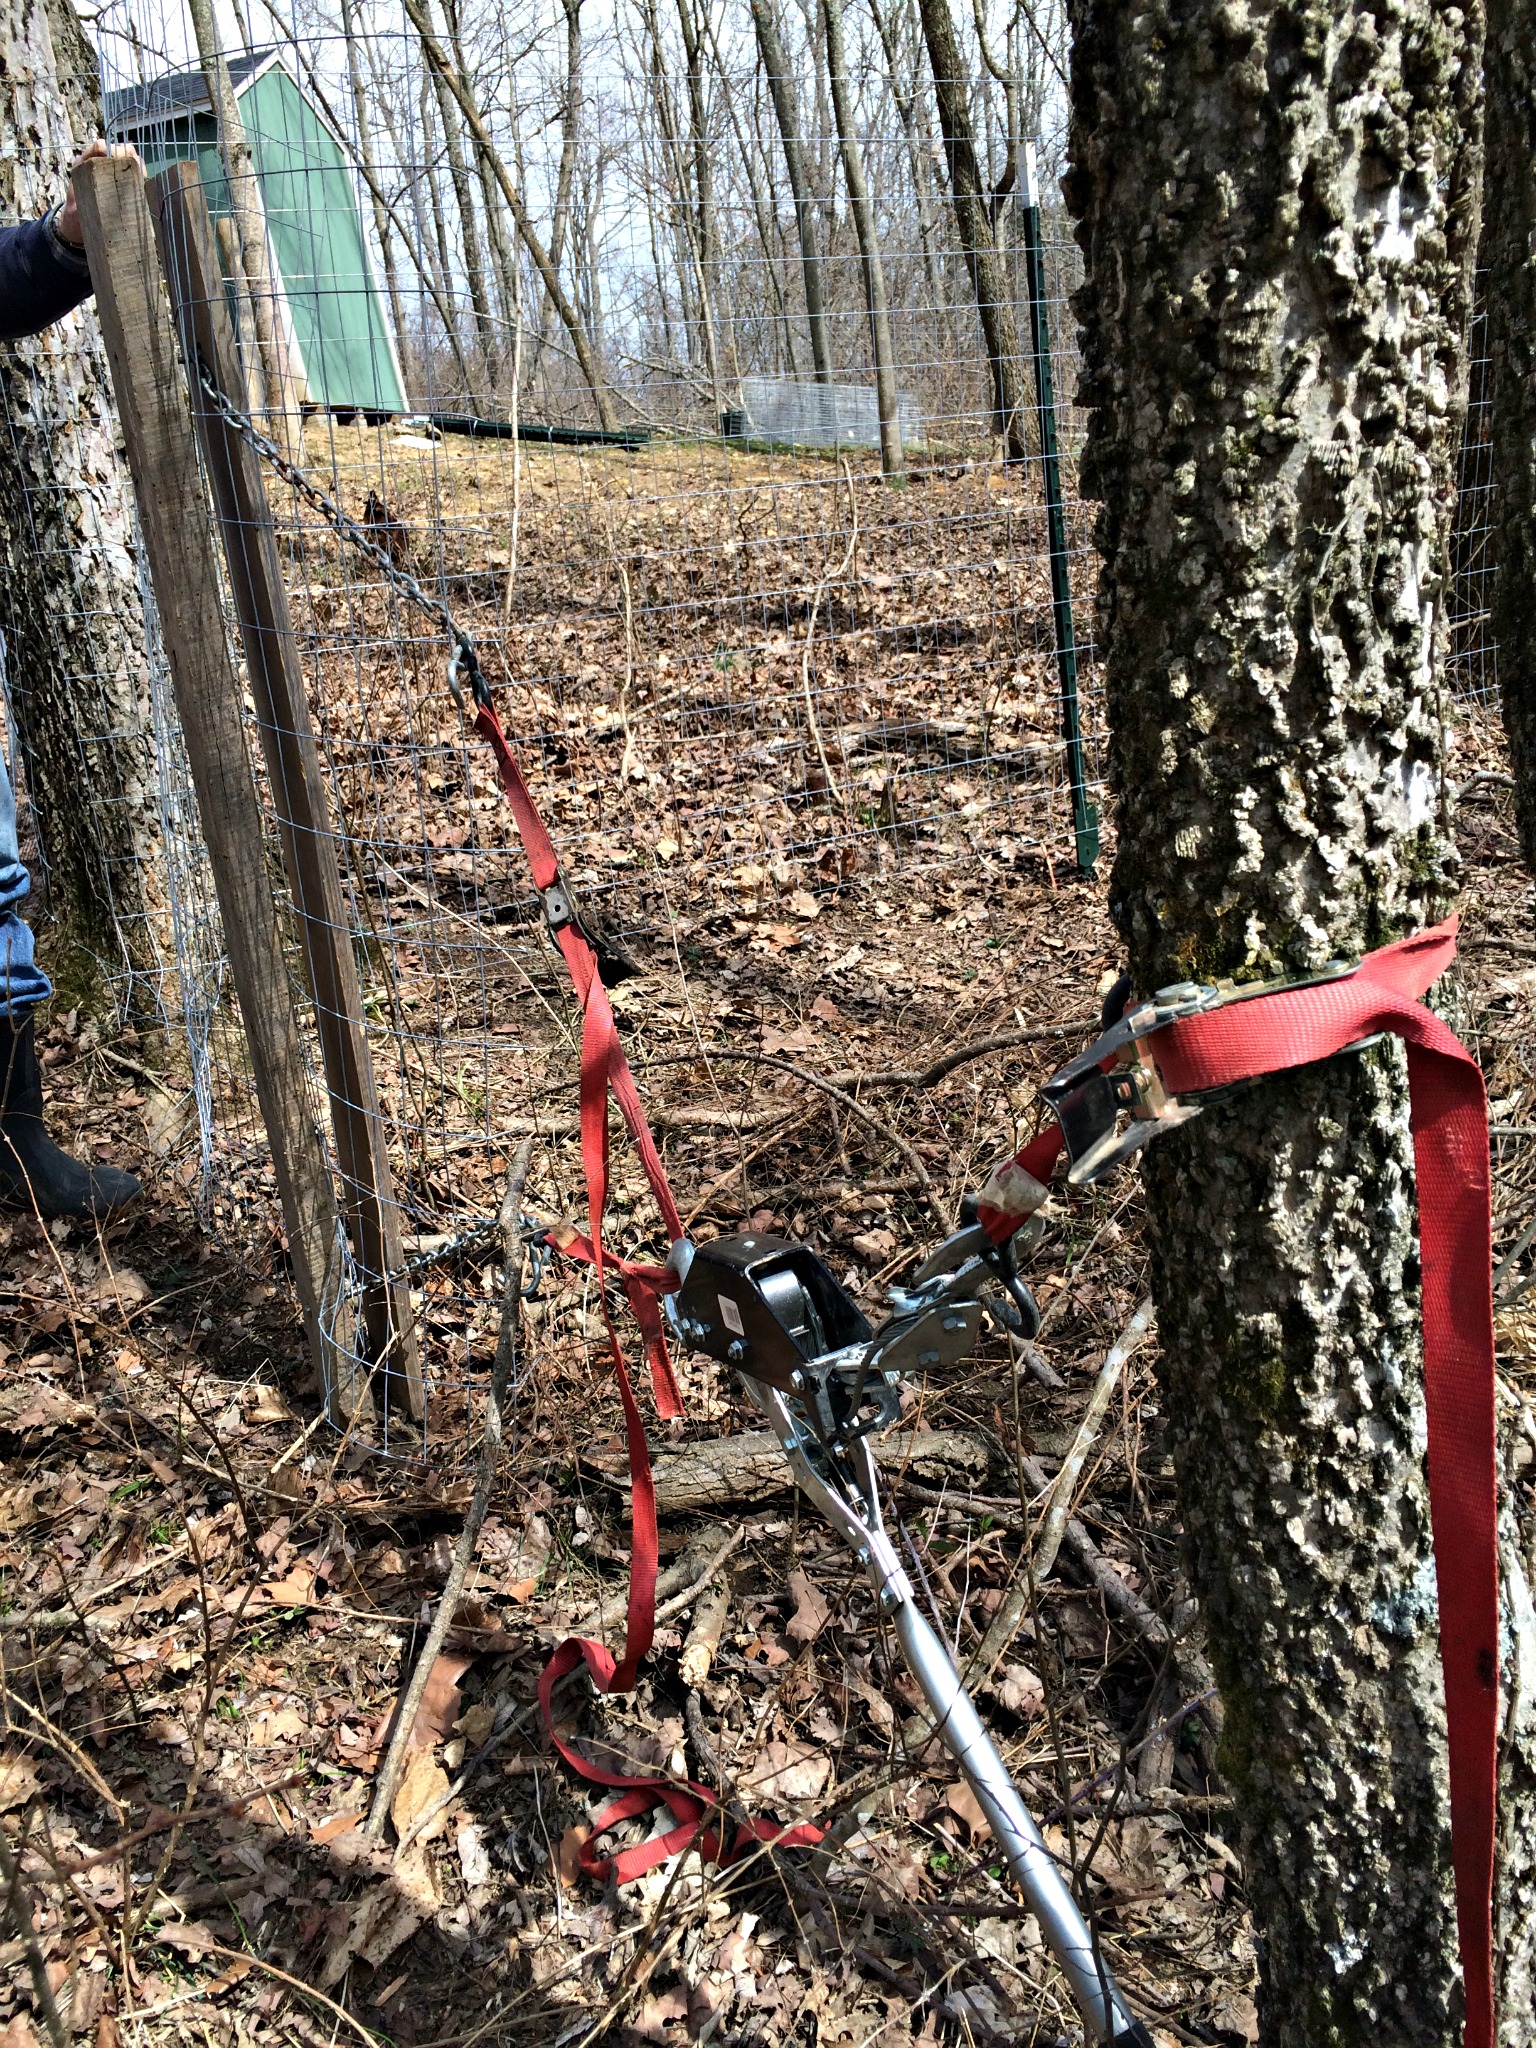
From the starting post or tree we roll out the fence and stretch the daylights out of it so the fence is nice and straight and tight. We don’t want saggy, droopy fences.
You can see the boards we use to hold the fence straight up and down as we stretch. Then the come-along which is strapped to a tree for sturdy stretching.

We grab the handle of the come-along and crank that baby as tightly as we can. As we crank it tighter we pull and adjust the woven wire so it is straight.
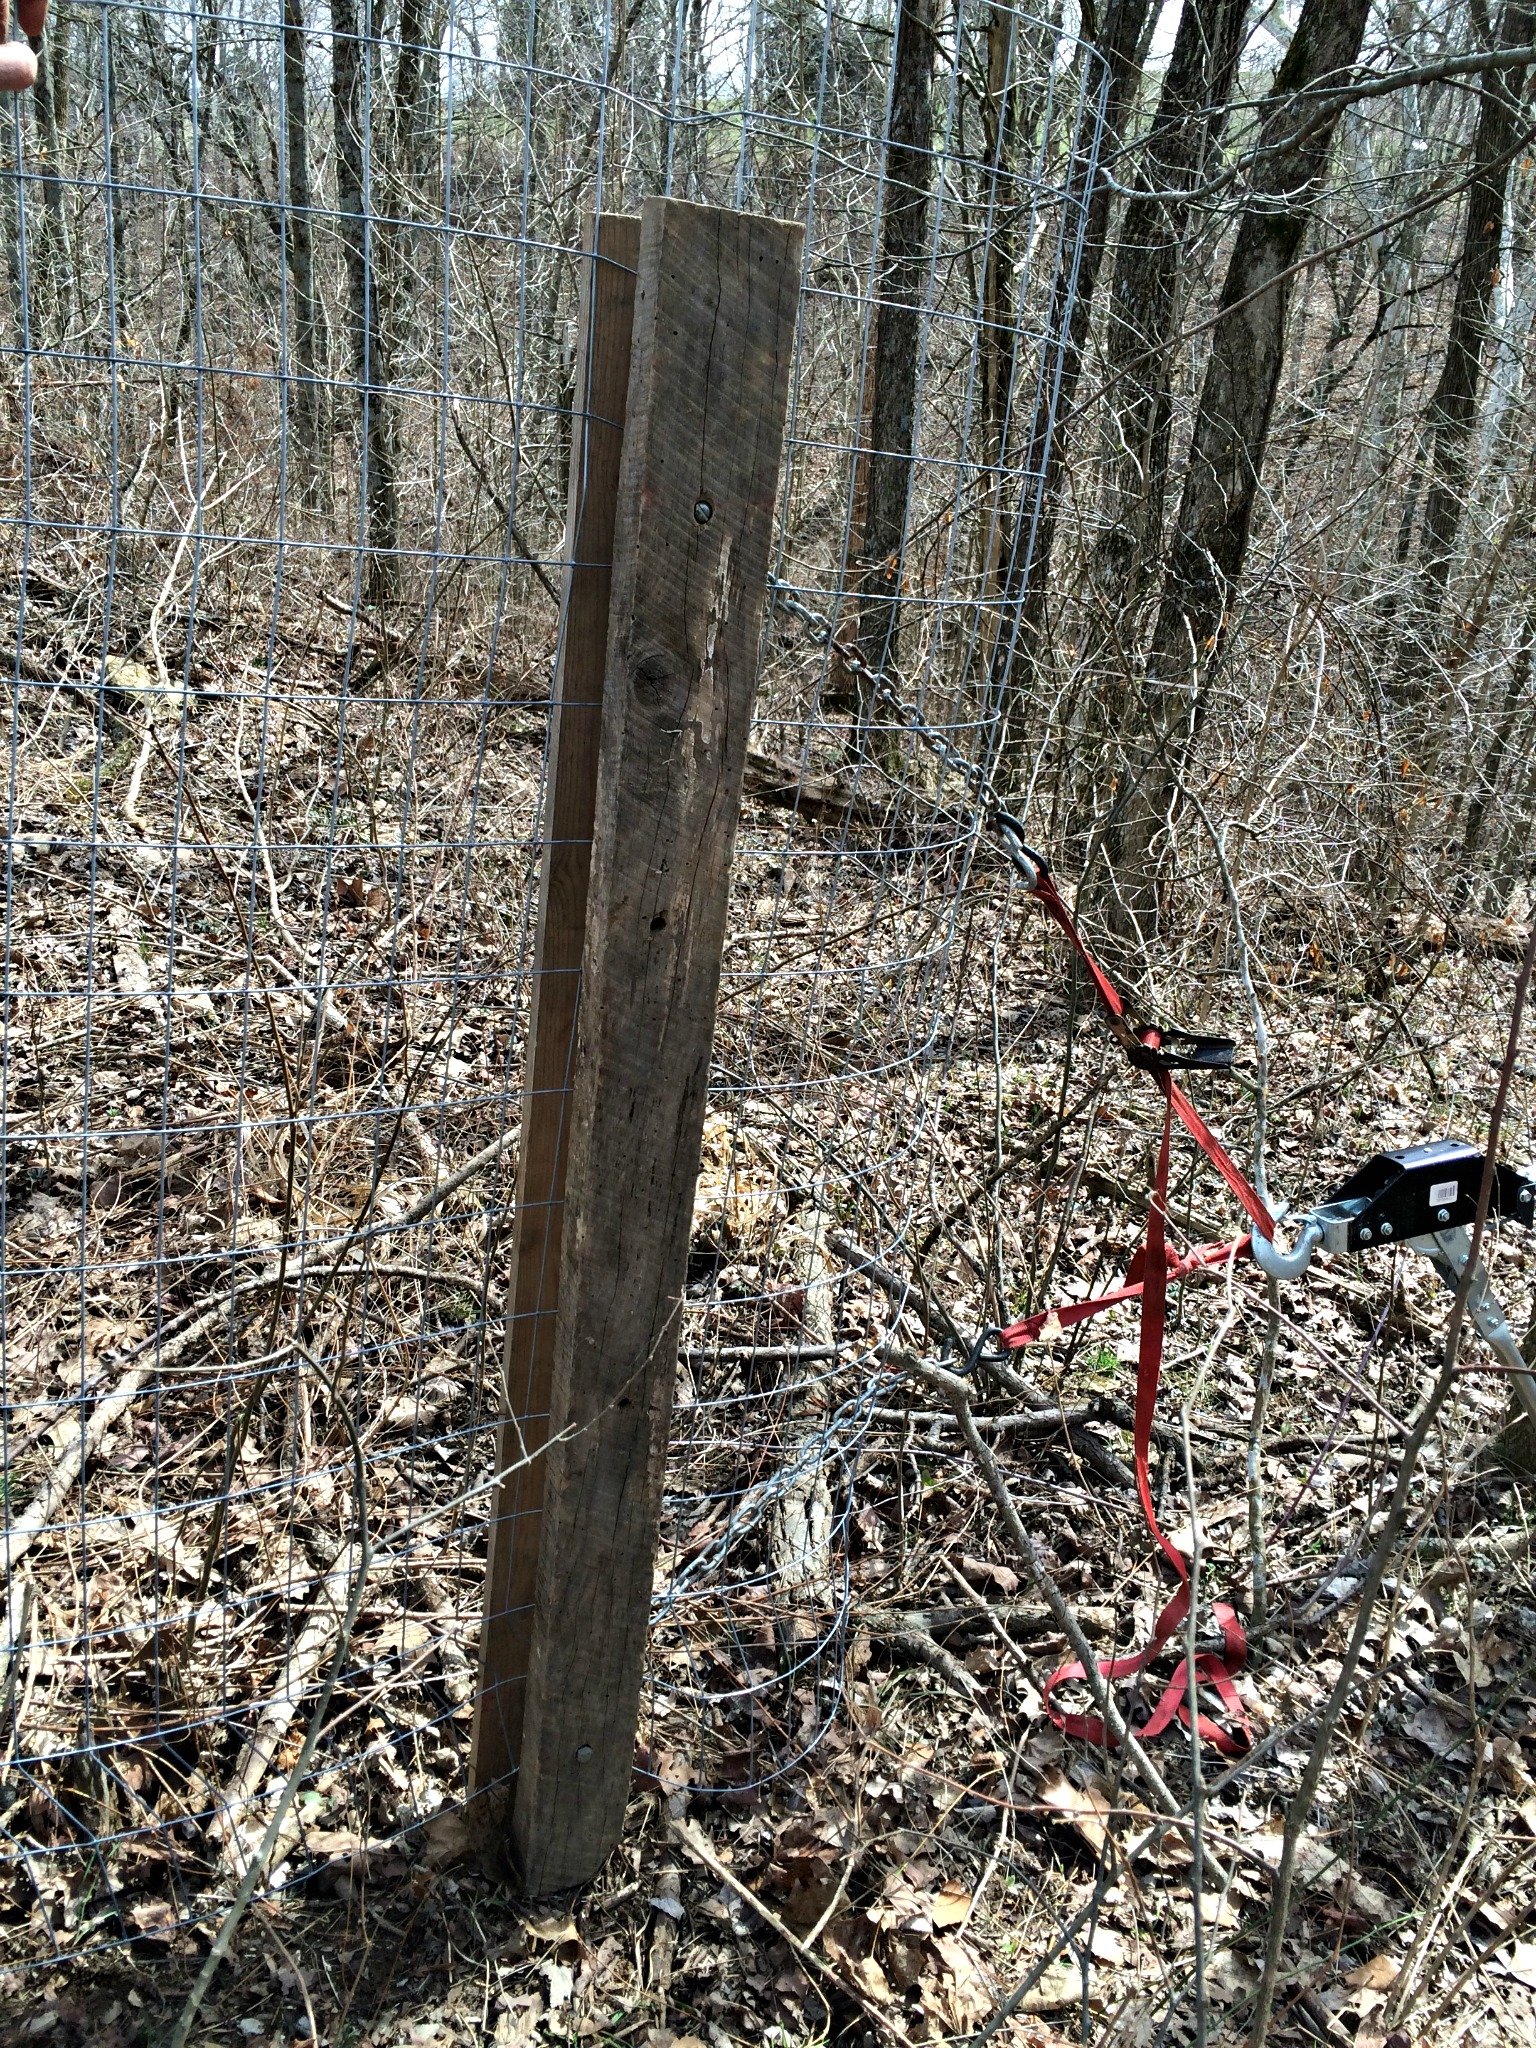
This is another look at the boards holding the fence flat. There are bolts at the top and bottom securing it to the fencing. If the fence is attached to the come-along without a board the fence will warp and curl and not pull straight.
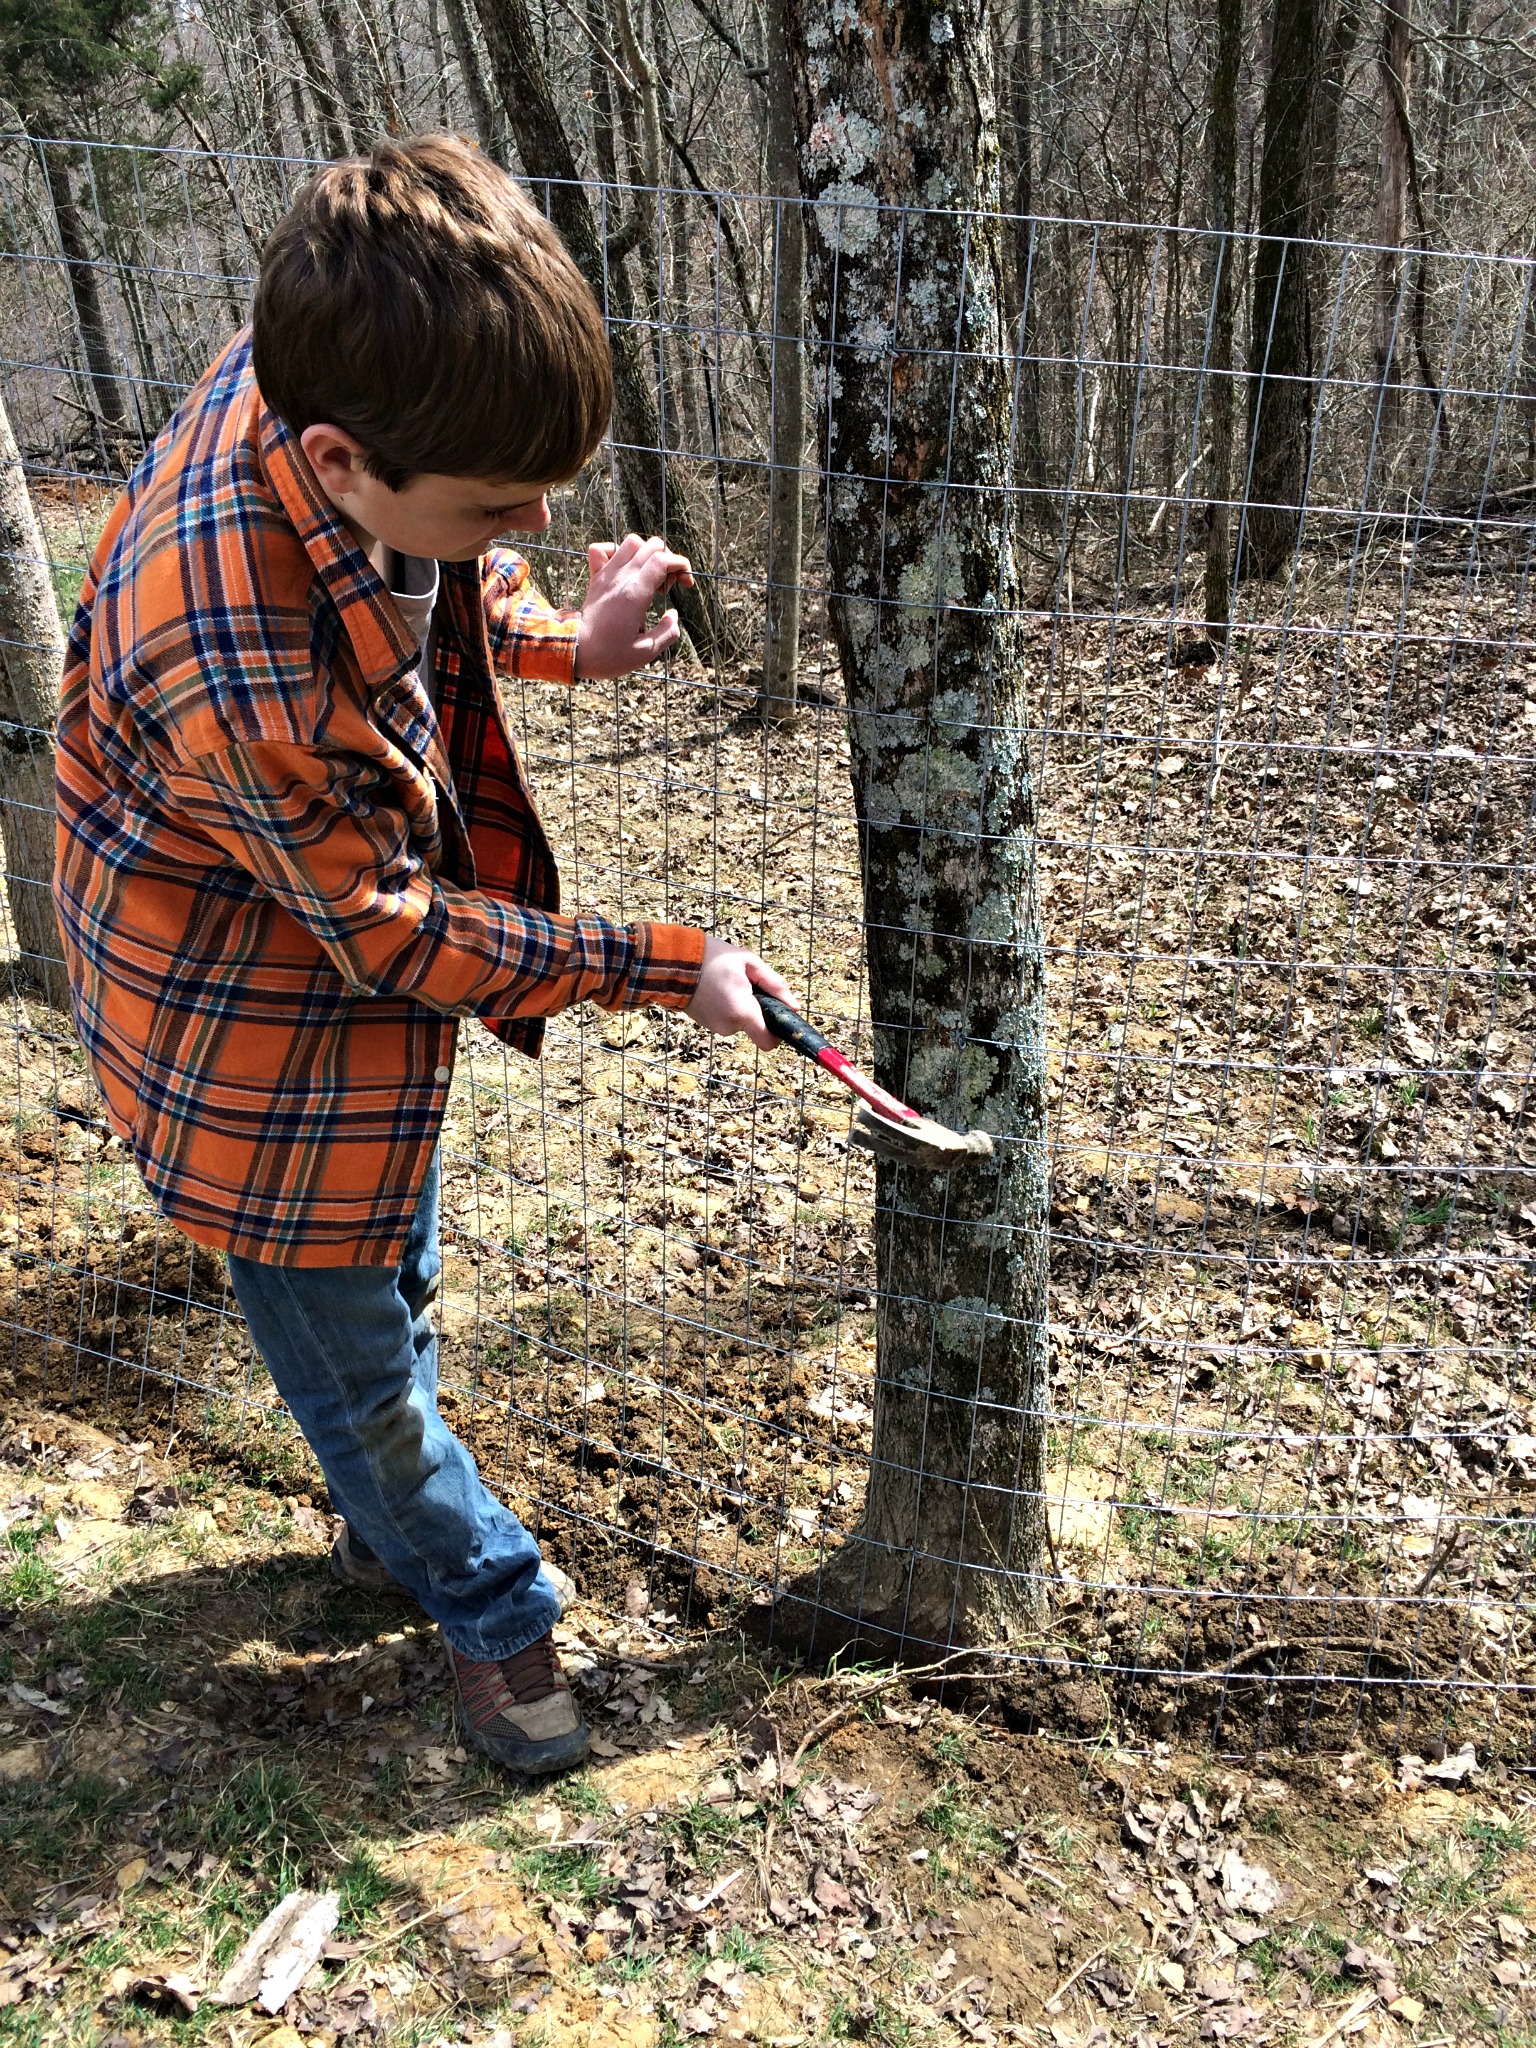
STEP # 4 – Fasten the Woven Wire to The Posts
Once the woven wire is pulled nice and tight grab some hammers and fence staples and start fastening the fence to the trees, or posts. Swing, swing, swing! Bang, Bang, Bang!
We usually pull past 3 trees or posts and then fasten to them all. Then unroll some more fence, stretch it tight across another 3 posts and fasten. The fence goes up surprisingly quickly.
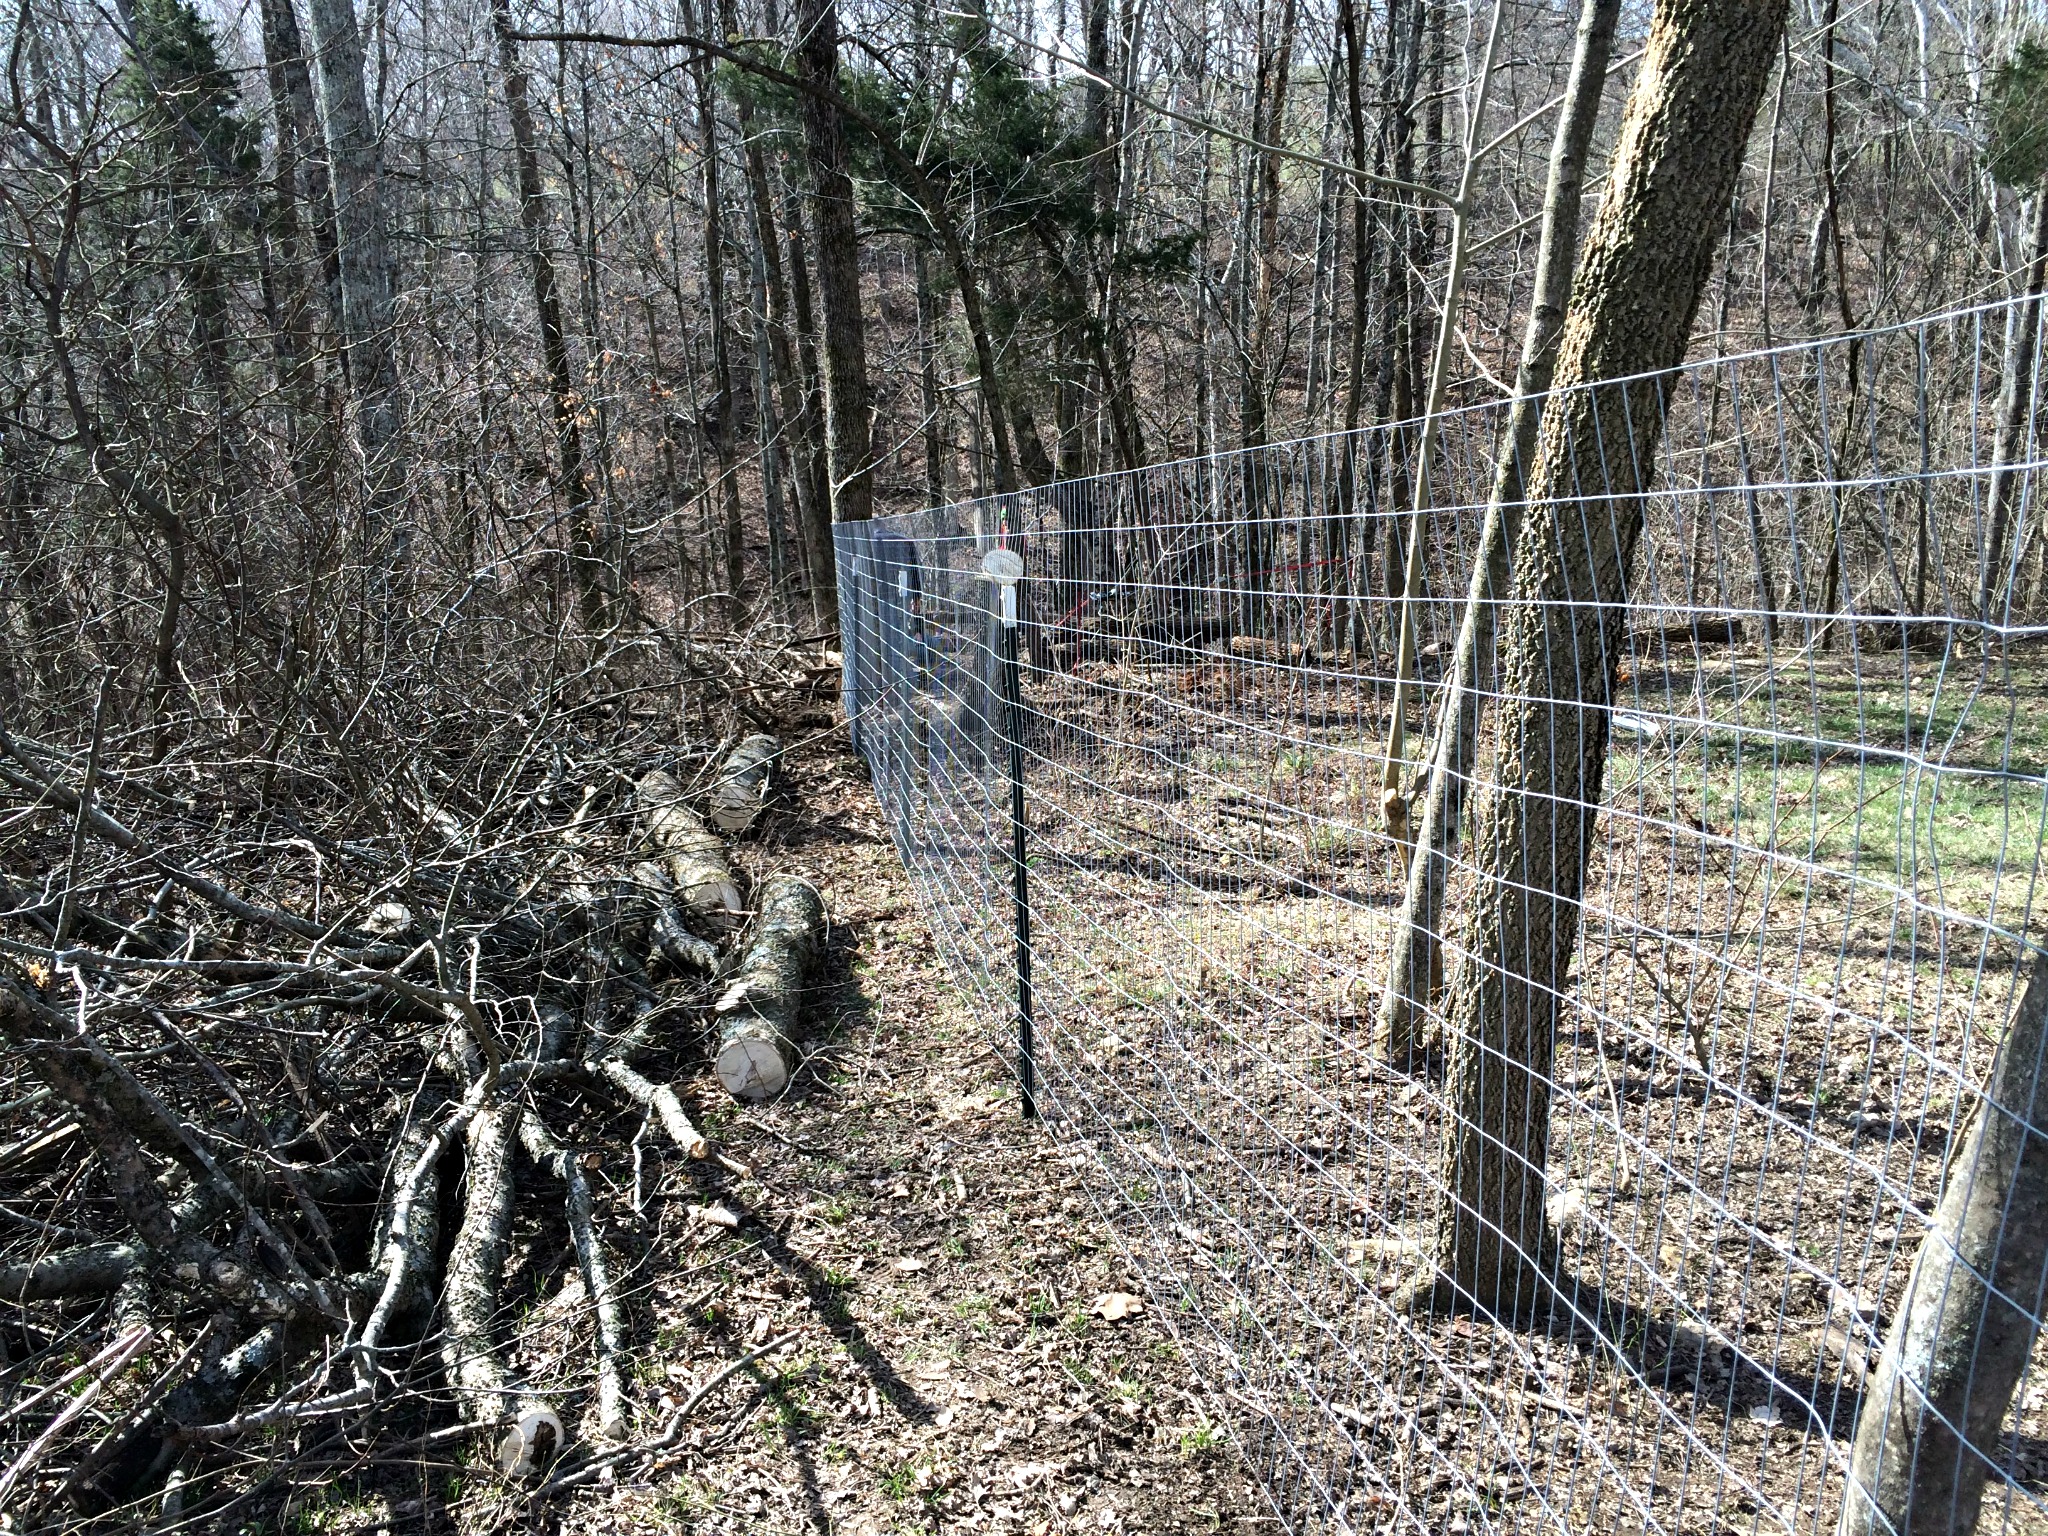
We used these metal fence posts for long stretches where there were no trees to attach the fence to. They are great for a straight run, but not great for corners or beginning or ending points.
STEP # 5 – Hang The Gate
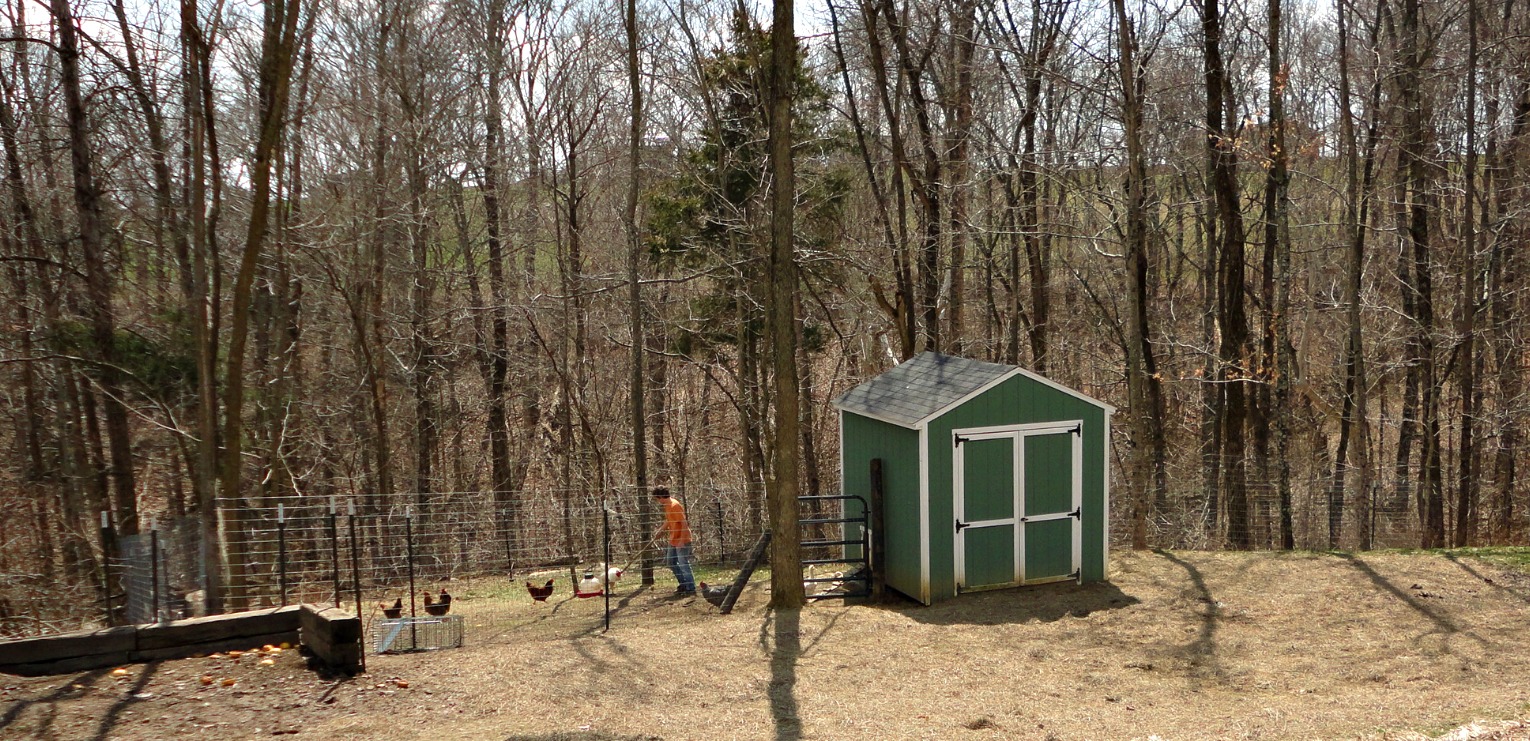
Done! Fence is up, chickens are in their yard & not eating the grass seed. Hopefully we will get some grass growing this year.
If you haven’t already, be sure to subscribe via email (here) to get old fashioned advice, farm tips and homesteading fun delivered straight to you.
Candi


Barbara Plezia
02/25/2016Greetings from Michigan! been gardening for a long time and seeing a trend in last few years with deer. They used to wait till the squash and pumpkins were ripe before they ravaged them but not anymore. They are happy to eat the itty bitty green softballs as they grow. I do have tasty venison all around me-thanks to the great nutrition of my garden veggies and the fact they have to step 10″ out of their lush ” free food zone” to get to mine. But it got old last season when they took out all my broccoli, ( it’s so ON). So, I love the idea of your fence, appreciate your how-to, and can see some benefit. But does it actually keep deer out? Deer can clear most any fence you can put up. Did this do the trick? Is it 20′ tall? Or 5′? Is it electric?
Thanks for your thought- The original ” farmin’ Barbie”.
Candi
02/25/2016I just ran out (in the snow) to measure our fence. It’s 6 feet high. We got the woven wire from Tractor Supply. It’s a small weave (because we have had a rabbit problem too). Yes, it has kept the deer out. I suppose they could jump it if they really wanted too – I guess it’s tall enough to change their minds.
Nothing’s for sure – but a fence won’t make it any easier for the deer to eat your broccoli. 😉