
Yay! It’s almost Christmas!
I wanted to show you some homemade Christmas gift ideas. I thought of doing “The 12 Crafts of Christmas” series, but I don’t have 12. So, it’s going to have to be the 8 crafts of Christmas, or something like that.
I love homemade gifts. They are usually inexpensive. If you are into crafting, it is fun. Homemade gifts can be a great family project. I also love receiving homemade gifts, so I think they are the best.
If you have older children they will love getting involved. If you have very young children, you may want to do this during naptimes. If you have my children, you will have plenty of “help” and you will spend the next 2 days recuperating and cleaning your kitchen.
It’s all worth it. Few things are better than building Christmas Traditions and memories as a family.
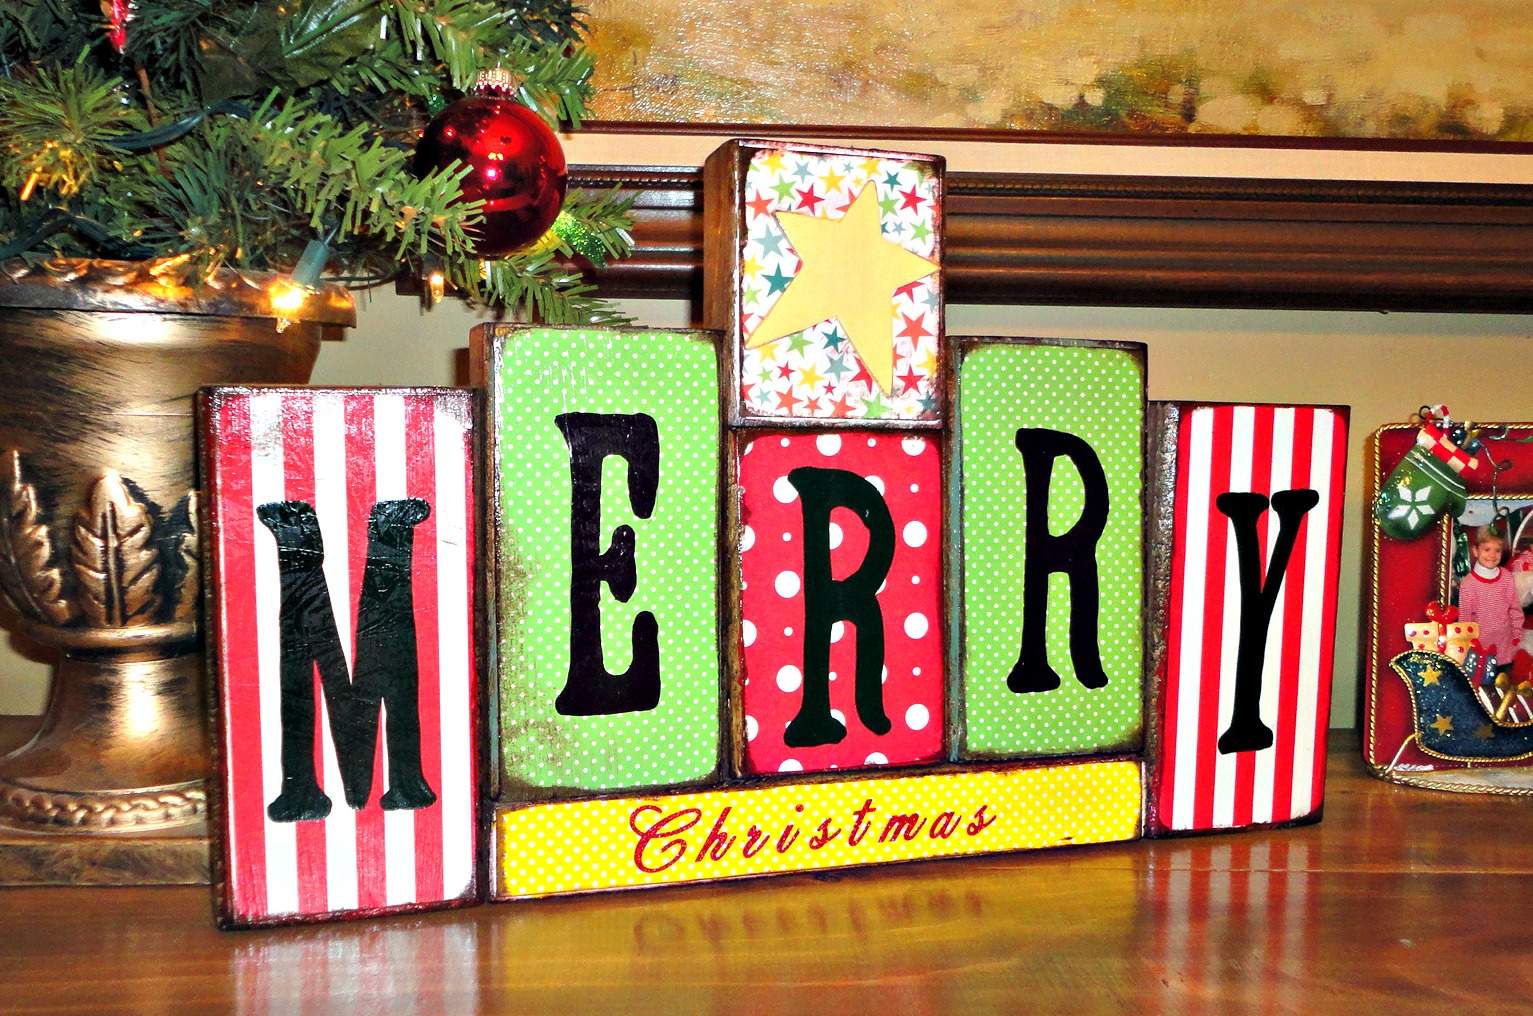
I love working with wood, so many of my crafts involve wood. Stackers are easy to make and lots of fun. The options and varieties are endless. I did not invent the wooden stacker, but delight in reinventing them and making them original. This first craft is a Christmas “stacker.”
Don’t be intimidated. This is so easy to make. It is made out of wood. It’s mostly 2 X 4’s. If you already have some stain & scrapbooking paper, all you really need is some wood. If you have some 2 X 4’s in the back of your barn, it will be free.
If you don’t have 2 X 4’s in the back of your barn just visit your local Big Box Home Improvement Store. You can spend $4 on some wood or you can go to the back of the store where they courtesy cut wood for customers. Here you will find a garbage can (or 2) containing the “scraps” from what has been cut recently for other customers. I have been known, maybe, to pick through this garbage can. It’s always best to ask someone wearing orange (or blue depending on which store you visit) if they mind if you take home some of their garbage. I’ve never been turned down. I am not above picking through garbage. Have I mentioned that I am a recovering coupon-aholic? Dumpster diving is nothing new to me (or my kids).
So, for just a couple dollars of wood you can make this Merry Christmas decoration. AND it’s SOOOOOO cute!
Here’s the list of supplies you’ll need:n
- Scrap wood: 2×4 & 2×2
- Scrapbooking paper of your choice
- Wood stain
- Glue or Mod Podge (Elmer’s is fine)
- Circular Saw
- Optional: wood craft star & letter stickers
This entire thing is made from 2×4’s except for the long bar on the bottom with is a 2×2.
First, use the circular saw (be sure to wear protective goggles, gloves, and don’t hurt yourself) to cut the wood into these lengths:
- (4 pieces) – 7 inches long
- (1 piece) – 5 inches long
- (1 piece) – 4 inches long
- Cut the 2×2 10 inches long
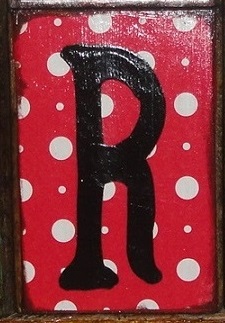
The 5-incher is the middle “R.” The 4-incher is the cute star above the 5 inch “R.”
After cutting the wood, I hit the edges with a piece of sandpaper, just to knock off any splinters,
Next the blocks need to be stained. This is a great time to get the kids involved. Slap stain on every surface of all the blocks. Wipe off any excess & let them dry (I wait overnight).
Now the fun part! Pick out your scrap-booking papers, cut them to fit the front of the blocks & glue them on with your Elmer’s. You will also want to let this dry for a bit before putting on the letters. Once the paper’s are glued on and dry you are ready to add the letters.
For the letters you have many choices depending on how artsy you are feeling. You can paint them on. You can stencil them on and then paint them. You can buy stickers from Michael’s and just stick them on. Or you can buy wooden letters and glue them on. Lot’s of choices here & they will all look darling!
I used a combination.
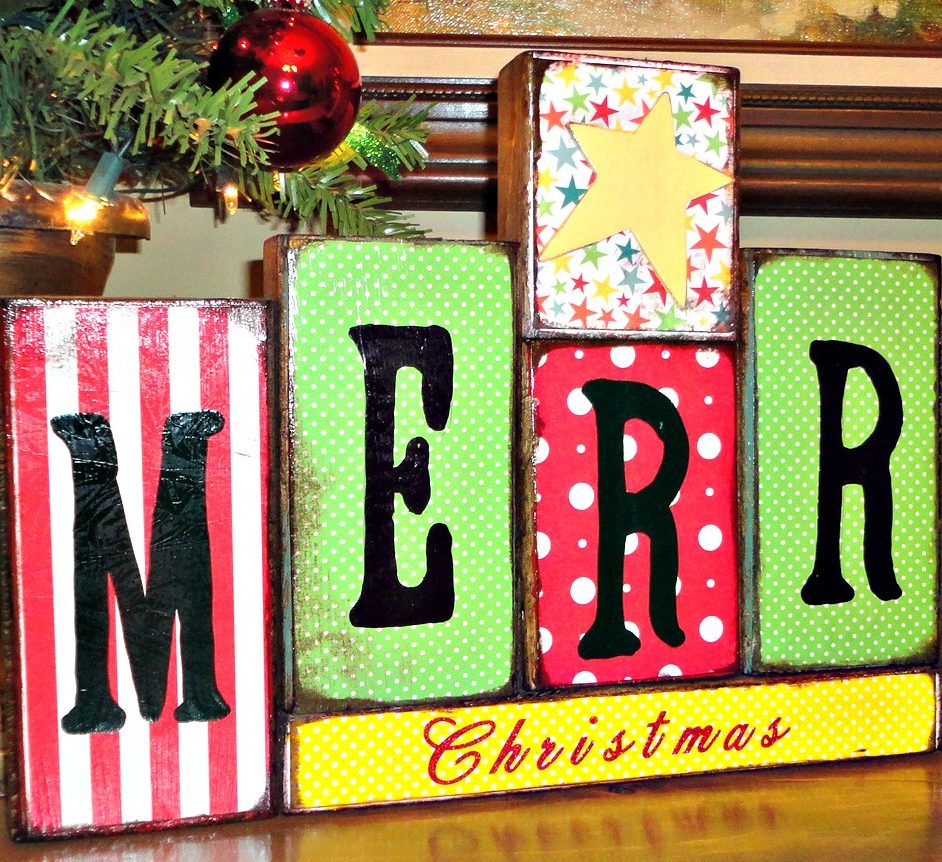
I painted on the “M-E-R-R-Y.” I stuck on the “Christmas” with stickers.
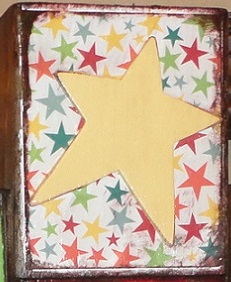
And, I glued on the yellow star.

After it’s all painted, take the stain & smear some on all the edges and lightly over the scrapbook paper. I use a dry paper towel and dip a corner into a tiny bit of dark stain & rub it over the block until it looks the way I want. Start with just a little stain, you can always add more.
This gives them a vintage or antique feel. I like old things (and things that look old).
The last step is painting the front of the wood blocks with Mod Podge, or Elmer’s. Once dry, this will protect your hard work from getting sabotaged, dismantled or destroyed by the 4 small people that live with you.
To get old fashioned recipes, farm tips and homesteading advice be sure to subscribe via email (here).
-Candi

