
Electric Grain Mill – Introduction & instructions.
I don’t know what life would be like without an electric food mill. I have been milling things in my kitchen since 2004. Grains, Wheat, Oats, Corn, Beans, Rye, Millet, Barley… Many kernels have passed through my mill to become flour.
Why?

For an introduction to why you should consider grinding your own grains go here.
The net-net:
- Grinding your own flour is more nutritions
- Grinding your own flour will make you healthier
- Grinding your own flour will save you money
- Grinding your own flour will keep you (and everyone else in your home) regular in the bathroom department
- Grinding your own flour will produce better tasting baked goods (I think)
Grinding your own flour is not a big deal. It’s super easy, super fast and not hard to do.
It does require some equipment that you may not have right now… a mill. I have a hand-crank model for fun because it’s super old & I love old things. I do not use my hand-crank model. I have an electric mill and I think this is a much better option.
Why Electric?
- It doesn’t make me sweat
- It doesn’t take 20 mintues
- It grinds my grains into the finest, lightest powder (hand cranks typically produce a courser grain, which won’t create the light, soft, end result (* want)
- It can grind my flour while I do something else

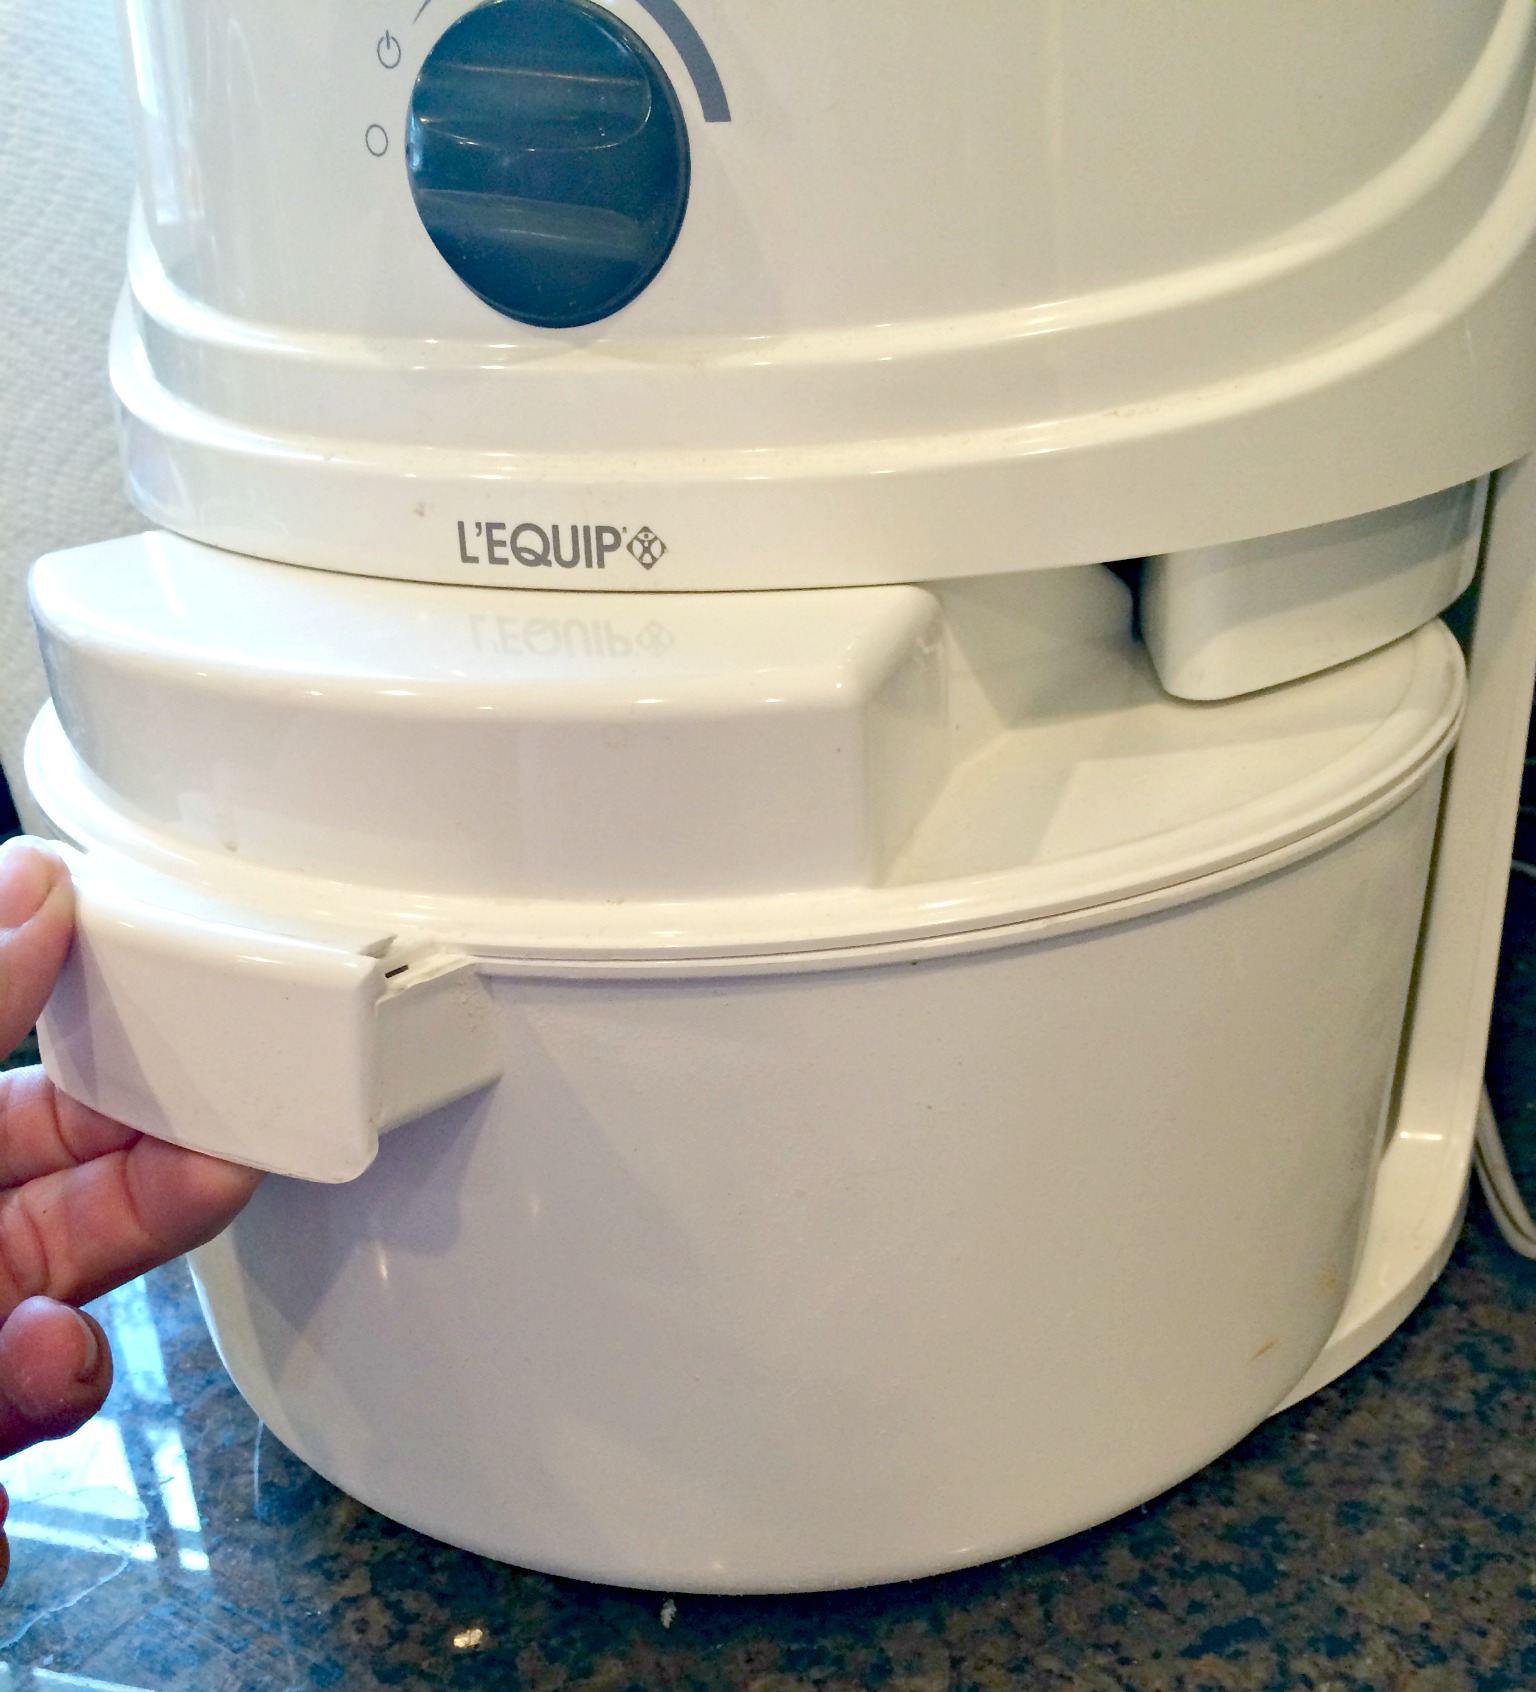
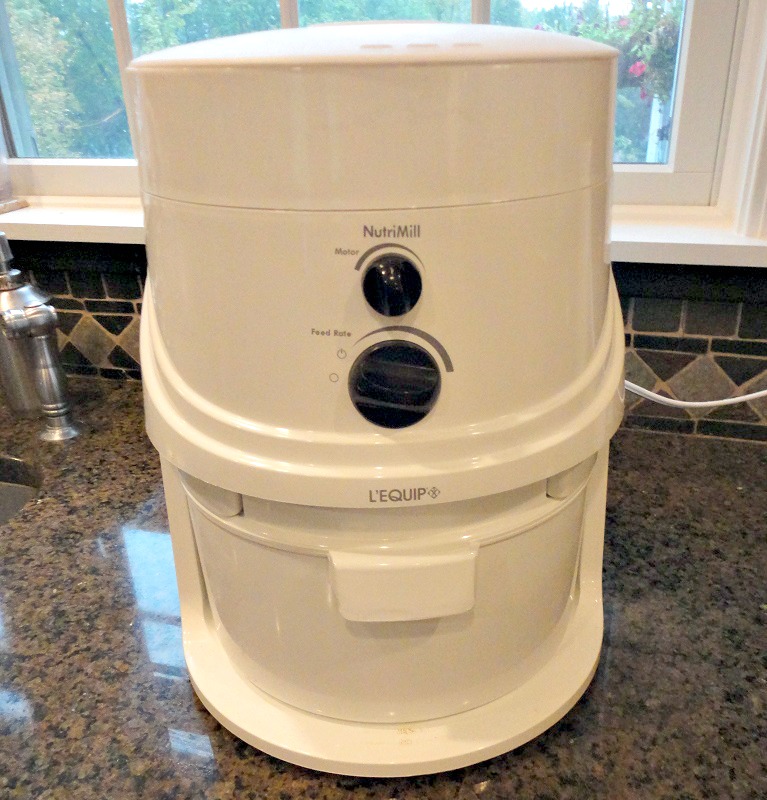
I have a NutriMill. It is fabulous. It can grind 10 cups of flour in a matter of minutes. I’ve never given this machine a kernel it couldn’t turn into dust.
Let me show you how easy it is to use.
First, go get some grain. I have 50 pound buckets of grain stored in my basement in air tight containers.
If they are stored in airtight containers at 50 degrees F with oxygen absorbers they will stay fresh for 20 years. If they are kept in this way but the temperature is closer to 60 degrees F they’ll keep for 10 years. Wow! You don’t have to worry about your grain going bad any time soon.
I order in bulk and usually buy a years worth (or more) of grain at a time.
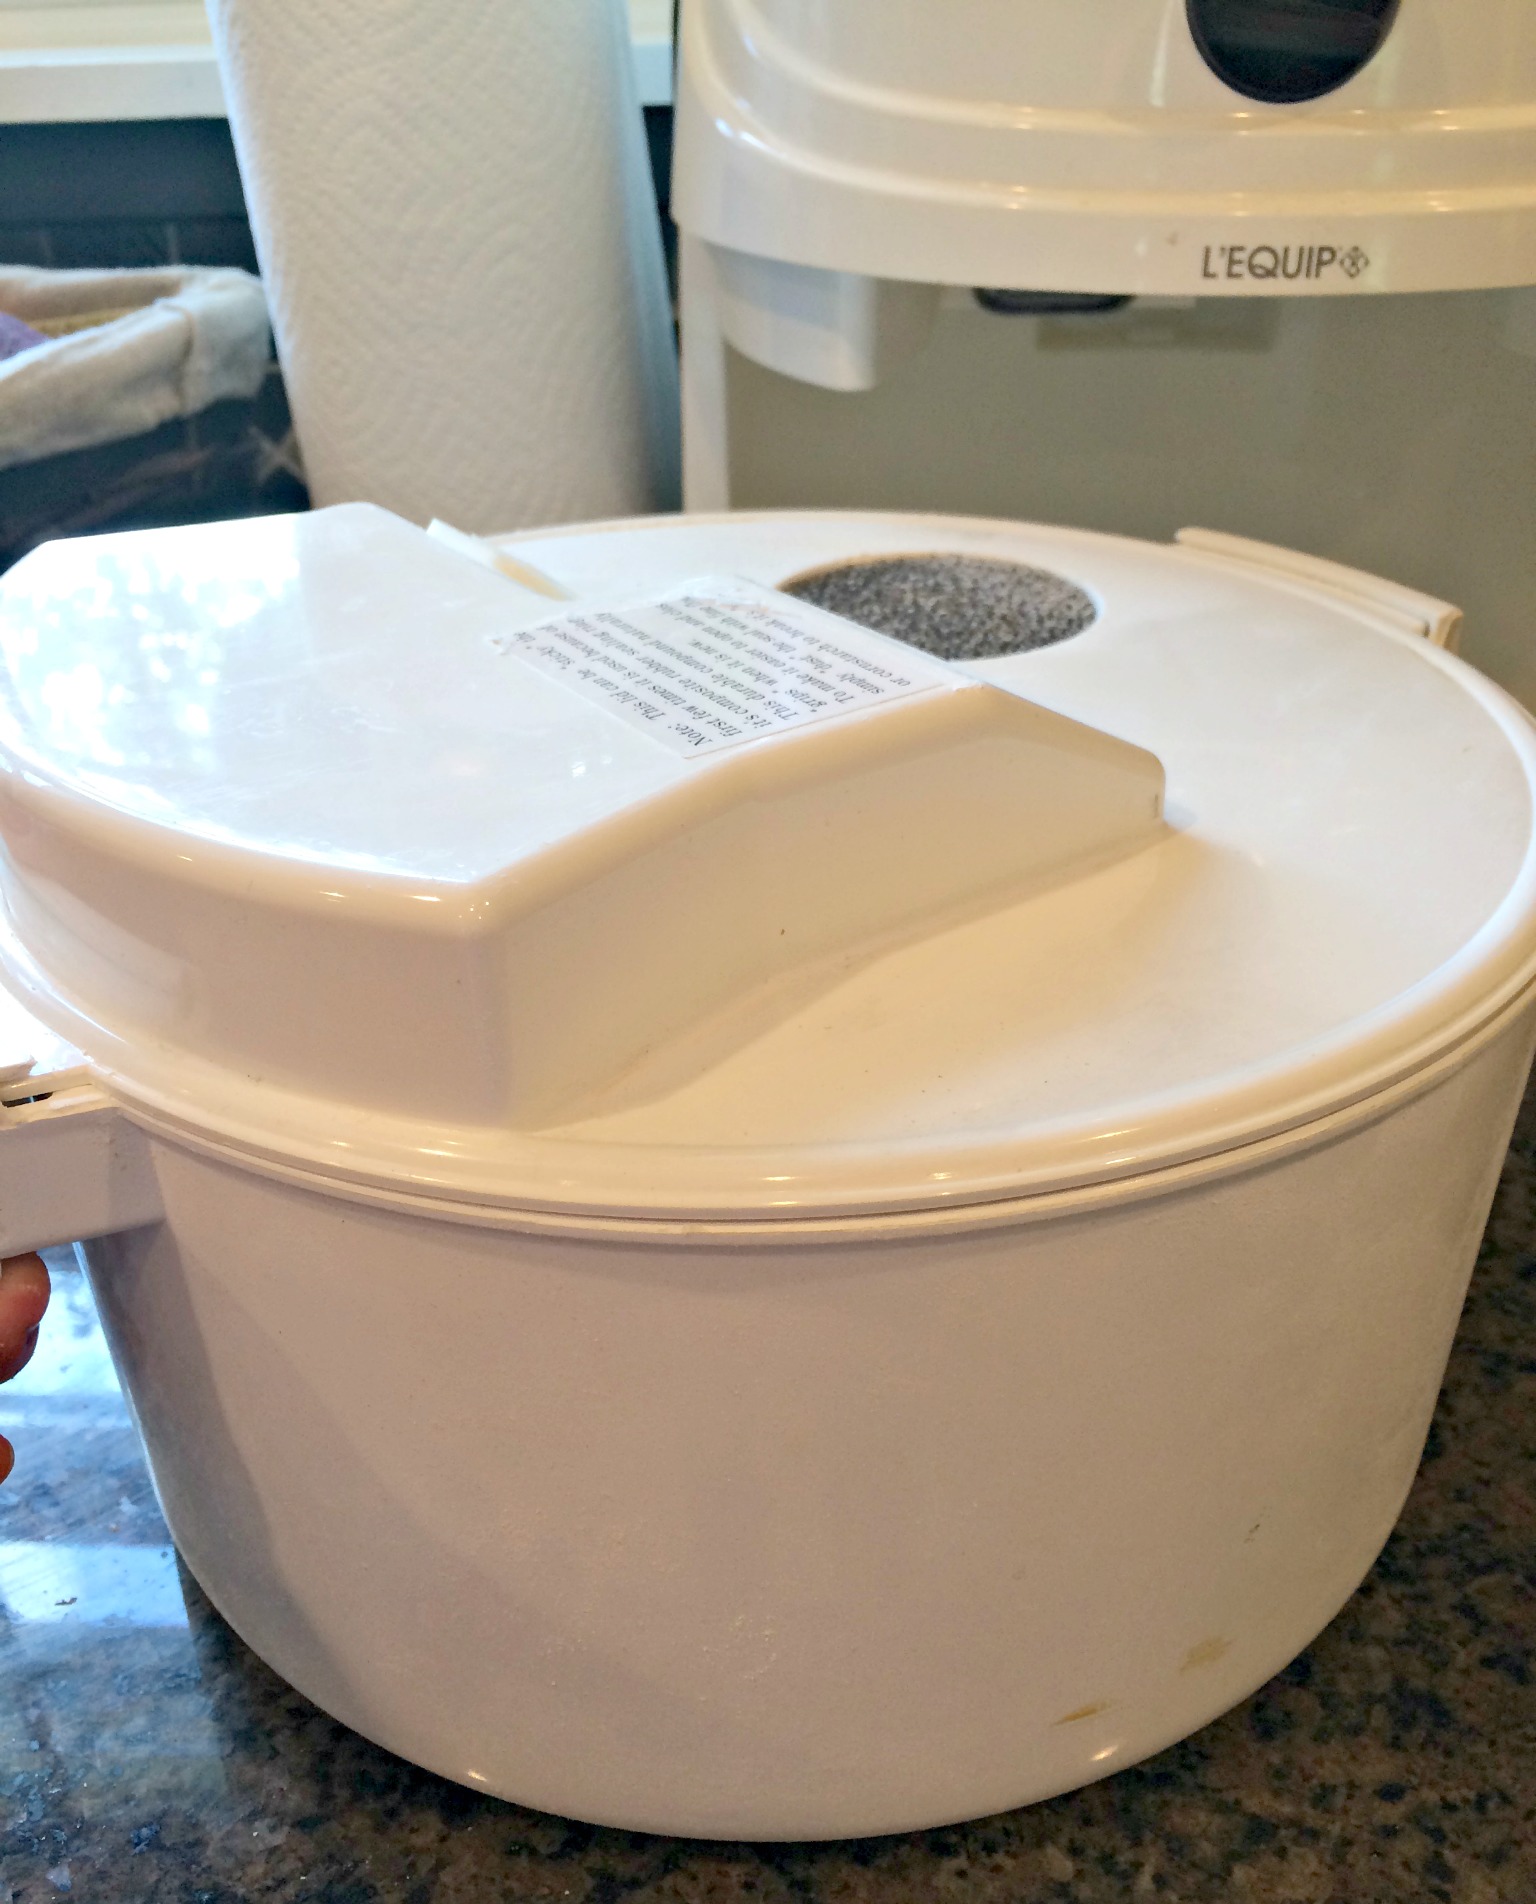
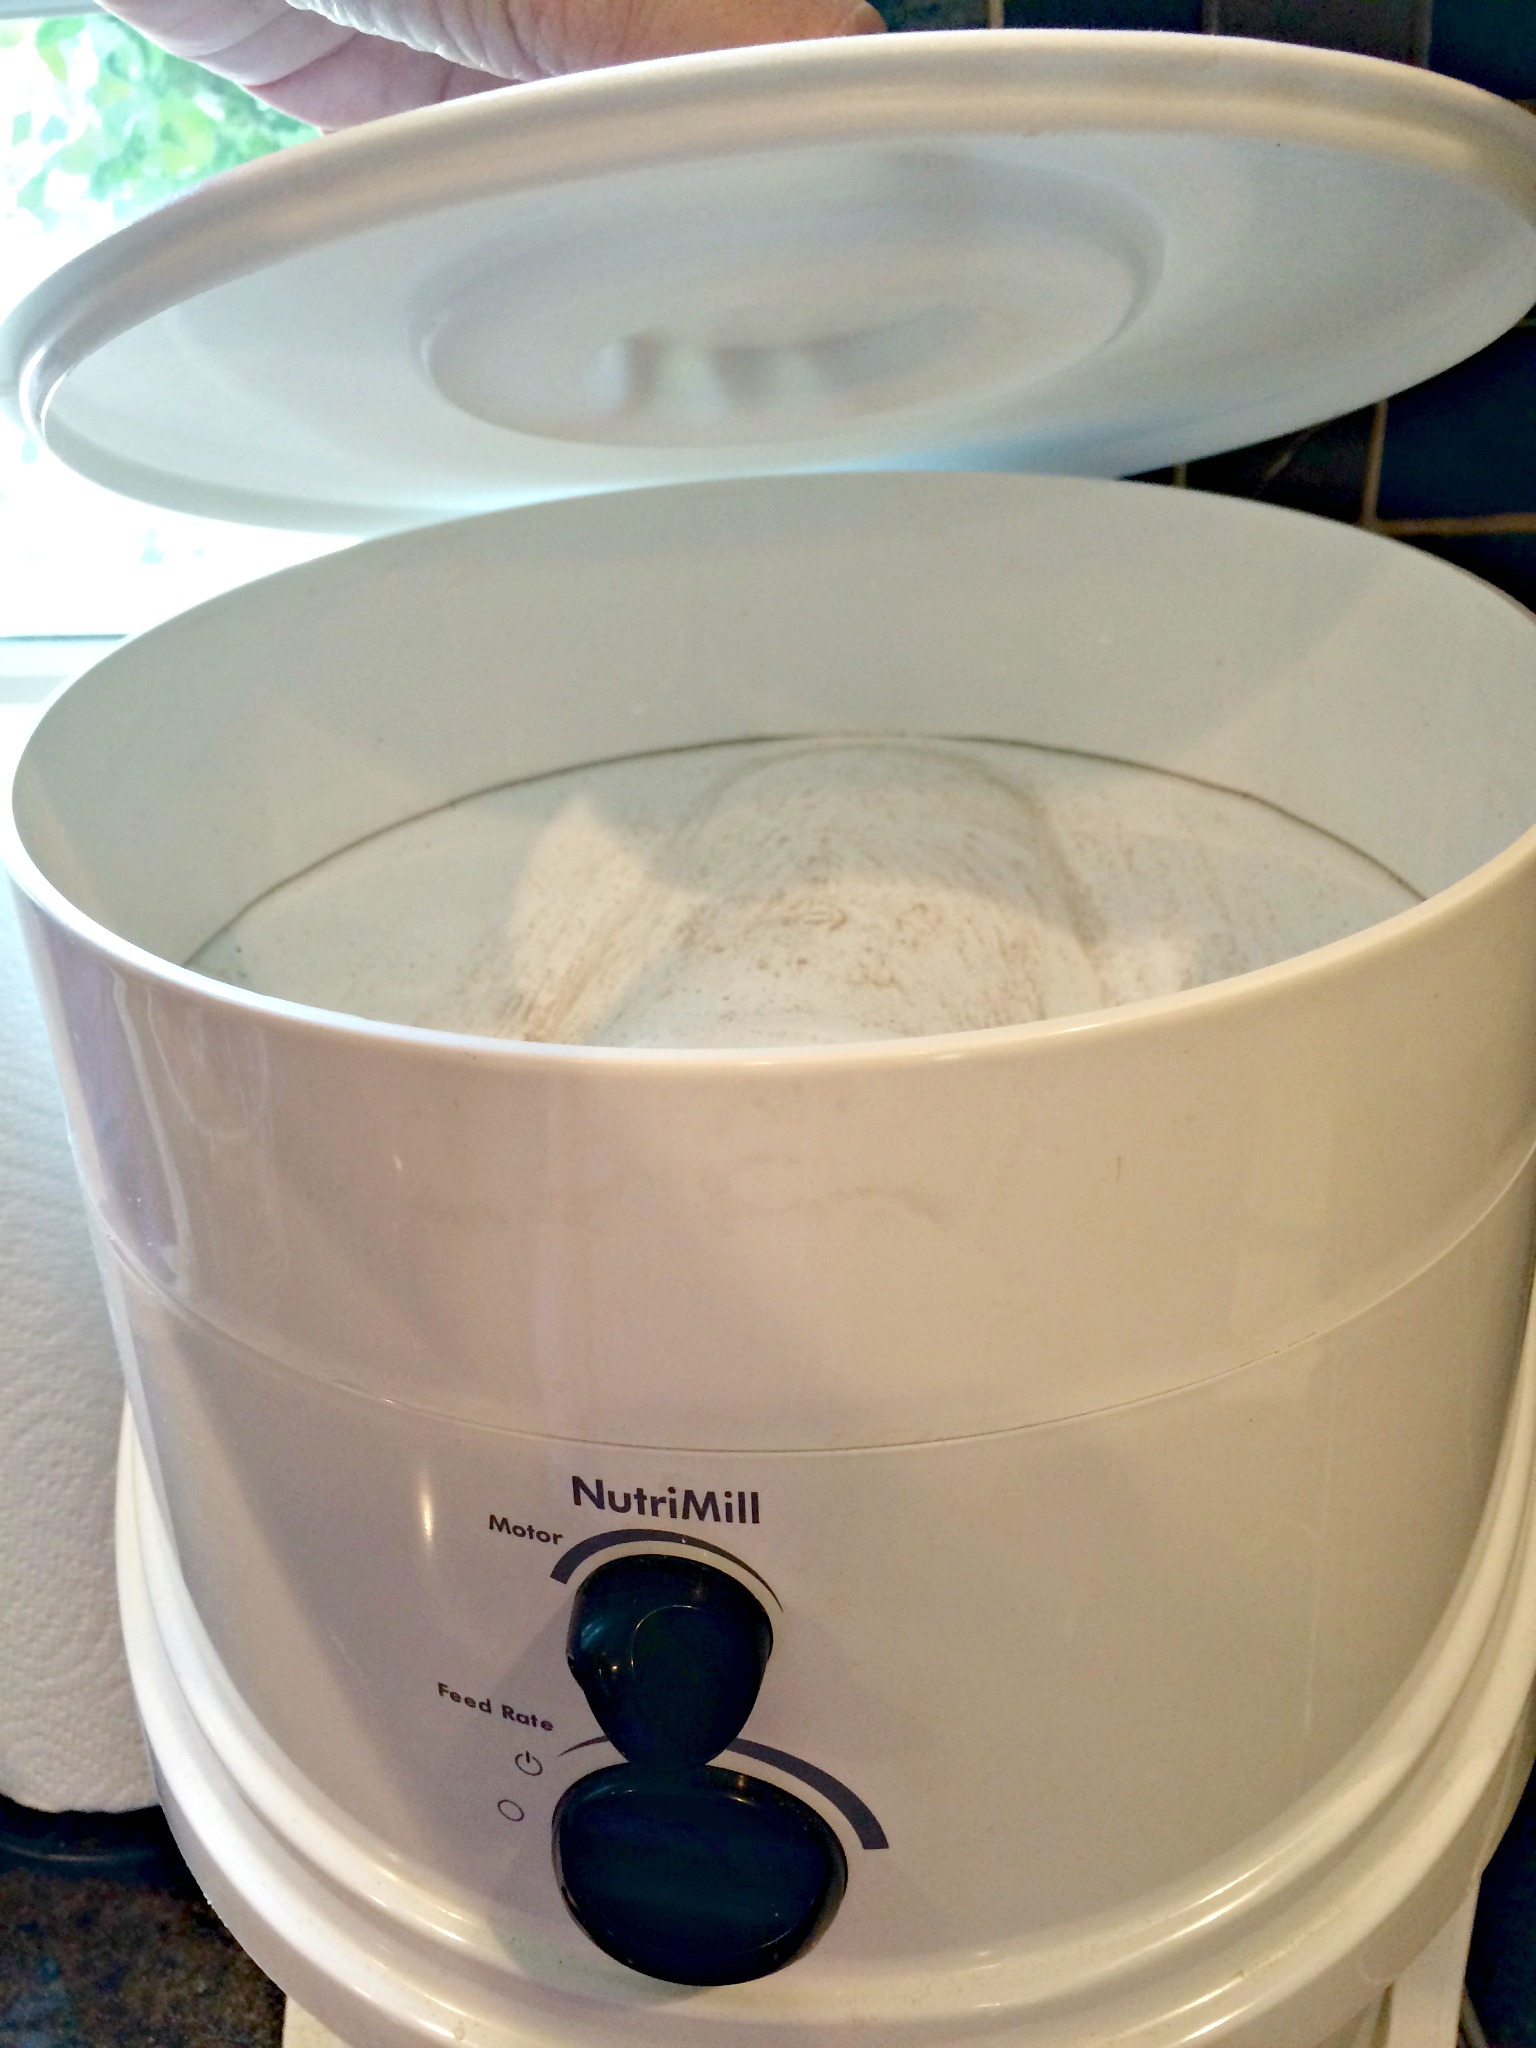
There’s a lid on the top of the mill. When you lift this you will find the “hopper.” This is where the grains you are about to grind into oblivion are dumped. Gravity will feed the grain into the mill where it will be ground into flour.
Notice there are 2 knobs. The first knob is the “motor speed”. For the breads and baked good I make I always have my motor on the highest speed. The bottom knob controls the “feed rate.” I usually feed my grains through the hopper on the slowest speed ensuring the finest flours. For corns and beans I chose a faster feed rate so that I have courser grain. I enjoy a little grittiness in my corn breads.
This is probably a good time to mention that whole wheat flour will never be white flour. Even if you start with soft white wheat berries (the berry of choice for all things fluffy, soft and white), your flour will never be as fine as the stuff from the grocery store.
BUT THAT’S OK….
I don’t want the nutrient-void, dead stuff they sell at the grocery. I want living food. I want 44 vitamins & minerals. I want texture. I want flavor. I want moisture. I want life.
Fresh milled flour is not store bought flour – it is better.
Brace yourself, this baby is loud. Like, jet plane loud. But it’s also fast – so the noise doesn’t last all that long.
Once the grain is in the hopper, turn the bottom knob to the right to engage your milling process. Super easy.
You will hear the motor. You will hear grinding. You will hear nothing but the sound of your mill until you turn it off.
If you think this is loud, I should mention that NutriMill did a fantastic job designing one of the quietest, electric mills on the market. I believe it is the quietest one you can find. If you are going to grind up something as hard as whole grains, it’s gonna make some noise.
When all the grain has fed through the hopper your mill will make a new, even louder, noise (even though I’m sure you don’t think it’s possible). No, it hasn’t broken. The sound is a higher pitch when there isn’t anything in there to be milled. Go ahead an let your mill run empty for 5-10 seconds. This cleans the insides of your mill.
Turn the mill off & you can remove the bucket from the bottom of the mill. It simply slides in and out of place. The top of the bucket easily twists off. This container can hold 20 cups of flour. This doesn’t mean you should put 20 cups of grain in the hopper.
If you do this you will have a multitude of problems.
- Grain expands when it’s ground – You can expect grain to increase in volume after it’s ground. What is 2 cups of grain will most likely be 3 cups of fresh flour. When baking with fresh flour, never measure the whole grains – always grind first and then measure the flour.
- 20 Cups is a lot of Flour – I can’t imagine trying to use 20 cups of flour at once. Fresh flour is a living food that will spoil and needs to be stored, used and properly handled to ensure freshness and the highest nutritional value (more on that at the bottom of this post).
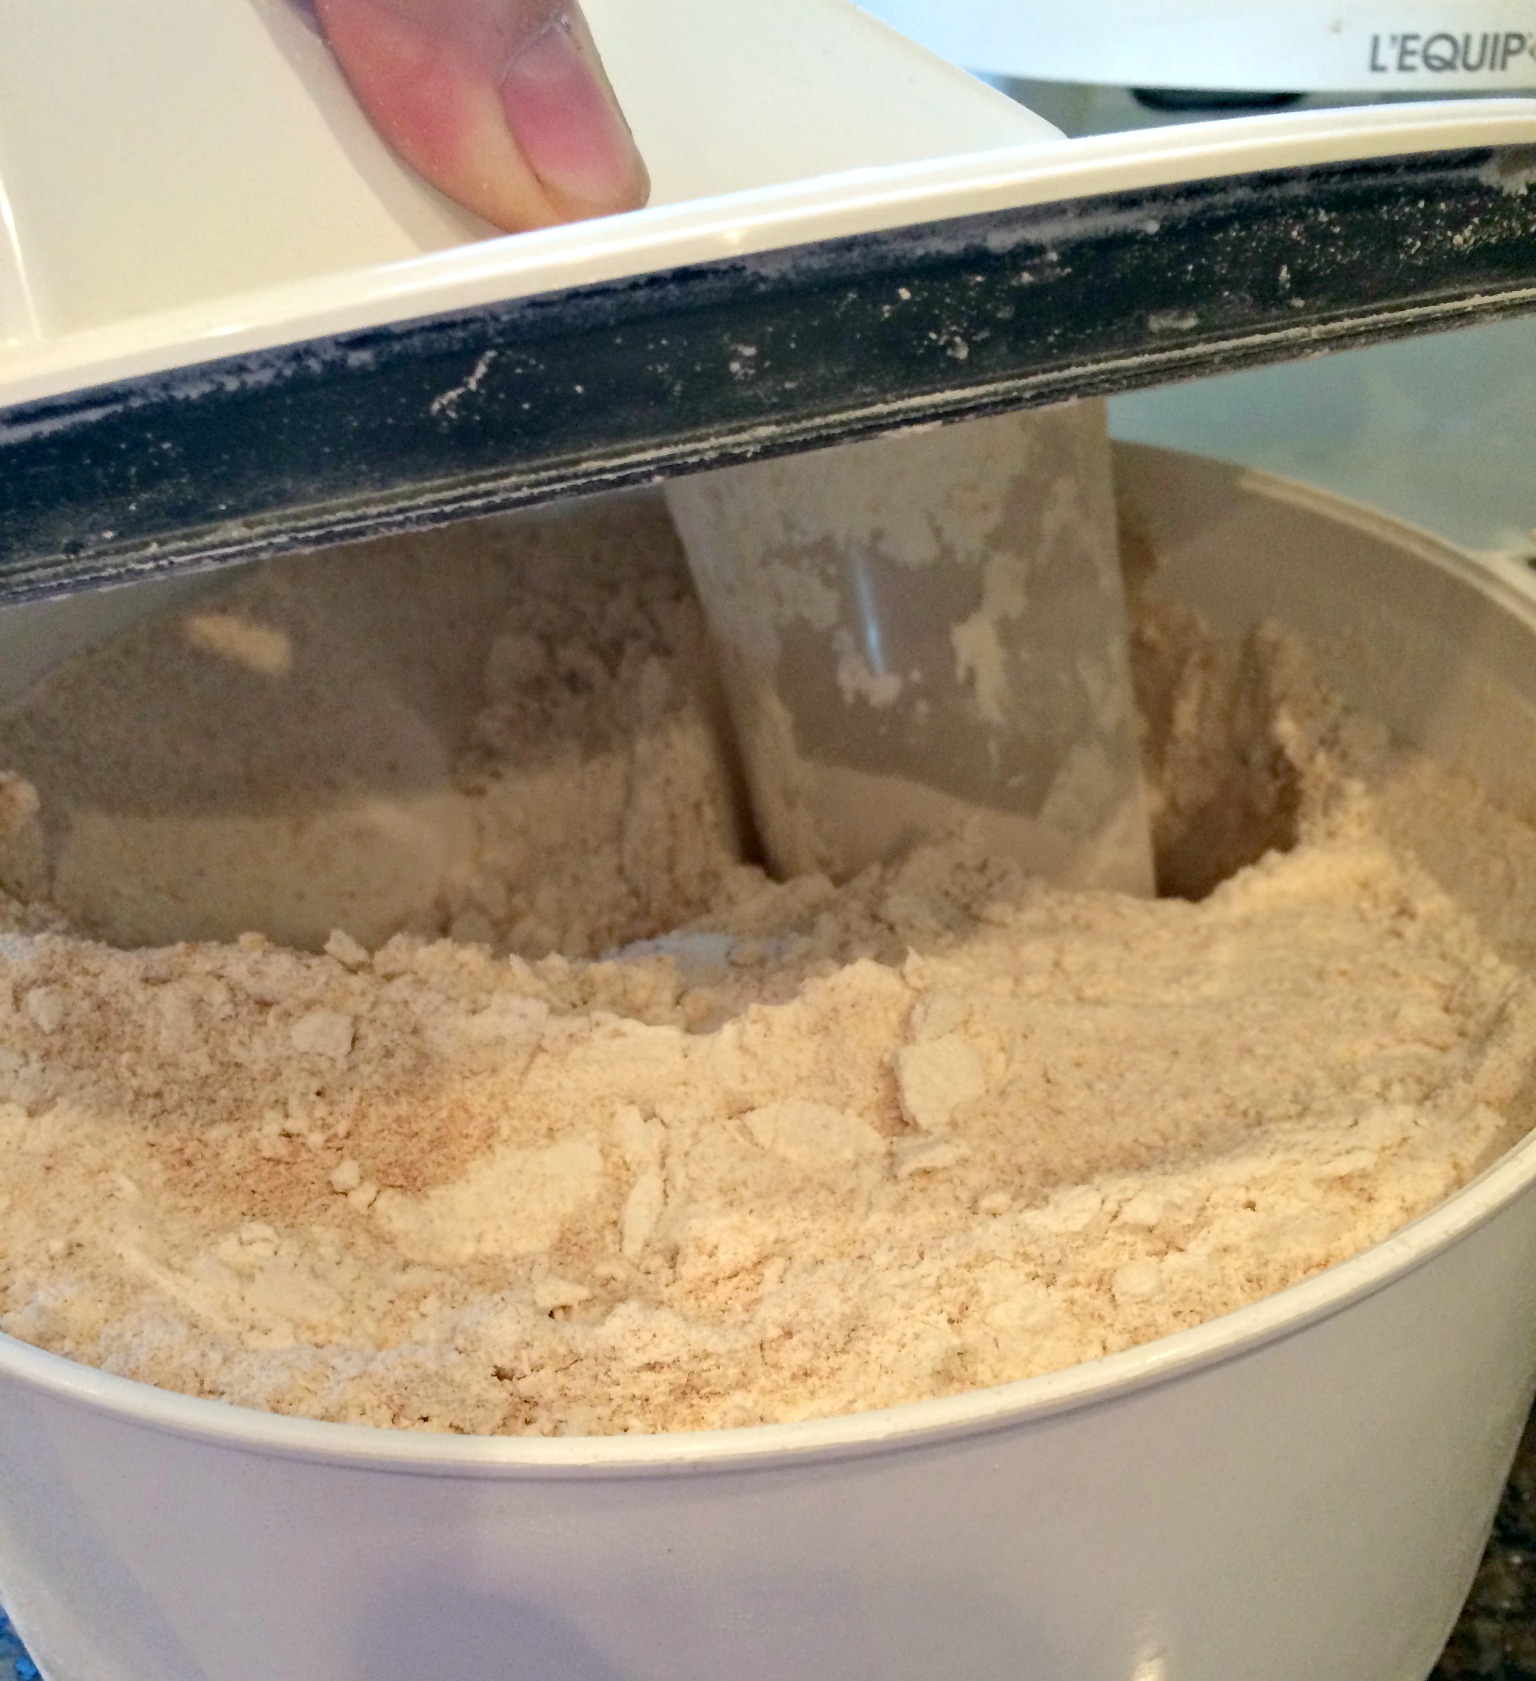
Inside the bucket you will see all the fresh flour we just milled. You will also see a little plastic cup. This receptacle cup makes sure there is sufficient air flow to the motor of your mill. It will catch some flour during the milling process.
After you finish milling, just pop this cup off and dump any flour that collected in it into the bucket with the rest of your flour. Then you can snap it back into place.
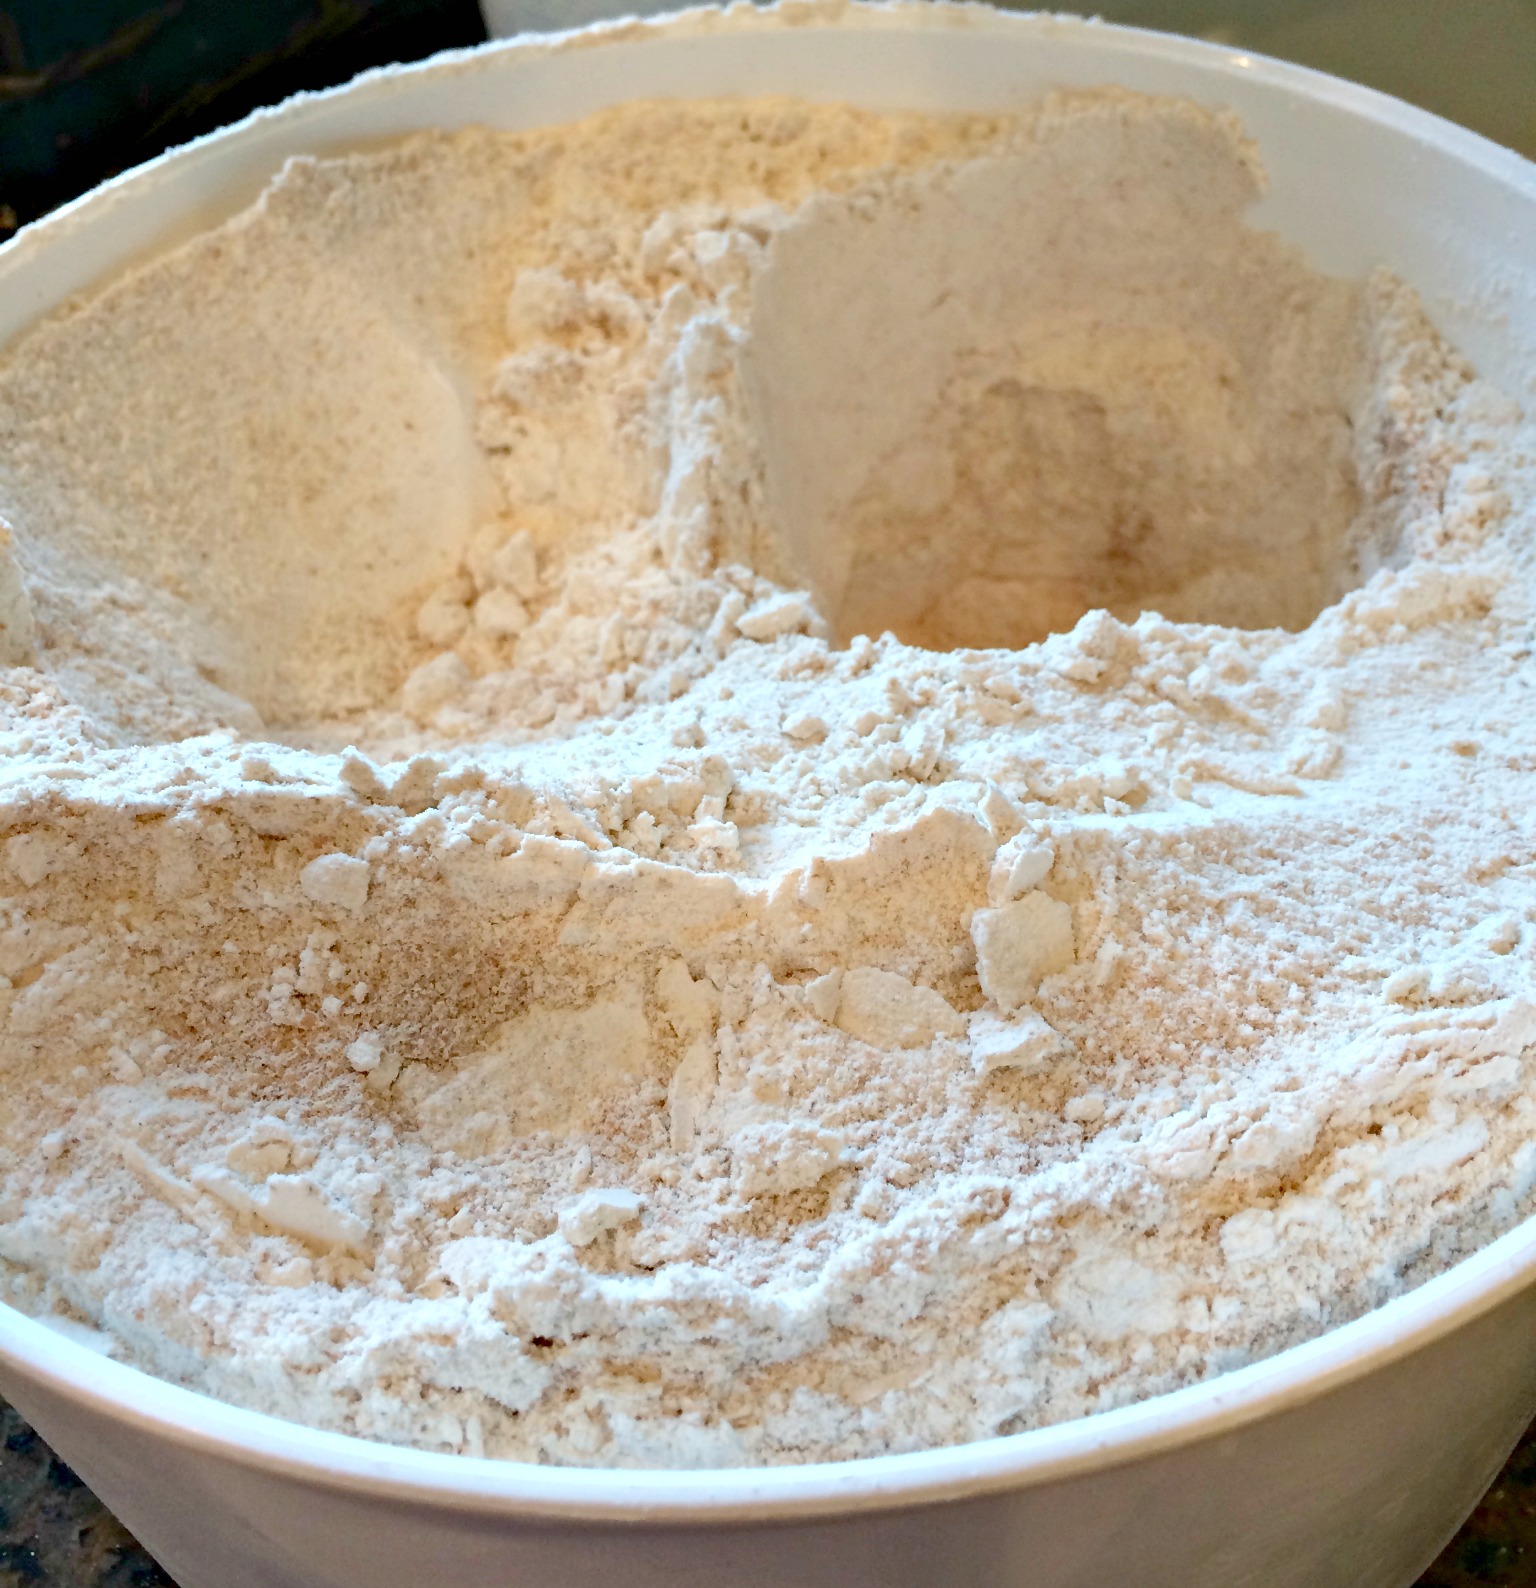
There you have it – a giant bucket of fresh flour ready to make all things baked and wonderful for you to eat.
Tips to Remember:
- Fresh flour is a living food. It will go bad and eventually rancid. The second the grain is ground up it begins to oxidize and lose nutritional value. The sooner it is used for cooking the better it will be for you.
- To get the most nutrition from your fresh flour- bake into bread products ASAP. Once the flour has been baked the nutritional value will stay intact. You can freeze the bread goods, refrigerate, or store on the counter. You can have the peace of mind that once it is baked the vitamins and minerals will remain.
- If you want to store flour (not baked) for future use, keep it in the refrigerator, or better still- the freezer. This will extend the life of the flour and retain the nutritional value longer.
That’s all there is to it.
- Dump Grains into the hopper
- Turn the knob “On”
- When grinding is finished turn “Off”
- Open the bucket of fresh flour & start baking!
To get weekly updates, tips and recipes subscribe via email (here). To learn more about home bread-making, see instructional videos and dozens of premium recipes (designed and proven for fresh milled flour) you should consider a membership.


Happy Baking!
Candi


